MSI X370 Krait Gaming AM4 Motherboard Review
Bundled Software
The MSI X370 Krait Gaming software disc contains applications and drivers. Each driver or utility is sectioned so that it is easier to sort through and find out which ones should be installed. The main disc setup page also shows whether the driver or software has already been installed or not. The Google tab is for installing the Google Chrome web browser while the Security tab installs a trial version of Norton Security Essentials. The bundled Xsplit Gamecaster can also be installed through here. Each tab has an automated batch install procedure so the user doesn’t need to install each driver or software individually, but they can if needed.
MSI Command Center
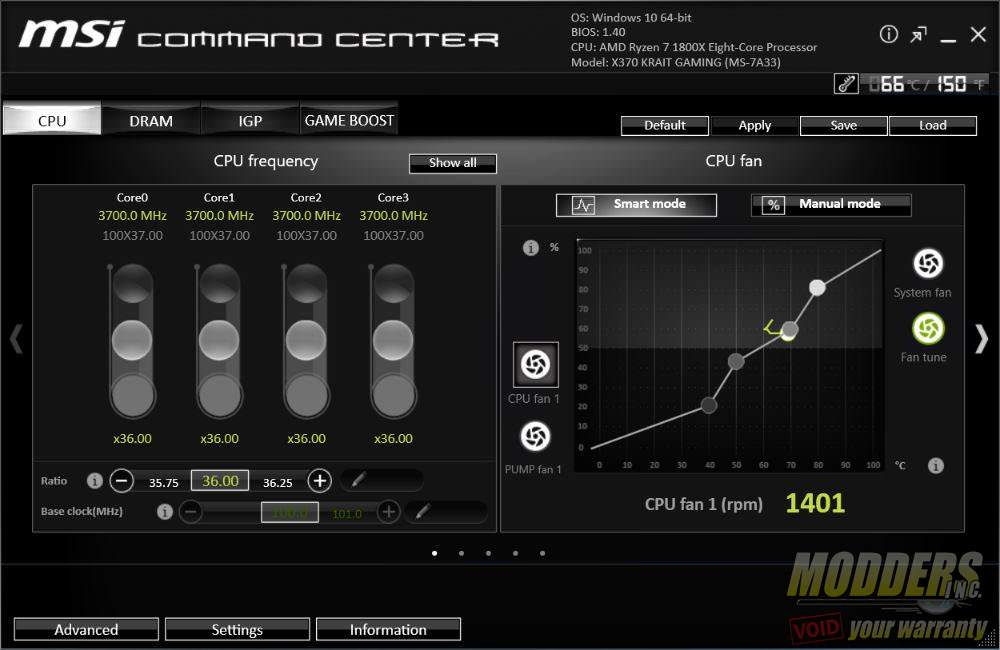
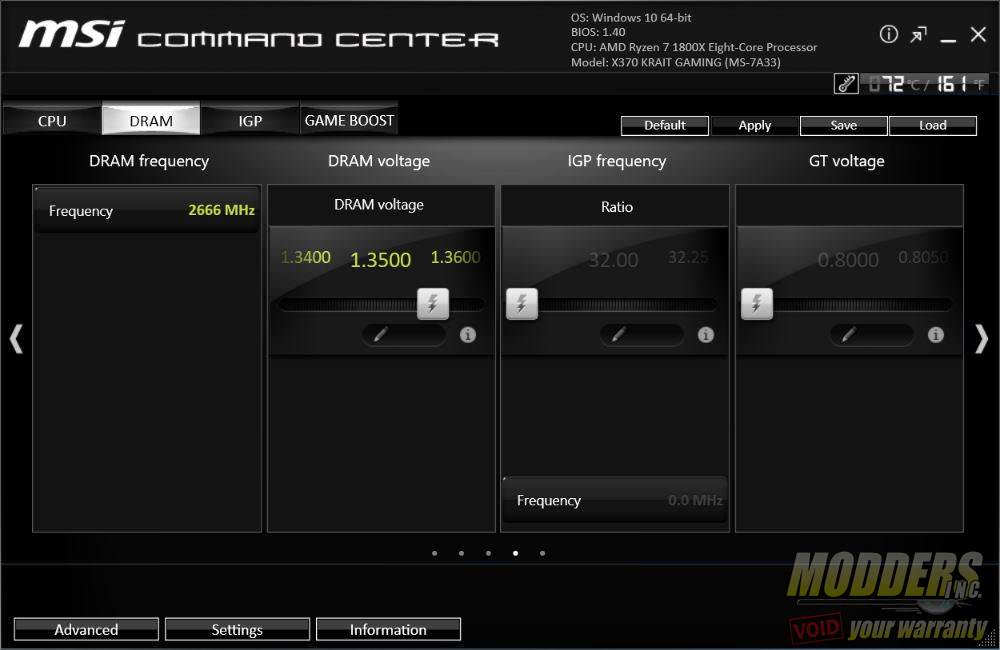
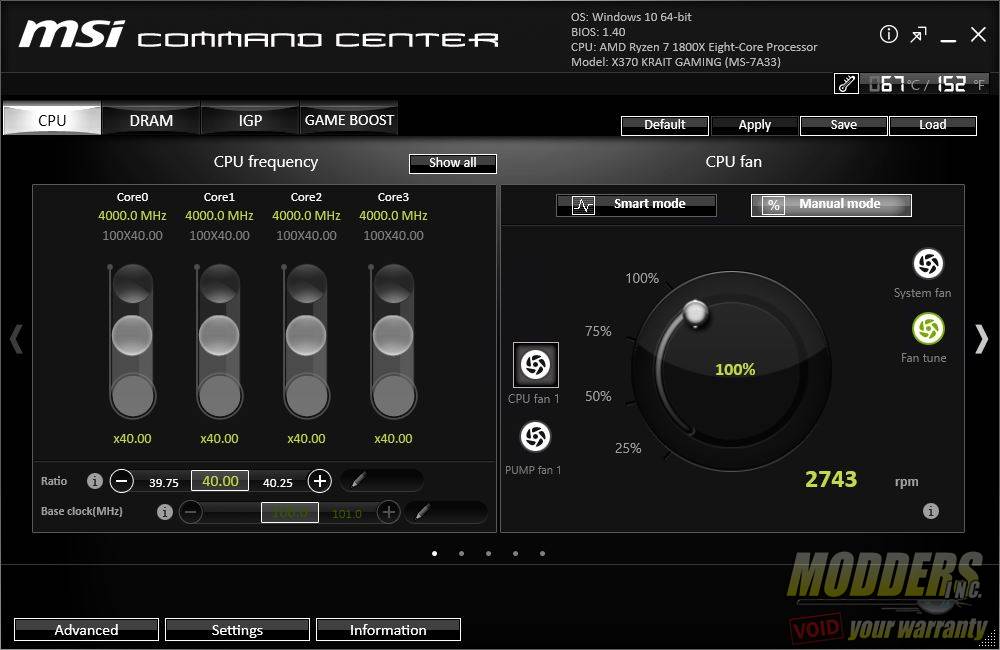
MSI Command center is the hub for all motherboard tweaking functions for the desktop. While it shares some capabilities with other applications included in the bundle (such as monitoring and overclocking), it is the most feature-packed. Like the UEFI, the Command Center for the X370 Krait Gaming follows the black and white color scheme of the Krait Edition series.
The CPU section is separated into two sub-sections: CPU Frequency and CPU Fan. CPU fan control is straightforward with options for Smart mode and Manual mode, similar to the fan control graph in the UEFI. In Smart Mode, users can set a fan curve with temperature vs fan speed percentage. In Manual Mode, users can set the constant RPM speed they want the fans to run at.
Voltages can be adjusted in the Advanced sub-menu at the bottom which opens up a child window allowing users to adjust advanced voltage settings. Under the Advanced section is also another fan control option for the system fans with Fan Tune feature.
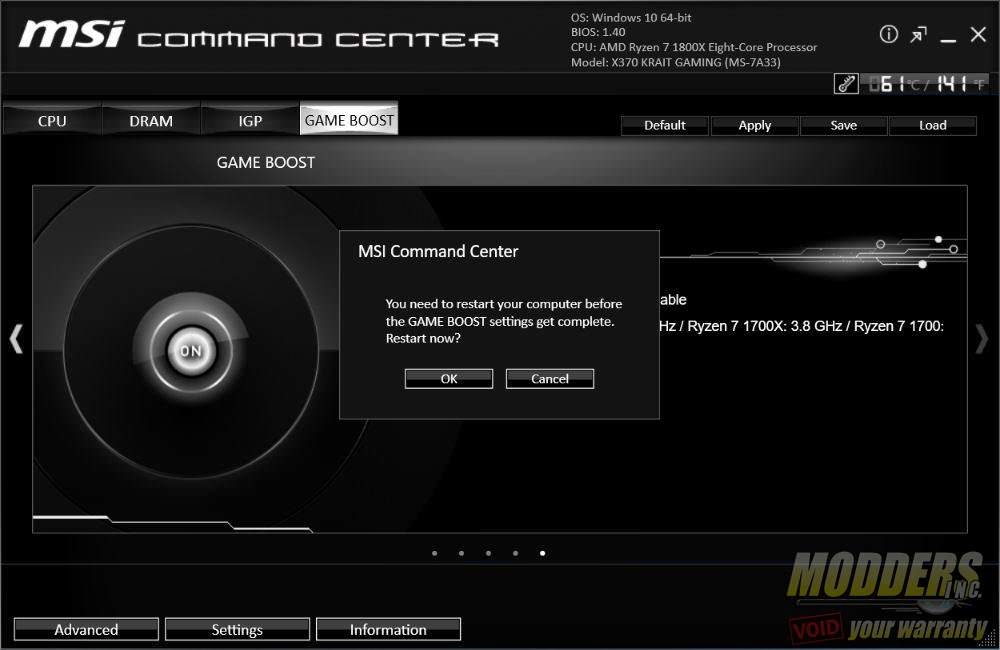
The GameBoost Auto-overclock feature is available on X370 mainboards. It overclocked the Ryzen 7 1800X to 4GHz and set the fan speed to maximum. It did not touch the DDR4 setting however, only the CPU.
MSI RAMDisk
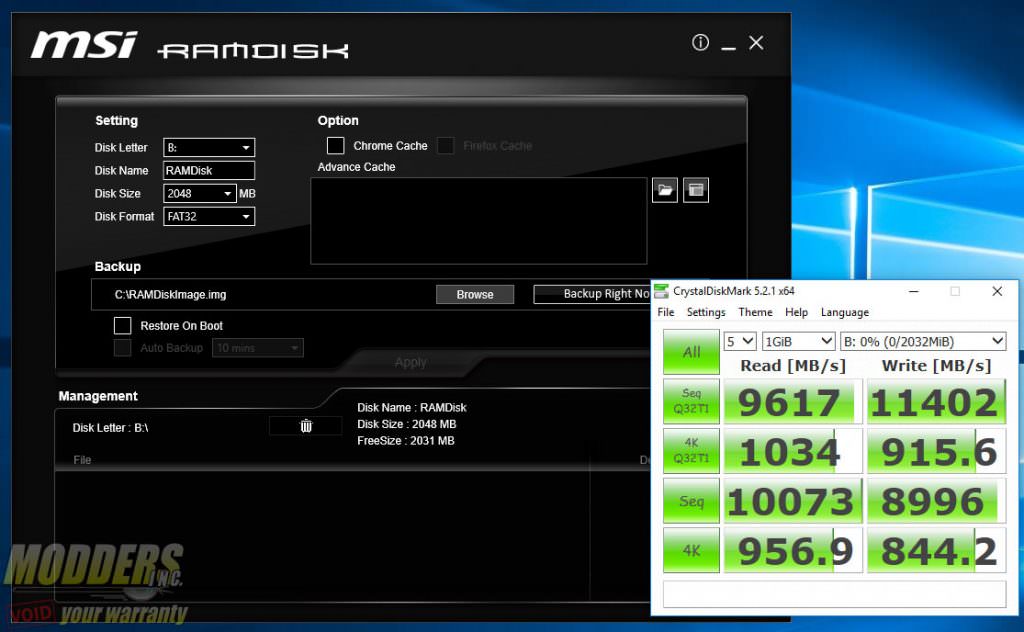
The RAMDisk feature used to be part of the Command Center in the previous generation version but has now been decoupled. It allows users to use their DDR4 memory as storage. This function is usually available as a retail software (such as the one AMD is selling), but MSI provides it stand-alone for free. Users can set the size and format type and even automatically set it as browser cache for IE, Chrome or Firefox or even for Windows temporary files. Since RAM storage resets during a system reset or shutdown, the MSI RAMDisk lets users to backup the image to a physical drive and also provides an option to automatically restore the RAMDisk contents on boot. As you can see in the benchmark that RAMDisk is much faster than any desktop SSD storage available.
MSI Gaming App
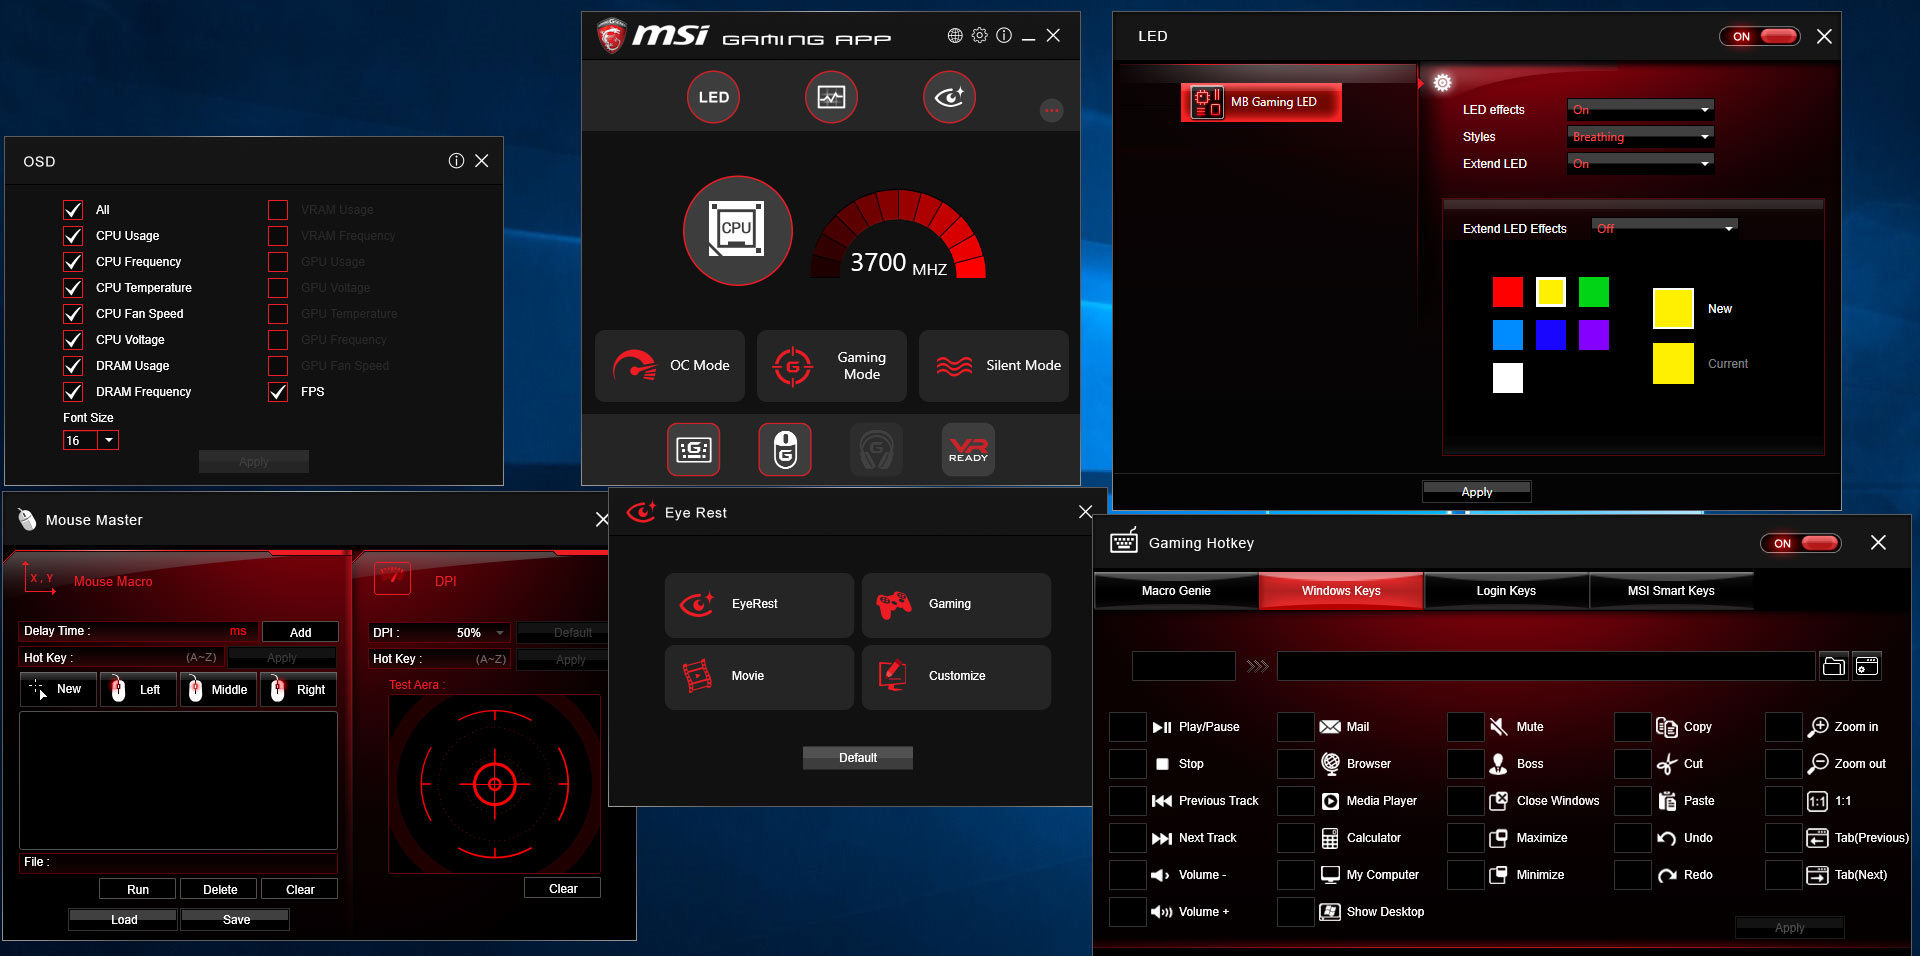
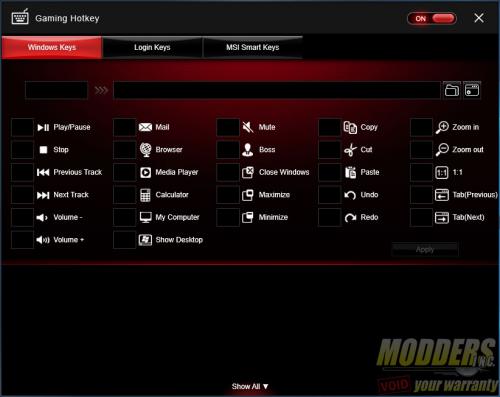
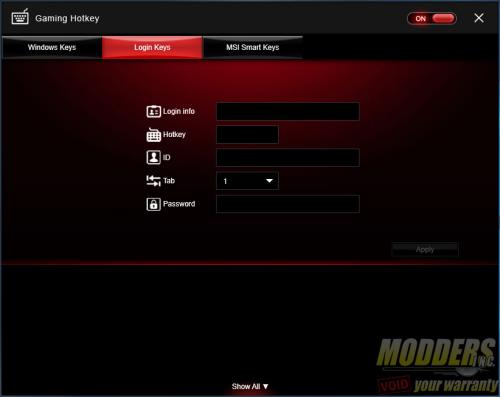
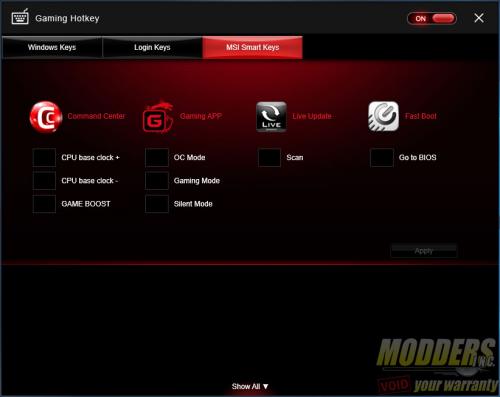
The MSI Gaming App is a single click application that automatically loads presets for different types of usage, adjusting settings and fan speed depending on the usage. It also serves as a launching pad for other gaming features such as Mouse master, Gaming hotkey, OSD, and Eye Rest. Mouse master measures mouse responsiveness and is a good benchmark utility to use to customize settings before playing. Gaming hotkey enables advanced binding capabilities on any keyboard connected, essentially turning it into a feature-packed easy access input device. Eye rest adjusts the display’s color settings with a single click depending on the preset. OSD is for displaying system information while inside a game. The MSI Gaming App is also where the Mystic Eye RGB LED extensions for the X370 Krait Gaming are controlled.
Unfortunately, the Mystic Eye RGB LED is a lot different on the X370 Krait Gaming since it is not a true RGB with 16.7 million customizable colors. Although users can select static, breathing or blinking behaviour, the color selection is limited to seven colors. This includes red, yellow, green, blue, light blue, purple, and white.
MSI Network Ethernet Manager
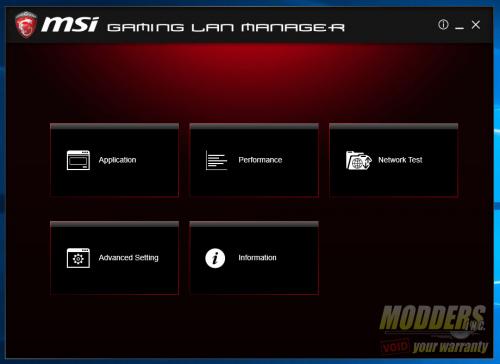
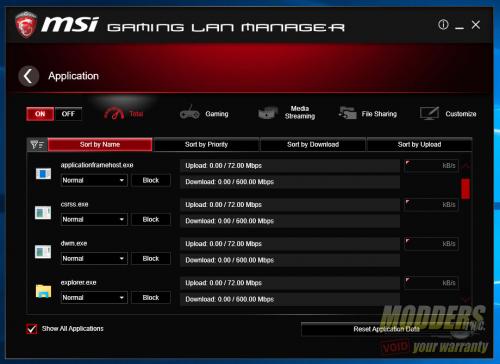
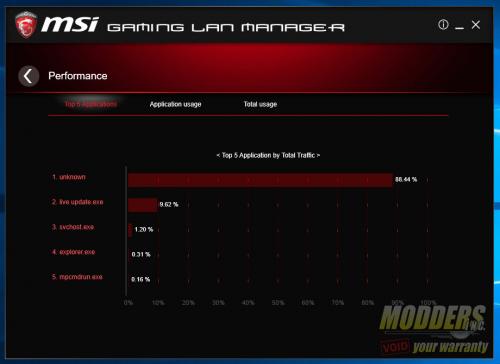
MSI Network manager provides control over your network connectivity, allowing for application prioritizing and bandwidth management. It works best when connectivity speed is measured and tested before managing the network.
MSI Dragon Eye
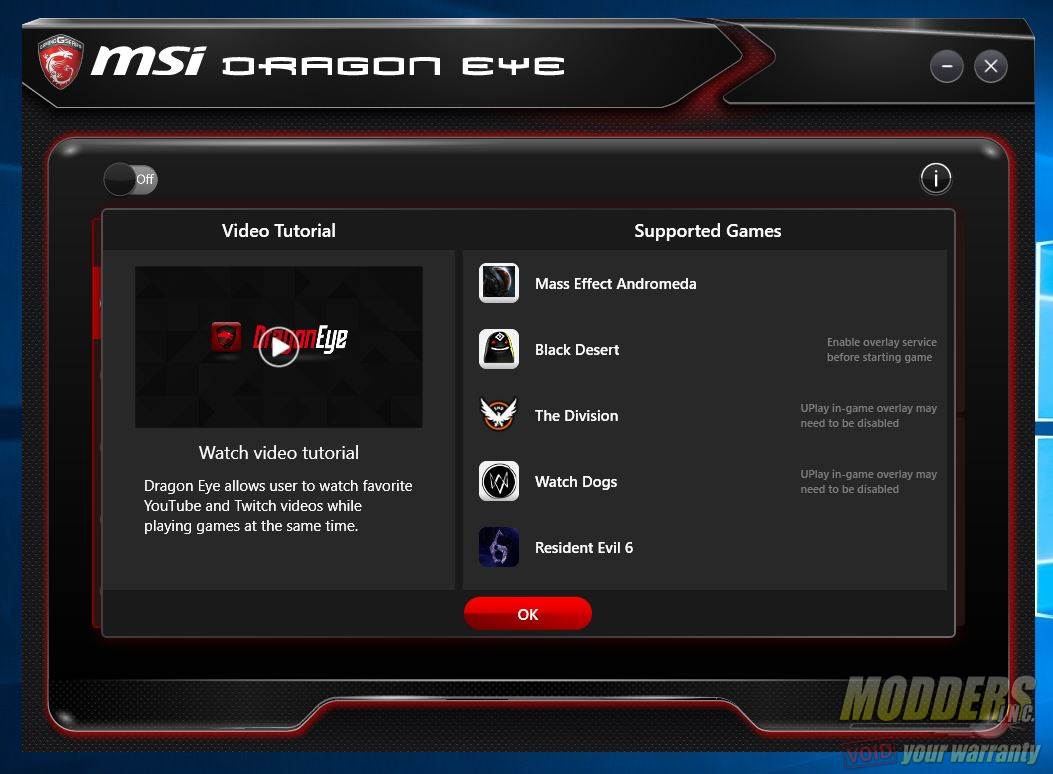
A new software introduced first in the Intel 200-series chipset is the MSI Dragon Eye. This software allows users to watch a livestream while playing a game on the same monitor. This currently supports only some games such as Watch Dogs, Resident Evil 6, Diablo III, The Division and League of Legends. Users can also set the video overlay position (8 spots on the screen), and set the transparency level of the overlay video clip.
MSI XBoost
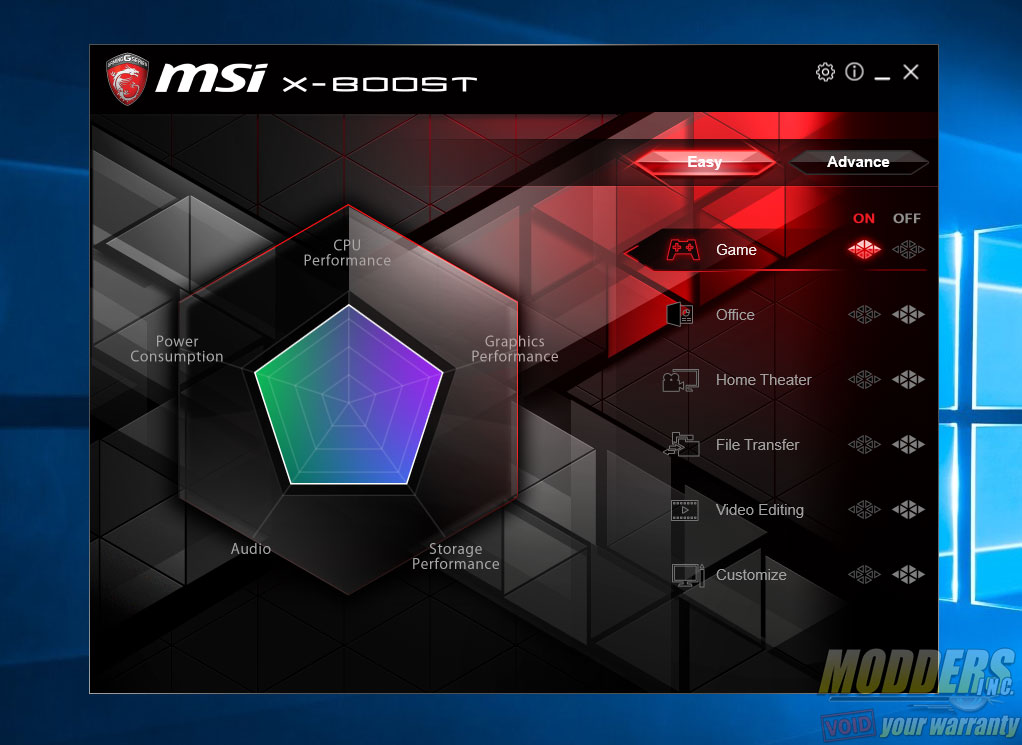
MSI Xboost is an alternative to GameBoost feature and is also now de-coupled from the main Command Centre like the RAMDisk feature. XBoost basically provides quick system preset settings depending on what load the system will be subjected to for optimal performance. It is a very handy feature to have, especially for users who are beginners and cannot be bothered with the intricacies of tweaking their system. Since it is using presets, it is also a single-click easy to switch application and provides users a clear web-graph to show which features are being boosted or minimized per preset, with the additional option to customize.
MSI Live Update
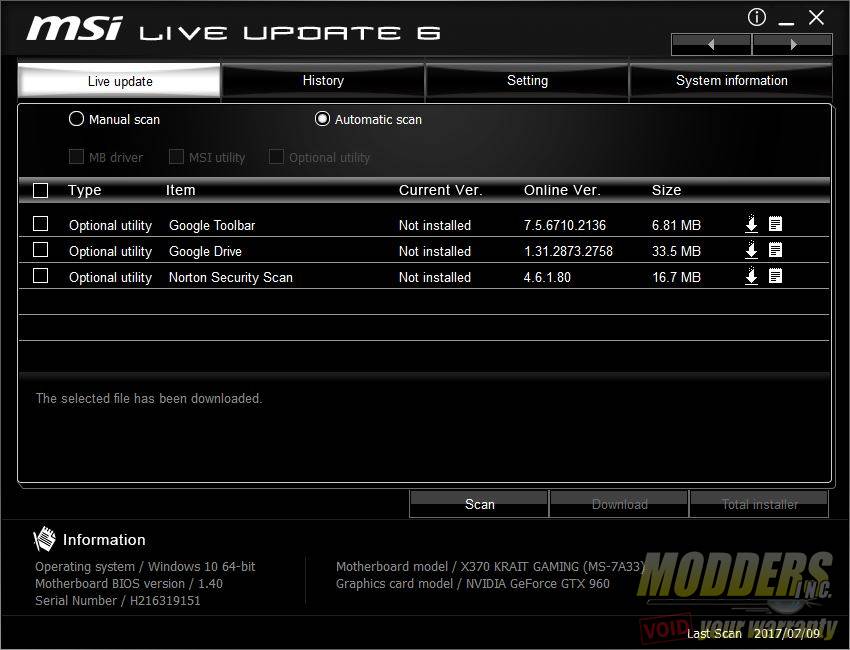
As the name suggests, this Live Update tool lets users keep their MSI X370 Krait Gaming up to date in terms of drivers, BIOS and software. Scheduled reminders can also be set periodically.
MSI Smart Tool
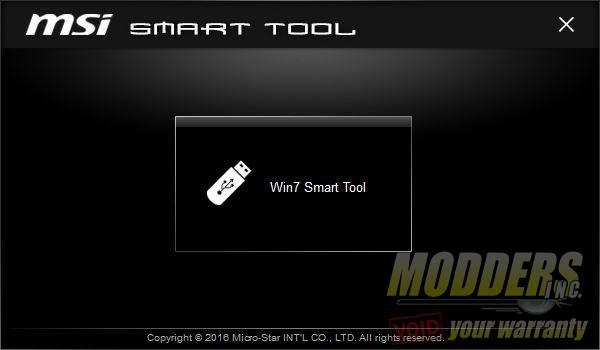
Installing Windows 7 on a new platform can be difficult for users who do not have advanced experience. Which is why MSI provides the Smart Tool, which lets users create a bootable USB Windows 7 installation with just a single click.
Nahimic 2+
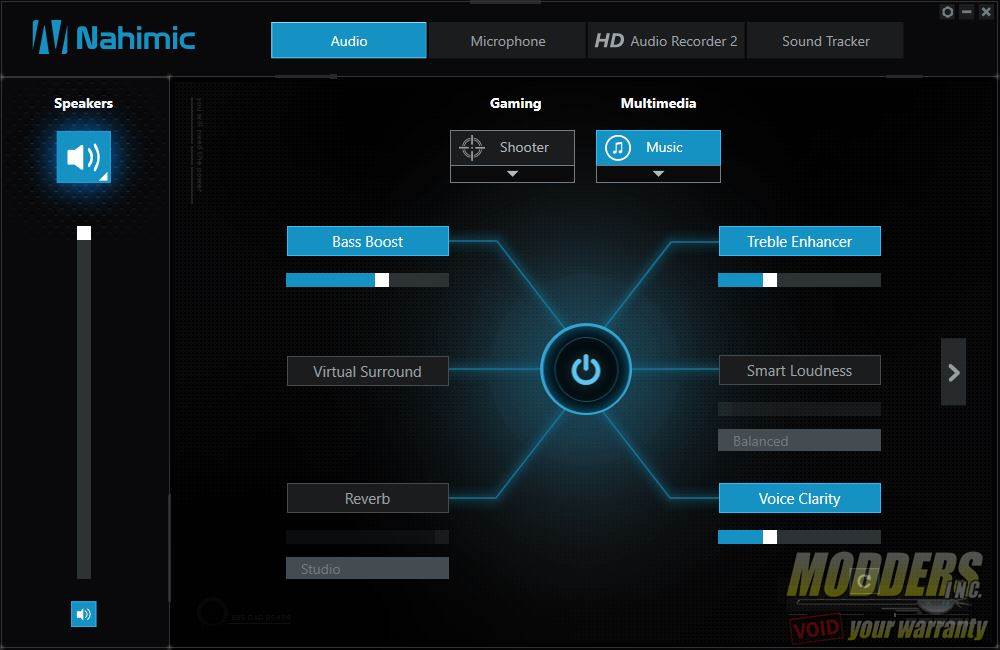
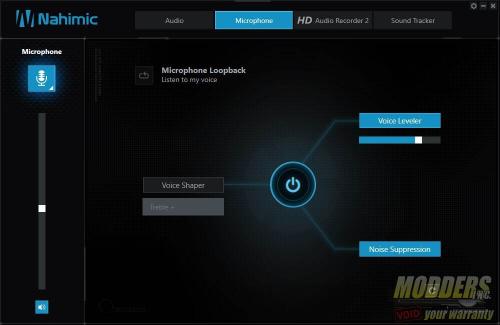
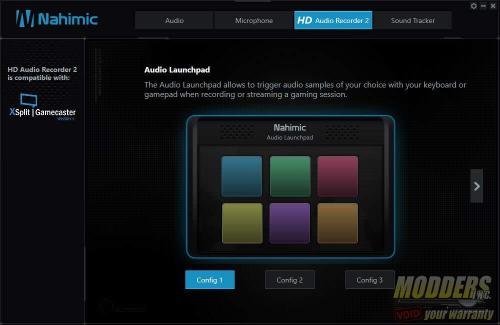
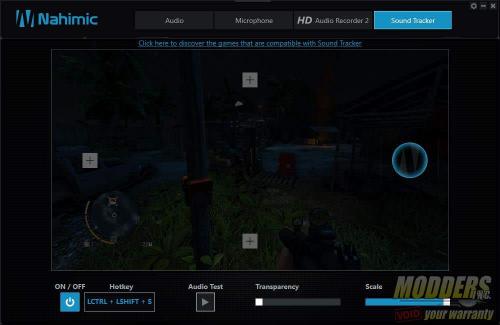
MSI includes the Nahimic 2+ audio software for enhacing the audio experience on the X370 Gaming Krait motherboard. It has some quick presets for watching or gaming, and it also lets users save trigger audio for use while gaming. This is similar to “sound drops” used in radio shows and is handy for livestreamers. For gamers, Nahimic 2+ also includes the Sound Tracker feature which is essentially cheating and lets players know where the sound is coming from in a first-person shooter game.
UEFI Overview
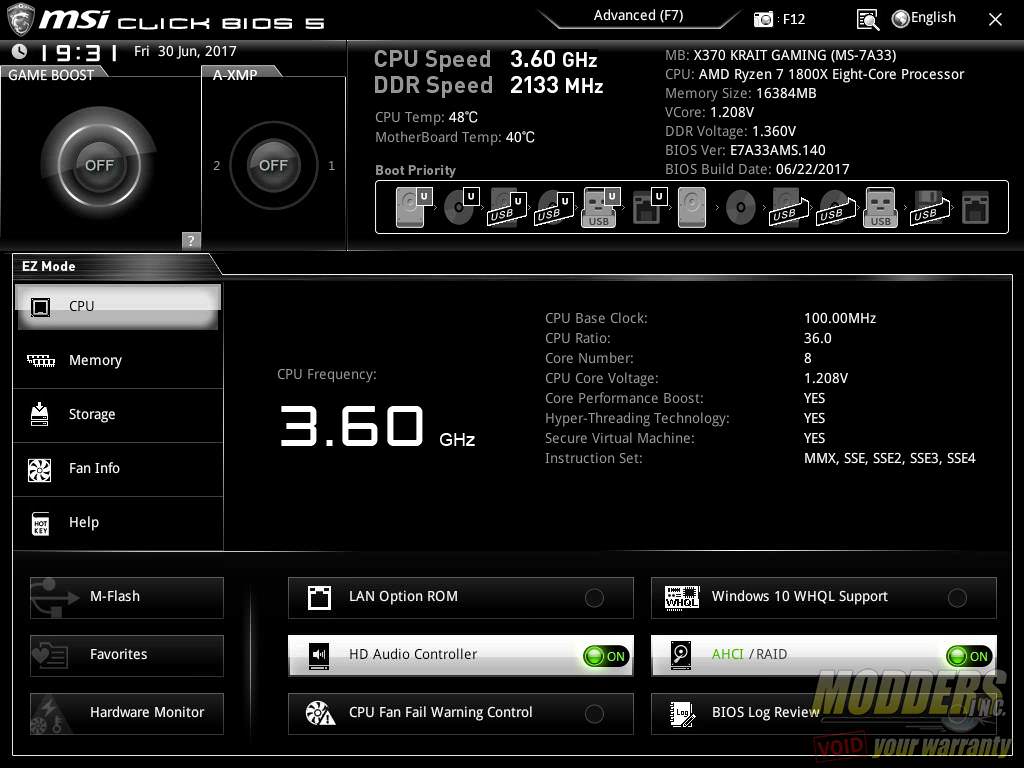
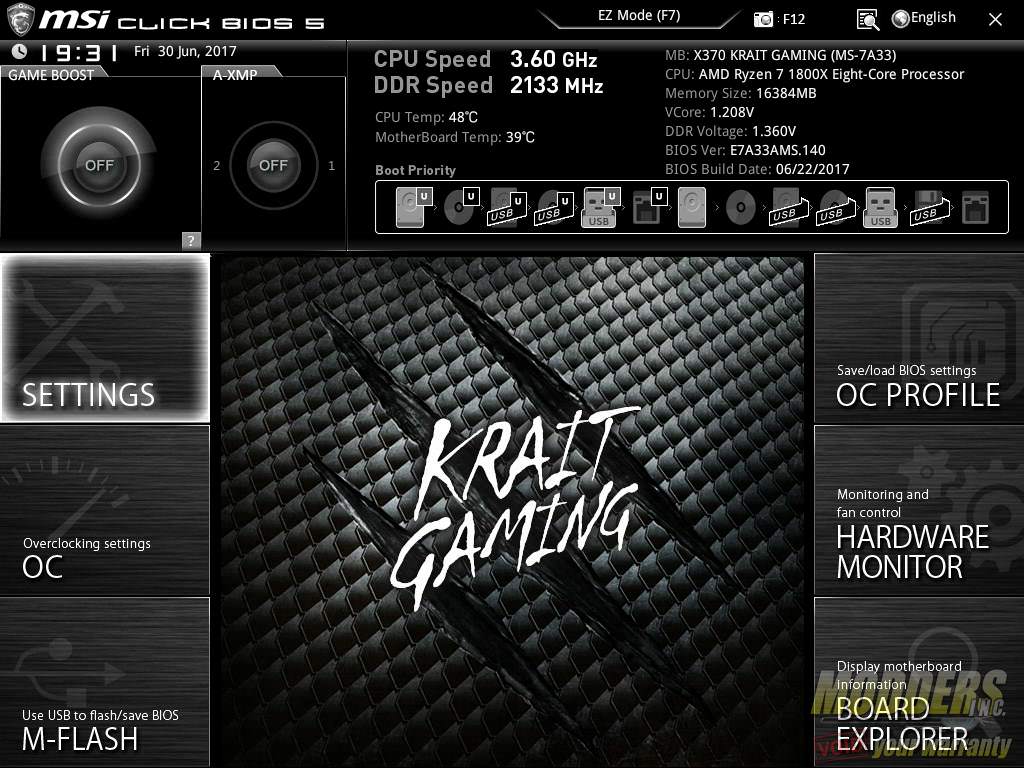
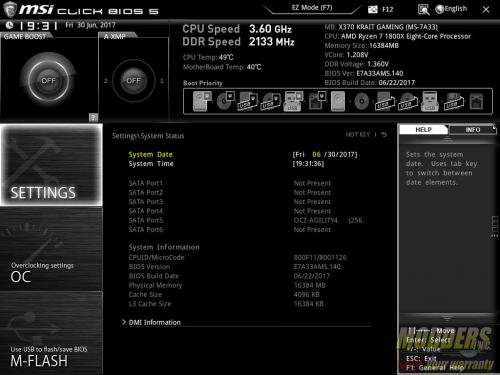
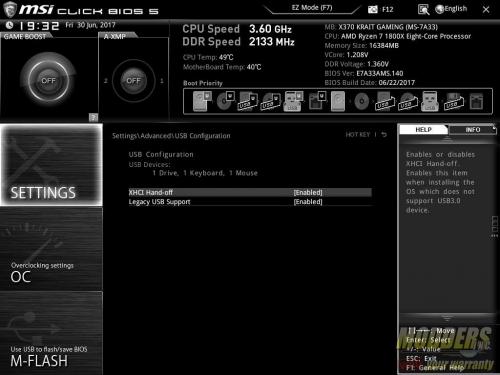
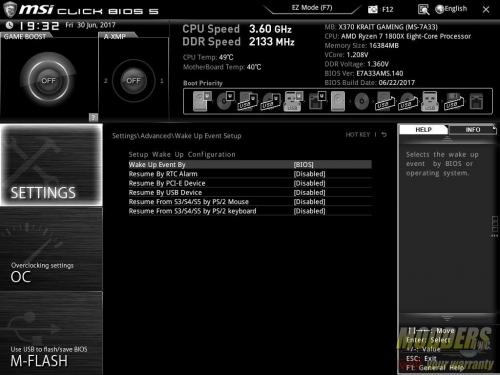
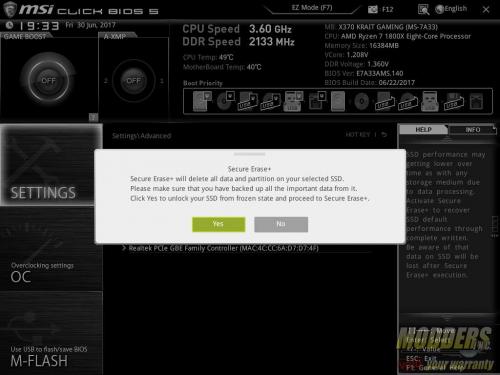
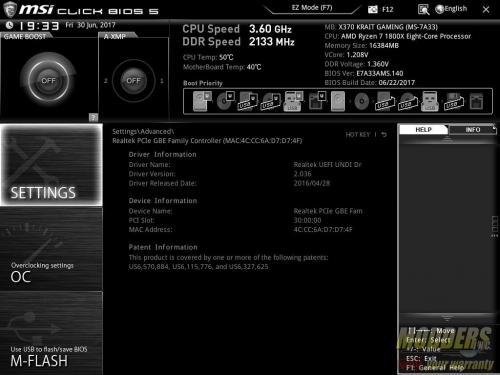
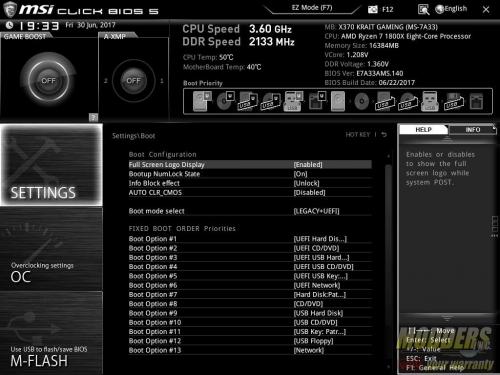
As with all of MSI’s recent mainboards with Click BIOS 5, the UEFI matches the color scheme and background image of the board with a black and white UEFI for the Krait Edition models. From here, features such as enabling A-XMP and changing boot order are accessible with full mouse control. Users can drag and drop the boot order icons to the priority of their choosing while XMP and OC Genie can be togged with a single click. Temperatures, time, date and basic system info is displayed permanently on the top status bar. At any time, users can hit F12 to take a screenshot and save it to a plugged-in FAT16 or FAT32 USB drive. Language options and favorites can also be easily accessed on the upper right hand corner. This is the advanced mode view however and there is also an EZ mode view on MSI’s Click BIOS 5 which looks like this (F7 to toggle back and forth). EZ Mode gives a 5-page summary keeping the top shortcut features and system status option static as it was in Advanced mode:
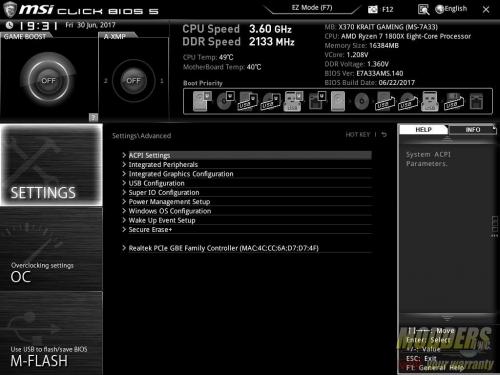
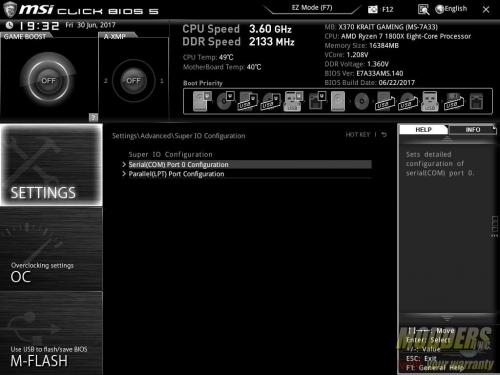
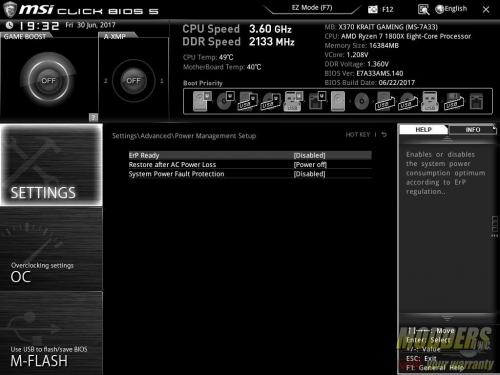
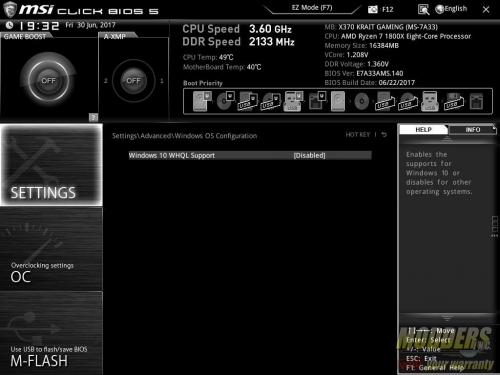
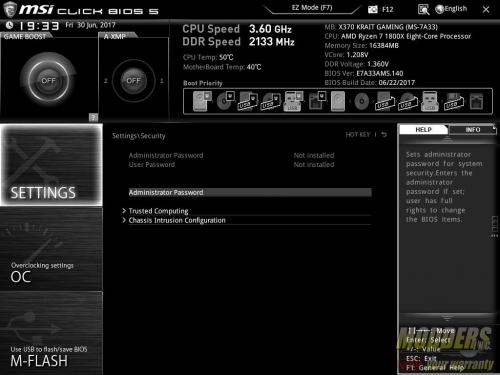
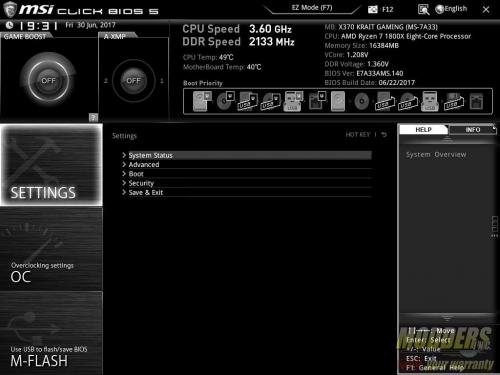
Back to the Advanced mode default, there are six main sections to the MSI UEFI which is similarly laid out in every single one of their mainboards using Click BIOS 5. It is completely “idiot proof” and easy to navigate with both keyboard and mouse and has become easily my favorite UEFI layout out of every motherboard out there. The first section is the Settings folder which provides access to all the other features which are non-overclocking related, while the second OC folder provides access to all overclocking related functions. This keeps everything extremely simple and very easy to navigate. The third section is a link to the M-Flash BIOS update program which is a stand-alone program that can be launched.
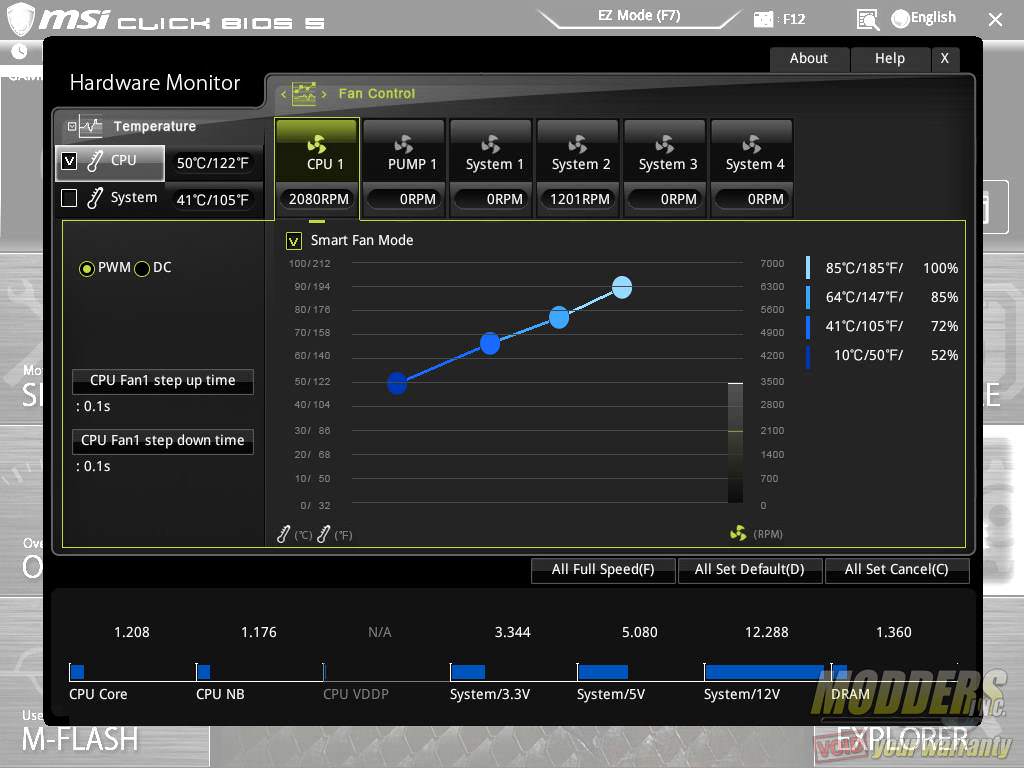
On the right side, the topmost link provides access to settings profile management. The hardware monitor section below that takes users to a pop-up window where users can monitor and control their temperatures with fan control functions in graphical form. What’s great about MSI’s fan control is that even 3-pin DC fans can make use of “smart mode”, so it effectively acts like a PWM fan which automatically goes up or down depending on temperature. There is still a regular smart mode for 4-pin PWM fans of course, and users can also easily customize the scale by using a mouse.
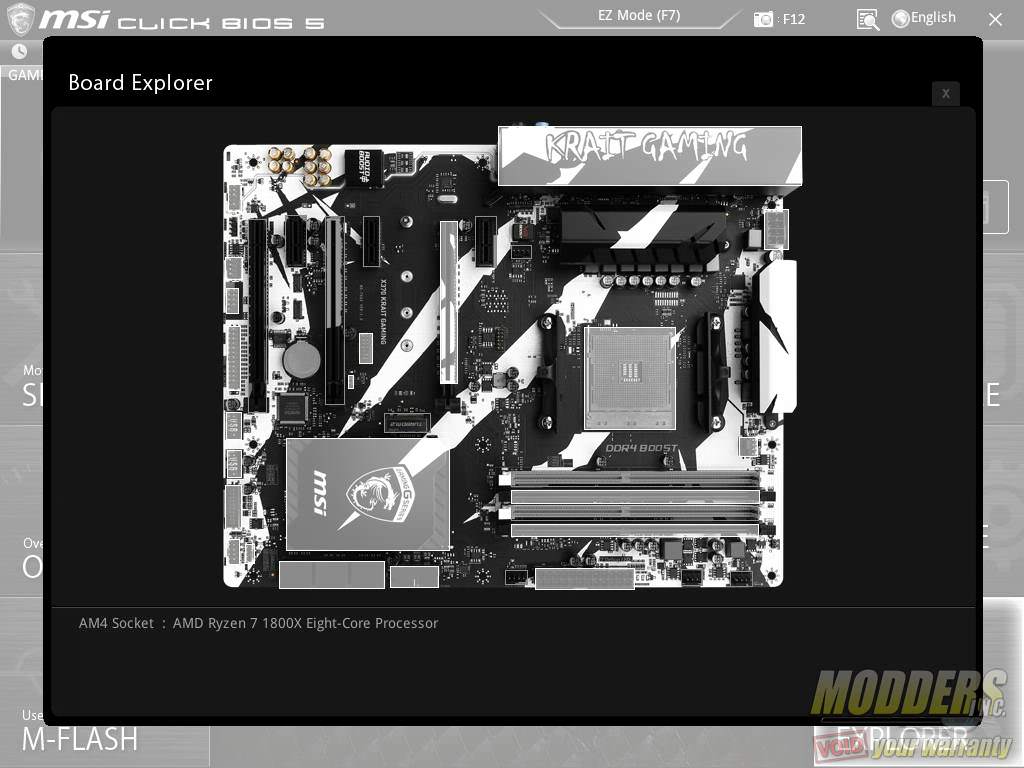
The board explorer at the bottom provides a graphical overview of which motherboard section is being used or has a component plugged in. The right side settings area also double as a floating info or status window for when navigating the left side Settings and OC section options.
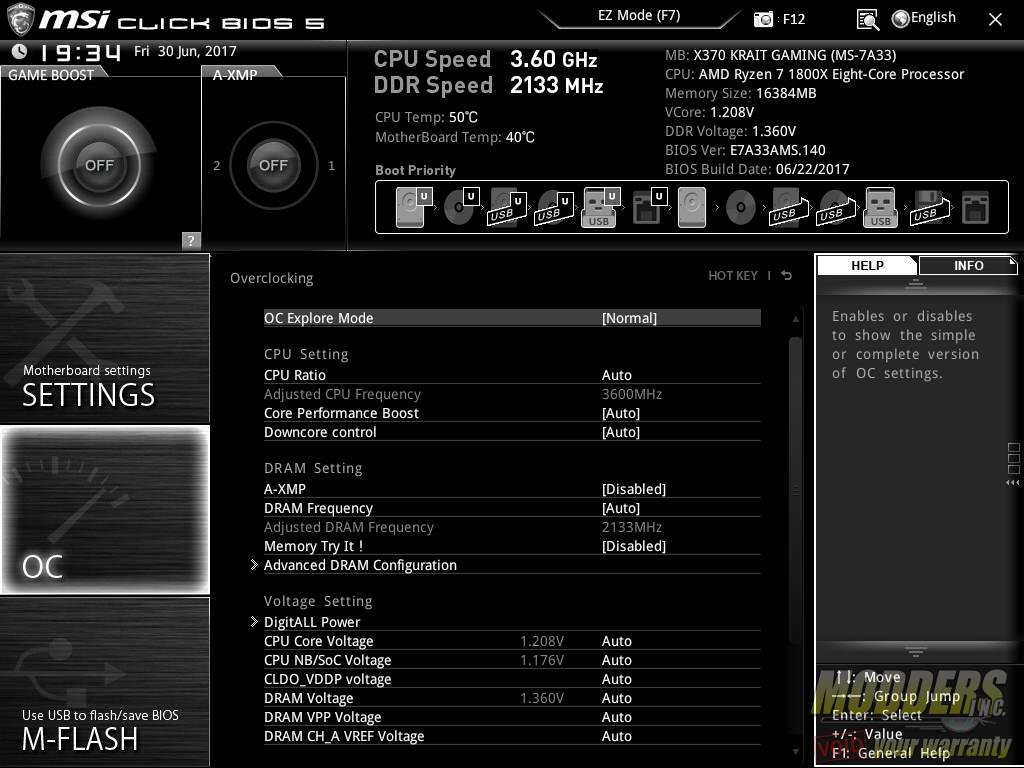
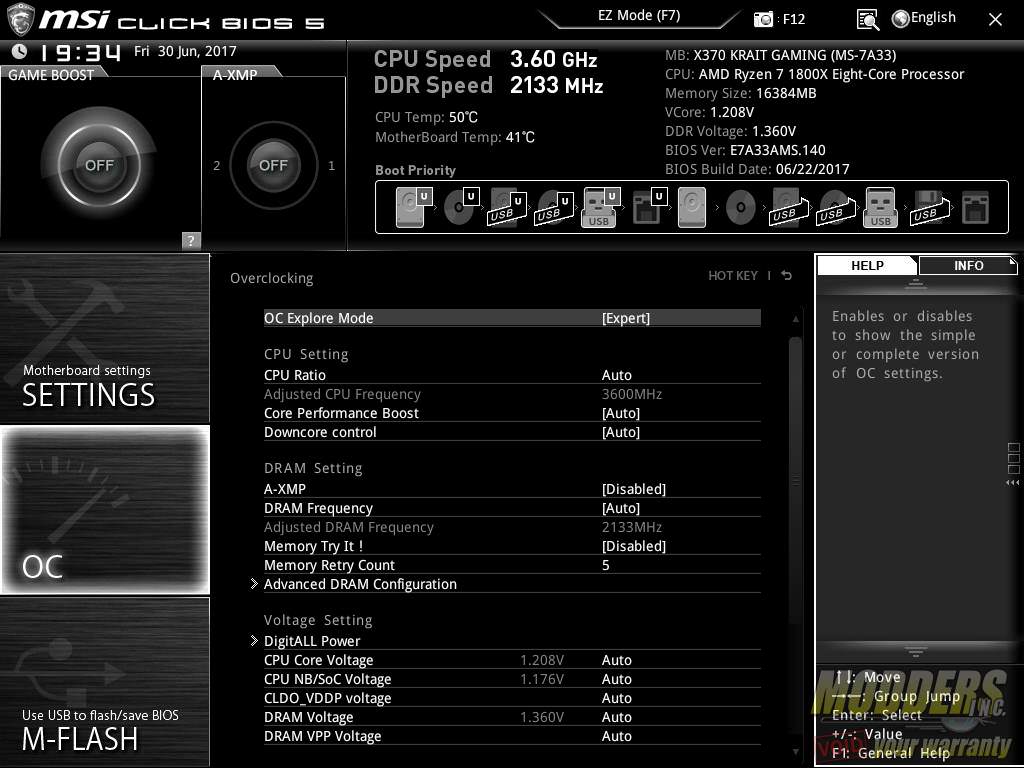
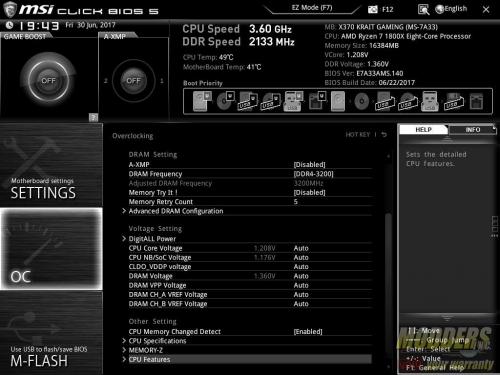
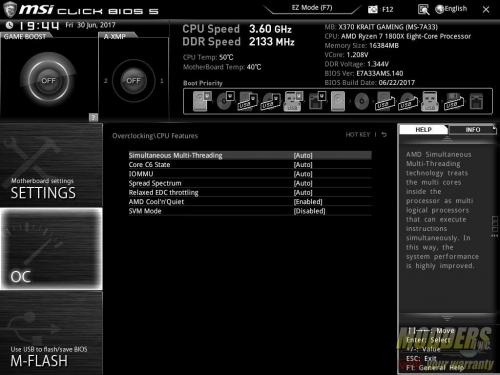
All CPU and memory adjustments are done under the OC section. There is a normal and an Export mode, which hides or shows certain advanced settings. On a Ryzen CPU, this includes the memory retry count option and downcore control.
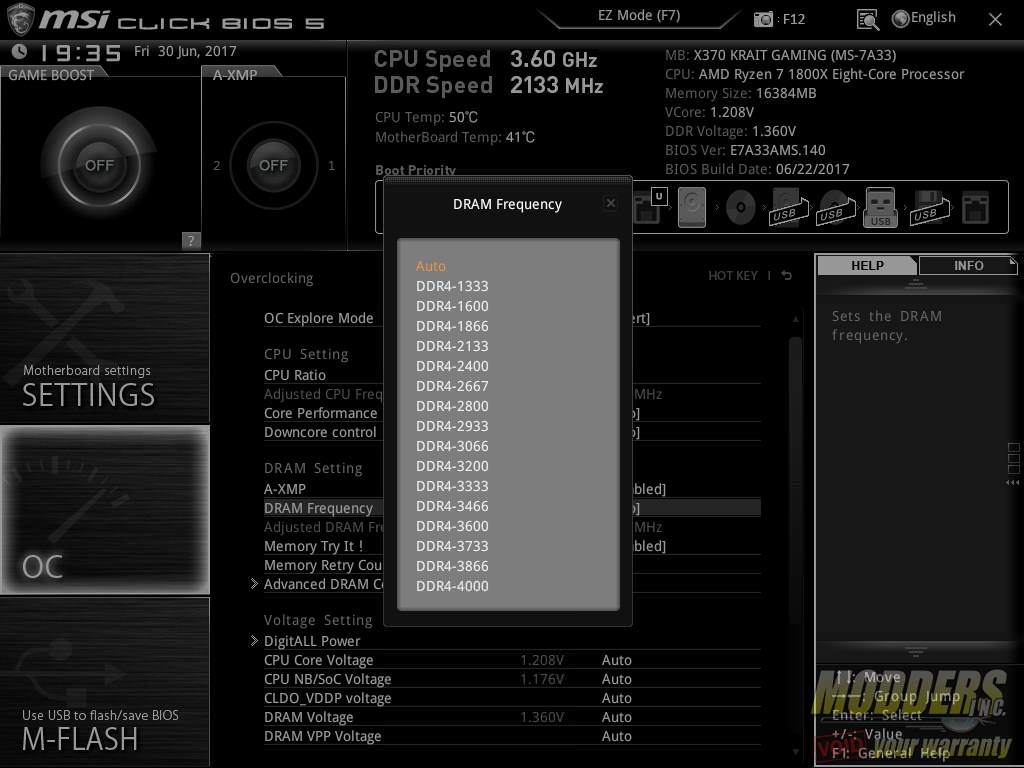
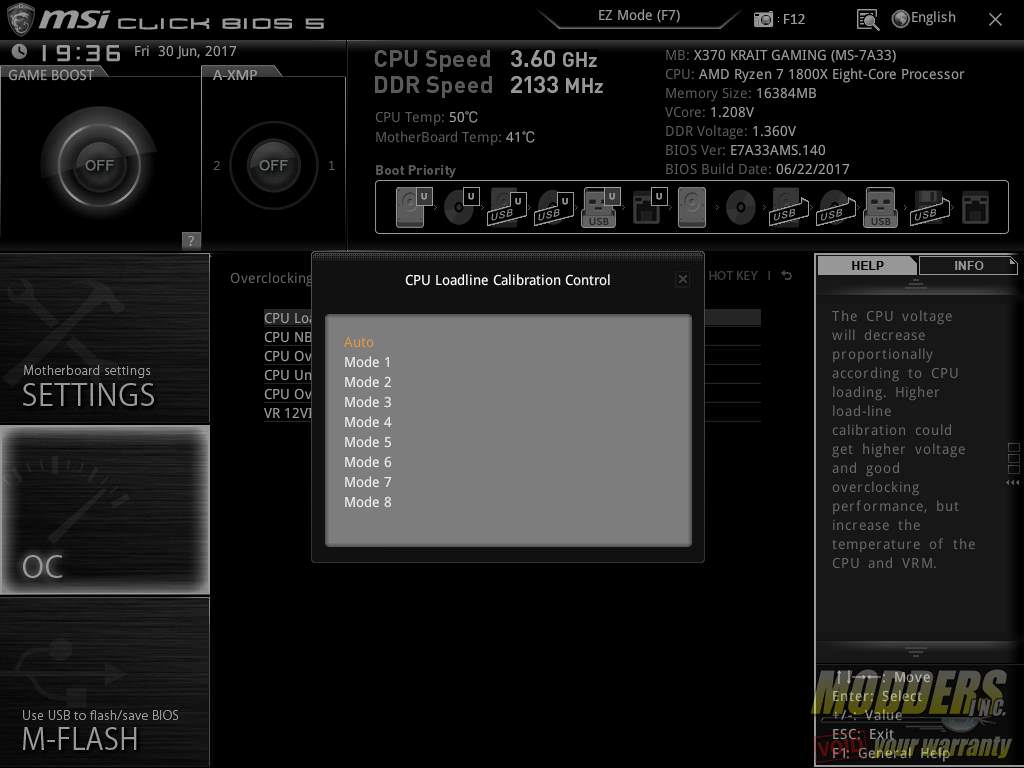
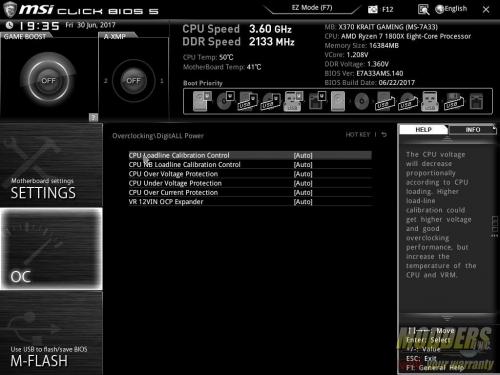
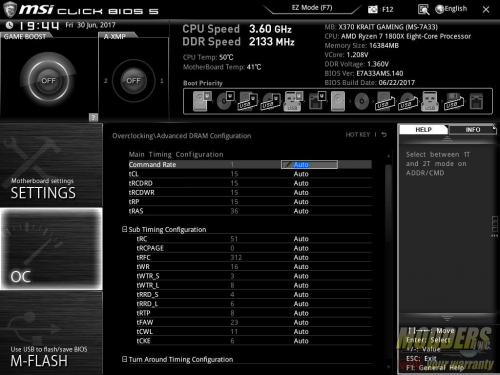
The voltage options are also adjusted here, with the LCC control under the DigitALL Power sub-menu. The memory timings are also in a sub-menu, although users can adjust the clock speed from within the OC menu drop down. As of BIOS version E7A33AMS.140, the highest the divider goes to is now 4000MHz which is the new normal after the AGESA 1.0.0.6 update.
Overclock Voltage Ranges Available:
- CPU Vcore = 0.9 to 1.55 (0.125 increment)
- CPU SoC = 0.9 to 1.3 (0.125 increment)
- CLDO_VDDP voltage = 0.7 to 1.4 (0.005 increment)
- DRAM = 0.8 to 1.5 (0.010 increment)
- DRAM VPP voltage = 1.240 to 3.000 (0.010 increment)
- DRAM CHA_A VREF Voltage = 0.120 to 1.235 (0.005 increment)
- DRAM CHA_B VREF Voltage = 0.120 to 1.235 (0.005 increment)
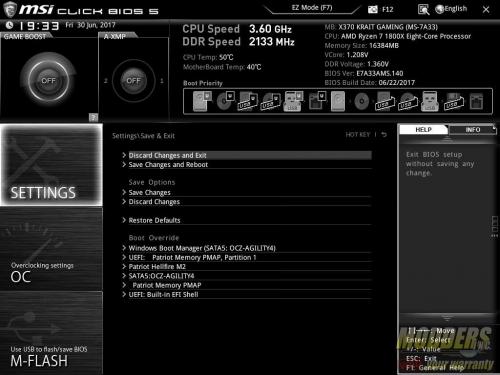
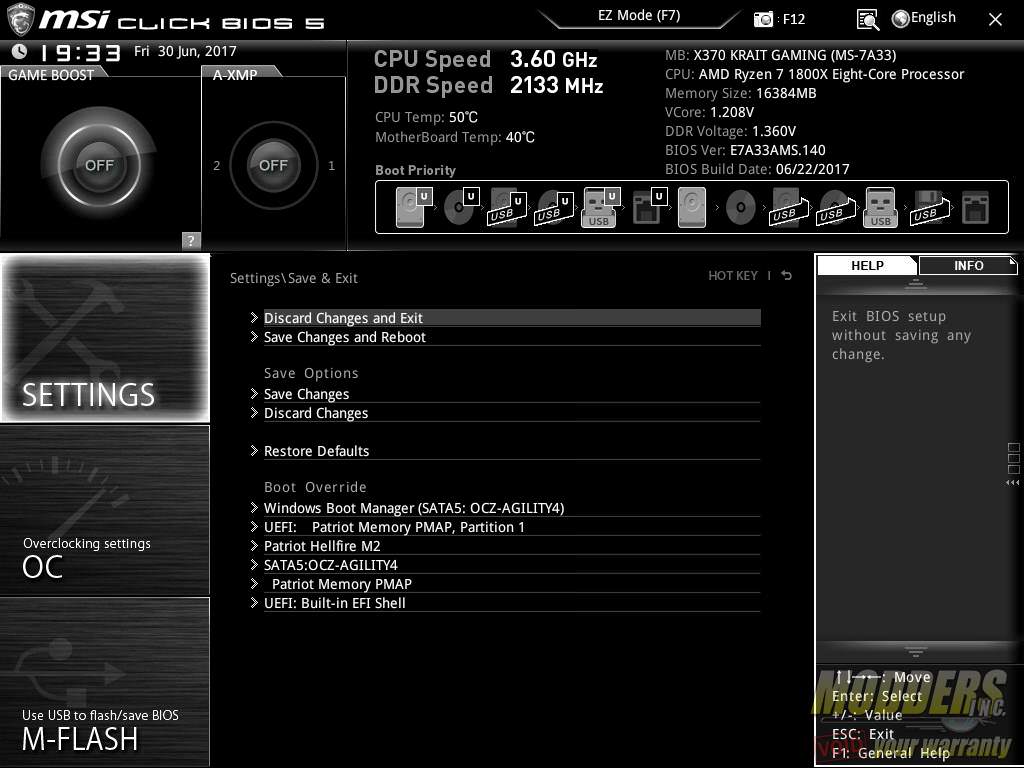
After all the settings are adjusted to the user’s preference, the save and exit setting is tucked inside the Settings Menu. The boot override option is also found here.
