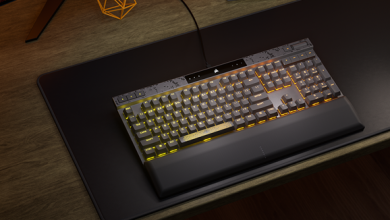
A Closer Look at the MSI Vigor GK70 Gaming Keyboard

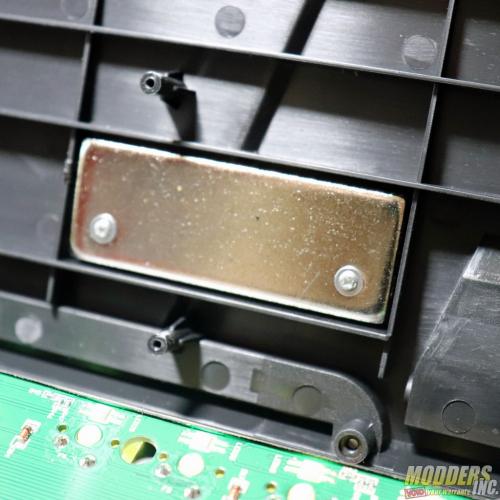
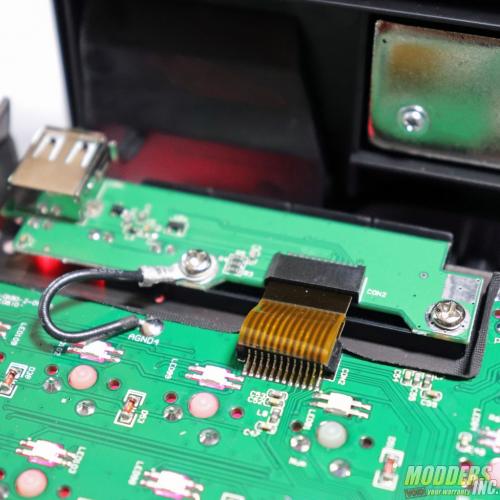
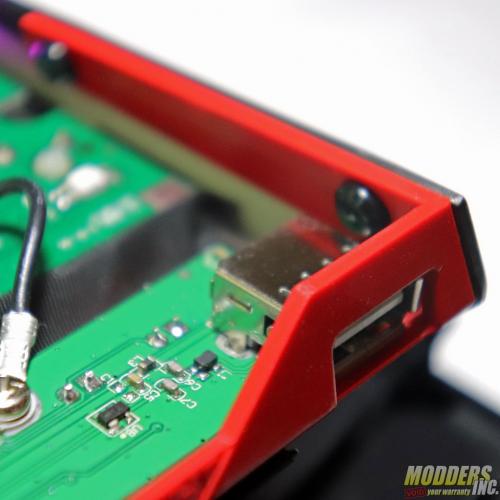
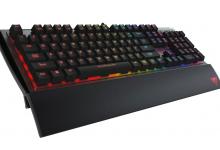
With the keyboard effectively split in two, we immediately noticed a bit of a cheat on MSI’s part. The impressive heft of the Vigor GK80, which helps keep it in place and gives it that premium feel, is largely due to a pair of thick metal weights mounted to the inner side of the plastic housing.

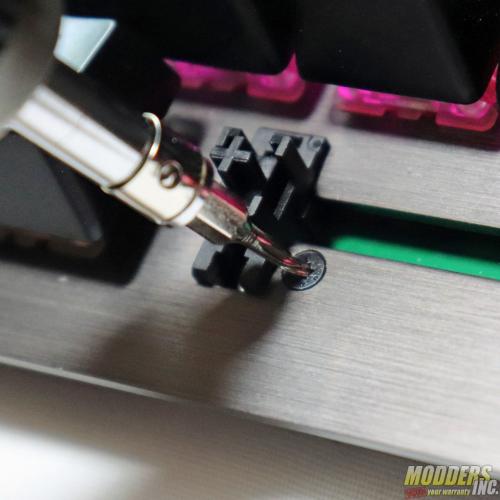
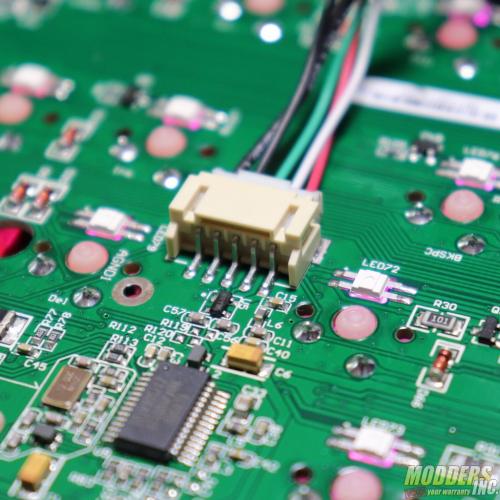
For those concerned about the modding potential of the GK80, we’re pleased to report that this keyboard disassembles and reassembles rather easily. On the other hand, if you plan to paint that brushed aluminum panel, know that you’re going to have to tape off each and every one of the key switches; there’s no easy way to remove all of the switches from the aluminum panel.
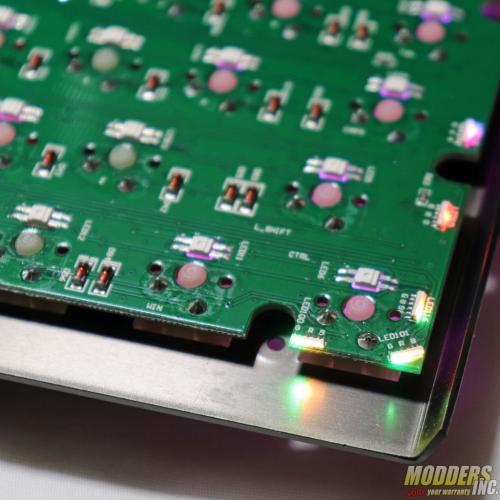
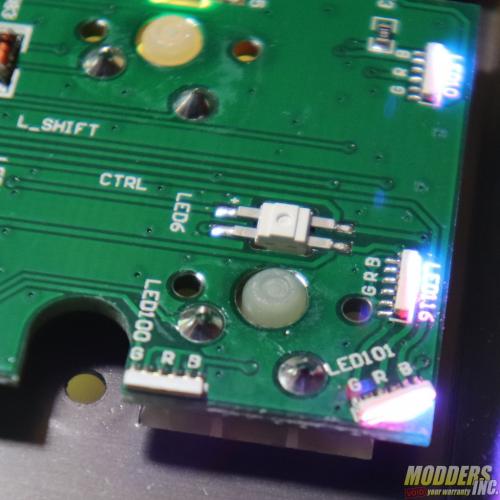
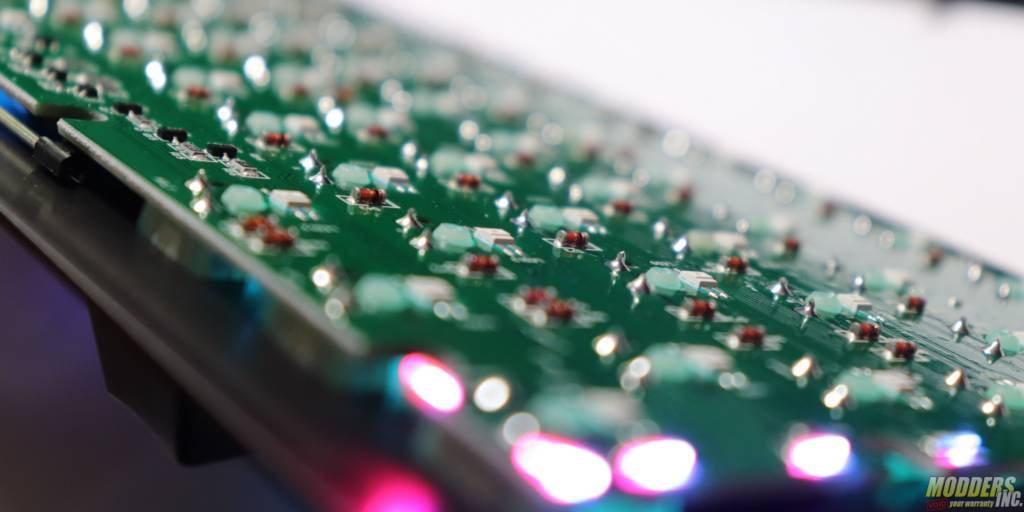
If you have a Cherry switch fail, however, there are just a pair of solder points (not counting the RGB LED component), which when de-soldered, should let you pop off the broken switch and pop in a replacement.
From our perspective, the Vigor GK80 appears to be a well-built keyboard that should last you from now until Half-Life 3 comes out.
