MSI Nightblade Barebone System Review
A Closer Look Continued
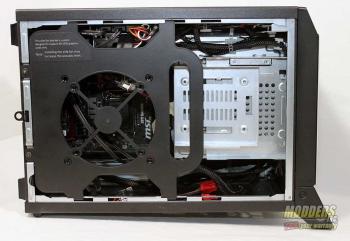
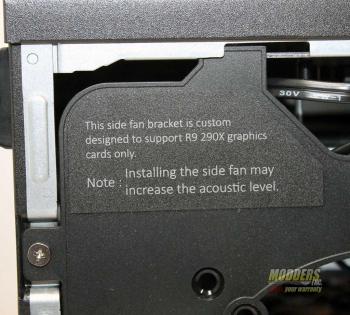
I have removed the left side panel on the MSI Nightblade Barebone System so that we can start to look inside. The first thing that I noticed was the large plastic piece that looked like it was either a guard of some sorts or a fan holder.
Well I guess that answers that question.
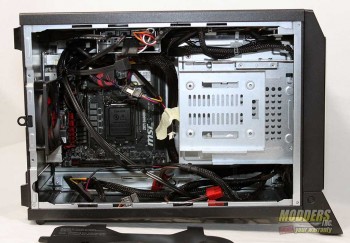
With the bracket removed we can see clearly into the case and man it is jammed packed in there. I could tell that this was unit that had been used before in maybe demos and such as some of the cables were lying loose.
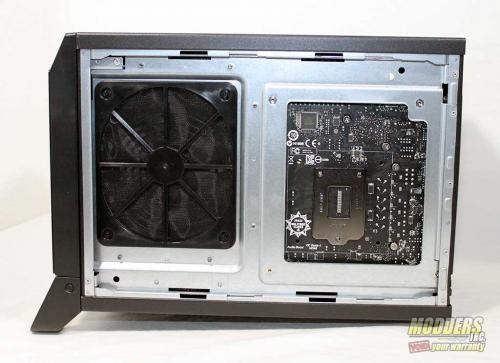
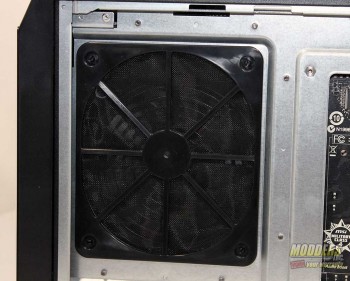
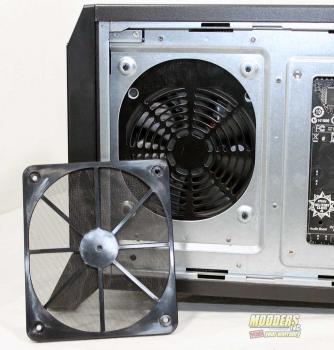
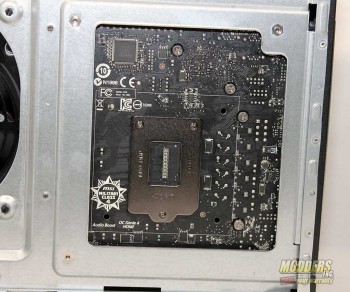
Removing the right side panel shows us a large screen and the huge hole for access to the back of the motherboard.
Large fine mess fan filter is place on this side, but what could be behind it? Remember the PSU is located at the front of the case so the power supply intake is there.
A good size cut has been made to get all kinds of access to the back of the motherboard so that you can install the back plate for the CPU cooler. Even though there is not a lot of room in the case it was easy to install the cooler.
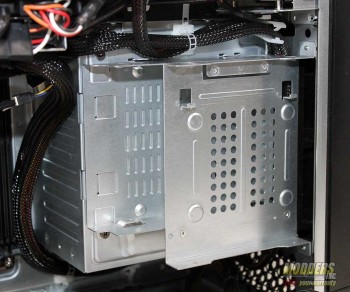
Here we see the place where you can mount your 3.5 drive, a 2.5 with a bracket and is where you would install the slot ROM drive. The MSI Nightblade will let you install one 3.5 drive and two 2.5 drive into the system.
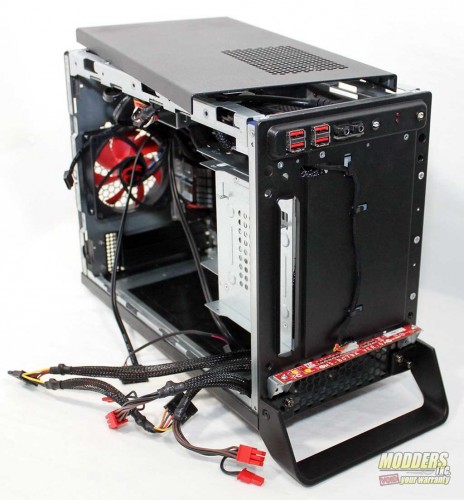
By removing a few screws you can remove all the panels for ease of access to the innards of the case. The front panel can be removed with a little push and pull the panel pops right off.
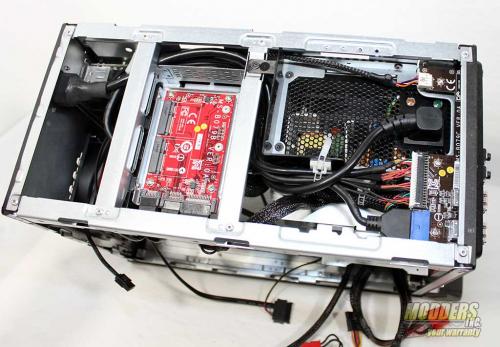
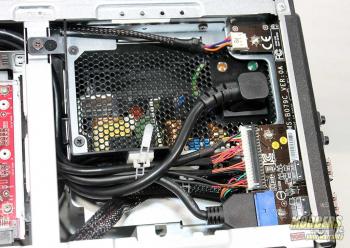
Looking down upon the MSI Nightblade we can easily see where the PSU is located and how the cables are ran.
Hmm, you can’t see it very well in this image but there is some plastic that helps create a duct to make sure that the hot air from the power supply goes in the right direction.
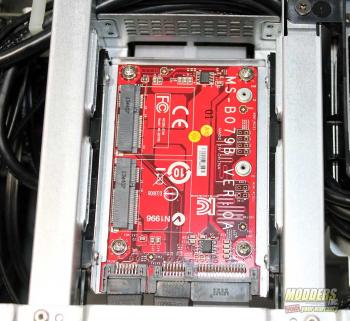
Yep that is a dual mSATA board just waiting to be used. Take this and the MSI Super Raid you can combine your storage device into super fast drives for fast loading times.


Your graphs are completely biased! how can you visually represent a .1 FPS difference by a bar twice as large? Even under the premise of testing different mobo response .1 FPS is small enough to call percent error in a scientific test. show the result accurately or at least express how little difference .1 FPS means in any situation. it means every 10 seconds you will have render 1 additional frame on one system versus the other.
Thank you so much for this review, been waiting for something this in depth by someone who knows their stuff.
I’m planing on getting a new desktop this year and this one caught my eye. I have 3 questions for you I hope you don’t mind.
This should be perfectly compatible with current top tier nvidia cards right? Their size is a bit similar to amd but the titan is a bit longer.
This has a 600w psu, which is good but not exactly stellar, when the gtx 790 (or any future nvidia card) I will want to upgrade to that. Will 600w be enough? If not, upgrading the psu is easy enough? Looks too cramped in there and I read somewhere this system uses shorter cables to fit everything better so I’m not sure if the regular cables on a 1000w psu would provide a problem.
Last question is about the over clock button, how does this work exactly? No matter which CPU I out in there (say a haswell) the button will automatically over clock it? Does it need any configuration? And is it the equivalent to bios over clocking or is it just software oc?
Thanks!
Yes the Nightblade is compatible with the high end graphic cards. Actually the PCI-e slot is a Gen 3 one which means it is ready for the next level. Be sure that you get a full-size card that is within the maximum length of 290mm and 35mm thick.
The 600w PSU is good for what most people would use. If you throw a Titian in the system you are probably going to be close. The way I look at figuring a power supply is to always take 20% off the “Stated” wattage which would take the 600w psu down to 480w. Then using a fairly descent psu calculator like this one at Enermax http://www.enermax.outervision.com/ you can get a level of wattage your system might pull. This is all guess work but it gives you a good starting point. I don’t think you could even get a 1000w psu into the case.
The OC button is an OK feature as it did OC my 4770K by a small percentage. I am not sure what it would do with a “non OC ready” CPU. my guess is that it would just push it to the highest speed and keep it there without letting it ramp up and down The Windows GUI by MSI for overclocking was easy to use and did well, but the best way is still the old way and that is within the BIOS.
Thanks for your reply, that may be the dealbeaker for me with this case, the PSU, that affects future compatibility, it’s rumored the gtx 790 may need more than a 600w psu and I am not sure how easy it will be to upgrade the psu in this case!