MSI Nightblade Barebone System Review
A Closer Look
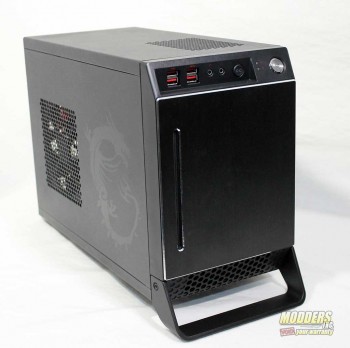
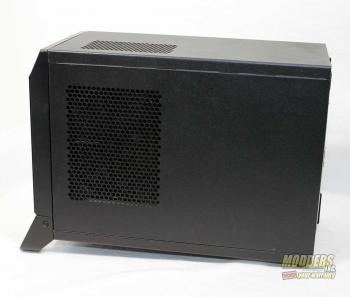
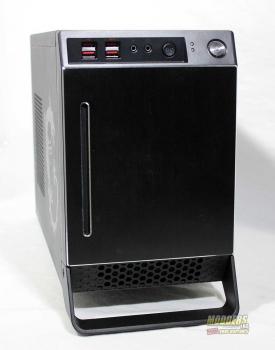
We finally get to see the MSI Nightblade Barebone System outside of the box. The Nightblade is a steel plate case and is coated with zinc. This is perfect for a system that is meant to be mobile. Overall the case is small at about 6.75 inches wide, 10.25 inches tall and 14.75 inches in length. You can see in the image that towards the front on the side panel is the MSI Dragon. Would this case win any beauty pageants, uh probably not, but looks are not what we are looking for it is what is inside that counts. Hmm, I have heard that somewhere before… I do plan on creating a case mod out of the MSI Nightblade. Who knows maybe there might be a giveaway sometime in the future.
Getting a better look a the left side of the case we can see that is has been perforated ( 4 7/8 x 4 7/8 inches with 3/5 inch holes) to allow for air to enter the case.
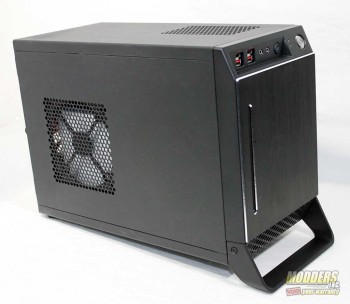
On the right side of the case we have another air vent ( 4 7/8 x 6 inches with 3/5 inch holes) to feed air into the power supply. A small section has been perforated on the top of the case to allow the hot air from power supply to escape the case.
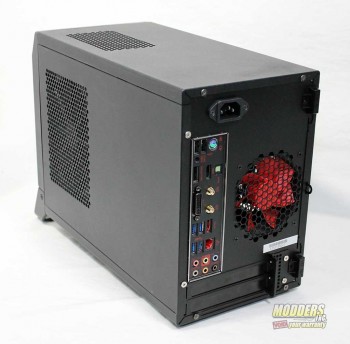
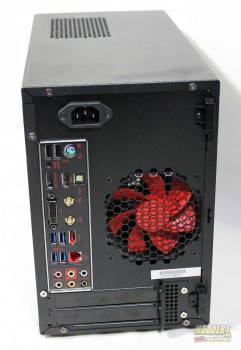
Looking at the rear of the case can see that it looks rather packed back here. The I/O ports and the expansion card slots are pretty much located like they would be on a normal case. Above the I/O ports we do see the power connection, but it is not the one directly on the power supply. The power supply has been moved towards the front of the system so a cord is used to run the power from the back to the PSU. To the right of the I/O ports we see a fan. This is a custom made MSI Dragon fan for this system that is 120mm, system controlled and can reach a top speed of 3600 rpm’s (MSI states 4000 rpm but the control center shows it at 3600 rpm).
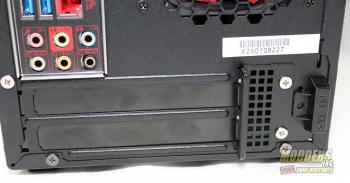
A dual slot is made available for graphic card of choice.
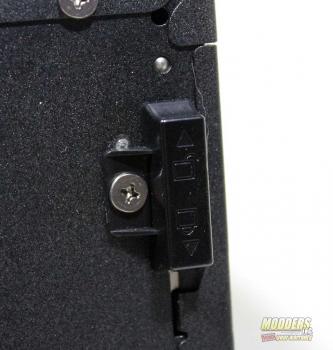
A locking mechanism is located at the back of the cases for the left side panel. A screw can keep the lock from moving and help keep it secure. Removing the screw allows you to moved the tab into the unlocked position so that you can remove the side panel.
Making our way back towards the front of the case we can see that there is not to much to see but we do have a slot to the left which is for a slot loading ROM drive. The front bezel is made of plastic with a brushed aluminum plate attached to it.
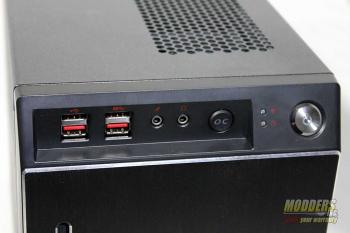
At the top edge of the case there is a recessed area that contains the front panel accessories.
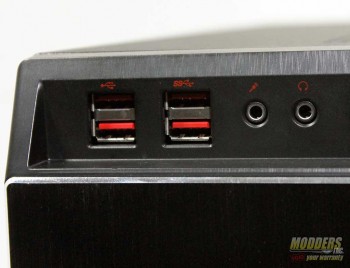
Four USB (2 USB 3.0 and 2 USB 2.0) and the mic and headset audio ports are at the top left of the case for easy access.
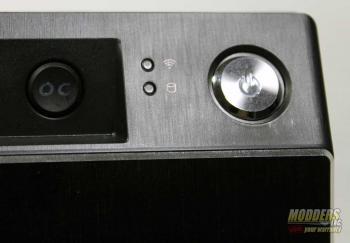
On the other side of the front panel we have the Genie OC button which allows you to auto overclock your system without having to open up the case. MSI says that it can be as much as a 15% increase. When the OC button is active the switch lights up red as well as the lower section at the front of the case. Two indicator lights let you know when the WiFi is one and when the drive are active. Finally we have the on/off/rest button.
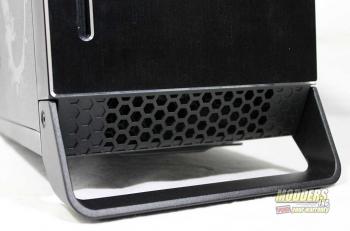
At the base of the front section we have some air intake. Behind the holes is a pcb that has red LED’s on it and when the OC Genie button is depress it lights up red. The brace that holds up the front of the case and allow airflow to underside actually doubles as a handle when you want to move or travel with the Nightblade.
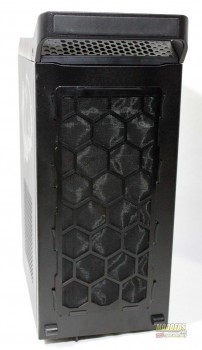
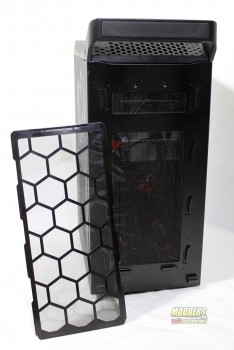
Bottom of the case has a removable air intake filter that cover almost the whole underside.

Your graphs are completely biased! how can you visually represent a .1 FPS difference by a bar twice as large? Even under the premise of testing different mobo response .1 FPS is small enough to call percent error in a scientific test. show the result accurately or at least express how little difference .1 FPS means in any situation. it means every 10 seconds you will have render 1 additional frame on one system versus the other.
Thank you so much for this review, been waiting for something this in depth by someone who knows their stuff.
I’m planing on getting a new desktop this year and this one caught my eye. I have 3 questions for you I hope you don’t mind.
This should be perfectly compatible with current top tier nvidia cards right? Their size is a bit similar to amd but the titan is a bit longer.
This has a 600w psu, which is good but not exactly stellar, when the gtx 790 (or any future nvidia card) I will want to upgrade to that. Will 600w be enough? If not, upgrading the psu is easy enough? Looks too cramped in there and I read somewhere this system uses shorter cables to fit everything better so I’m not sure if the regular cables on a 1000w psu would provide a problem.
Last question is about the over clock button, how does this work exactly? No matter which CPU I out in there (say a haswell) the button will automatically over clock it? Does it need any configuration? And is it the equivalent to bios over clocking or is it just software oc?
Thanks!
Yes the Nightblade is compatible with the high end graphic cards. Actually the PCI-e slot is a Gen 3 one which means it is ready for the next level. Be sure that you get a full-size card that is within the maximum length of 290mm and 35mm thick.
The 600w PSU is good for what most people would use. If you throw a Titian in the system you are probably going to be close. The way I look at figuring a power supply is to always take 20% off the “Stated” wattage which would take the 600w psu down to 480w. Then using a fairly descent psu calculator like this one at Enermax http://www.enermax.outervision.com/ you can get a level of wattage your system might pull. This is all guess work but it gives you a good starting point. I don’t think you could even get a 1000w psu into the case.
The OC button is an OK feature as it did OC my 4770K by a small percentage. I am not sure what it would do with a “non OC ready” CPU. my guess is that it would just push it to the highest speed and keep it there without letting it ramp up and down The Windows GUI by MSI for overclocking was easy to use and did well, but the best way is still the old way and that is within the BIOS.
Thanks for your reply, that may be the dealbeaker for me with this case, the PSU, that affects future compatibility, it’s rumored the gtx 790 may need more than a 600w psu and I am not sure how easy it will be to upgrade the psu in this case!