MSI B85M Gaming Motherboard Review
UEFI Overview
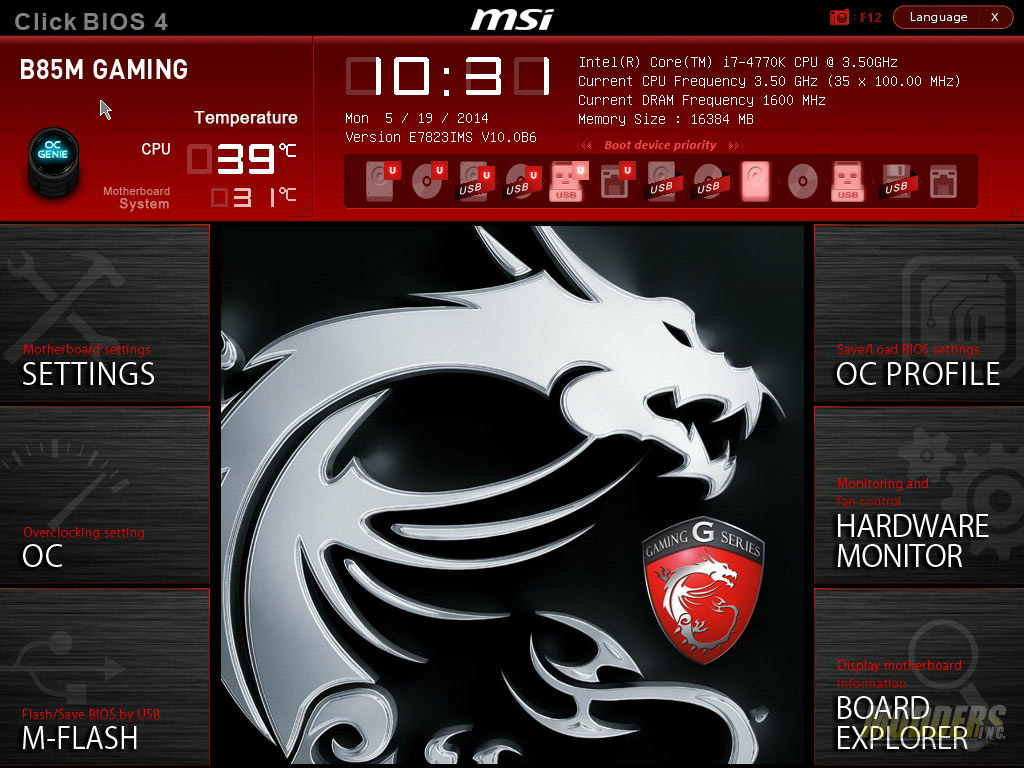
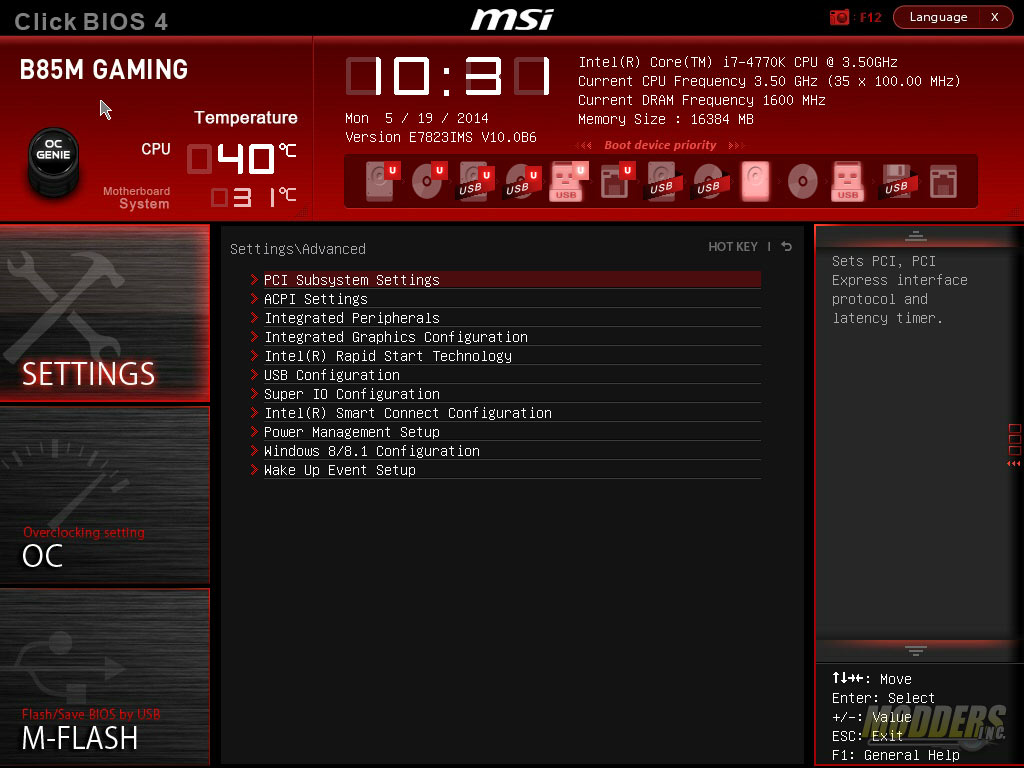
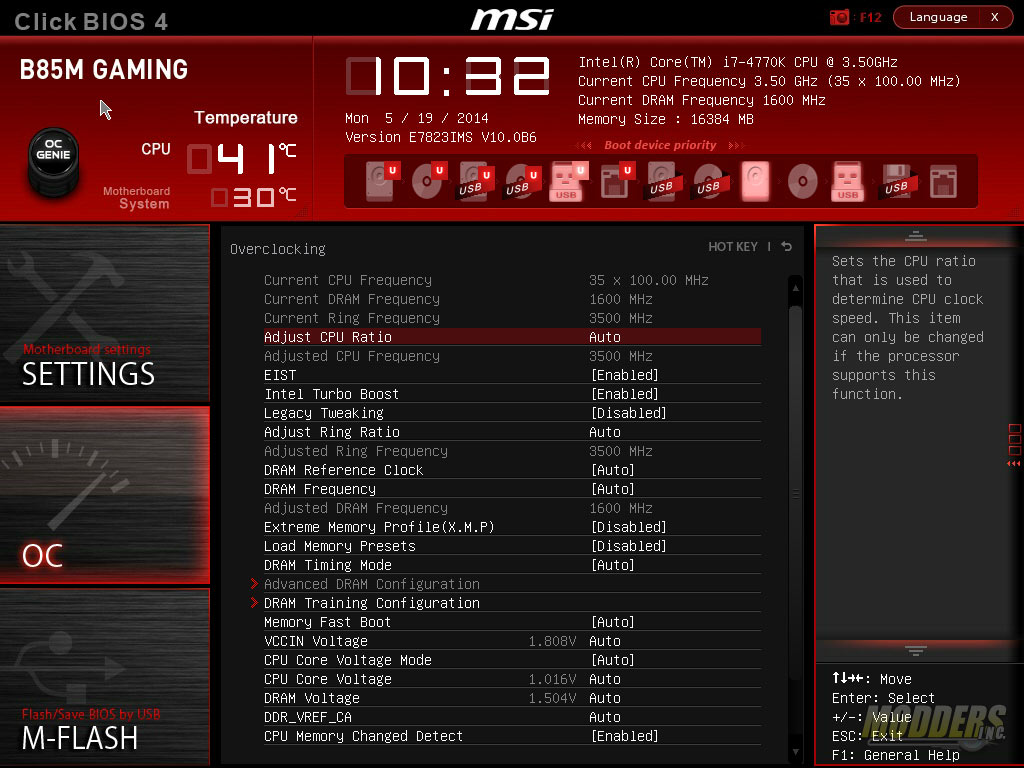
The main screen layout is similar to the one introduced with the Z87 Gaming line and has the same color theme. The center has the Gaming series badge logo and several new features are visible such as the addition of the single-click XMP on the OC Genie button and Favorites button on the upper right hand. The boot device priority can be changed by dragging and dropping the icon in descending order with the highest priority on the left side. At any time, users can hit F12 to take a screenshot and save it to a plugged-in FAT16 or FAT32 USB drive.
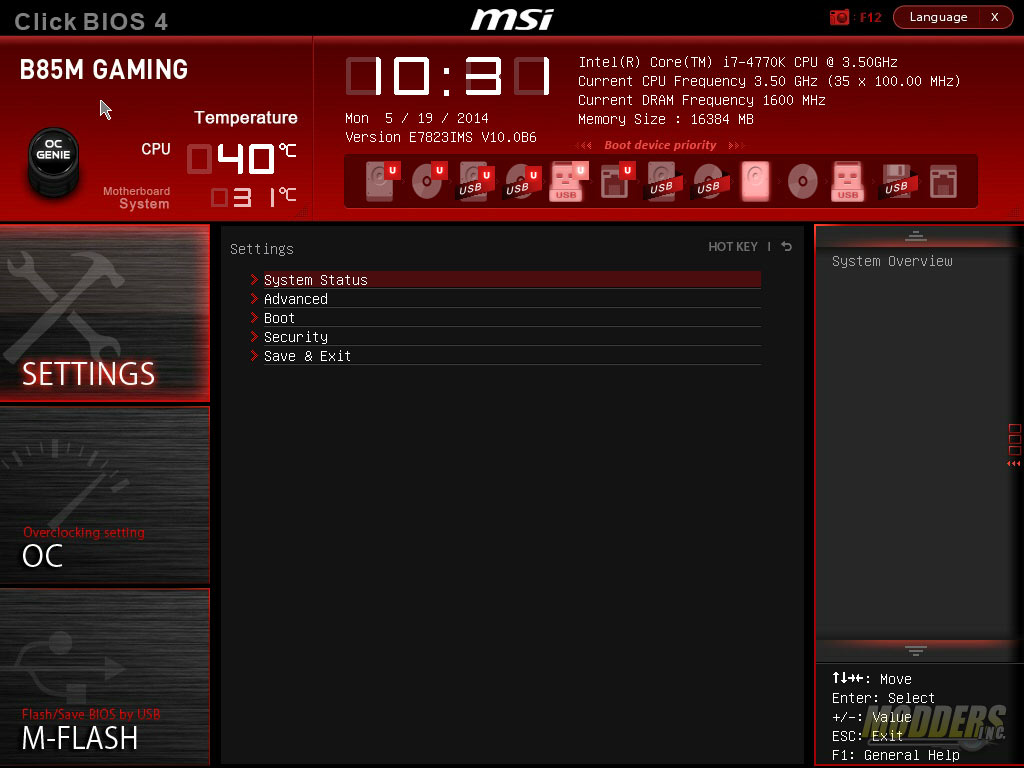
The first group of options is the Settings menu which contain the bulk of the motherboard’s functions including control for peripherals, subsystems, booting, security, and power management. A useful newly added feature when saving is the “Change Settings Info” that displays what changes were made before saving. There is also a new Last Known Good Config feature which sets the system settings automatically to the last successful boot state and also displays a failure analysis window to inform the user what settings caused the failure.
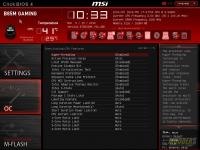
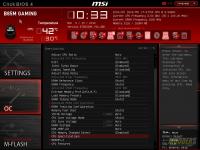
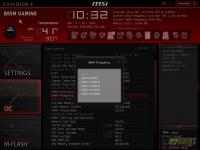
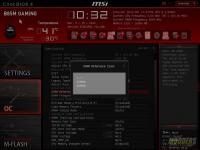
Intel’s B85 motherboards do not allow overclocking in the usual way and these tweaks are blocked, including the memory frequency which is capped at 1600MHz. There are plenty of options to adjust voltages and DRAM settings however.
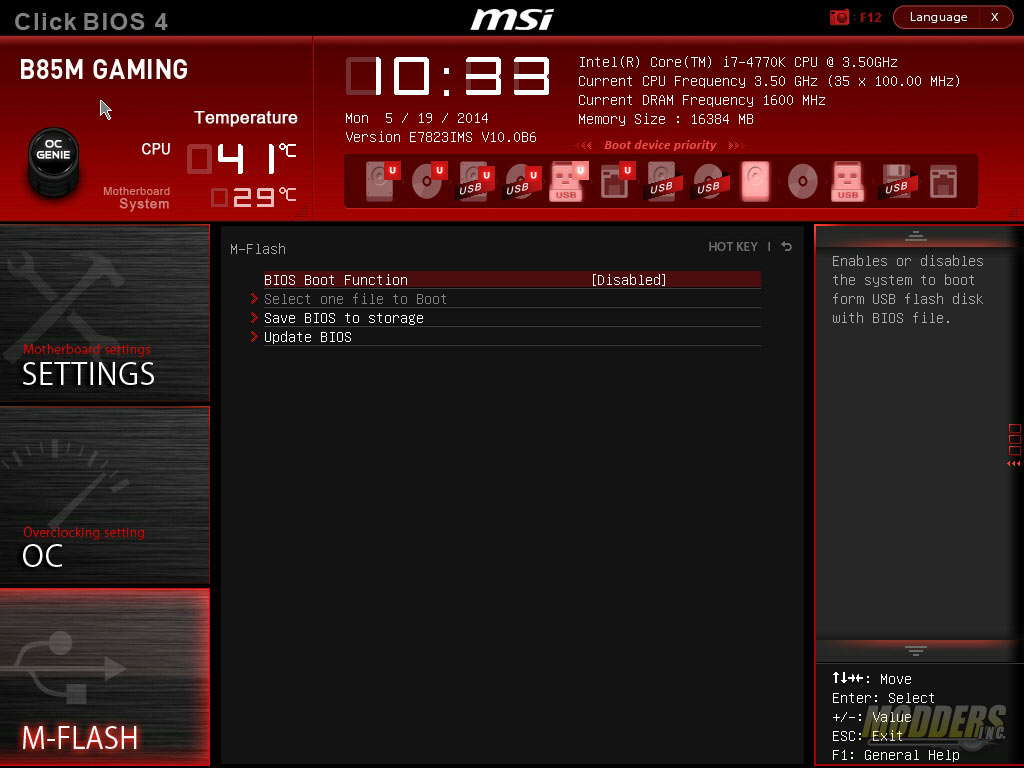
A built-in BIOS flashing utility is also available in the UEFI allowing users to not only update their BIOS from a USB drive, but save the current BIOS to disk as well. The update file must be placed on the root of the USB drive or else M-Flash will not be able to read it.
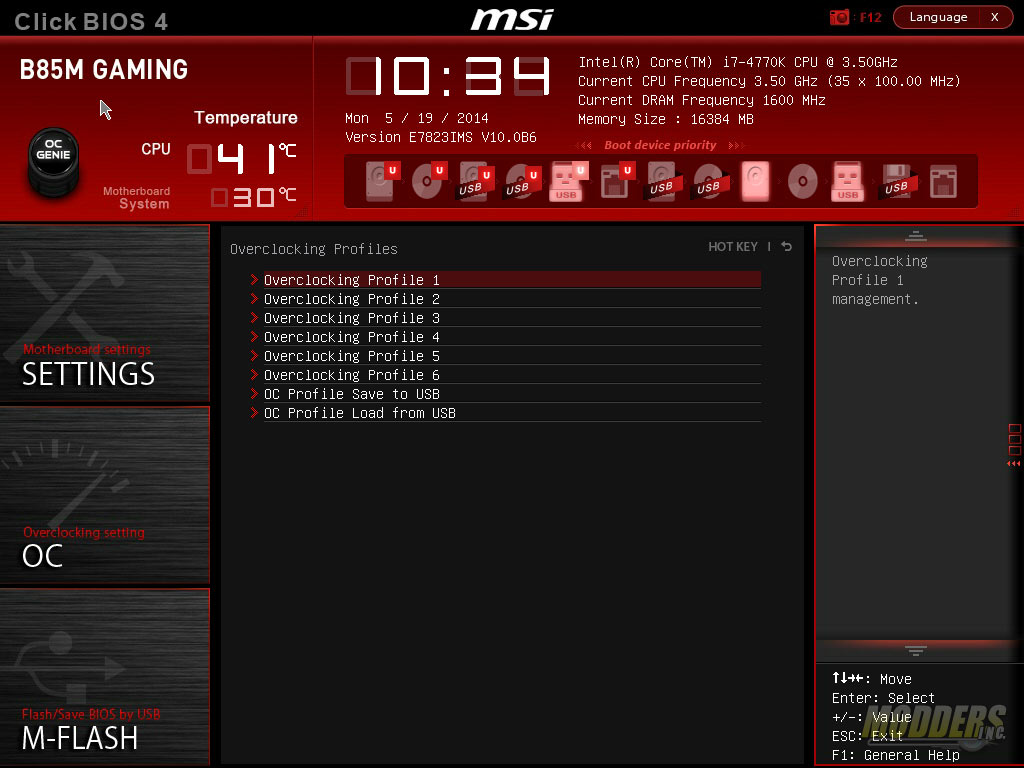
On the other side of the screen are three more sets of functions, beginning with the OC Profile which allows users to save up to six different profile settings on the board itself while profiles can be saved to a USB and loaded from ROM or USB as well. A new feature added to the Mpower MAX’s Click BIOS 4 is the info tab beside the help tab on the right side which displays core and essential voltages while browsing the UEFI.
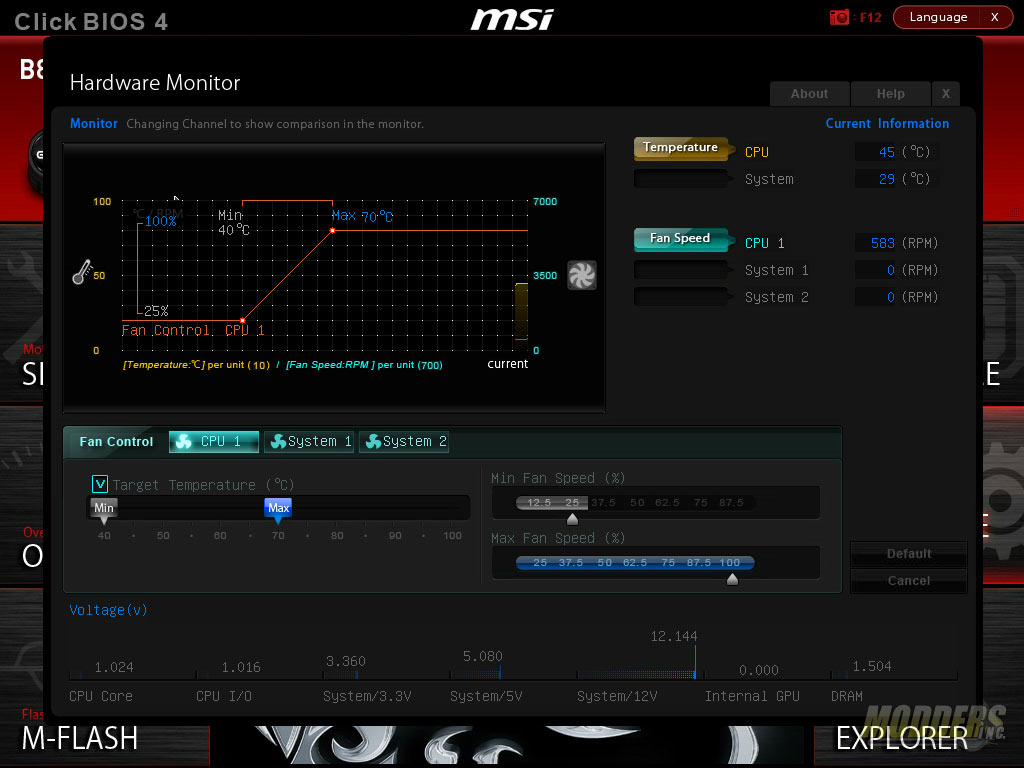
Under the Overclocking Profile is the Hardware Monitor where users can access comprehensive fan control options, set fan curves, and monitor voltages. There is also a new OC Profile preview under the Overclocking profile setting accessoible by pressing F8/F9.
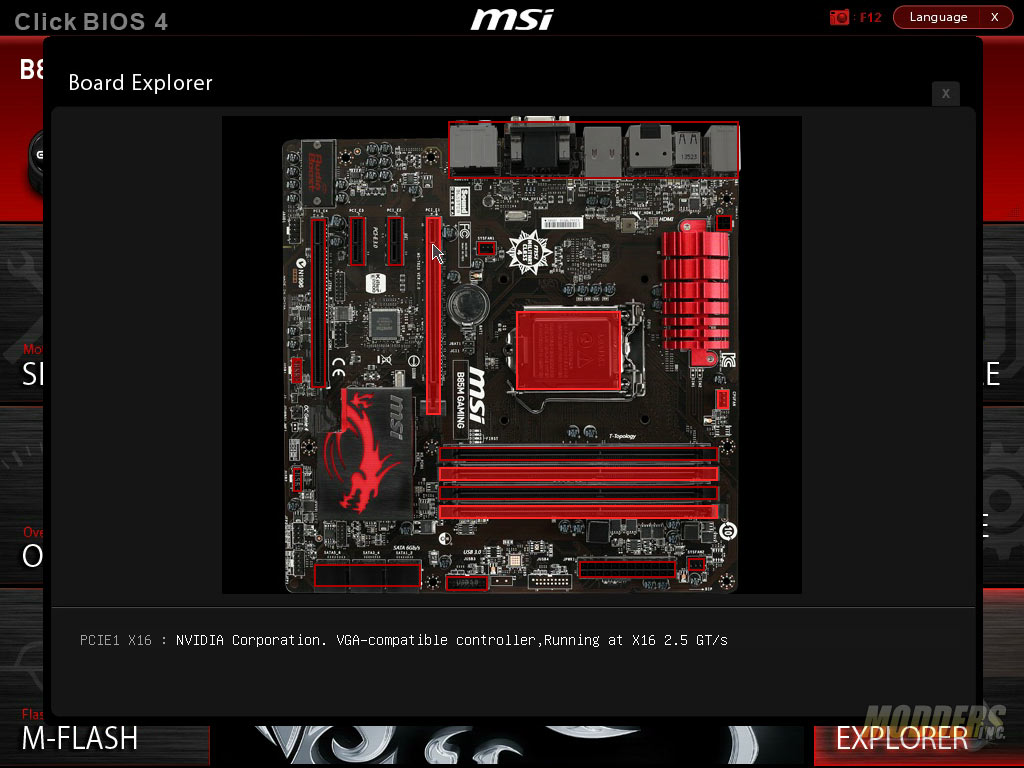
The last option is the Board Explorer which provides a graphical overview of what components of the motherboard is plugged in and being used.
