MSI 970 GAMING Motherboard Review
UEFI Overview
UEFI of MSI 970 GAMING offers a great deal of customization and information about the board. Whether you are a beginner or a pro enthusiast, this is a good place to start when it comes to taking control of your board.
 |
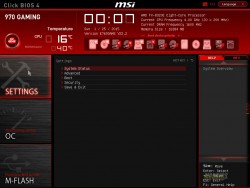 |
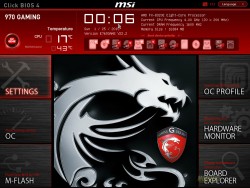
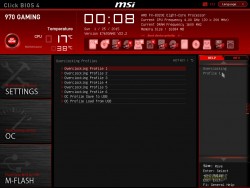
As with all of MSI’s recent main boards with Click BIOS 4, the UEFI matches the color scheme and background image of the board with a red, black and white UEFI for the gaming series. From here, features such as enabling XMP and changing boot order are accessible with full mouse control. Users can drag and drop the boot order icons to the priority of their choosing while XMP and OC Genie can be togged with a single click. Temperatures, time, date and basic system info is displayed permanently on the top status bar. At any time, users can hit F12 to take a screenshot and save it to a plugged-in FAT16 or FAT32 USB drive. Language options and favorites can also be easily accessed on the upper right hand corner.
 |
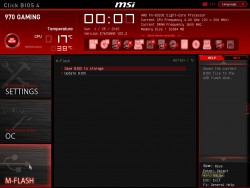 |
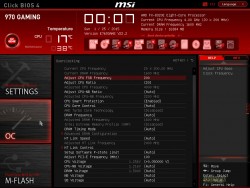
There are six main sections to the MSI UEFI which is similarly laid out in every single one of their main boards using Click BIOS 4. It is completely “idiot proof” and easy to navigate with both keyboard and mouse. The first section is the Settings folder which provides access to all the other features which are non-overclocking related, while the second OC folder provides access to all overclocking related functions. The third section is a link to the M-Flash BIOS update program.
 |
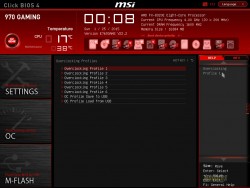 |
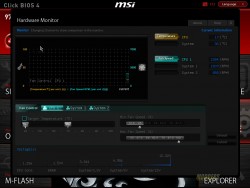
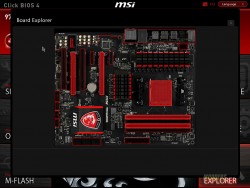
On the right side, the topmost link provides access to settings profile management. The hardware monitor section below that takes users to a pop-up window where users can monitor and control their temperatures with fan control functions in graphical form. The board explorer at the bottom provides a graphical overview of which motherboard section is being used or has a component plugged in. The right side settings area also double as a floating info or status window for when navigating the left side Settings an OC section options.
 |
 |
Overclocking Options
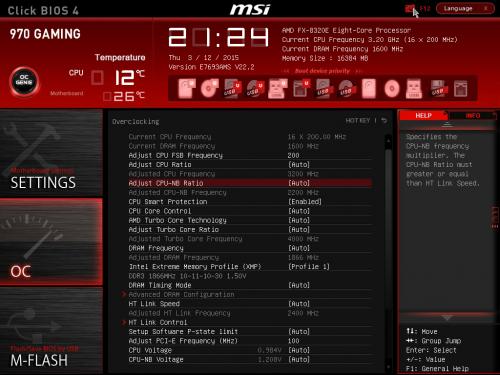 |
MSI 970 supports AMP and XMP profiles. These are two very important options you don’t want to ignore when overclocking the system.
 |
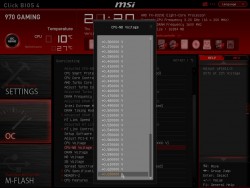 |
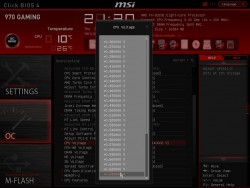
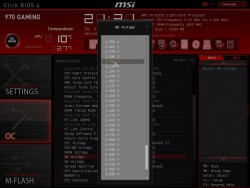
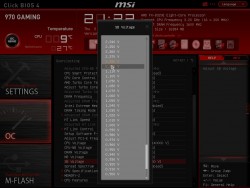
Previously I went over the Control Center and values for overclocking. In the UEFI you can still change the same values as South Bridge and or North Bridge voltages however what I found odd is that the values in the UEFI are much more refined as far as max and incremental changes. For example in Control Center I saw maximum allowable values for SB (1.8120V) and in UEFI (2.390V). The incremental change in Control Center for SB is 5mV and in UEFI its 1mV.
 |
 |
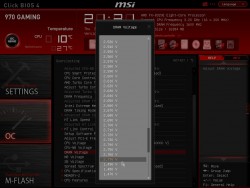 |
Values that could be adjusted from UEFI are: CPU Ratio, Base Clock (MHz), CPU Voltage (V), CPU NB (V), SB Voltage (V), NB Voltage(V) and DRAM Voltage (V).
| Option | Max Value (V) | Increments (mV) |
| CPU Voltage (V) | 2.1265V | 11mV |
| CPU NB (V) | 1.7980V | 1mV |
| SB Voltage (V) | 2.390V | 1mV |
| NB Voltage (V) | 2.390V | 1mV |
| DRAM Voltage (V) | 2.770 | 1mV |
| CPU Ratio | 32.5 | 1 |
| Base Clock (MHz) | 300 | 1MHz |
As you can see the values vary between Control Center and UEFI. If you looking to push your system to the absolute limit, I would recommend overclocking from UEFI as you would have much more accurate values to play with.
Whether you are experienced in overclocking or not, you should still be careful with this board. If you select too high of a voltage neither Control Center or UEFI will tell you that you might be damaging your components. In short, there are no notifications on actual pick-list to show “Danger Zone”.
Overclocking
Overclocking with MSI 970 is a breeze, that is if you want just to hit a button and the system would be overclocked for you without editing any manual settings. MSI offers an “OC Genie.” Just hit OC Genie button in the upper left corner in UEFI. You can also activate OC Genie from Command Center (Windows). It is very convenient to with Command Center because you pretty much have all of the access to overclocking right there from your desktop. If you want to push your hardware to the limit fast, this is the way to go.
If you are more of an OC enthusiast you have an option to manually adjust setting for over clocking by either UEFI or Command Center. If you are going to push the hardware to extreme speeds you need to know about “Slow_Mode” switch which is located on the motherboard near the Southbridge. Slow Mode switch is designed to throttle the CPU down so that it would help with booting of the system under extreme overclocking. Once you start playing with liquid nitrogen overclocking could get complex fast. I am glad MSI decided to add this switch of a basic motherboard like 970 GAMING.
