MSI 970 GAMING Motherboard Review
Bundled Software
 |
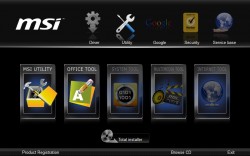 |
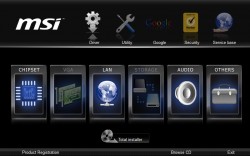
The MSI 970 GAMING comes with a driver/utility disk which contains all of the drivers for the motherboard. As with most of the driver discs that come with motherboards, this one comes with a “Total Installer” that installs all of the content without any user interaction. This comes in handy when you are in a hurry and just need to get everything set up with one simple click. For more advanced users there is an option to install only what you need.
 |
 |
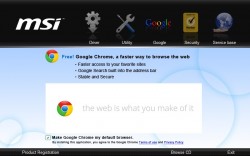
Google has paid for cross-promotion; Google Chrome web browser and Google Toolbar is also bundled with this CD. If you are looking for some cool utilities, you’ll find them under the Utility tab. Some of the utilities I found on the CD are Fast Boot, Command Center, Live Update 5, Video Genie and EasyViewer.
 |
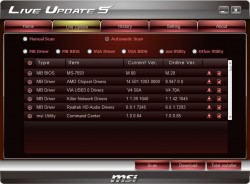 |
Live Update 5 is a handy utility which allows you to update pretty much every driver on the motherboard, including BIOS, to the latest version. I had run in to difficulties with Control Center as the program would start and then close almost immediately. The resolution was to get the latest version 1.0.0.85 from the web site. Unfortunately, this is not the only software which was outdated.
Killer Network Manager
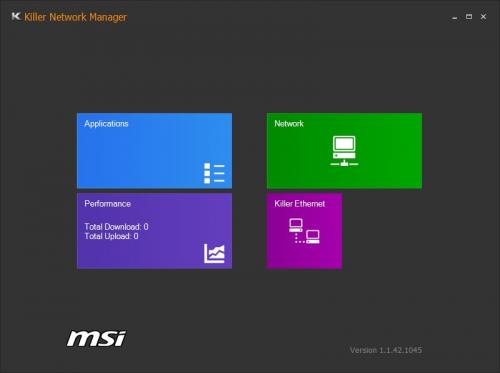 |
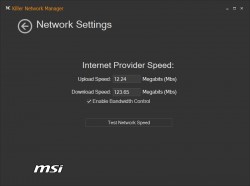
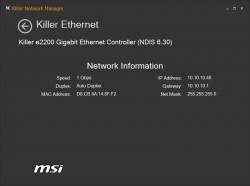
One of the utilities that was included on the drivers CD is Killer Network Manager. Since Killer Network Cards are based on a dedicated hardware, Killer NIC promises performance for gamers like ping reduction. As you face some of the reviews online, many users report that there is a slight improvement in game play and experiences with Killer NIC. However the improvement isn’t much as it doesn’t help with frame rate. Yet it is still a nice addition to have on the motherboard itself.
 |
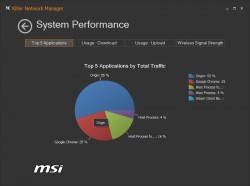 |
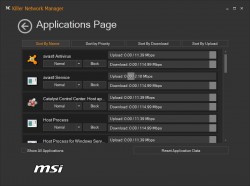
In the Killer Network Manager you can monitor which applications use bandwidth and how much. System performance can also be observed from the System Performance tab.
 |
 |
Control Center
 |
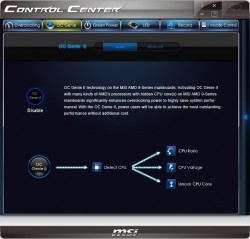 |
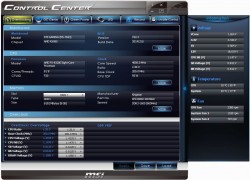
Control Center is a tool by MSI which provides all of the customization of BIOS but with ease from Windows. With this tool we have all of the hardware information available to us. Most people use this cool for overclocking their systems. There are couple of methods of overclock your system with Control Center. MSI has an automatic setting “OC Genie II” which adjusts CPU ratio and CPU voltage along with memory speed to increase the overall system performance and stay in the safe zone. However if you would like to manually over clock your components you can do in here as well by switching to “Manual” mode.
Voltage, Temperature and Fan values could be observed by clicking a little blue arrow on the right side of the app. Its very handy for a quick look up of live values.
 |
 |
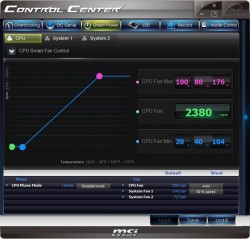
The Green Power tab shows cooling of the system. Here you can adjust your fan profiles as you please. If you are not overclocking and just using the system under light load, adjusting the fans speed in your system could significantly reduce sonar levels of your system. If you do not want to play around with settings, you could leave your fan control on “CPU/System Smart Fan Control”. In this mode, the speed of the fans is controlled by PWM controller on the motherboard. PWM automatically adjust the fans RPM’s depending on the temperature sensors on the motherboard.
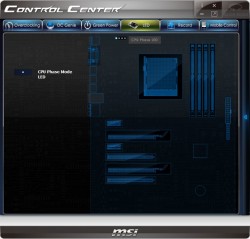
LED tab is kind of useless. What it shows is the motherboard layout with CPU Phase Mode LED. In theory you should be able to turn off and on motherboard LED’s but I wasn’t able to from here. The only place which this could be turned off is through UEFI.
 |
 |
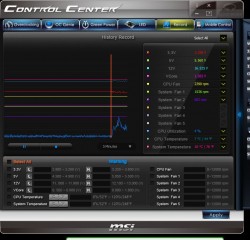
To properly overclock your system you need to be able to monitor the sensor values though out the system. Record tab provides system wide information on voltages, fan RPM, CPU utilization along with CPU and System temperatures. Here you can set thresholds on low and high values. This is extremely helpful when trying to achieve stability in the system when overclocking.
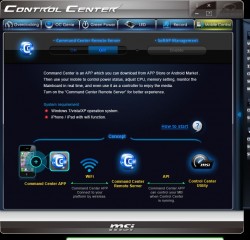
MSI also give you an option to control your system via iPhone/iPad app and Android app. Under Mobile tab you have a short description on how to get started. In short, you can use your WiFi device to connect to the MSI motherboard via IP address and control the system with your device instead of the Control Center.
 |
 |
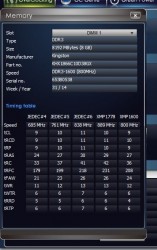 |
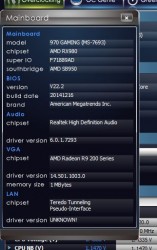
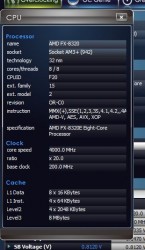
If you are looking for more details on the components of your system, you can find them in Control Center as well. On Overclocking tab there are “More” buttons which display additional information about the systems components. There are three main sections; Motherboard, CPU and Memory.
 |
 |
 |
| CPU Voltage (V) | CPU NB (V) | SB Voltage (V) |
 |
 |
| NB Voltage (V) | DRAM Voltage (V) |
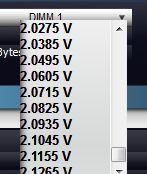
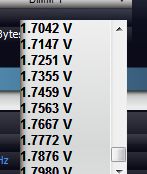
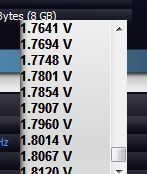
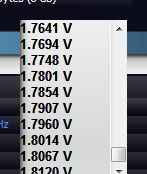
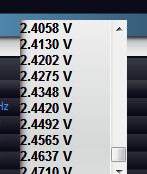
Overclocking section also provides following options to enthusiasts as they overclock their components; CPU Ratio, Base Clock (MHz), CPU Voltage (V), CPU NB (V), SB Voltage (V), NB Voltage(V) and DRAM Voltage (V).
Following are the maximum and incremental values which could adjusted:
| Option | Max Value (V) | Increments (mV) |
| CPU Voltage (V) | 2.1265V | 11mV |
| CPU NB (V) | 1.7980V | 10mV |
| SB Voltage (V) | 1.8120V | 5mV |
| NB Voltage (V) | 1.8120V | 5mV |
| DRAM Voltage (V) | 2.4710 | 7mV |
| CPU Ratio | 32.5 | 1 |
| Base Clock (MHz) | 300 | 1MHz |
Note: Control Center which is included with the drivers CD is outdated. The version on the CD does not has RAM Disk Feature which is offered by later versions of this application. Latest application could be downloaded from MSI’s website however it is known to crash on start up. I had the same issues with the latest version of Control Center and as far as I know there is no resolution for the crashing problem with Control Center.
