Mountain Mods Ascension CYO (Custom Computer Case)
What’s In The Box
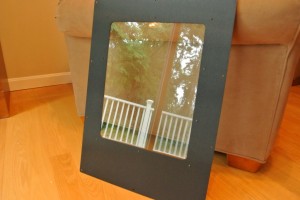
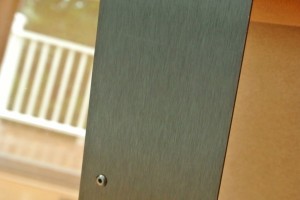
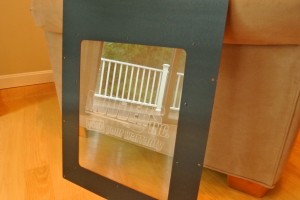
Here is one of my side panels. I decided to go with windows for the side and top panels so you could see the beauty of this case from every angle. That is customizable though (we will go over that later). Also, if you look closely you can see the breath-taking grain of the Anodized Black finish that I chose. That is also customizable (again, we will go over all of the options later).
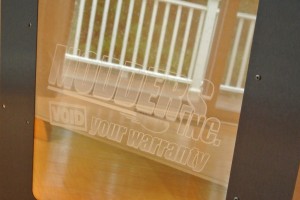
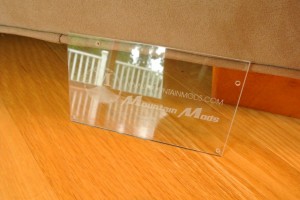
Here we have the other side panel. Mountain Mods offers a laser etching service. It was very simple. All I had to do was send them a high quality image file of the Modders-Inc. logo and they took care of the rest. I am amazed by the quality of it and wish that I put the logo on all of the windowed panels. For one window, it is an extra $20 added on to the total cost of the case. Two windows costs $30 and three windows costs $37. For those that may not want to do any cable management you can get all the side panels in a solid format.
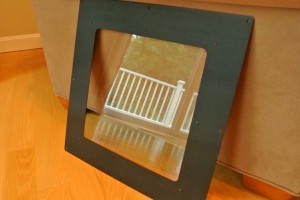
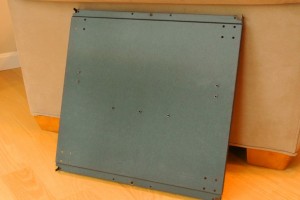
Here is the top panel along with the bottom panel of the case. The top panel is also customizable with many different layouts. I just decided upon the big windowed panel so that I could see in through the top of the case.
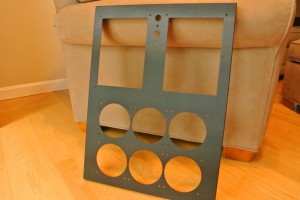
Here are the front and rear panels for the case. These selected options support the radiators that I have perfectly. There are many options for the front and rear panels that I will show to you on the next page.
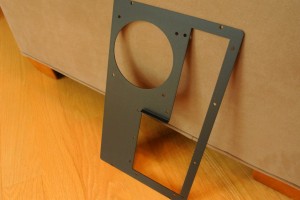
Now we have the I/O tray. This is where you will plug all of your accessories into the motherboard along with your video cables into the graphics cards. Again, look at the amazing detail of the Anodized Black finish.
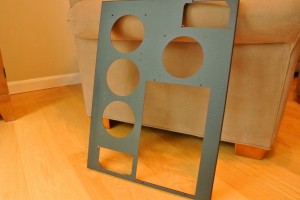
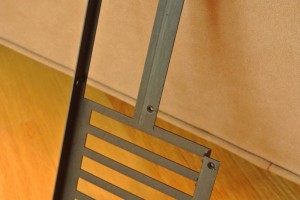
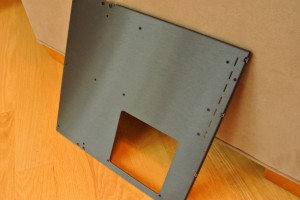
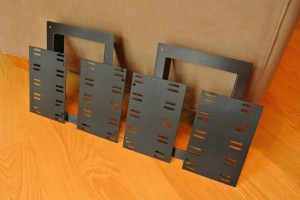
Here is the motherboard tray along with the piece of the case that connects to the motherboard tray and the I/O tray to allow for a fully removable motherboard without having to take apart the whole case. All you have to do is undo a couple thumbscrews and the motherboard will slide right out through the rear of the case. Very cool feature!!
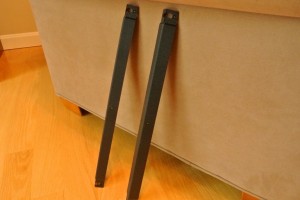
Here we have two support beams to stabilize the case from twisting in its assembled box form. Also we have a PSU slot cover. The case has two options for mounting your PSU on the rear panel so this is to cover up the unused slot. The PSU slot cover is laser etched with the Mountain Mods logo which gives it a very sexy look on the acrylic. Small things like this make a case even better!
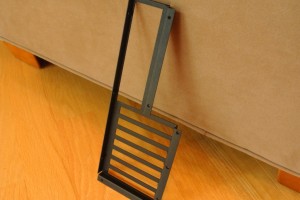
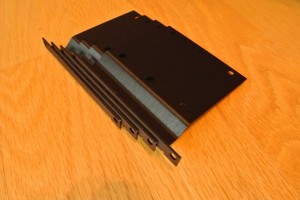
Here are the bay drives. Basically you assemble them and install all of your bay equipment (fan controllers, DVD drivers, bay reservoirs, etc.). After that you slide the entire bay into the case and tighten it with some thumbscrews. It is strange, but effective. It could present problems when receiving a new piece of bay equipment that you have to install. If you have a bay reservoir you would have to drain the entire loop to take the bay out and install the piece of equipment. Also, we have your HDD/SSD mounts. They are not cheaply made and also have an anodized black finish. MM includes anti-vibration HDD screws to prevent vibration.
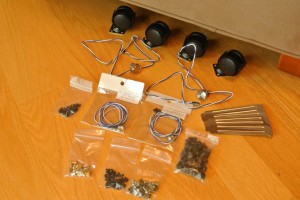
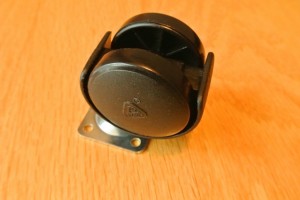
Now onto the accessories. Here is what you will find in the big accessory bag that comes with the case. Lets start out with the wheels. The MM Ascension has the option to install wheels on the case since it is extremely heavy when lifted. I chose not to install the wheels because there are no locks on them. Having the case on a hard wood floor makes me fear that it will roll away during the unfortunate event of an earthquake.
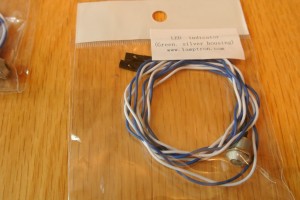
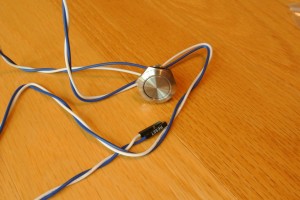
Here we have the power and reset switches along with the HDD LED’s. These are of great quality and are distributed by Lamptron. I did have a problem with one of the switches where the nut was tightened so much that it was bending and almost was broken. I ended up taking ten minutes out of the build and with the help of some pliers I got the nut loose and off of the switch.
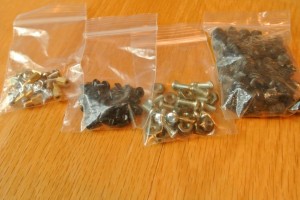
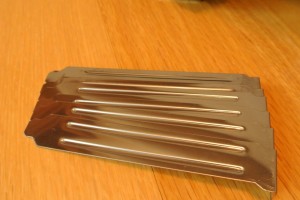
Ok, well this was a very long journey through accessories. Our last items are the 4 bags of countless screws along with the very nice chrome PSI slot covers. One thing that I didn’t notice while looking through the box are accessories. Mountain Mods recommends looking at the U2-UFO directions to put it together. I printed them out online and they really lacked in detail. You would thing that for over $500 MM would make instructions specifically for the Ascension. Let’s move onto the customiation options.
