Morro Data: Your NAS in the Cloud
Morro Data Setup and Management
To get started with Morro Data you will need to create an account by going to “https://account.morrodata.com/“. Do keep in mind that you will need a valid Credit Card to complete registration. Pricing model for the service is 39$ USD per month per terabyte for a single device. If you have 2 to 4 devices in your company then the price will be 49$ USD per month per terabyte. Morro Data outlines this information on their site “http://www.morrodata.com/pricing/“.
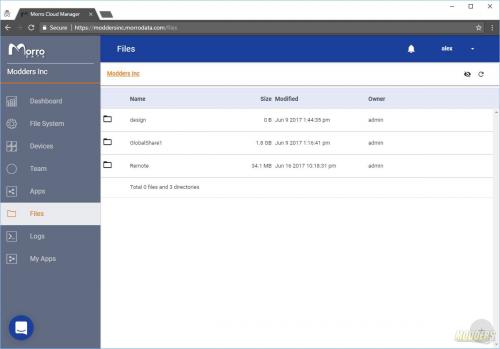
Once you have gone through step-by-step wizard your account will be ready instantaneously. There is no need to wait hours for your workable space to be allocated or any odd verifications. What I liked about the process is that was it was fast, efficient and painless. What Morro Date does in the background is creates a custom portal for your company. As you can see from the URL above I am using moddersinc portal and our direct URL is “https://moddersinc.morrodata.com/“. This is the URL that users use to manage their service and devices across the network.
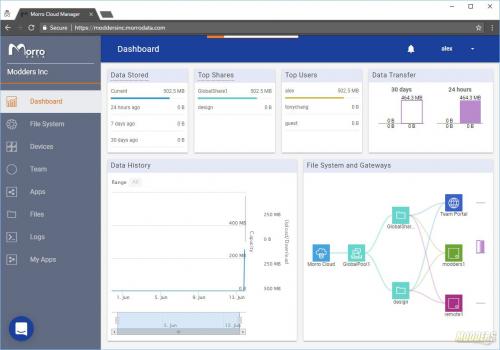
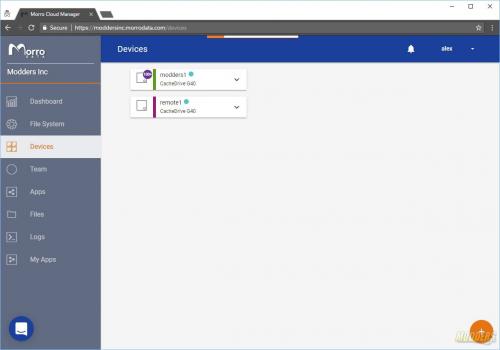
Dashboard is very useful as it gives general understanding of utilization data use based on the “Pools”. First thing you do in Morro Data is you add your Cache Drive to your account. The attachment of the Cache Drive only takes a minute and could be done right from the “Devices” tab in the portal. You would need the UUID of the device which is found on the bottom of the unit to properly register it to your account.
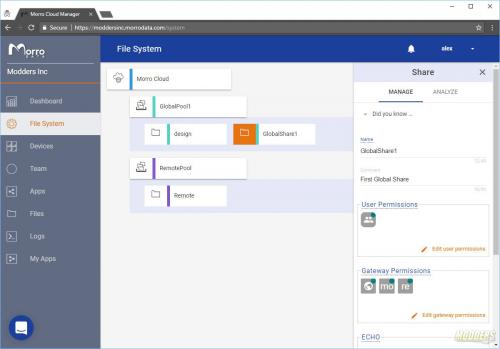
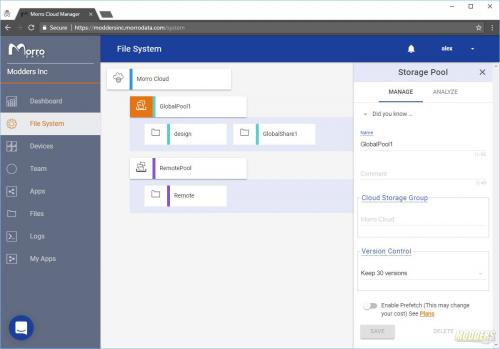
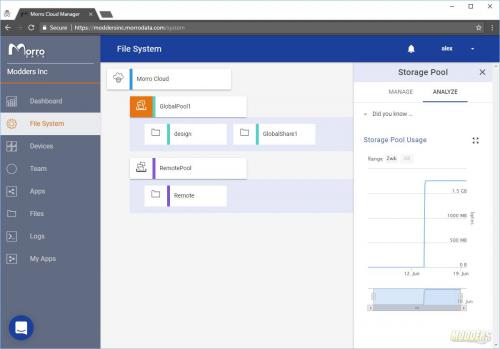
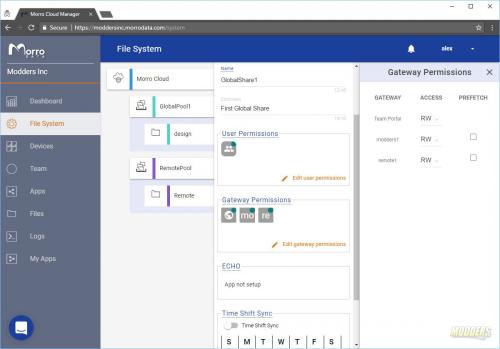
Once the first or single Cache Drive is attached to your account you can create Pools and Shares. Pools are the top level of the Share. Think of it as an Amazon S3 Bucket and Shares are sub folders in the bucket. Essentially that is exactly what you are creating with Morro Data. Morro Data is using Amazon AWS S3 bucket in the offering. Permissions of the Pools and Shares could be done by highlighting the Pool/Share and editing the settings on the right side of the portal. From the Storage Pool properties you can assign users with in your account and give them permissions based on the requirements. As your account grows, it is important to monitor the usage of each of your Pools.
Some great options that you can modify in Pools/Shares are Version Control and Prefetch. Version Control is useful when you make changes to the same file and have ability to roll back changes based on the need. This is very handy when coding or modifying data frequently. Prefetch is an ability to pre download newest files on to the 1Tb Cache Drive. By the default this setting is OFF however if you want instantaneous access to the files in the cloud this setting should be turned ON. It is also worth to mention that this setting might also change your monthly costs. Later in the article I will explain on how files become available to users.
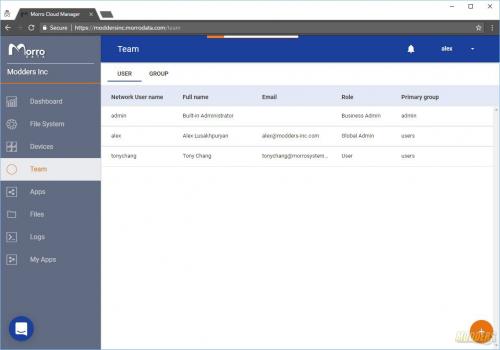
Adding a new device to your portal could be done from “Devices” tab in the portal. On the bottom right corner is a “+” sign to get you started with addition of a new device. Morro Data has been generous and provided us with “remote1” Cache Drive G40 in their London facility so we can test and see the file availability from different sites. As I have mentioned earlier access permissions to Pools and Shares is done by assigning a user to them and giving proper permissions. Currently all the users have to be local to the portal, this means no LDAP or Active Directory integration (YET). I have inquired about this integration and was told that it is on the road map for future release of firmware. As you can see from the screen shot above there are 3 users in our portal, admin, alex and tonychang. “admin” account is created to manage the entire portal. There are some areas in the portal which are available only to portal admins such as billing information and company information. “alex” account is my account which has Global Administration and “tonychang” is just a simple user. Note on how the groups are structured in Morro Data portal. It is important to keep “admin” account separately from your users as account data could be compromised in the wrong hands.
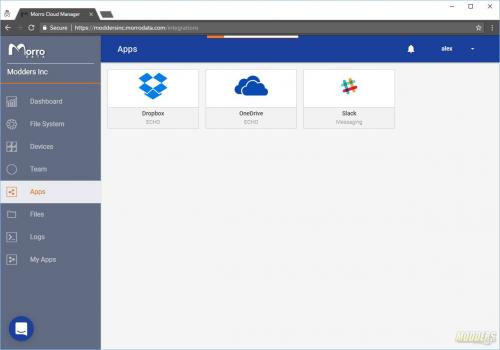
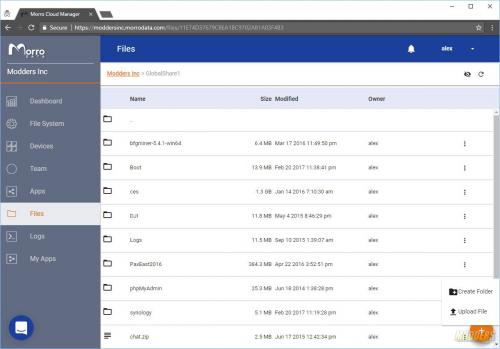
There are some applications that are supported with Morro Data. Dropbox OneDrive and Slack are the only applications that are supported at the moment however, the development of Morro Data is going full speed ahead and they are looking for way to grow their support and features in the near future. Files tab in Morro Data portal give ability for remote users to still get access to their data if they are a way from the office or the location where Cache Drive is. By logging in to the portal any user can get to the “Files” section and access any files which they have access to.
Files could be upload via portal as well. Nothing surprising here really. This is very straight forward and reminds me of Dropbox as users have ability to share link to files directly from the “Files” section of the portal. This comes in very handy when you are on the road without VPN access back to your home network.
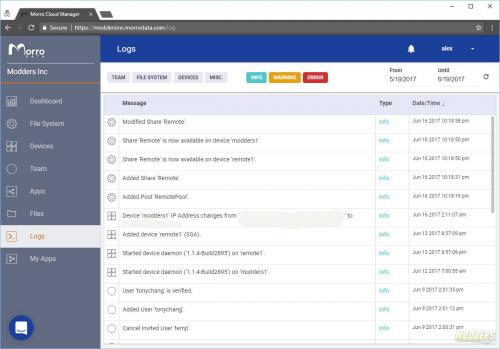
Logging is very straight forward in Morro Data. Any changes that has happened on the portal or the devices are being logged. Admins have ability to quickly look through logs to see if there are any error or warning that are being generated on the systems.
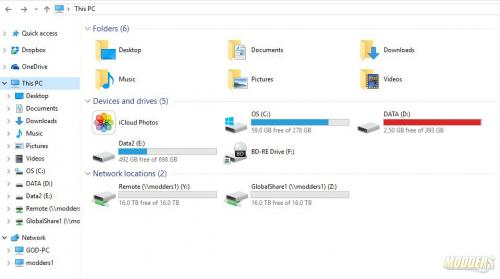
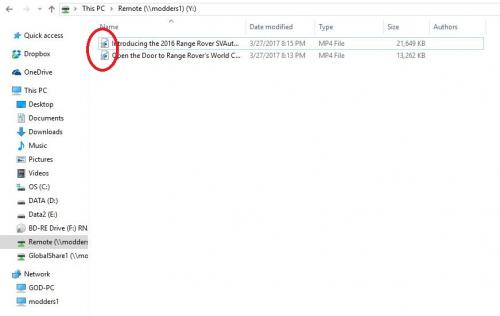
If you have multiple sites chances are your users upload data to the cloud. If you look closely at the screen shot above you can see small icons with tiny “x” on them. This means that the files are in the cloud and if you would like to access them they would have to be downloaded to your Cache Drive. Think of it as opening files from Network Attached Storage. It takes a few seconds to download a file (depending on the size) to the Cache Drive. If you would like to have files to be available as soon as possible to you then the “Prefetch” feature should be turned on on the Storage Pool. In that case, newest files would automatically sync with your Cache Drive and you will always have latest file.
