Modder’s Tools: Make a Shining Soldering Iron
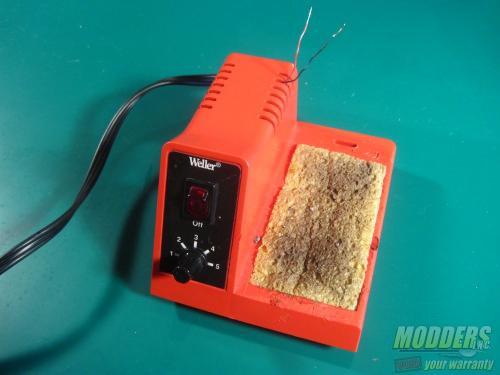
Soldering irons are a ubiquitous modding tool, but can also be major fire hazards if left unattended. I have a great Weller WLC100 soldering iron with one big problem: a very faint indicator light.
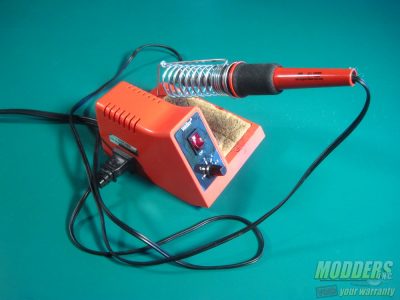
The WLC100 is pictured above, with the indicator light on. This weak light is easy to overlook when working on a project, making it easy to forget that you have a hot iron running.
Fortunately, it’s pretty easy and cheap to add a more powerful indicator light. All you need is $1 and an LED! (Disclaimer: do not attempt this tutorial if you are not familiar with soldering and wall current)
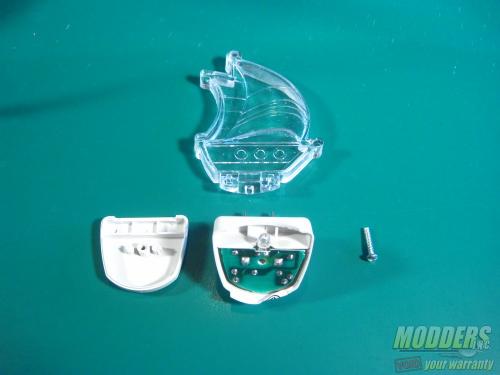
Pictured above is the heart of the project, a dollar store LED nightlight. The one used for this tutorial can be seen here. This nightlight will be connected to the soldering iron’s output, and activate when the iron is turned on.
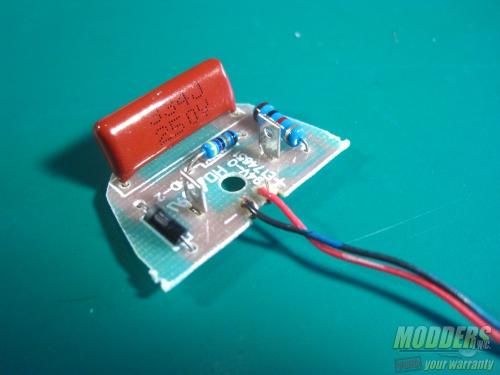
First, disassemble the nightlight. We only want the circuit board inside.
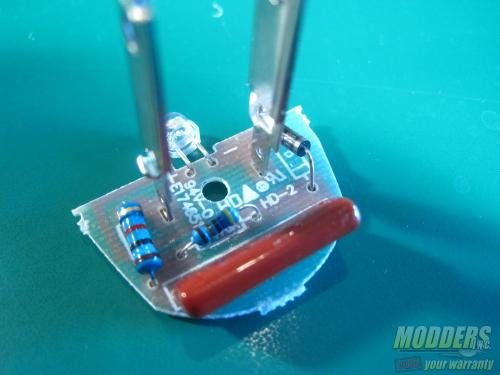
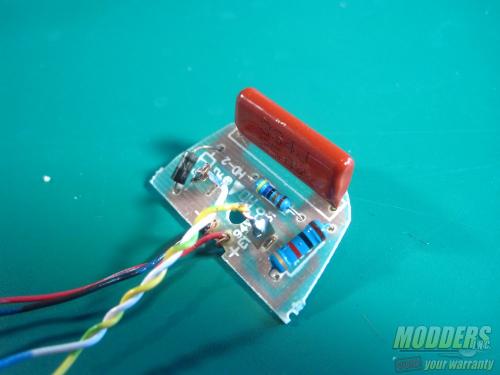
Desolder the installed LED, and attach a pair of leads and a new LED. I chose a much brighter green LED. If you don’t have any LEDs handy, they can be salvaged from junk electronics, or be bought for a few cents a piece on websites like eBay. You can also use the original LED, if you feel it is bright enough for your purposes.
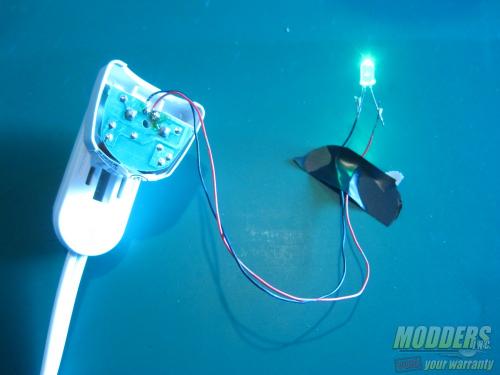
After the leads and LED are installed, plug in the circuit (taking care not to touch any of the exposed metal). Let the new setup run for an hour while you keep an eye on it. The circuit shouldn’t have any issues running a new LED, but it’s a good practice to stress test things when you’re modifying them. After the hour, unplug the circuit and feel for any hot spots. If there aren’t any apparent issues, you’re ready to move forward.
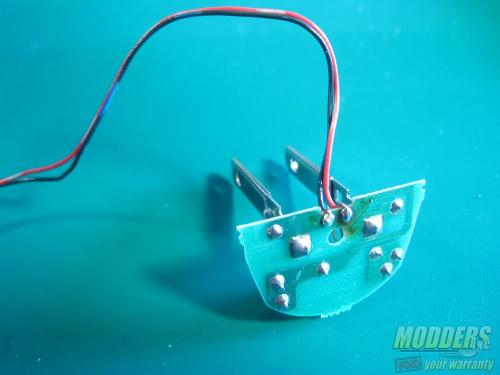
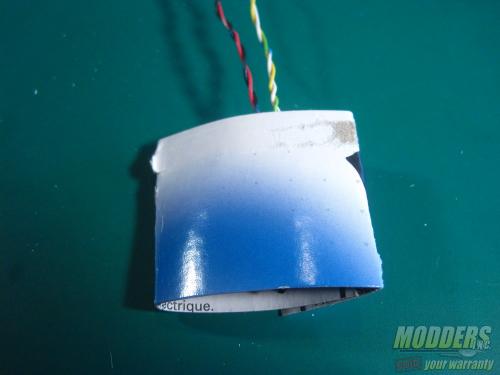
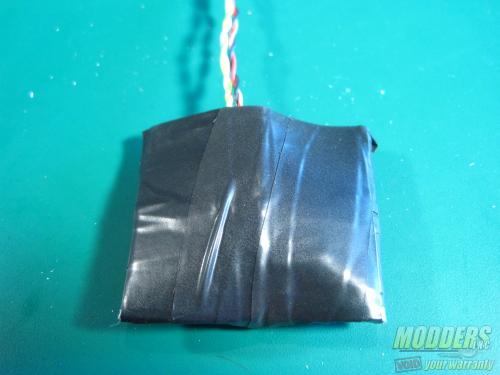
Snip off the wall plugs and solder in new leads. Then wrap the circuit board in cardboard and tape, to insulate it.
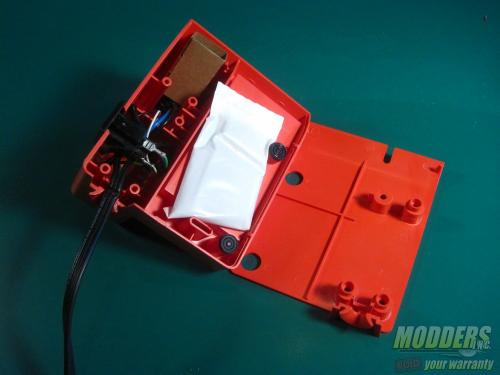
Now you’re ready to install the circuit board. Unplug and open the soldering iron.
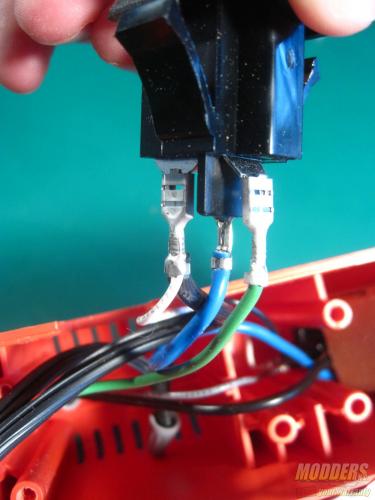
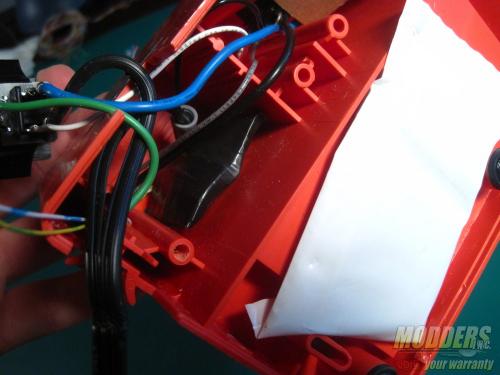
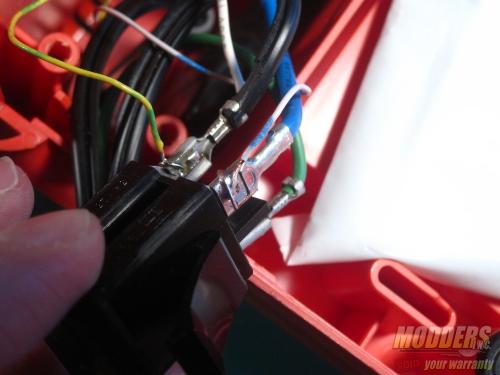
Insert the circuit board wherever there is room. Solder the power leads to the appropriate connectors on the output plug.
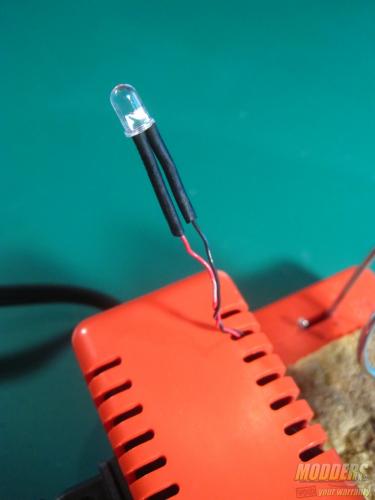
Feed the output LED wires through the vents, and solder on an LED. I’m choosing to have a single LED on the outside, for maximum visibility. A more stylish version might have multiple LEDs on the inside, shining through the vents.
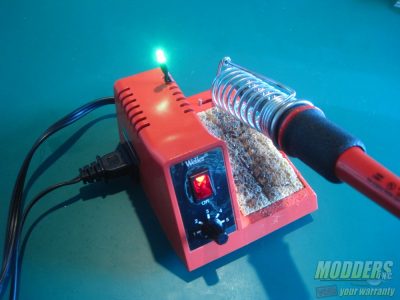
Now when the soldering iron is turned on, so is the bright green LED! Just like before, run the iron for a while to make sure that there aren’t any issues.
This technique can be heavily customized. Multiple LEDs can be put in parallel for brighter displays, and placed inside plenty of different appliances. Want a blender with internal lighting? Go for it!
