Mod Your Mouse
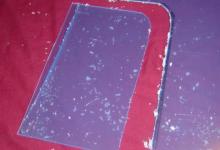
This is the plexi being fitted and set for glue. The tape is pressed as tight as can be for gluing because the glue can be drawn into any small gaps. it was glued and left to set over night and then finally masked for paint.
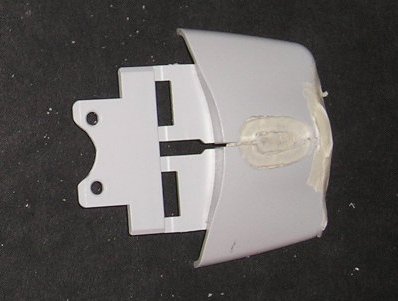
Prep the mouse for paint. This one was painted on the outside only so that the inside would reflect the LEDs.
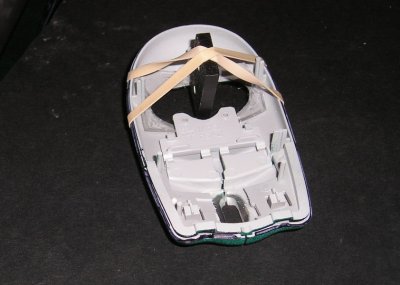
The window was put in with silicone to seal the inside from stuff, like oil from hands and dust. With a bowed window I needed a block and a rubber band to hold the window in until it dried. The lighting plan needed a pin-out for the mouse cable to find the 5 volt solder points on the mouse.

|
Mini-DIN | USB |

|
|
| +5V | 4 | 1 – VBus(Power) | ||
| Data | 1 | 3 – Data+ | ||
|
6-pin MINI-DIN Male going to the computer. |
Gnd | 3 | 4 – Ground |
4-pin USB-B connector going to the computer |
| Clock | 5 | 2 – Data- | ||
| This is courtesy of The Hardware Book. | ||||
Next was determining the place to mount and wire the LEDs. These are T-1 super bright parallel wired, with a 150 Ohm resistor. I used a calculator for the LEDs and came up with 33 Ohm, but I tried a 39 Ohm and it was too bright and you couldn't see anything in the mouse. So it was changed and tested for better looks.
