PC Cases / Accessories
MNPCTECH Spring Loaded Heavy Duty Case Handles
« Page 2 | Page 4 »
Installation |
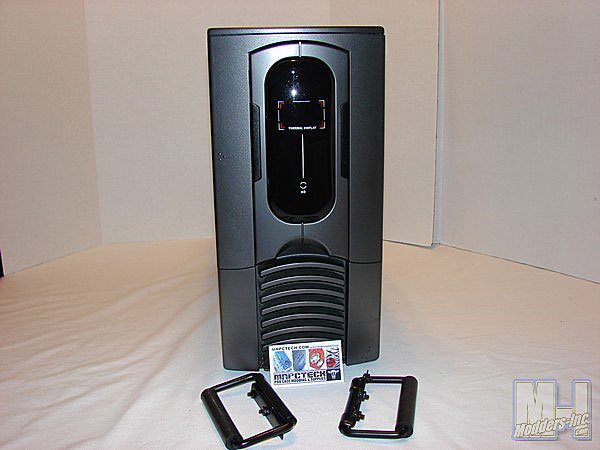
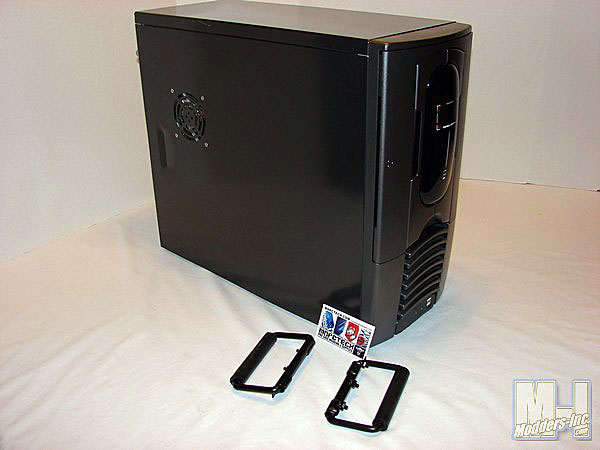
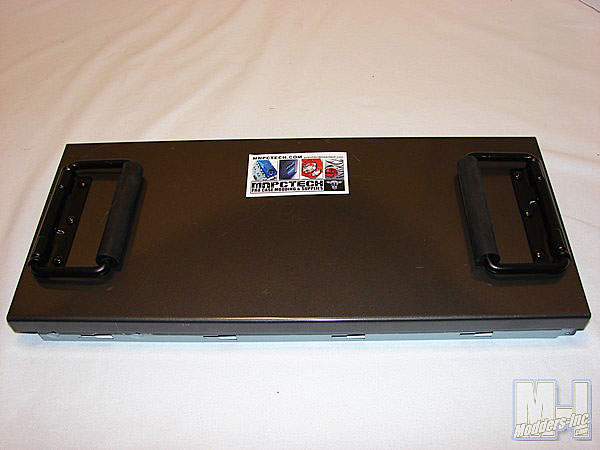
Here we have a before look at the case I chose to install the MNPCTECH Spring Loaded Heavy Duty Case Handles on.
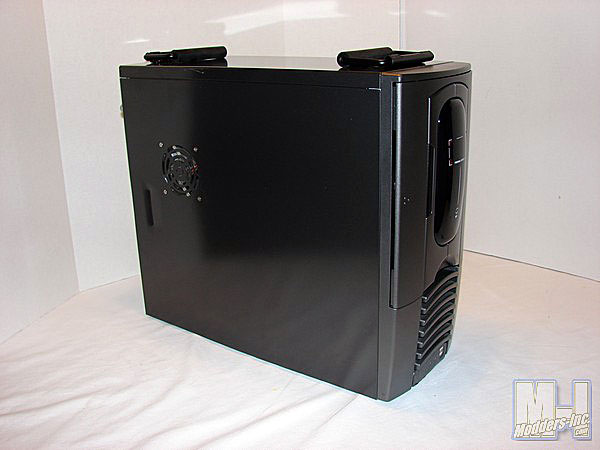
And a side view … looks like a perfect candidate for a test install. (It’s actually the shop system I use, so it gets moved around quite a bit. lol) :)
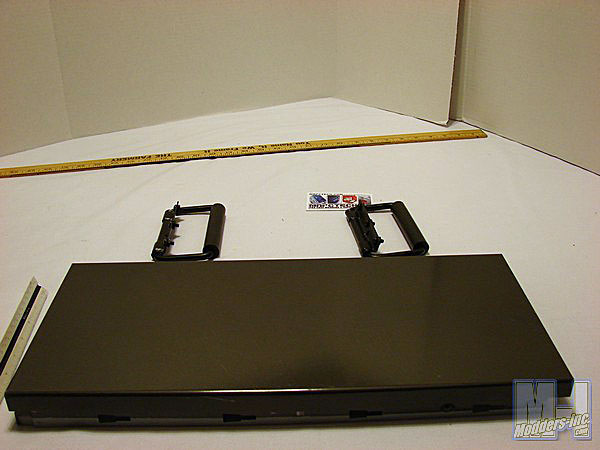
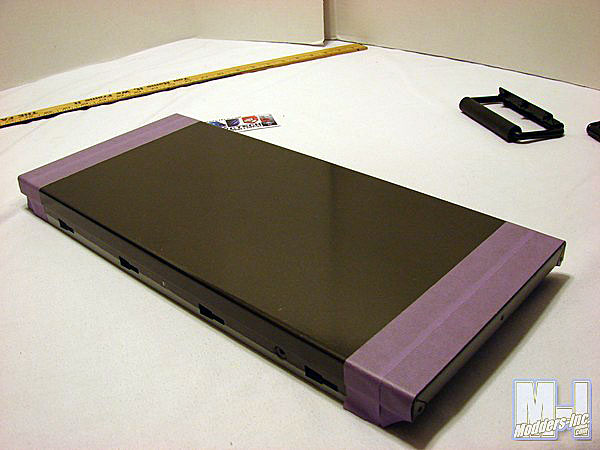
First things first, the top has to come off (especially with a system inside) as you do not want any holes drilled into your valuable system or metal shavings to get embedded where they may cause the system to ground out later on.
Once you have the top off and where you can work with it, yo want to lay down some low tack masking tape to both protect the surface plus give you a place to make your markings for the holes you need to drill.
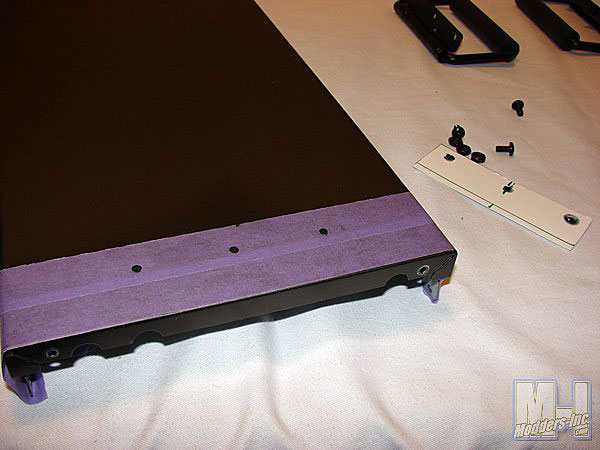
Now, I personally made a quick template for my installation purposes, but you can install them rather easily without a template if you are careful. Basically plase them where you want them and carefully hold the mounting plate down against the tape and mark your holes. Center punch the marked areas and drill the holes using a 3/16″ drill bit.
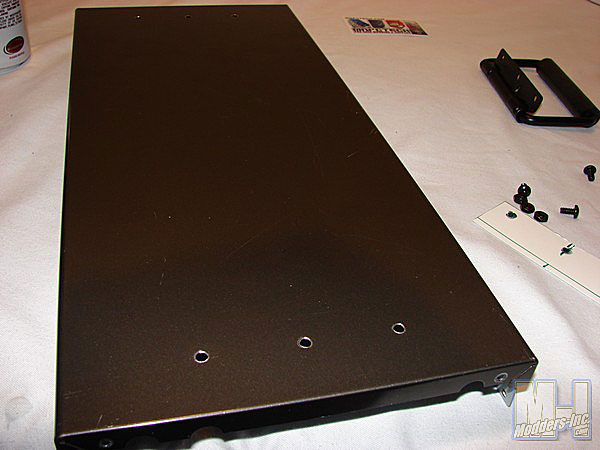
When you get through drilling your holes be sure to debur the edges so that you have a nice smooth entry and exit areas. This way your mounting hardware will mount nice and flush against the case top.
Once you tighten the 6 nuts and bolts you can see that the results are going to look quite nice.
The finished product; not only will the handles be more than sturdy enough to lift your case and allow you to carry it with ease, but they look awesome and just flat out tough! They seem to tell the folks who see the case; “This ain’t no pansy case … it means business!”
|
Now I realize that my installation may not have shown all you wanted to see, therefore I have included the MNPCTECH Installation Video for your viewing pleasure. Enjoy!
