PC Cases / Accessories
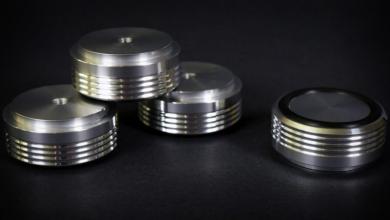
MNPCTech Machined Billet Aluminum Case Feet
« Page 2 | Page 4 »
Installation |
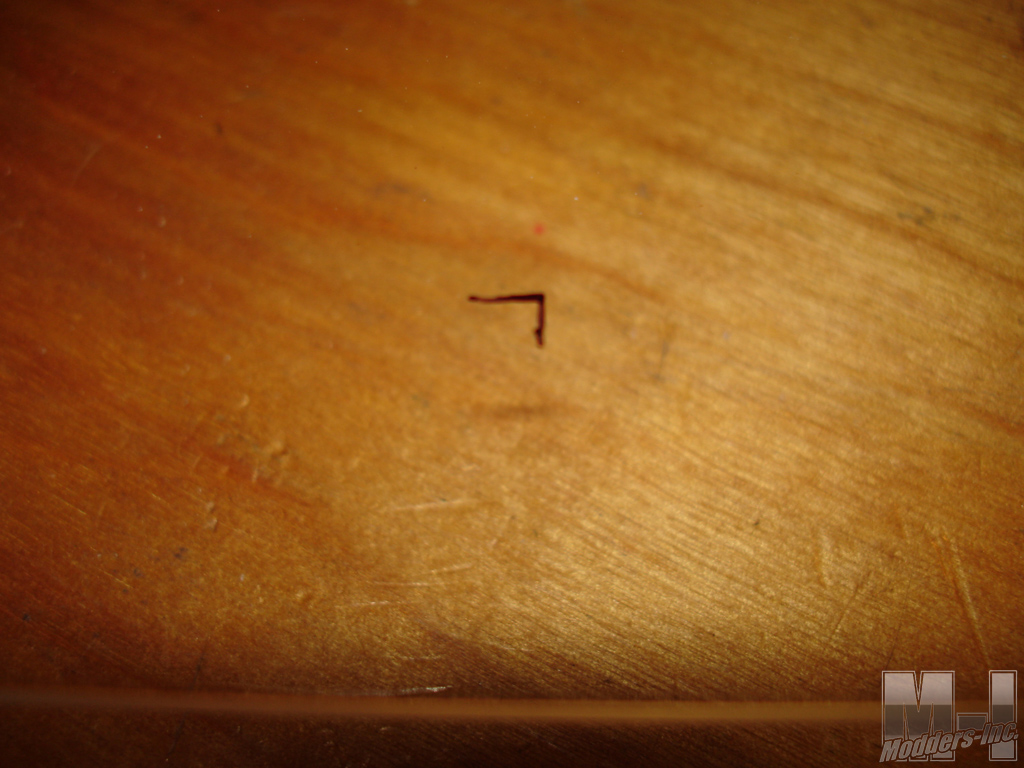 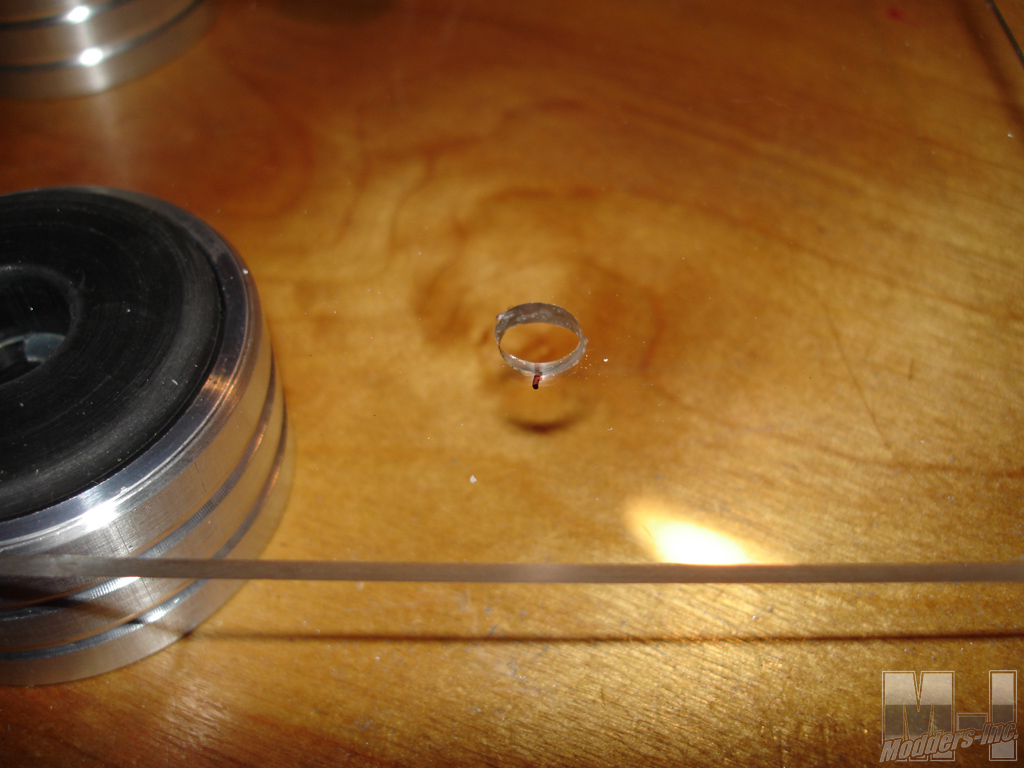
Installation of the MNPCTech Billet Aluminum Case Feet is very simple. Your first step is going to be marking the appropriate holes to drill (measure twice drill once). Once you have your holes marked them you need to drill them out with a 1/4″ drill bit. On this installation, I was still in the design stage of the mod. I started with the plan of using the Plexiglas lower panel and made a support bracket so the Plexiglas would not bow to much from the computers weight. Those required cutting them at the desired length and drilling them at the correct locations.
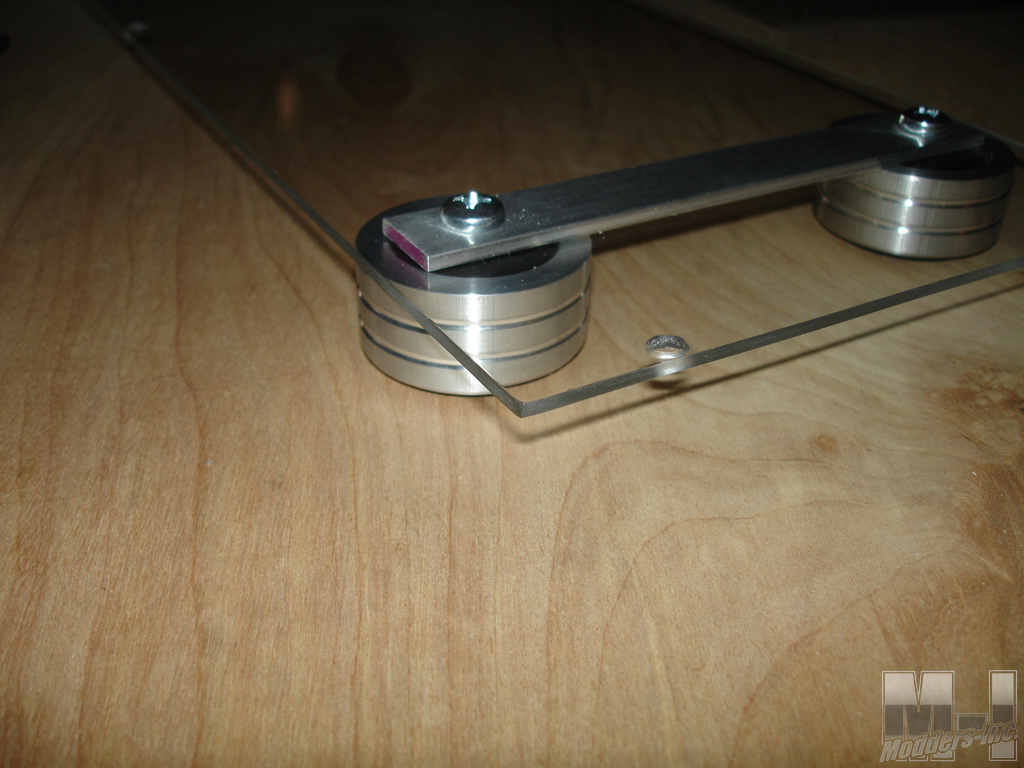
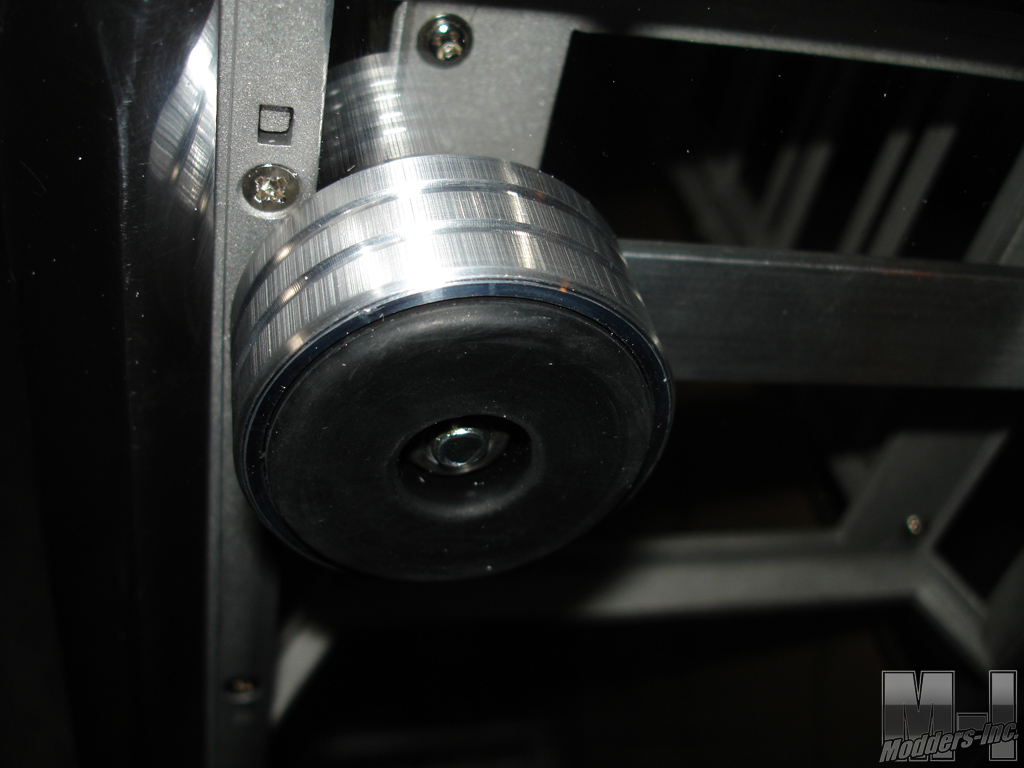
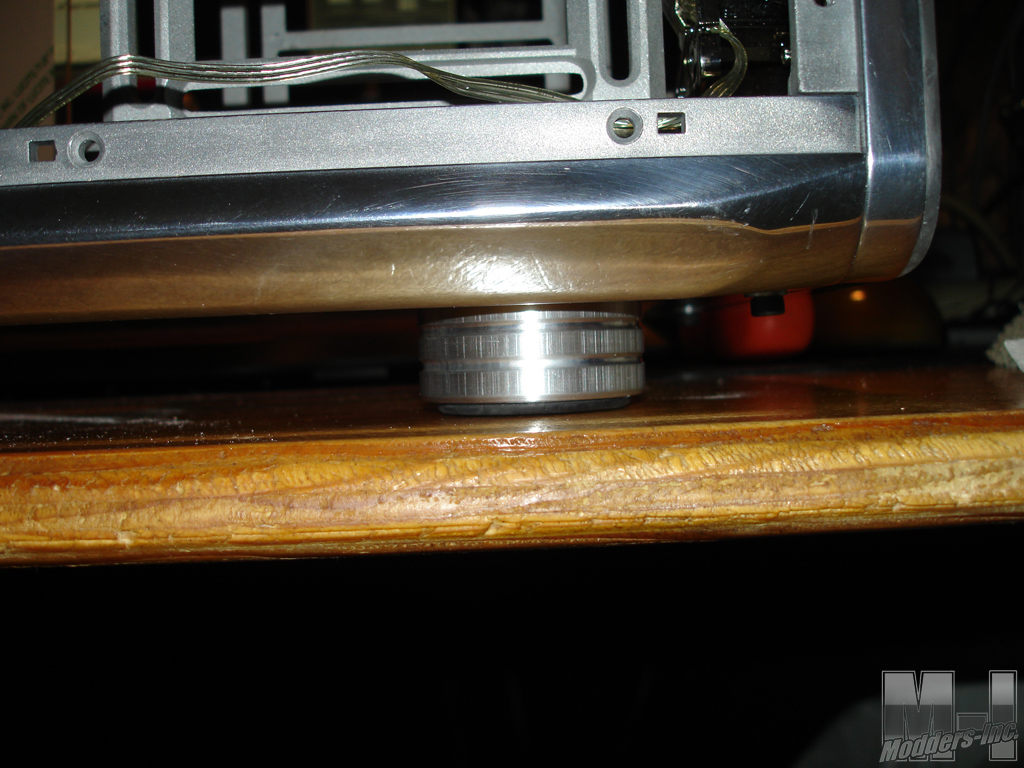
Once I had my holes drilled I did a quick test fit as shown in the top right picture. I then removed the support bracket and rounded the ends of it to clean them up a bit. I was not really worried about the edge of the Plexiglas as much as I was with the center of the Plexiglas. I had a wide enough span on the feet to allow them to be positioned under the frame rails.
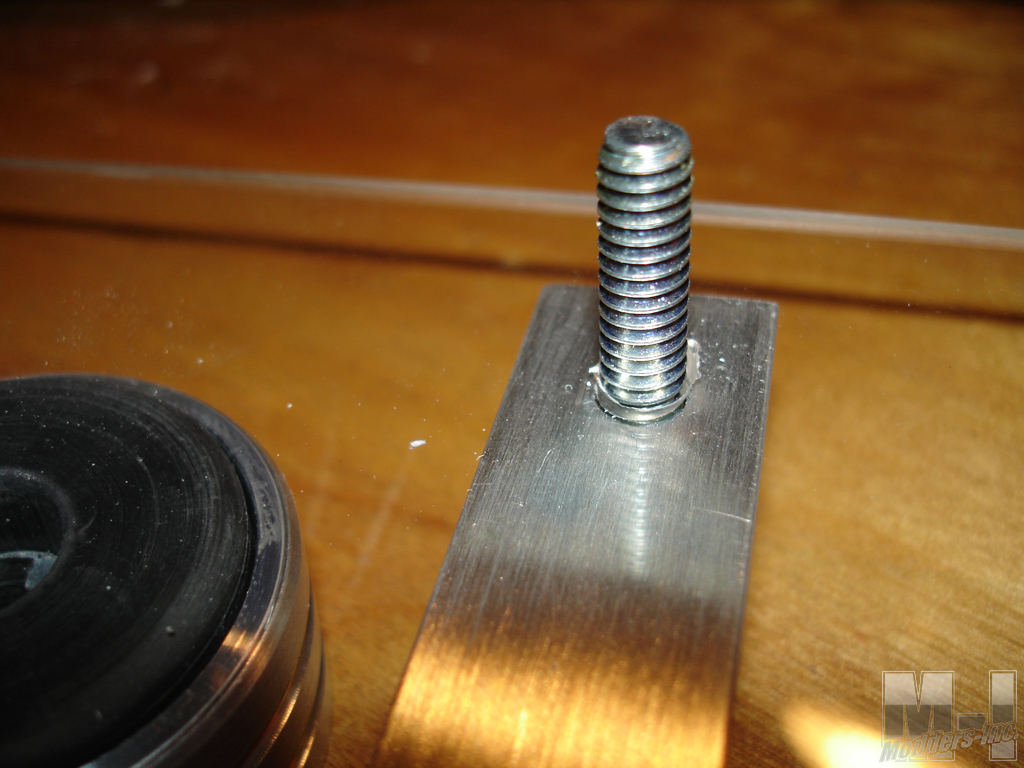
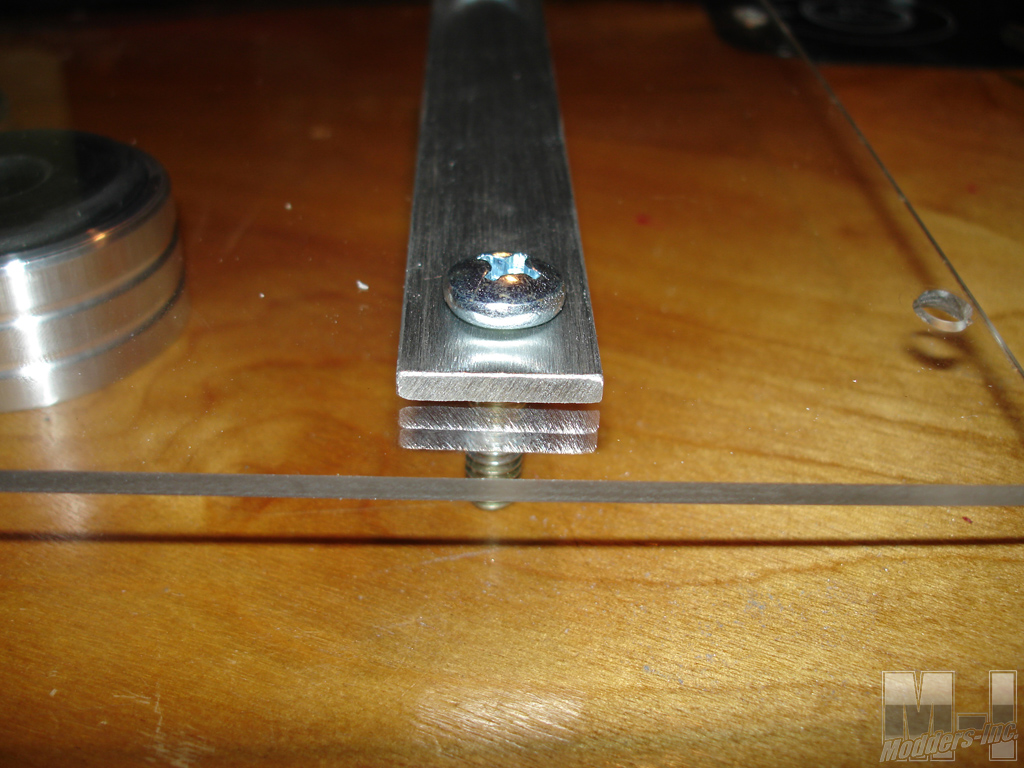
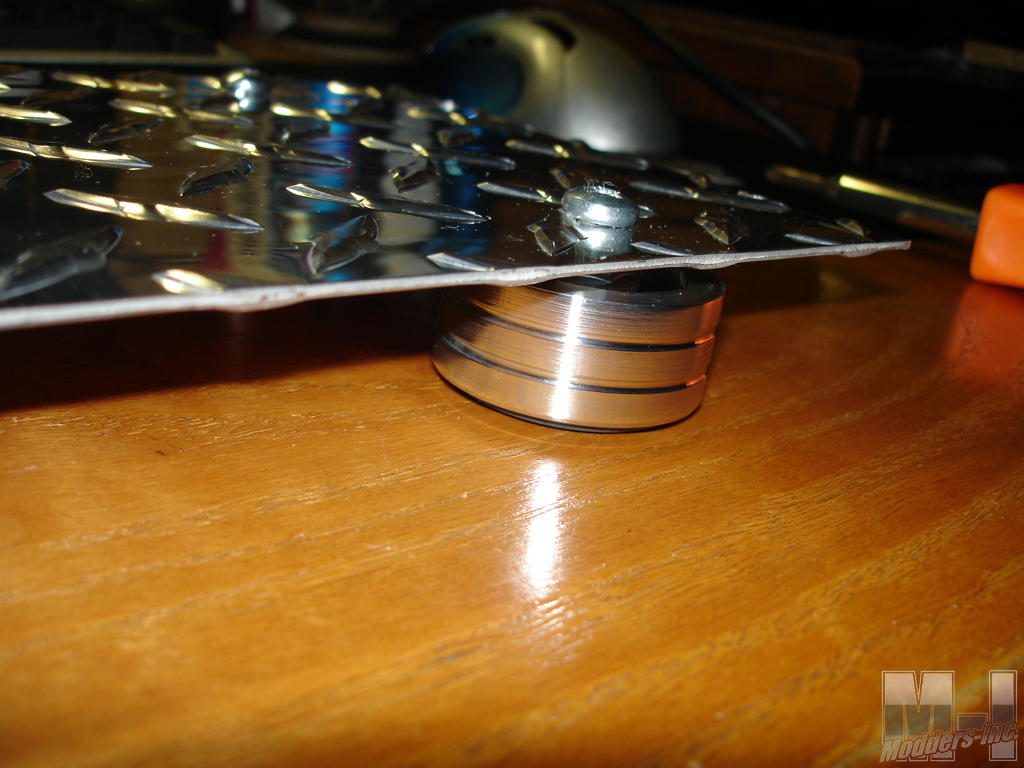
The above two shots show the Machined Billet Aluminum Case Feet installed. You will notice in the first picture, the bolt is put in from the bottom side up. I did this because I was not 100% sure if I was going to stick with the Plexiglas bottom panel. It didn’t take me long to change my mind. I decided on using some Diamond Tread Aluminum for the lower panel to give me even more strength as well as a shinny surface for the case lights to reflect off of.
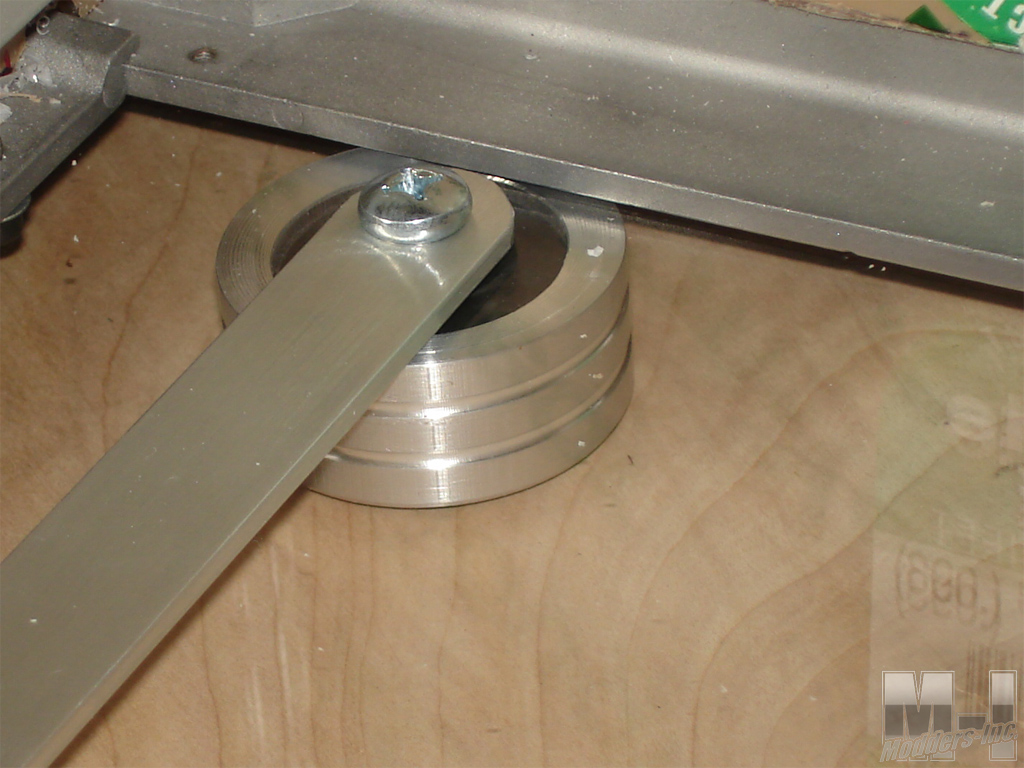
The installation process for this was the same minus the support brackets I made. Mark and drill your four 1/4″ mounting holes and secure the feet to the panel. I cut the bolts roughly a 1/4″ shorter than the installed height of the feet. This would allow me to mount the pointing down and not have to worry about the threaded end of the bolt hitting the desk.
|
