Meshie : by Tazz
<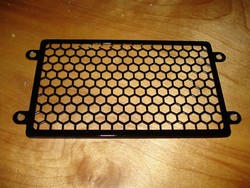
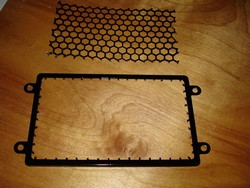
Next I pulled out the side vent and cut the honeycomb design out of it and filled down the edges. 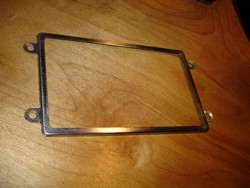
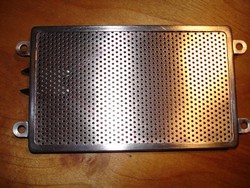 I then sanded the paint off and cut a mesh panel for it.
 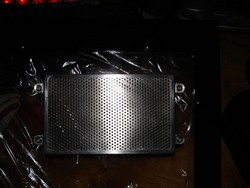 Above you can see the new panel installed on the side panel.
 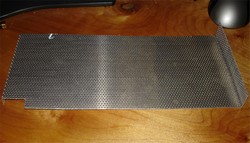 The next step was to start working on a new support panel for the mobo tray supports. A little earlier on I removed the 3.5″ drive cage to gain more room for hardware and give the inner area a cleaner look. Well doing so reduces the clutter, but also removes the solid support that the mobo tray supports connect to. To help resolve this issue I cut out another piece of mesh to make a new support out of. I add a lip to the top of it so I can bolt it to the lower section of the optical drive cage and then fit it to the lower support brackets that the hard drive cage connected to.
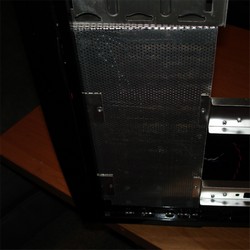
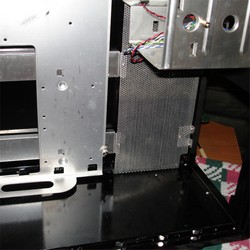
With the support panel in we can proceed forward with the modding. 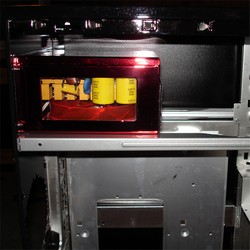
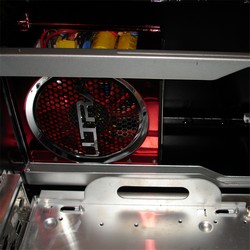 I did a quick test fitting with the power supply and slipped the panels all back on see how the overall picture was going to come out at this stage.
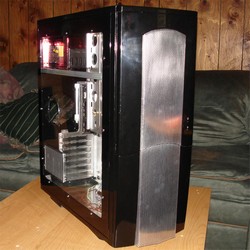
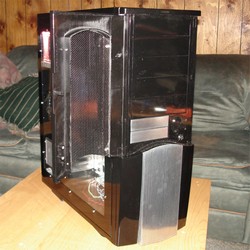
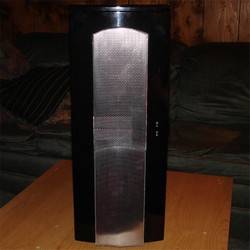
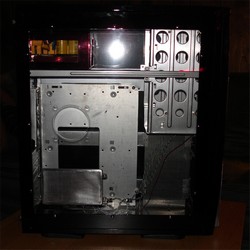 Everything was looking as planned. On with the modding we go.
