Meshie : by Tazz
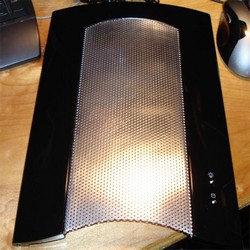
After I had the mesh panels fitted properly. I drilled my four mounting holes and installed the panels to see how things are going to look. Seeing that I am not going to be doing the red to black fade on the exterior of the case I am not totally sure yet if I will leave these mesh panels in their raw color.
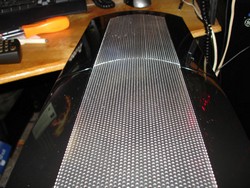
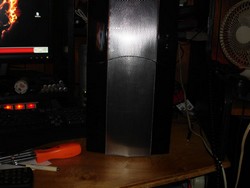
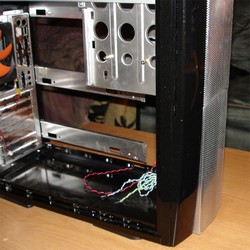
Here we can see the mesh panels both installed into the front panel using 4 screws per section. The contours for the top and bottom line up pretty closely and I am happy with the result up till this point.
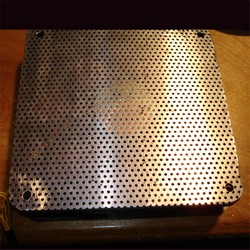
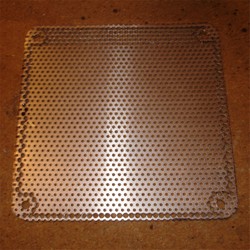
Next, I decided I would make a rear fan grill that would look similar to the meshed front panels. The only problem with this mesh is the size of the holes. To use it directly over a fan will result in limited air flow and increased noise from the turbulence. So I decided to get a little creative.
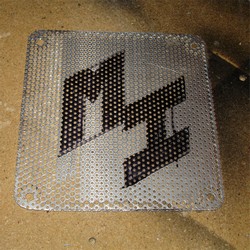
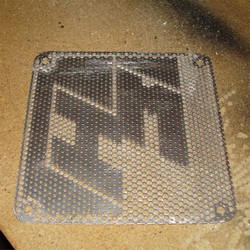
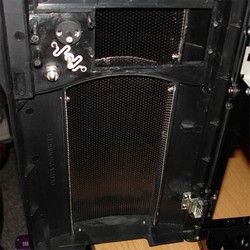
I pulled out the drill and a slightly oversized drill bit and started drilling out the holes. Before I got to the center section I decided to leave a section of holes that would show the MI initials. Then proceeded to drill out all the holes except the center ones.
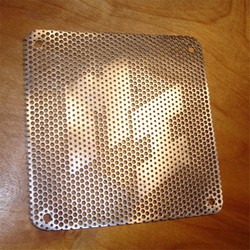
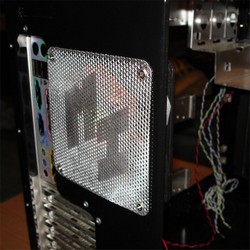
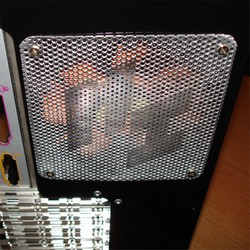
You can see the result in the next few photos. I thought about putting a little color on the MI area but hadn’t locked down on the idea yet. I will have to see how things look once I get closer to completion. If I decided not to put color on the mesh, you can see that it will blend in nicely with the aluminum inner structure of the case.
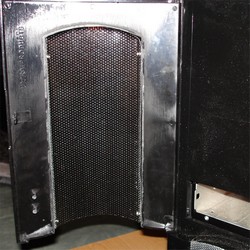
Flipping the front panel around you can see that I even back panted the mesh. The main reason I did this was simply to make it look a little more uniform if the top door was open.
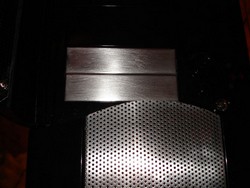
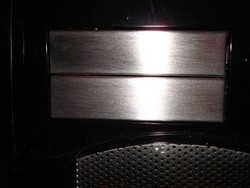
The Aluminus came with a couple of aluminum 3.5″ bay covers so I decided to give them a light sanding to give them a brushed aluminum look. I wanted to see how things looked through the mesh so I could decide if I wanted to do all of them in brushed aluminum or stick with the stock plastic covers.

