Meshie : by Tazz
I pulled off the front panel and scoped things out. Seeing how this is the second case of this nature that I was going to be removing the front louvers on and replacing them with mesh. I decided to go about this one using a different method. The last time I affixed the plexi to the front panel and then mounted the mesh to it. Well on this one I do not plan on using plexi behind the mesh. So the mesh will be secured straight to the sides where the louvers where.
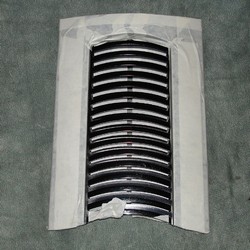
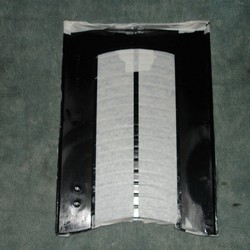
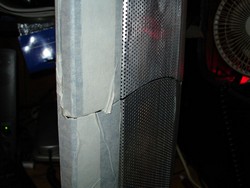
First step is to tape up the panels so I don’t mar them up while working on them. I used the tape on the backside as my lines to cut on.
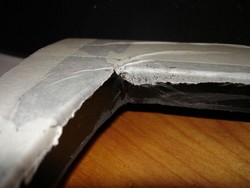
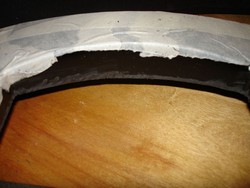
After everything is tapped up I start in on the cutting. This process is relatively simple seeing how the panel is plastic. Doesn’t take a lot of time to eat through it with a Dremel or the likes (I personally use a pneumatic right angle die-grinder). Just remember that plastic does melt when you use to high of an RPM setting.
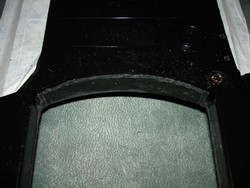
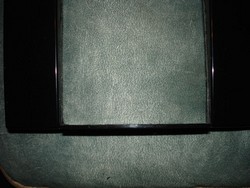
After finishing the rough cuts I pulled the tape off of the lower panel to make sure everything was going to look as planned.
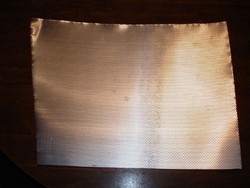
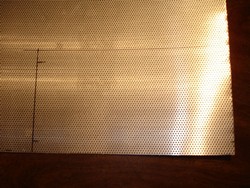
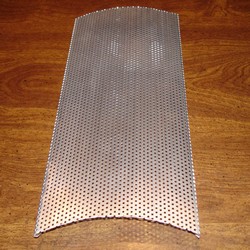
The next step was to start working on the two mesh inserts for the front panel. I am a low budget modder so I use whatever I can . The mesh I am using is a stainless steel strainer for a piece of equipment that was provided by a friend. I take a few measurements and lay things out on the mesh and cut out the basic shape that I will be needing.
Now mesh will tend to eat your discs up a little quicker than on a solid sheet of steel like a side panel. As your cutting through the mesh your disc is passing through the holes in the mesh which allows it to build speed and then slow down once you hit the metal again. The best way to preserver your discs, is to cut a little slower than you normally do.
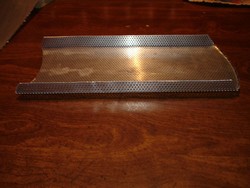
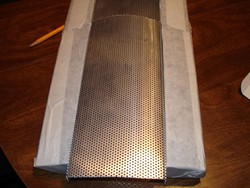
Once the piece is cut then I move onto the bending/forming of it to fit the panel.
This process is also different on this case compared to my MeanGreen. MeanGreen’s mesh is flat except on the outer edges where I bent it at a 90 degree angle. This time I will add the contour of the front panel to the mesh while also doing the 90 degree bends to go through the openings I cut. On the top piece only, I rolled the upper edge just a tad so that it doesn’t draw to much attention. Where the two pieces of mesh meet will not be rolled at all.
For rolling the top of the top piece I simply take a pair of small needle nose pliers and going around the top edge, I simply put a little bit of pressure and a slight twist three or four times. For the side bends (90 degree ones) I cheat a little. I don’t have a full shop handy, so to get around this issue (while the wife is not home). I slip the kitchen table apart (like I am going to add the extra leaf in). Just enough to slip the mesh down between the two halves. I mark the mesh where I want the bend. Line it up with the top of the table (make sure you debur the edges or have something covering your table, I don’t want any of your significant others mad at me because you messed up the kitchen table) and slide the two halves of the table back together. While using my body to hold one side and one hand on the other side (applying pressure to pinch the mesh), take your free hand and slowly bend the mesh. You can achieve nice even bends by doing this. Another method that you can use is a set of bifold doors (like on closets). Before you do this, make sure the metals gauge isn’t to large (large gauge metals are harder to bend and might damage your soft wood doors). Just open the doors and slide the mesh in and line up where you want it to bend. You then close the doors sandwiching the mesh between the two halves and you can then bend the mesh. Once thats done I start doing the final fitting of the two pieces.
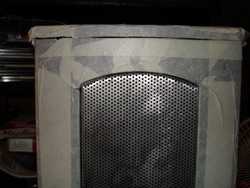
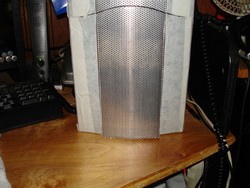
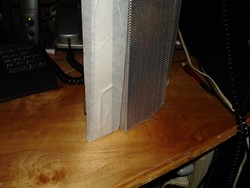
So far everything is going as planned and fitting rather nicely.


