Logitech G9 Laser Mouse
Installation |
| SetPoint
A multitude of screens allow you to change just about very aspect of the mouse including changing the colors of the LED on the sensitivity display. With a whole new interface you definitely see that Logitech is serious about the new direction they are pursuing with the new G9. 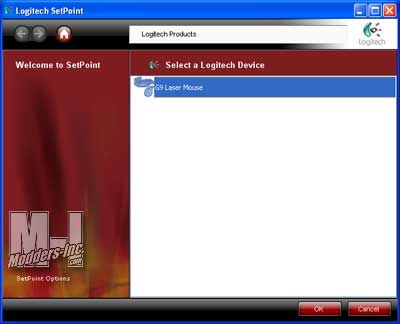
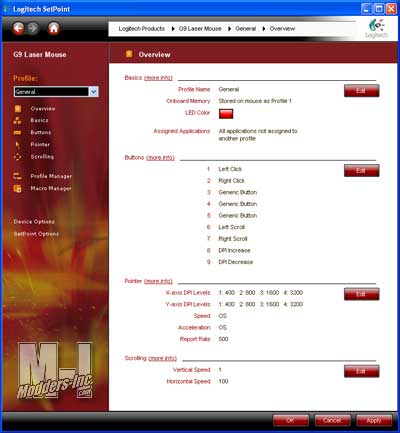
By clicking on the G9 Laser Mouse that is listed on the screen we see the first configuration screen. This is the overview screen of all the options that the new software will let you adjust for the Logitech G9 Laser Mouse. On the left side is a quick launch menu to the different option screens. In the center of the page you are shown what the current settings that are selected. Edit buttons are loacted to the right of the settings. When clicked you are taking to that particular screen for editing the options.
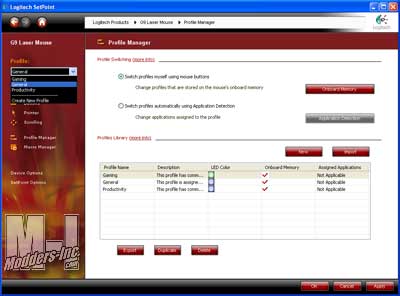
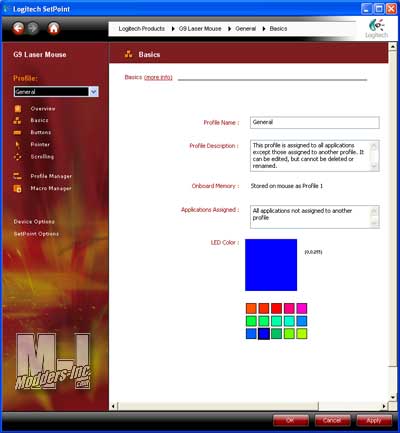
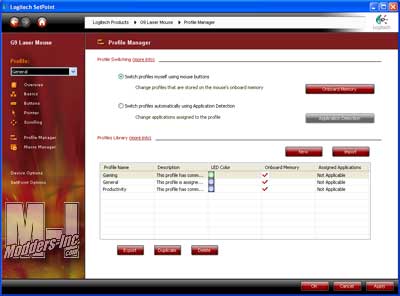
The top option on the left hand side is listed as Profile. Three default profiles have already been created for you by Logitech and these Profiiles are Gaming, General, and Productivity. Each of these can be reconfigured to your liken plus you can make more profiles. A total of five Profiles can be stored on the onboard memory in the Logitech G9. When we jump to the Basic setup screen. What you are able to do here is edit the name of the current Profile and give it a description. You can also add or remove this profile from the onboard memory. A nice feature listed here is the Applications Assigned option. What this allows you to do is select what programs will use the current Profile when ran. Last on this page is listed LED Color and this particular options will let you change the color of the sensitivity (DPI) status LED’s.
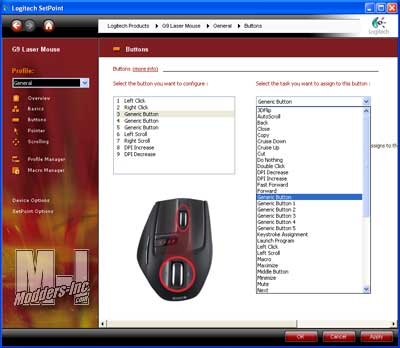
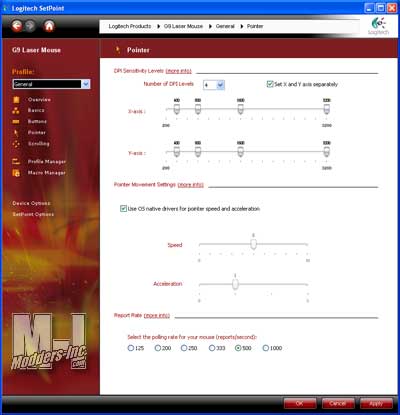
Here we get into the gamers dream area, Pointer control. This is were you can set up the sensitivity of the mouse. You can control the X and Y axis to use one to five levels of DPI control. The level of DPI control ranges from the minimum 200 DPI to the maximum 3200 DPI on both axises. You also have the option to have the axis separate from each other or set to mirror the other one. For your normal duties in windows you can set the speed and acceleration and finally the Polling Report Rate and be set to 125, 200, 250, 333, 500 and 1000.
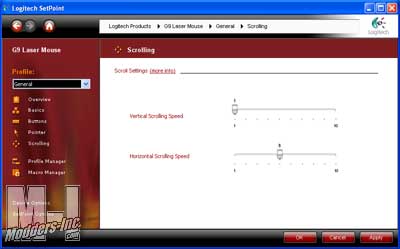
The vertical and horizontal scrolling speed are also changeable to you liken. Ah the profile manager. What you do here is set which profiles that you would like to be stored on the Logitech G9 Laser Mouse. You can also have is set so that the Profile switches automatically to a certain application when it is started.
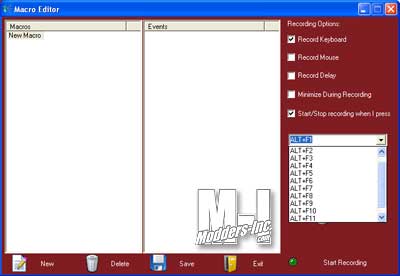
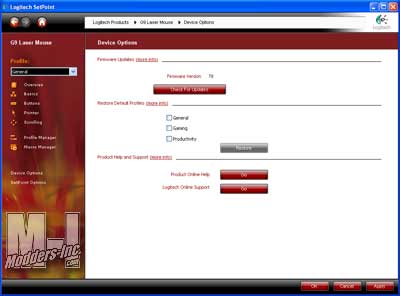
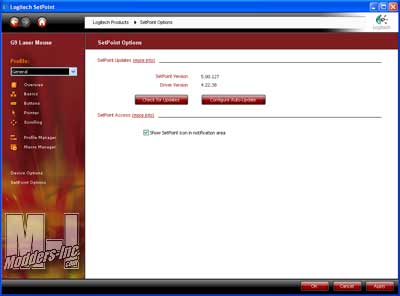
The last cool feature of the nwe Setpoint software for the Logitech G9 is the ability to create macro’s. Sure other can do this but not all of them will included the Record Mouse feature! This is one thing that I really hoped that was implemented and it was. So many time I could have used this, but all you could do was use keystrokes. Many different options are available in this menu and I think may more people will use it with the Record Mouse feature. Next to the last screen we have the Device Options menu. Just a few things we can do here such as check for firmware updates, restore profiles to their default factory settings, and help/support links. Lastly we have arrived to the final screen labeled SetPoint Options. We are limited on what can be done here but it is pretty important. The SetPoint and Driver versions are displayed along with being able to check for software updates, configure auto-updates and turning off the SetPoint Icon in the taskbar. |
