Logitech G11 Gaming Keyboard
Installation |
|
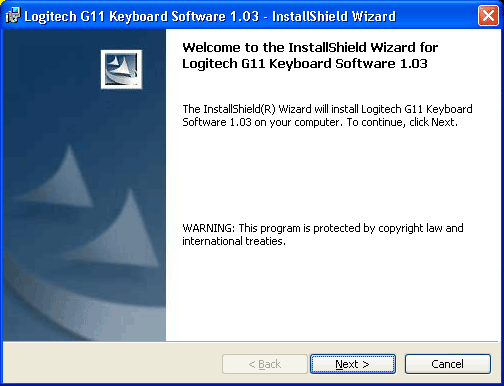
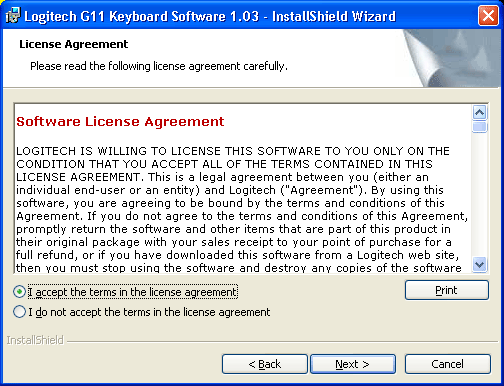
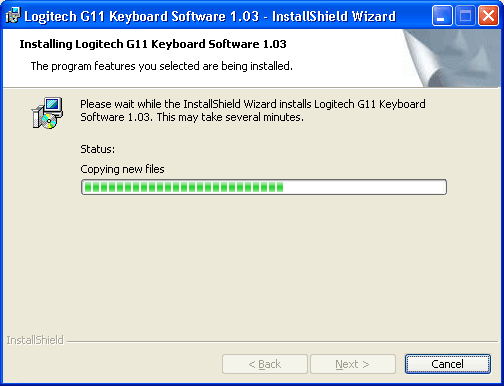
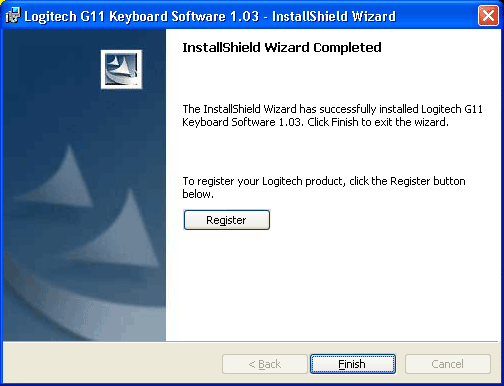
The installation of the software for the Logitech G11 keyboard went smoothly and without any problems. The installation procedure is your typical series of yes/no and next clicks to install the software.
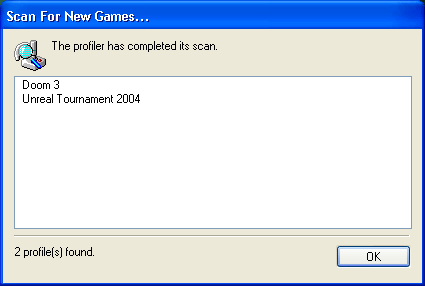
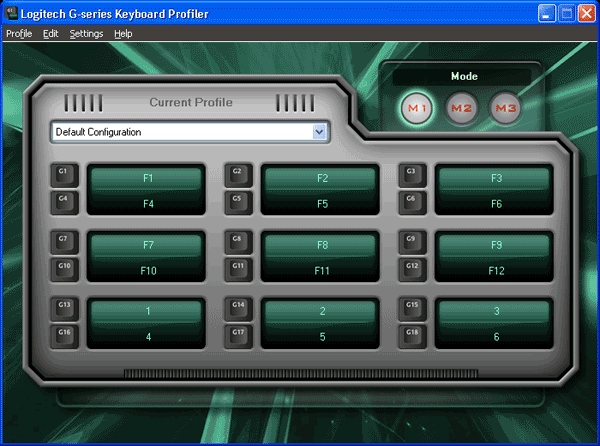
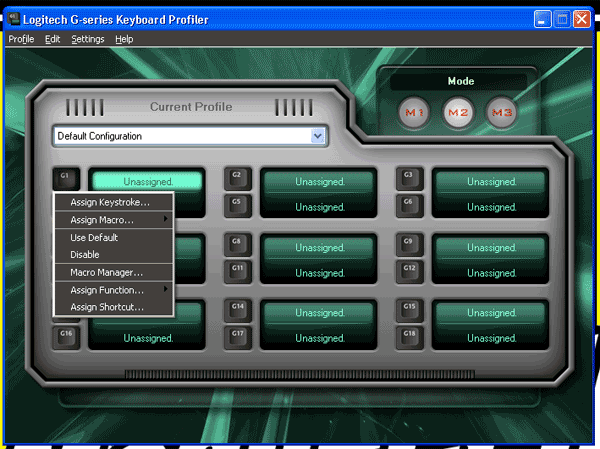
Once the install is completed, the software searches your system for games that it may have profiles for. A box appears showing which games have profiles and are ready for you to use. Underneath that box is the g series keyboard profiler which shows the key configuration setups it found plus the default configuration.
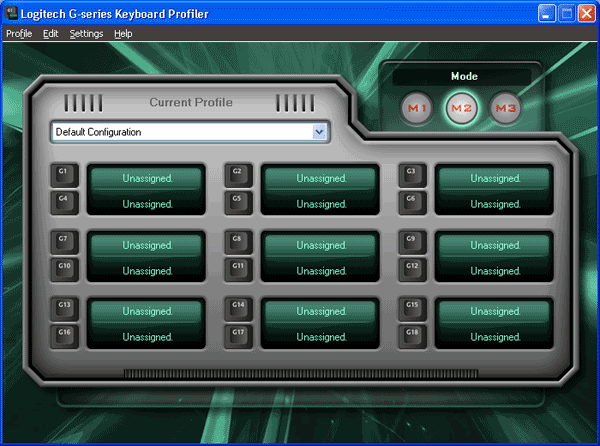
The G series of keys on the left-hand side of the keyboard can be assigned any task to replace any key on the keyboard. You can create your own macros for each of the 18 keys by using the macro manager. Using the macro manager is unbelievably easy which is a great change of pace since some software developers know how to create a great program, but have a hard time creating a user friendly interface.
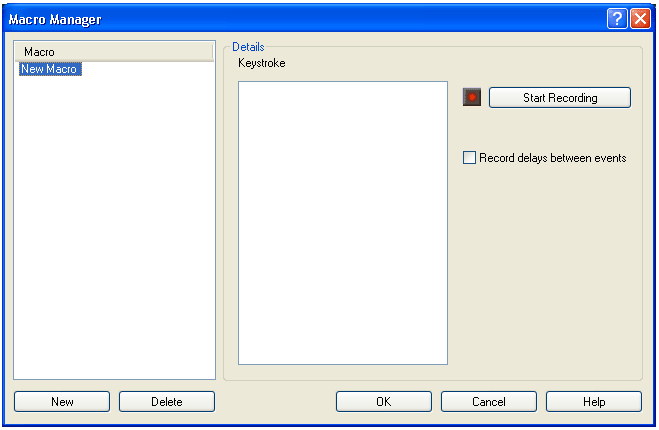
You can create a new macro by clicking on any of the unassigned key, select the macro manager, and create a name for your macro click on the start recording button and then type in the keystrokes that you want the macro to do.
You can also record delays between each keystrokes. So if you want to take the delay between switching of weapons, words, or what ever you can have it included in the macro. When finished creating your macro click on the stop recording button, and finally click on the okay button. You now created your first macro and editing the macro is just as simple as creating a new. You can either edit the whole macro or select a particular keystroke that you have and it can be edited. 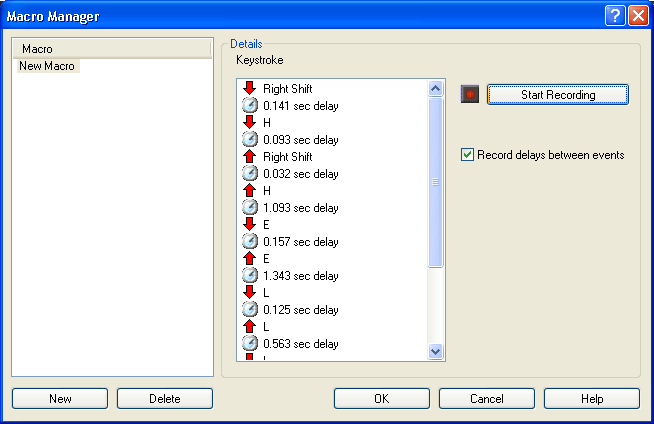
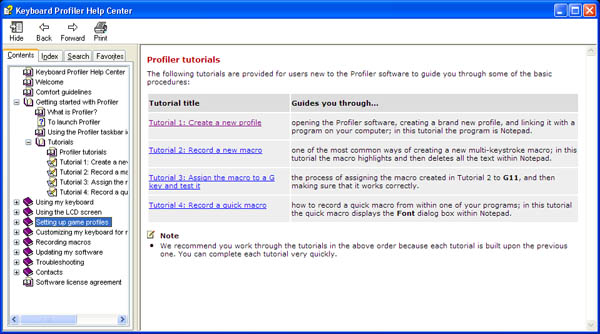
Logitech has also included a great tutorial on how to set up all the functions on the G11 keyboard. You can either look through the index or search for what you are looking for. Just about any questions you may have can be answered through the tutorial section. |
