PC Cases / AccessoriesPC Hardware Reviews
Lian Li Pitstop T7 Mini-ITX Test Bench
« Page 2 | Page 4 »
Installation |
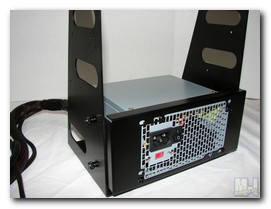
Basically the assembly manual for the Lian Li T7 is also the build manual, sort of that is. Once the rubber feet have been mounted, you mount the rubber strip onto the psu support brackets. Then you attach the psu mounting bracket to the rear of the T7, mounting essentially one T7 side panelat a time using the provided thumb screws. Once the psu bracket is installed, you then mount you standard sized power supply unit with the provided psu screws.
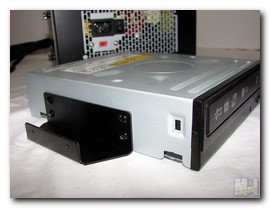 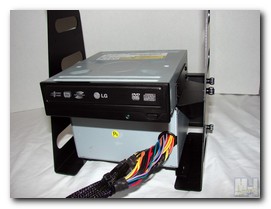 For the next step (pic 1), you mount the two optical drive mounts to your standard 5.25″ optical drive using the provided optical drive screws. After both mounts are attached to your drive, you mount the drive and mounts to the T7 just above the psu using the provided thumb screws.
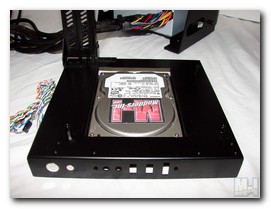 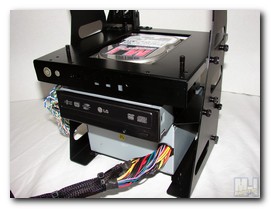
Next you add the HDD rubber bushings to the HDD mounting bracket, which is built into the underside of the motherboard tray. Once you do this you mount your 3.5″ HDD into the HDD mounting bracket using the provided HDD thumb screws. These 4 thumb screws have a flat head with a shoulder type shank to utilize the rubber bushings you installed and cut down on vibration. Once you have the HDD mounted, you then install the motherboard tray (with your HDD mounted to it) into the T7 above the 5.25″ optical drive using the provided thumb screws.
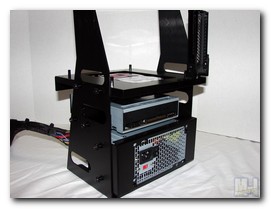 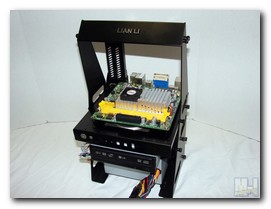
Once you have the motherboard tray mounted you mount the pci expansion slots and adjust your motherboard standoffs to the correct height. Next you put the handle together and mount it with the provided thumb screws. Then you may mount your mini ITX motherboard for testing. Yes, it is just that simple and you can do this all in 30-45 minutes time. Is that slick or what!
|
