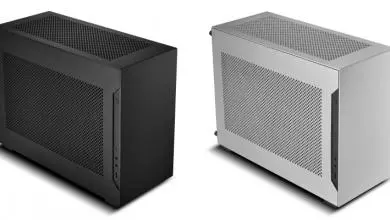
Lian Li PC-Q10 Case Review
Hardware Installation
Motherboard installation is simple enough due to ITX having a standard set of four mounting holes.
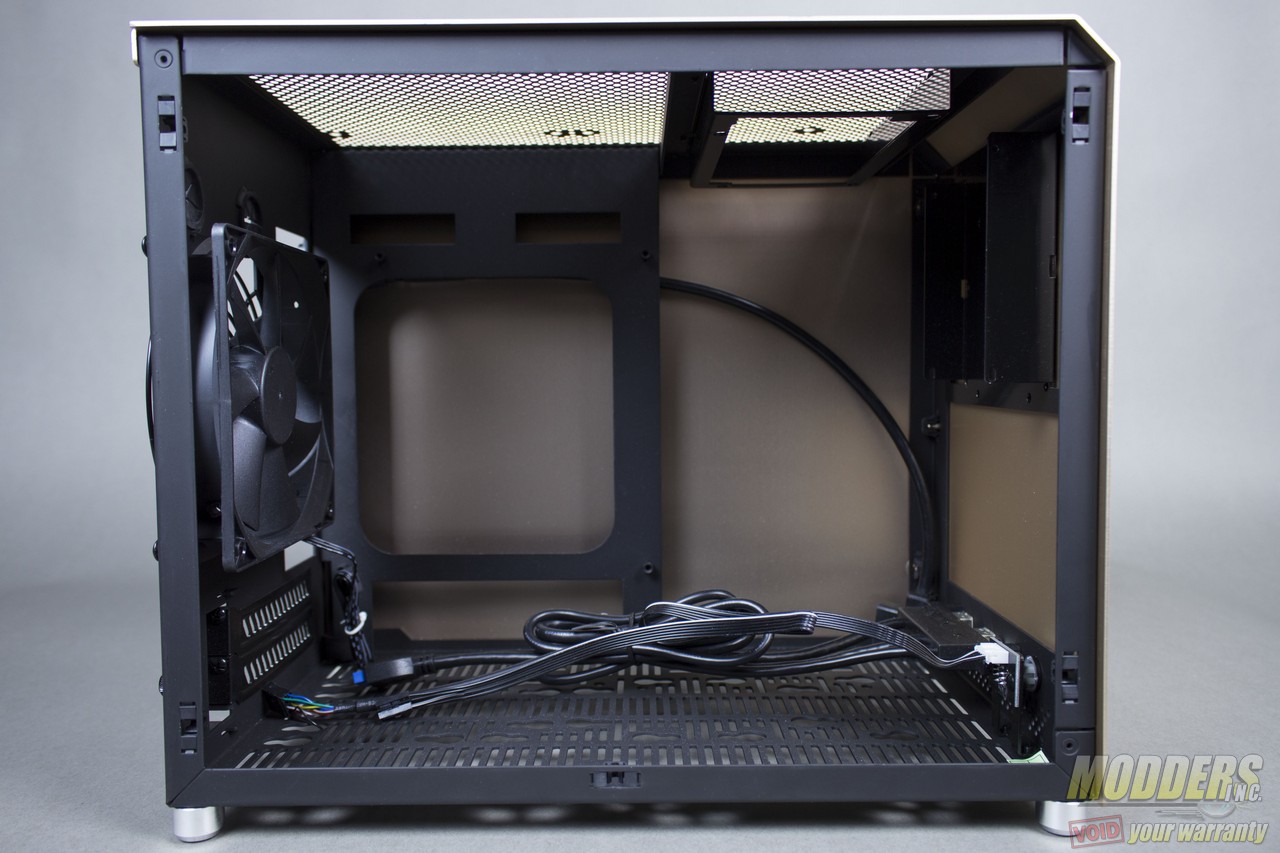
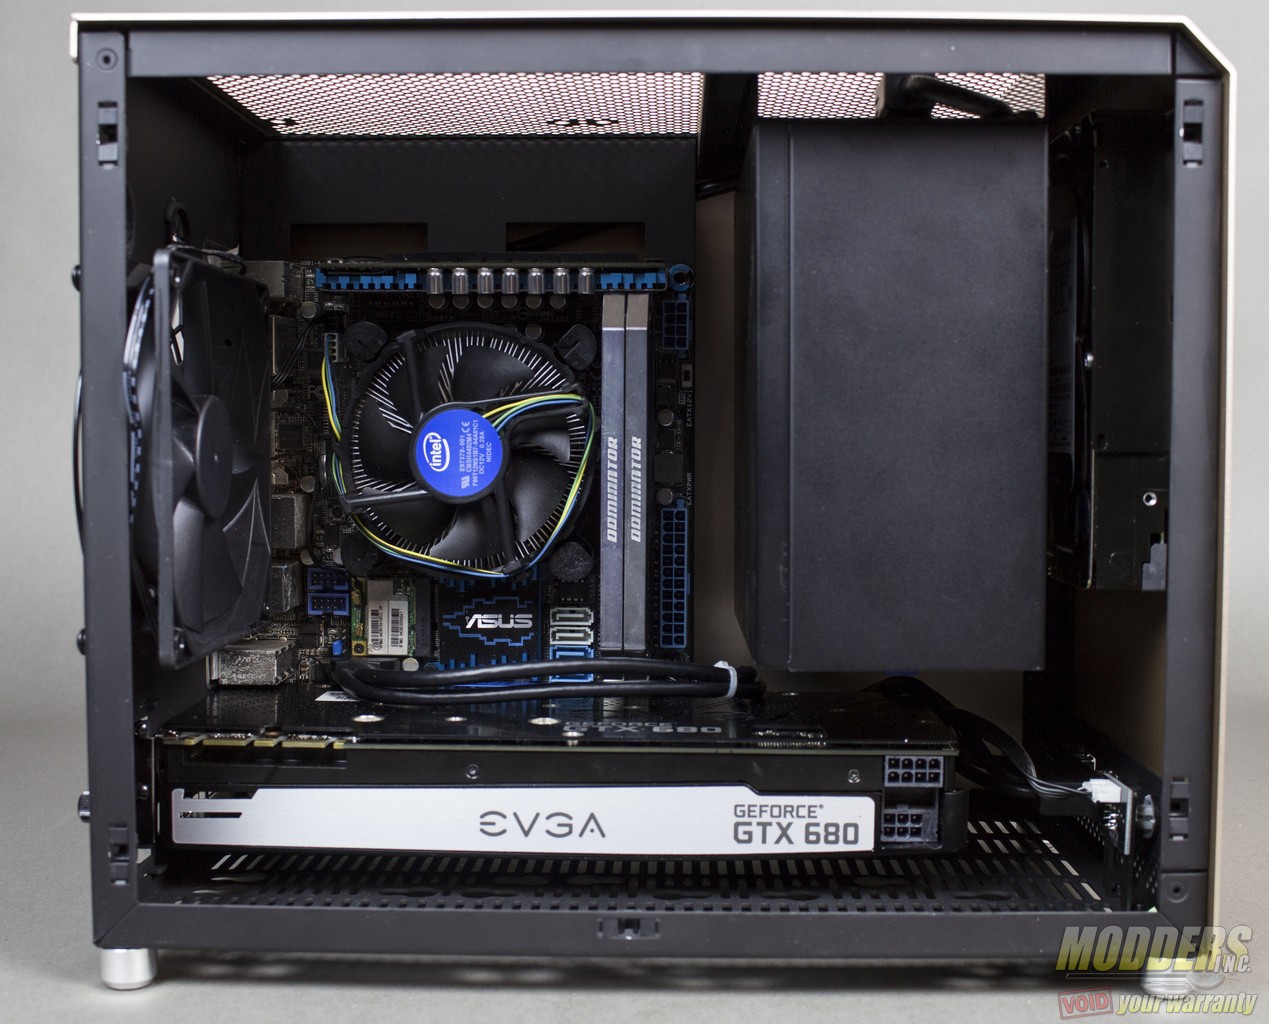
After I connected the front panel cables and fans, the motherboard was installed next and the CPU cooler after. Due to the large cut out at the back panel, installing the heatsink when the motherboard is mounted is possible.
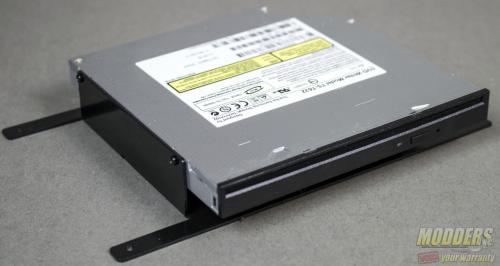
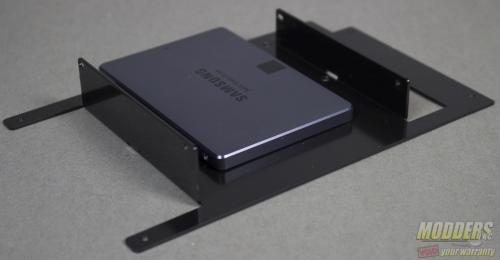
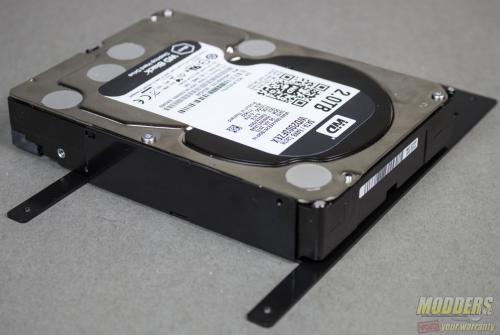
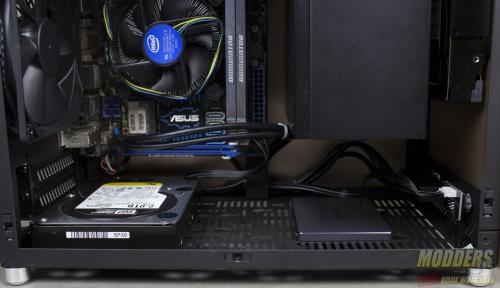
The optical (ODD)/harddrive (HDD)/solid state (SSD) bracket can be set up in four different configurations. It is great to see Lian Li covered so many bases with one simple bracket, especially since ITX has a track record of being the most restrictive form factor. Drives are locked into place using a grommet that is fastened with a large screw.
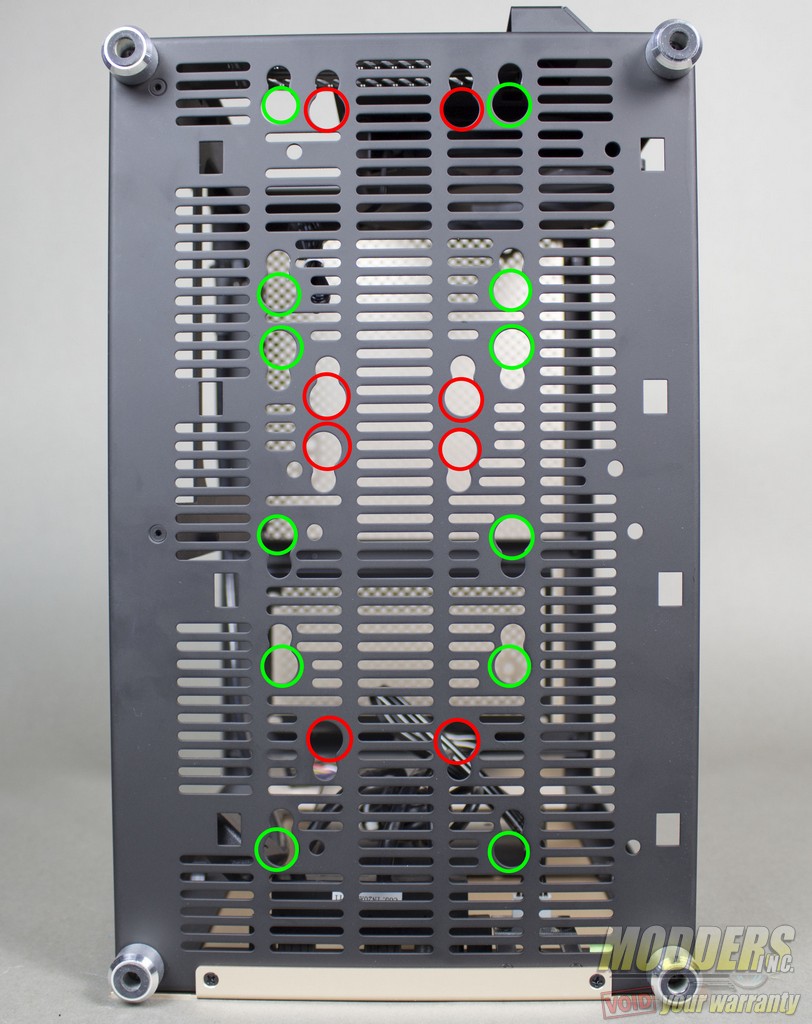
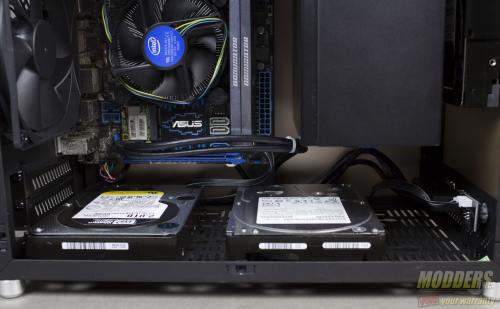
Moving to the floor of the chassis we can see a series of perforations and mounting holes. Circled in red are the locations for the mounting holes for the 3.5″ HDDs and in green are the locations for the 2.5″ HDDs/SSDs.
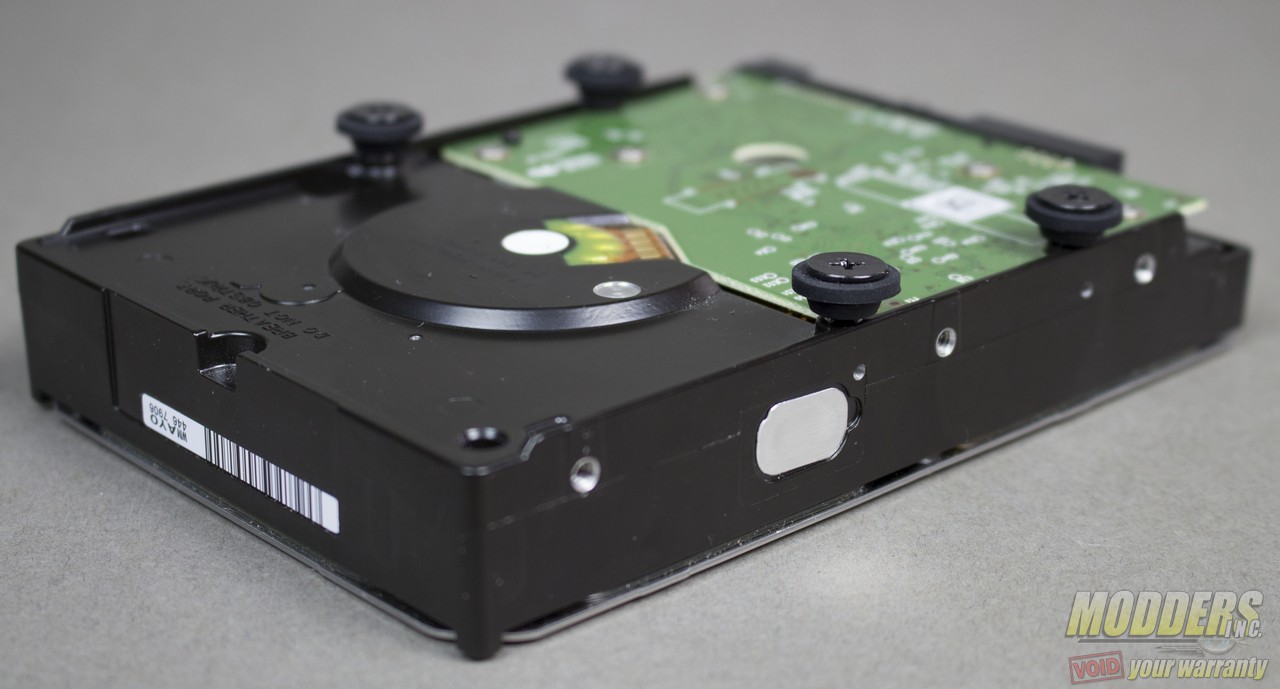
The drives are locked in place using a rubber grommet with a large headed screw to attach to the drives.
The chassis fits either three 2.5″ drives on the floor of the chassis or two 3.5″ drives. Keep in mind however that using any 3.5″ drives on the floor will result in clearance issues with dual slot graphics cards (GPUs) and depending on the location of your GPUs fan'(s) it is possible to block airflow to the GPU, when utilizing the 2.5″ mounting locations.
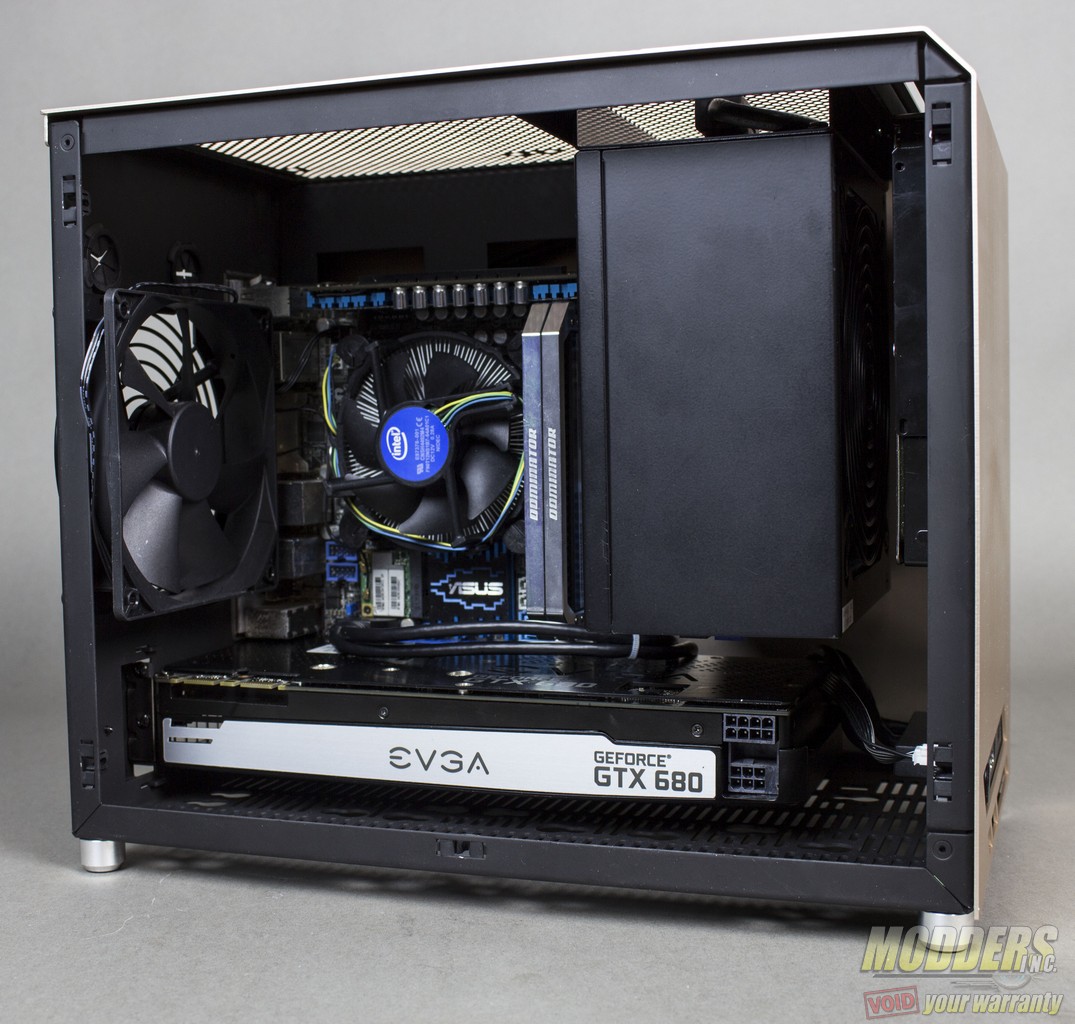
I would recommend running your cables to their components first, then connecting them when you install the PSU. The reason I recommend this is if you install the PSU first you may have difficulties reaching the ports on the PSU if you have an extended length GPU. Once you have your cables run to their respective components, go ahead and install your GPU. It is important to note where the fan is located on your GPU to make sure the intake is not being obstructed by an SDD/HDD.
The last component I would recommend to install is the PSU. Now according to Lian Li’s website it is recommended to use PSU that are no longer than 150mm in length. This does limit you to which PSUs you can choose from. Personally I would recommend either an SFX PSU or one of the 140mm compact PSU models. I did not have a compact PSU to use in this installation set up, but I did find my Silverstone ST75F-P which measures in at 160mm in length has about 3/4″ of clearance above the range of an extended GPU. You could make a custom set of cables, which is recommend for ITX case to help decrease clutter, but with only the 3/4″ of the clearance, you would need to pull the cables are almost a 90 degree angle to avoid having the cables press down on the GPU.
Lian Li does show on their website that the case will support a 240mm radiator, however with the PSU bracket located at the top, I did not see a way to utilize the 120mm fan mount located at the front of the top panel. Also while you can use an AIO with this case, be mindful if you have a motherboard with a raised daughter board such as the ones found on the ASUS ROG impact motherboards, mounting the AIO from above will not be possible.
