Lian Li Mini Q PC-Q08 Computer Case
A Closer Look – Components and Design |
| As we take our first full look at the Mini Q case we can see that there are very minimal features trying to say “Look at me!”. This, of course, is made on purpose for those that are going to use it for a HTPC or displayed on a desktop in full view. This trait is a staple in most of the case designs from Lian Li. On the other side you have gamers and case modders that do like this type of styling as it gives them a great base to create a custom looking case, so actually you have the best of both worlds.
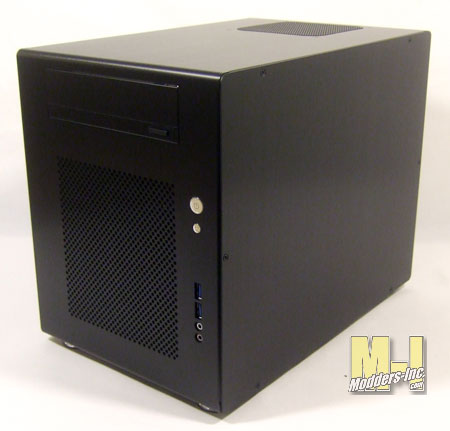 The Lian Li Mini Q is just as it is stated, Mini. With the dimensions of (Width) 227mm – 8.9 inches x (Height) 272mm – 10.7 inches x (Depth) 345mm 13.58inches it is designed to hold the Mini-ATX style of mother boards. This compact design is ideal for those that want to make a portable gaming machine to take to LAN parties and for those that want to make a the ever popular HTPC (Home Theater PC). Constructed of black anodized aluminum the empty case is light weight (2.7 KG – 6.02 pounds) and rather stylish. 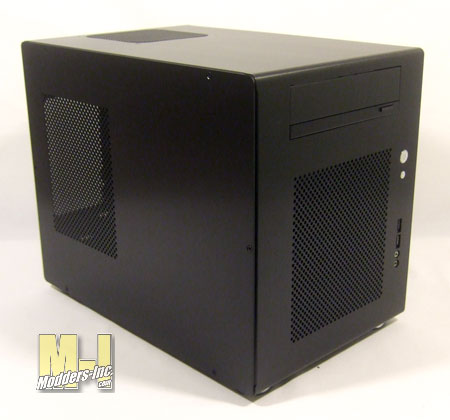 Located on the left side of the case you will find that the side panel has been drilled to act as a air intake. This perforation is placed right were the power supply unit (not included) will be located. The intake fan from the power supply will pull cool air from outside of the case and pass it through the PSU and out the back, eliminating any hot from staying around inside of the case. 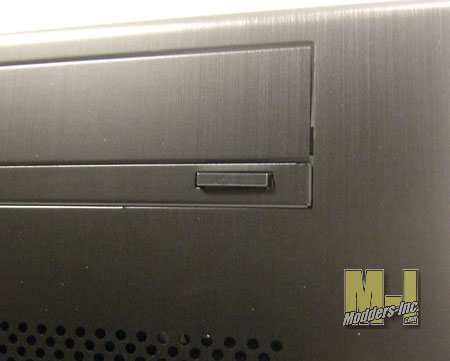
You have on bay to install you CD/DVD/Blu-ray ROM drive. The drive itself will be hidden behind the spring/hinged door. The extending button just below the door will be the way you access the ROM drive. By pushing on this button you will actually be depressing the button on the drive. Do it this way keeps the overall look of the case even. I mean come on do you really want a beige drive sticking out of this beautiful case?
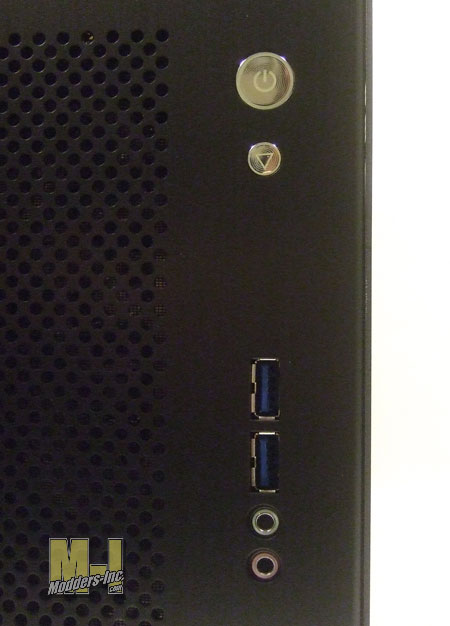 The only items that stand out on the front right side of the case is the on/off button. power light, two USB ports and the front panel audio jacks. 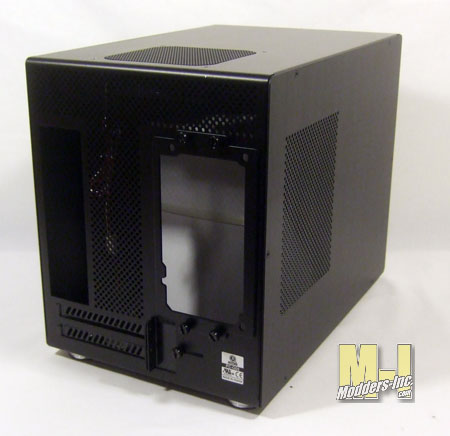
Moving our attention the rear of the case you may notice a huge hole; that is where a full-size power supply can be installed. Yep, you can put in a heavy duty PSU to power your unit. A thumb screw removable plate is used to secure the power supply into the case. Now remember this is a small case so I would recommend that you use a modular cabled power supply. This way you can use only the cables you need.
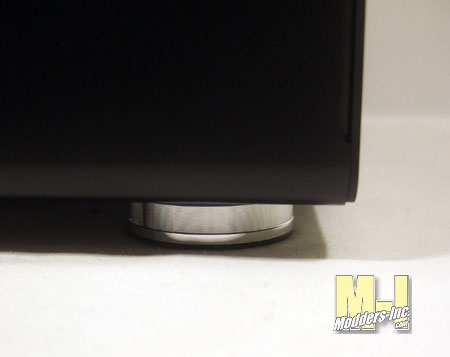 No cheap rubber or plastic feet here. The quality design is carried on here with some aluminum feet that has plenty of rubber surface to insure that the small case is stable where ever you place it. 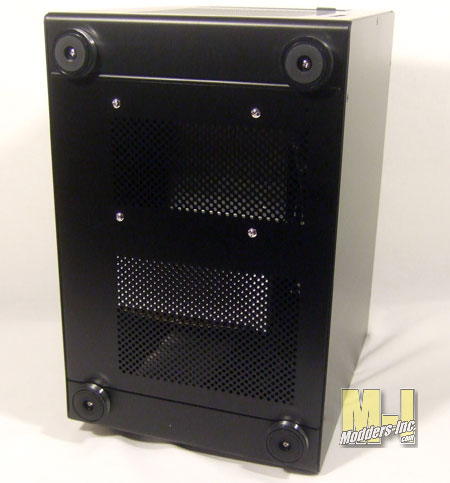 Taking a look at the underside of the case we can see that there is plenty of ventilation to help keep the innards of the case cool. There are no cooling fans located at the base as the design of the case is using the front and top fans to induce and remove air for the case. This wind force then pulls in air from the bottom of the case. The power supply itself is used as a means to remove air from the case as it’s fan pushes air out the back of the case.
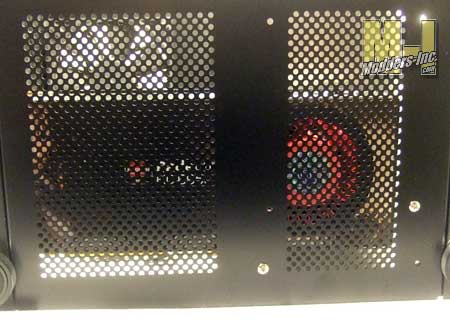 The perforated bottom not only brings cool air in to the case but it also allows cool air to be drawn into the graphics card. As you know fans are located on the bottom of all video cards and with all the components installed the video is at the bottom of the case creating a perfect intake for the card. |
