Keyboard Mods
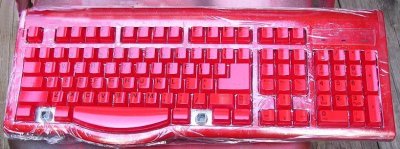
Now is the time to double-check your placement and spelling before the clear coat is applied. Once the coating is sprayed on it is no return without starting over. I left them in the keyboard top for the clear coating with the plastic wrap still on. The keys received three coats with a good long drying time in between. The below photograph is of the keyboard as the final coat is drying, just before I moved it indoors for the night. The only keys not on are the windows start keys as all the keys have to come off to remove the plastic wrap. Removing them in-groups, removing the wrap and then replacing the keys was the easiest for me.
Clear coated keyboard, shiny goodness
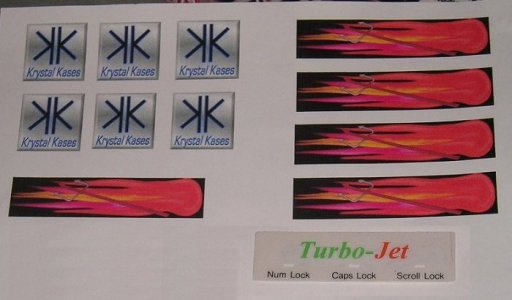
First is the "Why?" on changing the badge. I have just painted the keyboard and already can see that the one that was on it is not matching. Second, I moved the LEDs so the names and windows on it aren't needed. Finally, I wanted to do something cool in that space. I am going to make it in the theme of the case it goes to, with a light behind it. The light is going to be the scroll LED since it doesn't matter most of the time whether or not it is on. First I measured up the old badge, added a little extra and started a design in a photo editor, and while I was at it… a few Krystal Kases Badges. The hardest part of this is getting your idea to look good that small. My best tip for this is high contrast works best for this process.
Custom design work to replace stock keyboard logo and some badges
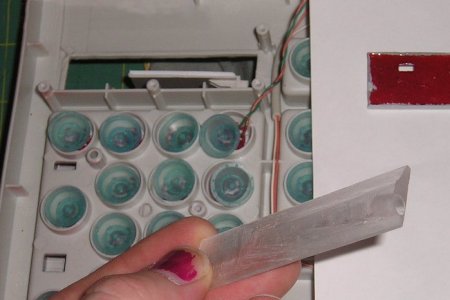
Cutting the lens for the light is pretty straight up. I use 1/4" plexi because it is easy to drill in the LED. The photo shows the shape I cut with a hacksaw. Leaving the plexi rough gave the best light effect. I then cut the hole where the old badge was and the new lens is going to be using a razor knife. Beware of any wires you might have near the cutting area, there was very thin plastic here so I waited until now. If you have more, or are unsure of your cutting, do it before painting. I measured twice, cut small and then trimmed to a tight fit. It is always easier to re-cut rather than try and glue across a big gap.
Lens to illuminate custom logo and the keyboard cutout area
I dry fitted the plexi lens and then got out the masking tape to secure it for gluing. After I checked the levelness of the plexi in the hole, I then glued and waited for it to dry. One finished window, and on to the badge to fill it. I used this thermal laminate system that my honey got from work, but I did some checking and anyone can get these. Most office supply stores have them online. They are the I.D. Badge size and they are 6$ for 25 of them, and if you own a cloths iron you can do them at home!
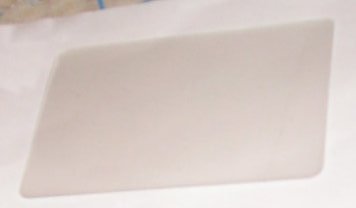
Thermal laminate card
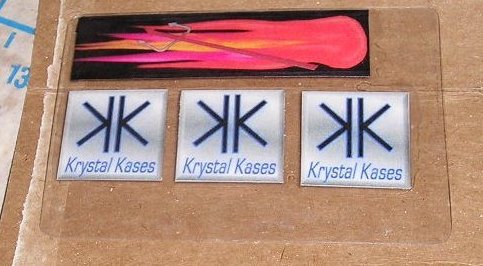
With the print out from the photo editor, cut out enough badges to fill the thermal laminate. Warm up the cloths iron set to the beginning of the cotton setting. Get some tagboard, like a cereal box, and cut enough to cover both sizes of the laminate. Fold it in half and sit a heavy book on it till needed. Place your badge cutouts in the laminate pocket with a 1/8" to 1/4" space between them, then place that in between the tag board. Now get ready to iron them for about 30 to 45 seconds on each side, and check for the clear sealed, and warmth on both sides. If not repeat immediately before it sets. It should appear as this finished one. After it cools cut to size and tack it in with your favorite glue. I just dabbed the four corners and stuck it in there.
New keyboard logo and custom case badges
After the glue has all set, and the parts can be handled, get out all the parts in one place. Get a soft cloth and a pair of books to put the top board on. Put all the little rubber cups in the holes for the keys, except for any key you put switches. Trim the sockets as needed to get a good fit. A wire can stop a pad from contacting with the mat. Now mount the PCboard back in, carefully making sure not to crush wires. The plastic mat is next, after a final check that all the wires are not in the way of the cups, alignment posts, or screw holes. This mat is placed in and then lined up with the connection to the PCboard. Double check the mat, a hair is enough to stop one or more keys from working. Then a spacer is placed over top the connection to keep it tight after the bottom is screwed on. Place the bottom on and check the cable exiting the two pieces. Screw on the bottom and then flip it over. Add any keys you may not have till now and your done!
Afterthoughts
Would I do it again? I would do parts of it again. But as a whole probably not again. Once done why repeat it? It was more time involving than I originally had thought. I did enjoy the challenge more than I could explain. This project turned out to look mostly like I wanted with a minor disappointment in the brightness and fill of the LEDs for backlighting. I hope you get a good idea or two from this.
Finished Photos:
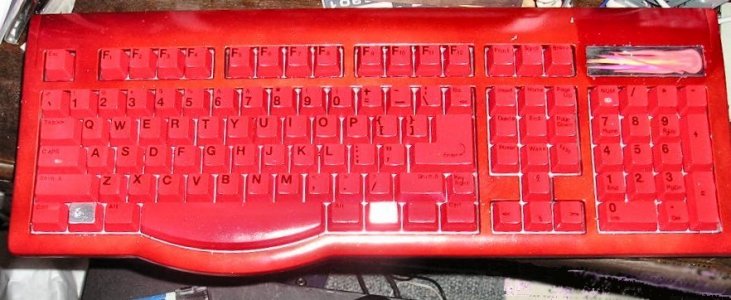
Day shot without lights just to show the finished board.
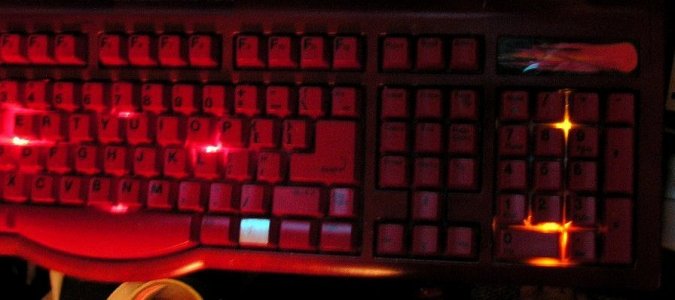
Night shot with all the lights on-note the illuminated badge.
Disclaimer
This guide is for informative purposes only! We (Modders-Inc.) will not be held responsible for any damages caused to or resulting from anything that you have decide to do to your case or hardware. We (Modders-Inc.) will not be held responsible for injury to your person or others as a result of you or others attempting any of the things that are shown on this site. You are responsible for your own actions, whether your actions are based on information gathered from Modder-Inc or its affiliates. Always use the proper tools for a job. Always wear the necessary Safety Equipment.
