Keyboard Mods
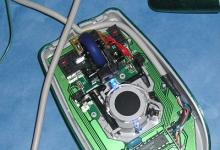
First, remember to do the math for the proper resistor, as well as use a good Multimeter. There are many good LED calculators on line, and most good mod sites have a link to one, if not their own. I did 6 LEDs in parallel, from 5volt+ which is a 33 ohm resistor. Now here is where the Multimeter comes in handy. every model keyboard or mouse I have opened seems to have its own color code, known only to the guy who assembled it. Get out the meter and go to the ohms scale. Follow the pinout below to figure out which pin is the 5volt+ and the ground by testing from the pin to the connection in the keyboard. The description below is information from The Hardware Book ). I got lucky and had a nice set of solder pads to test and connect to, but some that I have seen would be a pain to test, solder or both. This is where you need true patience! I had to unsolder my ground twice before I could get both wires to stay.

|
Mini-DIN | USB |

|
|
| +5V | 4 | 1 – VBus(Power) | ||
| Data | 1 | 3 – Data+ | ||
|
6-pin MINI-DIN Male going to the computer. |
Gnd | 3 | 4 – Ground |
4-pin USB-B connector going to the computer |
| Clock | 5 | 2 – Data- | ||
| This is courtesy of The Hardware Book. | ||||
Painted the Keyboard- but you still have those bland keys. One option: leave them alone, and live with it. Your other option- paint them and the lettering as well. I type well enough to do chat in the dark but that is ugly, and I need the letters from time to time. So what to do? I found a way to have both worlds and some style. The answer is rub-on letters! They are at Hobby shops, craft shops with the drafting/lettering tools, and even a on-line hobby supplier has them for sale. I got black, Helvetica in two sizes to match the lettering of a sticker on my case. Now those bland keys are going to be prepped for paint in the red from my case.
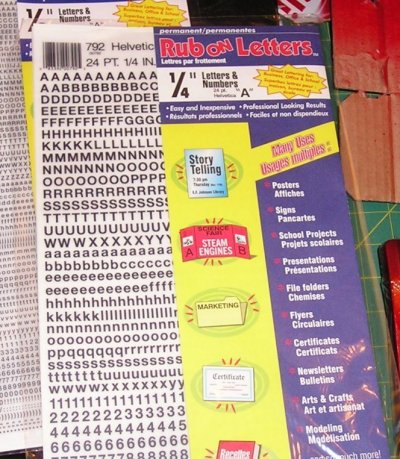
Rub on letters in two different sizes
The next step is crucial if you want to get done, and not get a headache. Take the keys that you removed in the disassembly process and your photos, and notes. Now onmasking tape, placed sticky side up on cardboard, start putting them in order with space between them for painting. Make sure they are stuck in good, or you will have them falling off when you move them. As you can see, I split my board into two sections the alphabet and the number/ control set. Paint them, check for misses, and allow then to dry fully. While the paint dries, grab the plastiwrap, and cover the keyboard top. This makes for a great holder for the keys when lettering, and stops scratches.

Keys stuck down and ready for some red paint
Get the dry keys, the letters, tape, and the board top. Start moving the keys a few at a time for lettering to the board. Then a single digit or character can be done by eye, but in the case of the number pad, slice the tape in 1/8" strips about enough for three to four keys. Tape a line above or below where you want the word on the key. The next couple of photos show my taping for the bottom of some keys, as well as some already done.
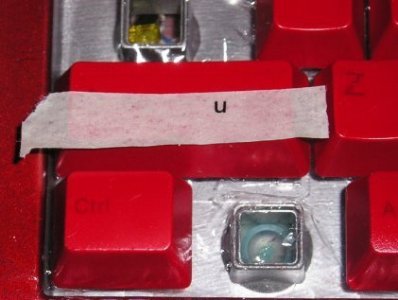
Use masking tape for a guide line when lettering the keys
I suggest that the small lettering be done first and start opposite of your writing hand, it keeps your hands off the work as much as possible. Also keep the paper sheet under the rub-on sheet as much as you can, sometimes they will stick without rubbing. If you make a mistake or a extra letter sticks, it can be removed with a toothpick and a little scraping. I also covered the done keys with a extra sheet of paper when done or when I wasn't working on this. Just lay it on top and fold under the edges to keep in place.
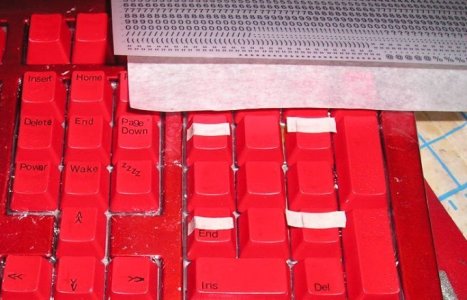
Almost finished with all the small lettering…
Need characters that aren't on the sheet? Just make them up, as in arrows made from extra V's and Y's. Brackets can be from D's if you tape the key where you don't want the part of the D and removing the tape at a sharp angle, removes the curved part leaving a [. The parenthesis marks "{}" on my keys are made from comas. If you look at your font set leftovers and think a little you can make all the extra marks that are on your keyboard, and then some you may want to look different. My keyboard has a Sleep key that now has zzzz on it; the old turbo key is now for the key lights and is labeled as such. Also, I silver foiled the windows start keys. Have fun and make it yours!
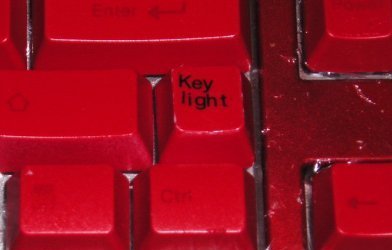
You definitely need patience and a steady hand
