Motherboard ReviewsPC Hardware Reviews
Jetway Hummer HI06 Intel H55 Motherboard
« Page 2 | Page 4 »
A Closer Look continued… |
Highlighted here is a 4-pin (molex) power connector that supplies extra 12v / 5v power to your system. Just below that is the PCI Express x1 slot for other devices such as an add on audio card.
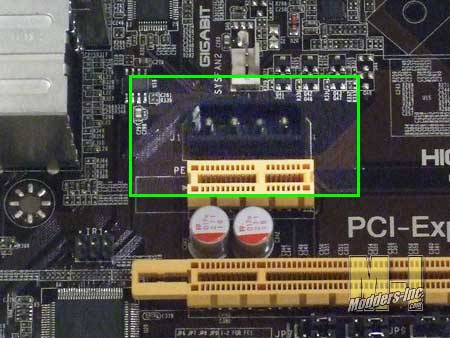
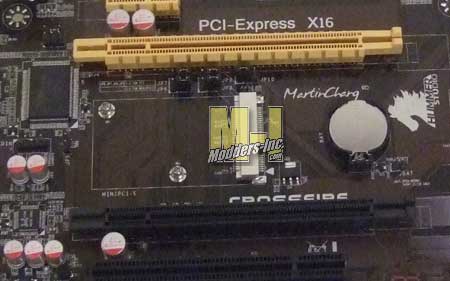
Next we can see that the HI06 is ready for a dual graphics card setup which is Crossfire, as we can is it stated on the motherboard itself. The specifications label the PCI-E slots as x16, just keep in mind that the 1st slot utilizes 16 lanes, and the 2nd slot utilizes 4 lanes.
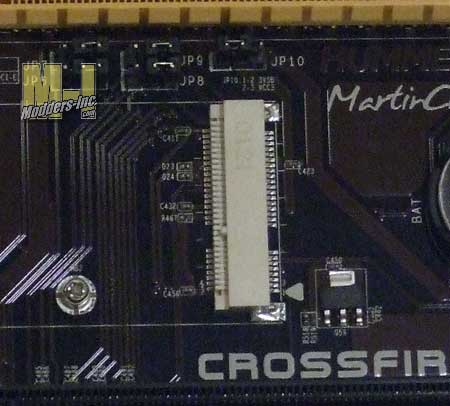
What we have here, between the two PCI-E slots, is a Mini PCI-E connection… “Ah what?” This is something that you would normally see on smaller mother boards and laptops. This allows you to install a rather small SSD drive right in to the motherboard. (Link to one offered by OCZ)
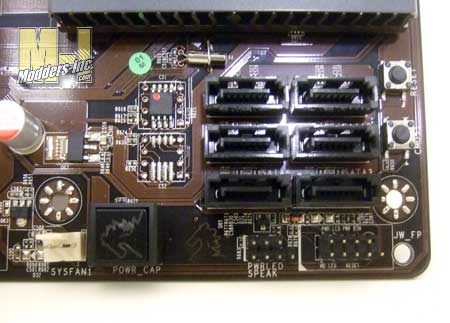
In this corner of the Jetway HI06, we see that it is pretty darn packed with stuff and I will see if I can get us through this without getting us both lost. Once again I will start on the left side and will travel to the right. The white pin out is system fan 1 (out of 2) and right next to that is an On / Off button to power up the system. I have noticed that this has become more and more common on motherboards. Taking a small step up we come across the six SATA 3.0 connections. Right under that sits the header pin outs for the front panel and other connections. If you look to the upper right side of where the SATA’s is you will see two small momentary buttons. The function of these are the reset button (top) and clear CMOS (bottom). This are rather handy when you are trying to overclock your system and have to reboot or rest your system often.
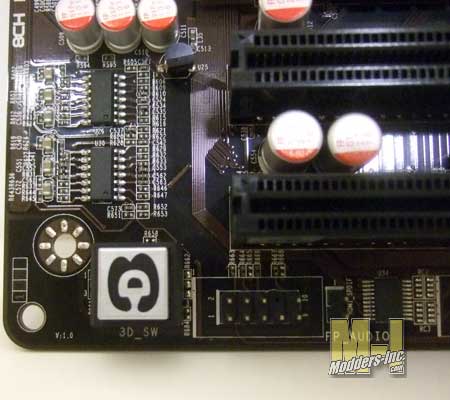
Towards the back of the motherboard at the bottom we have the 3D audio switch. Pressing this button will allow you to listen to your movies, music and games in true-to-life simulated surround audio. Unfortunately it seems rather awkward that you have to take the side panel of to turn on and off the 3D effect.
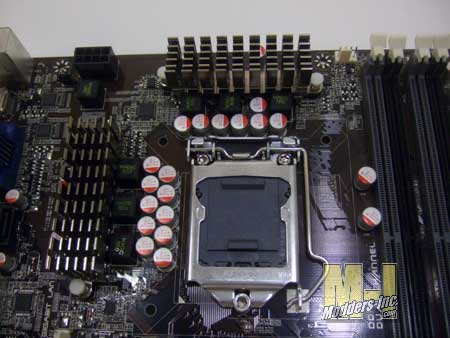
The possessor socket for the Jetway HI06 is the 1156 which will support the i3, i5 and i7 IntelCPU’s. Surrounding the socket and through-out the motherboard is the more heavy duty solid capacitors.
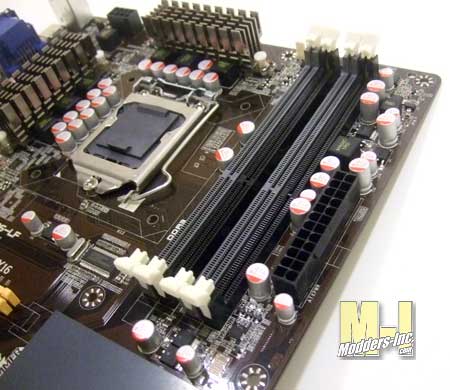
The HI06 can handle four dual channel DDR3 memory sticks from 1066 up to 1333 MHz with a maximum of 16GB. This gives you plenty of configurations to work with.
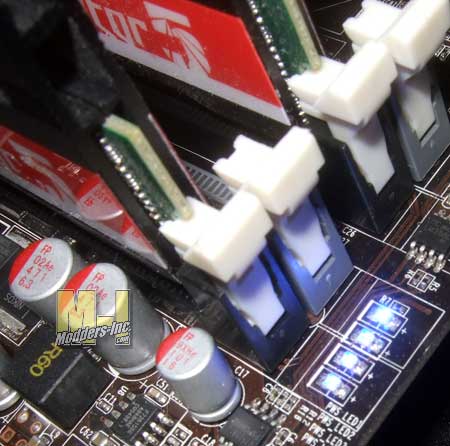
At one end of the memory slots you will notice that there are four super small LED’s know as the G.P.I. (Green Power Indicator). What these LED’s will do it tell you how much power you system is using. The less power bing used by the system the less LED’s will be lit. When I too the picture I was in the middle of doing some bench marks and we can see that all the LED’s are lit meaning that it was using the highest level of power.
|
