PC Cases / AccessoriesPC Hardware Reviews
InWin BUC ATX Computer Gaming Case
« Page 4 | Page 6 »
Mounting a BUC… hardware mounting that is! |
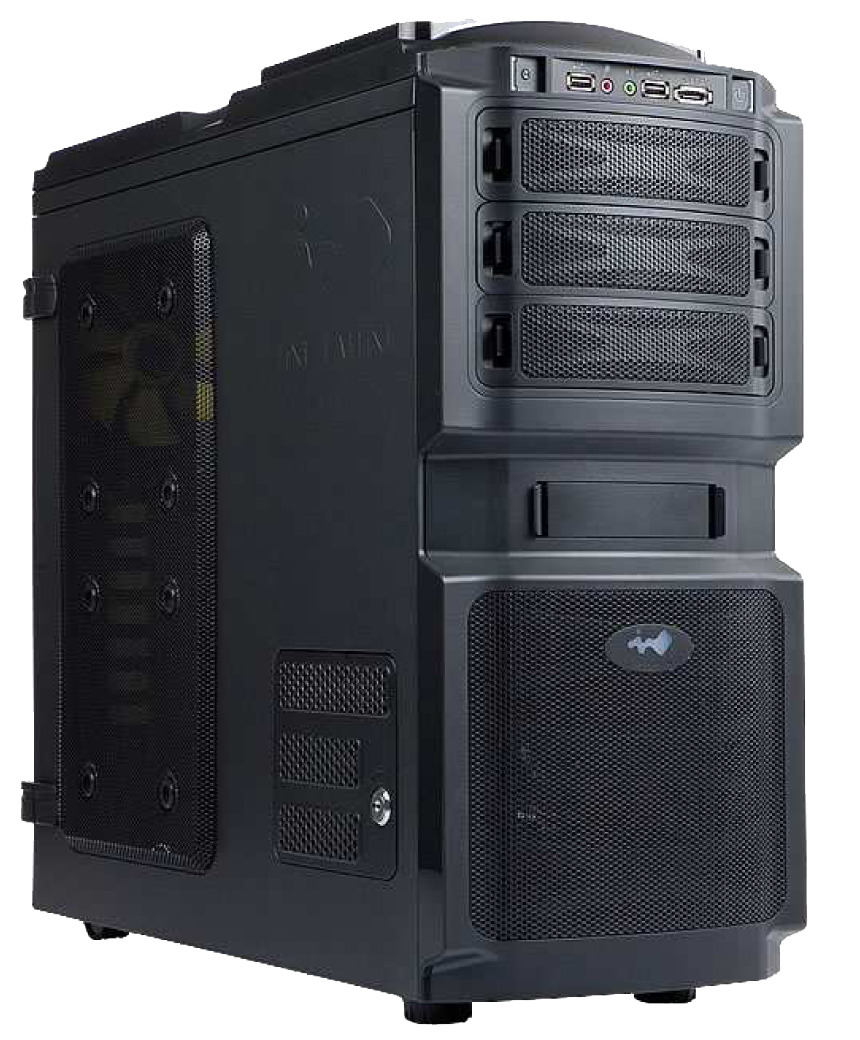
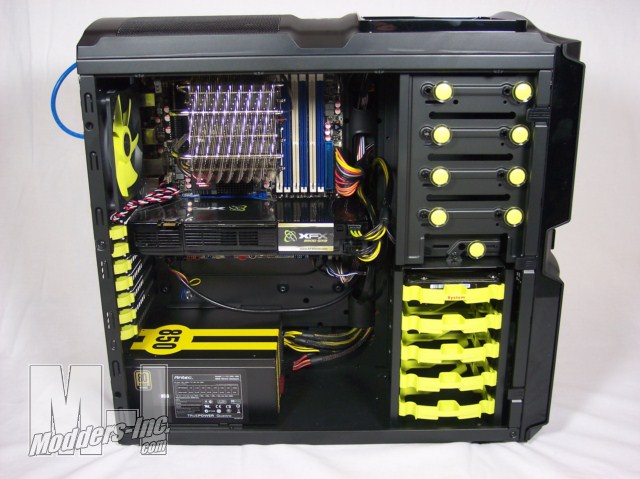
The BUC is deceptively large inside. With the cable race in the back, and some cable space on the back side of the drive bay area, the shot below was taken with minimal effort.
One thing I learned was that you need to install your power supply and route the cables *first*. My specific issue centered around the 4 pin motherboard lead that is supposed to come through the hole near the top of the motherboard tray, over the CPU back plate hole. Unfortunately, the motherboard covers the hole up to the point that you cannot route through it to the front of the motherboard. In order to make it work, I will have to undo the motherboard and feed the cable through, then re-attach the motherboard to the standoffs. Annoying. But the issue can be forgiven due to the fact that this is a mid tower case, and space is at a bit of a premium. The case will handle 10.5 inch/295mm video cards without issue. You still have unobstructed access to the cable holes below the card, so routing is handled easily. Past 10.5 inches, your card is suspect to run out of room length wise, and if you can make it fit, it will be covering the cable holes in the motherboard tray, so routing the cables becomes a little more complicated. The CPU heatsink clearance on the side panel is close. The Spin Q that I used is spec’d at about 155mm tall. I installed a 120mm fan to the side panel in the top location of the side. With a standard depth of a 120mm fan (25mm), the case side would not install properly. It was butting up against the CPU heatsink.
So, that said, if you have an ultra premium heat sink that is 155mm or higher, you will not be able to put the side panel on *with* a 25mm depth fan in the top spot.
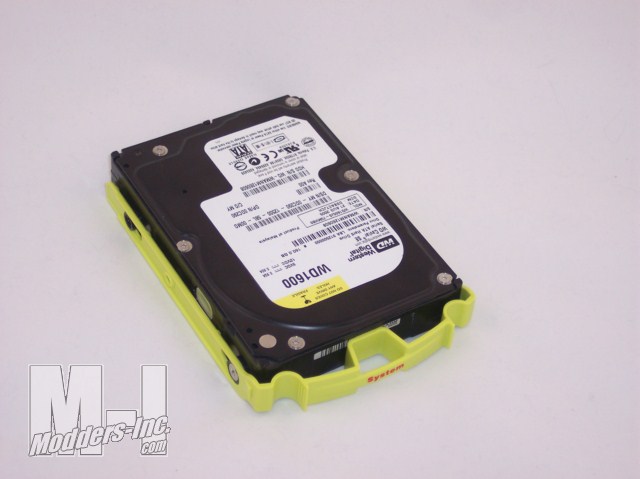
Mounting the hard drives into the caddy’s was a simple experience. Insert four of the rubber noise isolating grommets into the side holes of the rails, then use the special screws enclosed with the case. They are longer than typical screws, with threads that only go up about 1/2 the screw length. From the bottom of the head, the first half of the screw is a smooth cylinder, then the threads are on the lower half. This gives you the threads to screw into the drive, and the smooth cylinder to interface with the rubber grommet. Installation was very easy, and once installed, the drives clicked into the hard drive bay area with a firm and solid click. No shift, no give. Good secure mounting mechanism.
|
