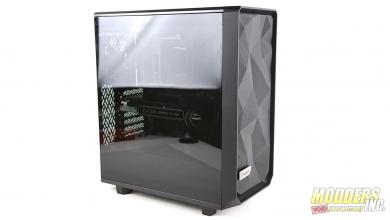
InWin BUC ATX Computer Gaming Case
Getting into the BUC…. |
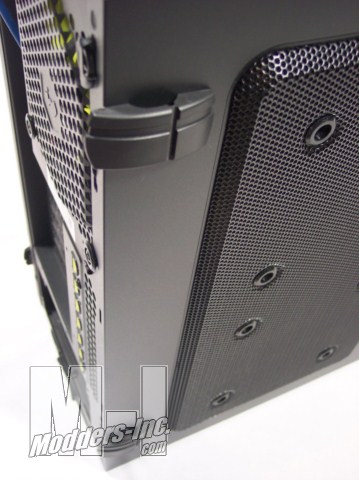 Need to get into the case? Easily done with the flip clips on the side. You simply pull them outward so that their internal tabs disengage from the case…. voila! 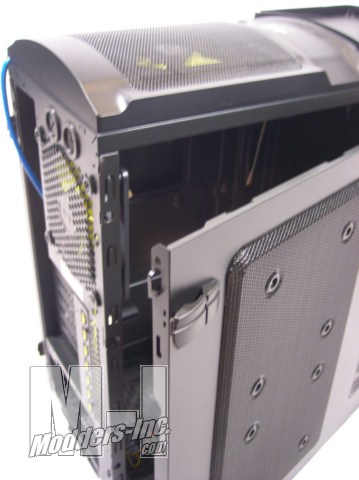
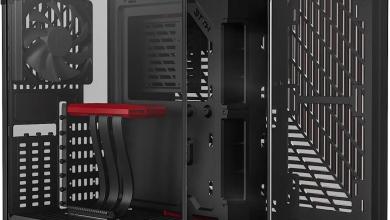
Once inside the case, you are greeted as follows:
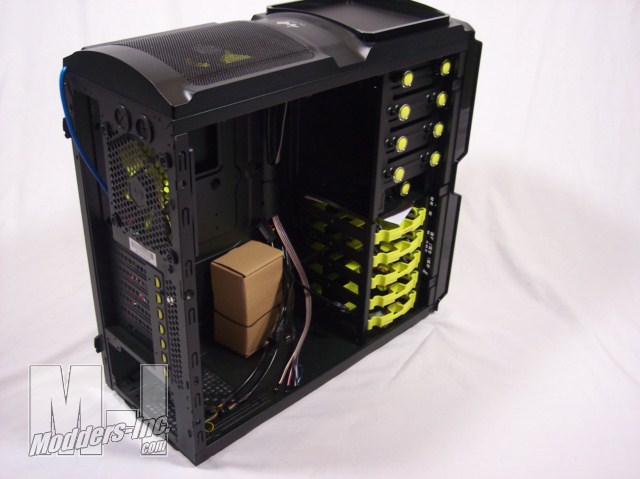 Your equipment box (with standoffs and screws for the case, cable management, hard drive grommets, etc), the front panel cable package fed through one of the back cable race passages on the back wall of the case. The 5 hard drive bays in the lower right, 4 of 5.25″ drive bays (3 are accessible from the front, through the bezel), and the single 3.5″ front accessible bay. 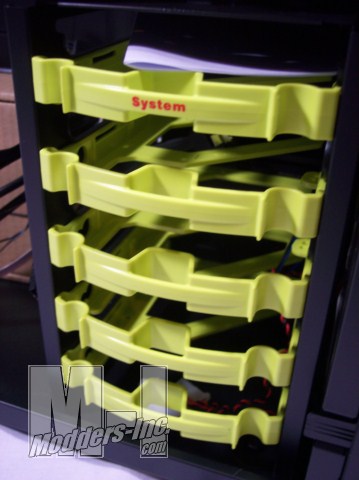
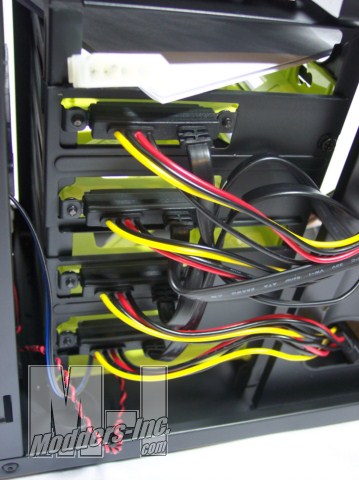
Pretty cool setup here. The top “System” drive *is not* accessible through the side door. This is to keep you from accidentally pulling it out! ;) The middle 3 mount points are accessible via the side door, and the bottom one is accessible after opening the side panel completely. Note: The bottom drive bay is a traditional attachment, and is not hot swappable. Please look at the picture below, only the top four spots have the back plane addition. Each chassis uses a combination of screws and rubber grommets to mount 3.5 inch hard drives or 2.5 inch SSD/laptop drives. The drive chassis can accommodate either type of drive. Thank you In Win!
Each hot swap bay consolidates the power cabling, by putting “2 into 1” for the SATA power. So, instead of 4 separate connectors, we would have 2, another nicely thought out implementation. The SATA cables are fed into the motherboard area by bring routed through the cable run. This should put the cables in close proximity to the SATA channels of most motherboards with minimal routing.
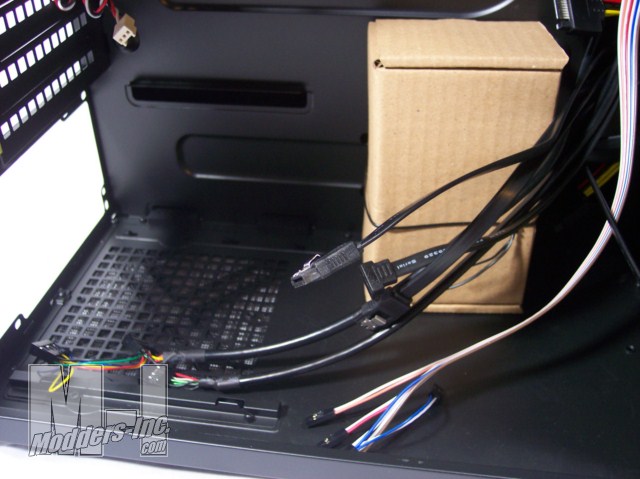
Here we see the SATA cables from both the hot swap bays as well as the eSATA connector on the top of the case. Cable lengths appear to be ample to accommodate most any installation. Also of note is the air intake for the power supply. When the power supply is mounted, if it has a bottom intake, it can draw cool air in from this location. It has a fine metal mesh screen to help keep out dust and dirt. The screen is mounted to the bottom of the case and is accessible from the outside/bottom of the case. This makes filter maintenance a snap!
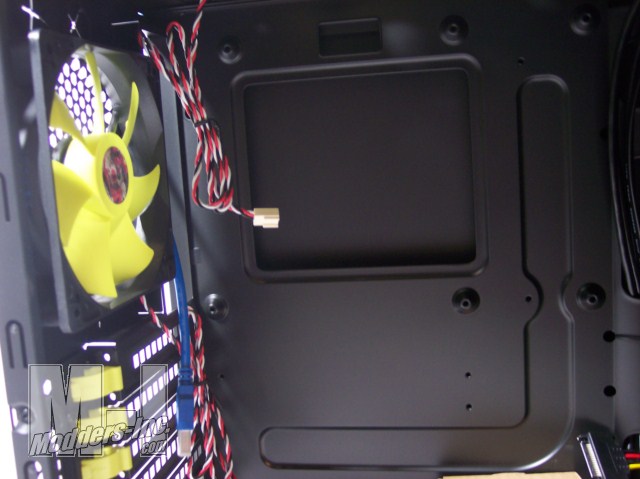
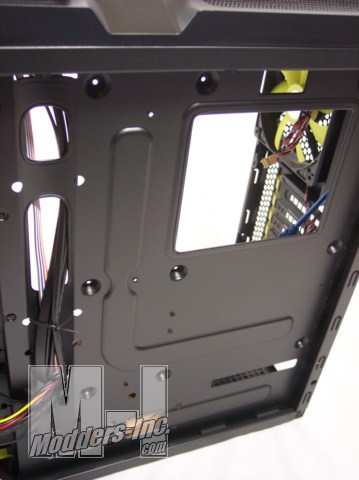
This large rectangular hole will line up nicely behind the CPU bracket once the motherboard is installed. This means that you can have access to the back side mounting hardware on the CPUheatsink! No need to remove your motherboard! Simply pop off the backside panel, and you will see the bottom of your CPU socket. Easy access, easy maintenance, easy upgrades. Another nice inclusion from the team at In Win. The smaller rectangular hole (at 12 o’clock to the large CPU access hole) is for back feeding the supplementary motherboard power cable. Why traipse it across your motherboard when you can feed it behind the motherboard, and route it over the top (where most motherboards locate the connector).
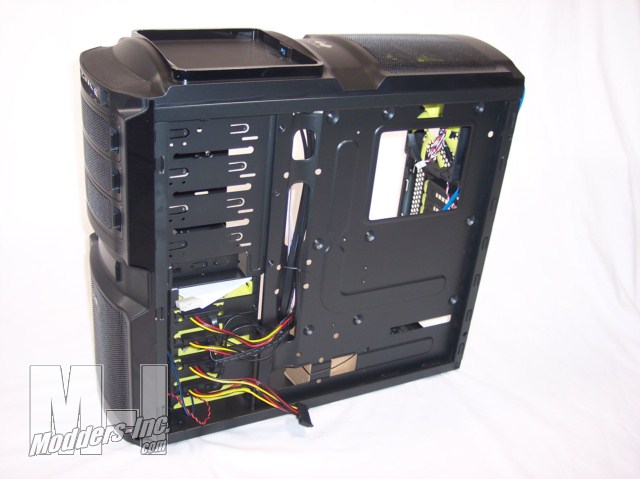
Here we can see a full, backside shot of the chassis, noting the cable run going from top to bottom, the CPU bracket access hole we discussed earlier, a rectangular hole at the top for passing the motherboard EPS power connector through, as well as bottom holes to feed the power supply lines through. All slots and cable management so far seem well thought out, and easily routable.
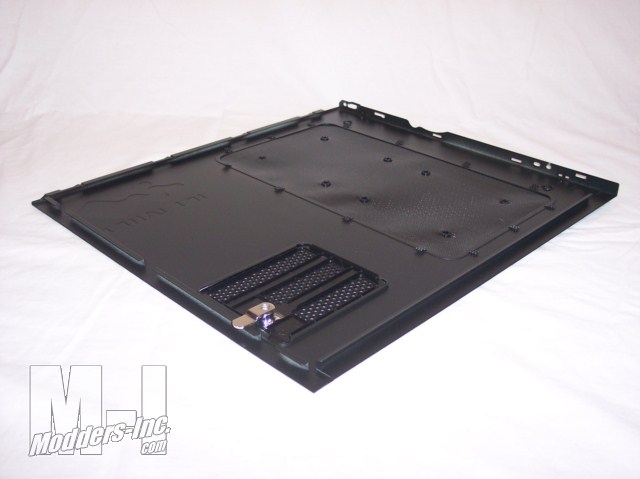 OH!!! One more thing, someone has FINALLY listened to a gripe that I have had since time eternal! On the side panel of the BUC, on the back side of the mesh panel, is a permanently mounted fine mesh DUST FILTER layer that is in between your fans and the metal mesh! It has a nylon material feel, and is held in place by the grommets for the 120mm fans. FINALLY, a manufacturer that has put a form of dust prevention on the side panel…. thank you!!!!! |
