In Win X-Fighter Mid Tower Case
Observation
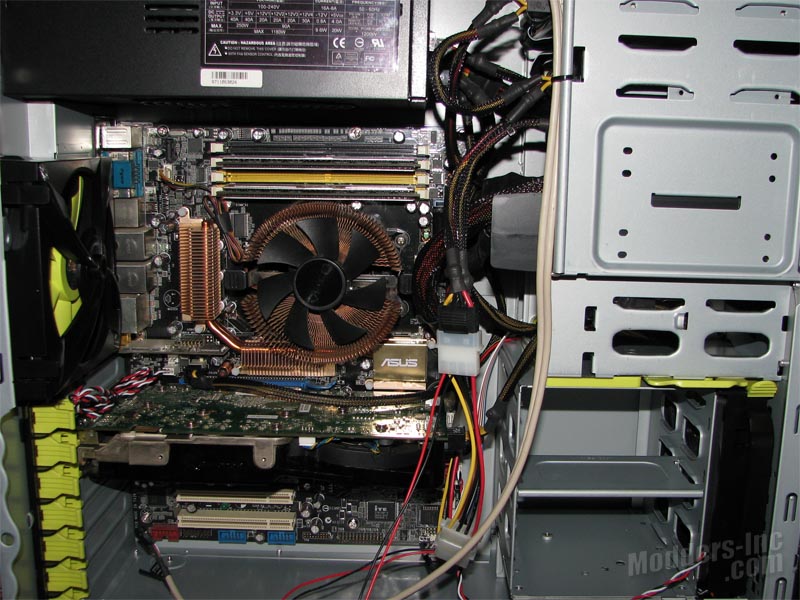
Well, I did manage to get everything installed. Note that I left the lower hard drive cage in to show how much clearance there is between my BFG 8800GTS and the cage. Definitely a snug fit isn’t it? Tossing in a couple of GTX 280’s or greater might pose more issues for someone that also runs a couple of hard drives.
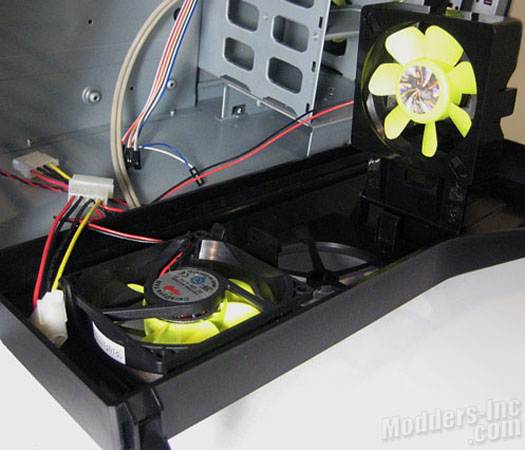
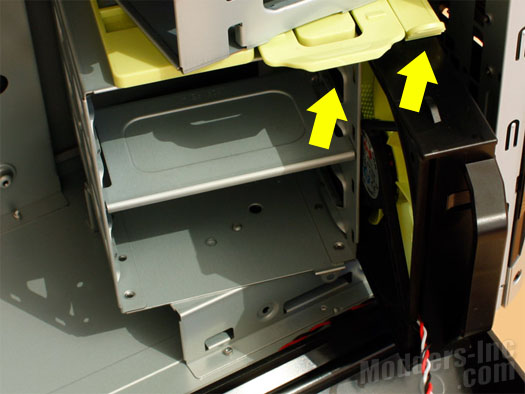
I really liked the fact that they put some thought into the cooling side of the chassis. I would have liked to seen the side panel offer a larger area for air to pass through. Although I didn’t run any temperature tests on the X-Fighter (due to the lack of having any numbers to compare it against). It had no problems handling the cooling tasks for my AM2 based rig. The installation process was a bit of a challenge when it came to connecting the front panel wires, which probably would have been a little easier had I connected them before I installed the video card. I also noticed that getting the side panels to lock back on was a little bit of a challenge. I actually had to apply a good bit of force to get the panels to slide forward enough to allow the latches to lock.
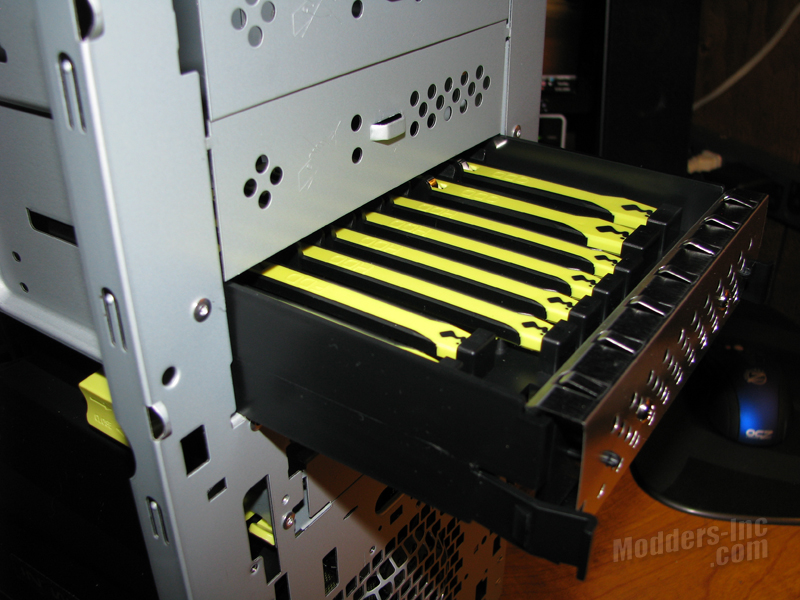
The tool-less rails for the optical, FDD, and HDD’s are kept in the lower 5.25″ bay. The rails are clipped to the carrier on both the top and bottom. It comes with a total of four FFD rail clips, eight HDD rail clips, and four optical drive clips.
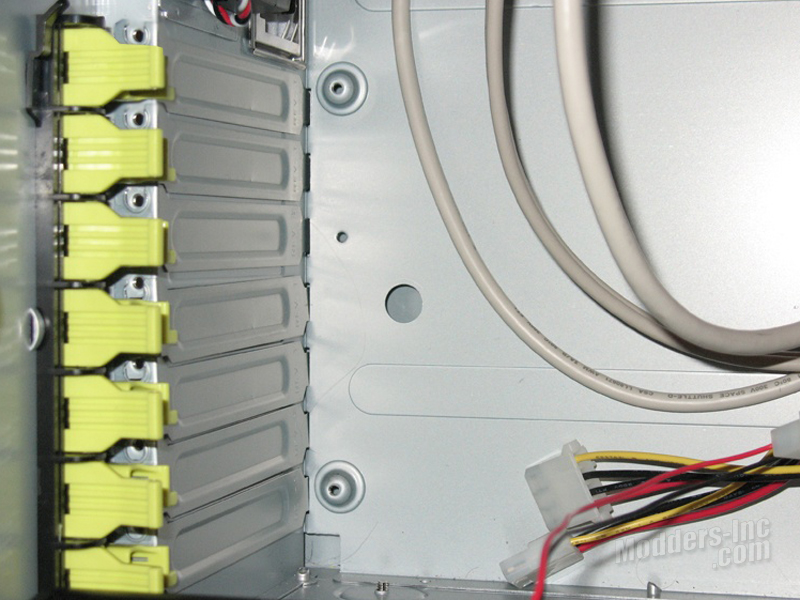
The PCI tool-less clips are similar to most others. Simply flip the lever out install your card and lock the lever back in. The downside to this style of tool-less latches is that they don’t hold your cards 100% secured like a screw does. Personally, I prefer to remove the tool-less PCI latches on most case and install screws. If you’re not going to be toting your rig around much, then these will be sufficient for the most part. You might find that they don’t like some of the dual slot cards though.
