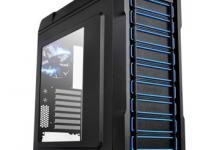
IN WIN GRone Full Tower Computer Case
Exterior Impressions Part 1:
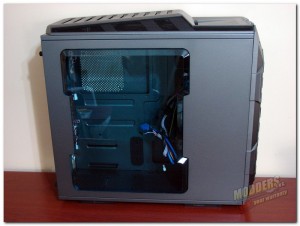 As we look to the side of the case, the first thing we see is that IN WIN, unlike many case manufacturers today, has opted for a nice aesthetically pleasing see through window instead of mesh. The window is actually beveled outward to help in accommodating those large air cooled CPU coolers that we enthusiasts need and like so much. It also allows for others to see all the high dollar hardware and Bling that we have added to the build of the system inside. And by the way, this is a large window compared to a lot of windowed side panels out there. I also like how they stopped the window just short of the drive bay area, this way wiring can be hidden even easier.
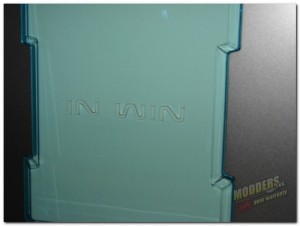 The acrylic window is also tinted a slight shade of aqua blue to help dull down the brightness of the lighting or hardware like LED fans etc, that may be installed as well. Overall, I think the side panel window suits this case well and helps give it more eye appeal. As you can see in this image IN WIN has their logo emobossed into the acrylic window. Some may like this some may not, personally I would rather it had of been a plain window without the logo, but either way it is not a deal breaker, as many manufacturers do it today.
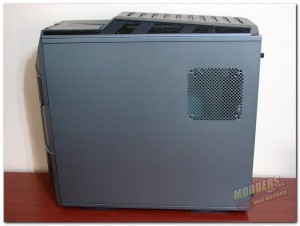
It is also note worthy to mention that both side panels are the swing off type, just undo the thumb screws and swing outward to remove the panels.
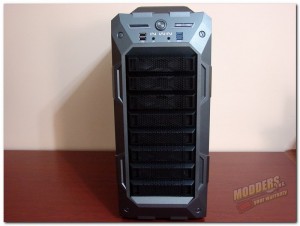
The design of the front panel aesthetically pleasing and very well ventilated. However, while the bottom air intake did have a screen to help filter out dust, the upper the optical drive covers did not, it would have been nice to have those as well.
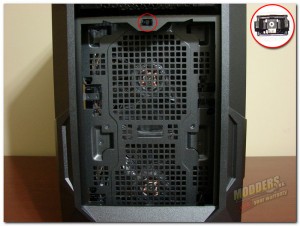
In this picture you can see what is behind the front air intake panel. At the top, just above the top fan you can see the release mechanism / latch.
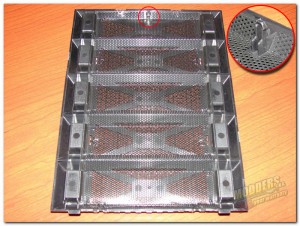
Here you can also see the small mushroom-like latch post that inserts into the latch above to secure the lower air intake panel. It is not very big, so be careful with how you handle it, or you may break it.
You can also see the fine plastic filter screen that can be removed and cleaned as needed.
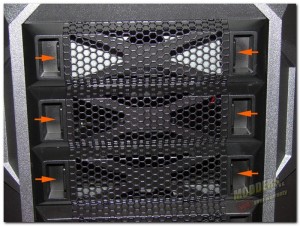
Note: There is a fourth 5.25″ bay at the very top, but it can only be accessed internally. I suppose one could always add another HDD in there utilizing a 5.25″ to 3.5″ or 2.5″ adapter, a fan to cool your Blu-Ray or possibly it is simply left open to help give you enough room to add that 360mm water cooling radiator you have been dreaming of using.
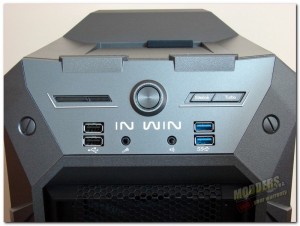
- The HDD LED indicator and Reset button
- The Power button (with lighted LED power on ring)
- The Turbo / Silenced fan speed control switch
- Bottom left – two USB 2.0 ports
- Bottom middle – a mic and headset jacks
- Bottom right – two USB 3.0 ports
Yes, there is something else of significance behind the front I/O panel, and we will discuss that coming up next.
[dhr]
