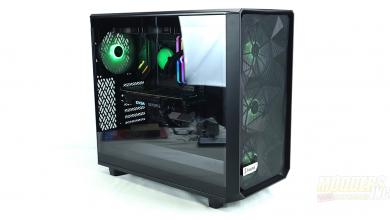
IN WIN 509 Full Tower Gaming Chassis Review
The Build
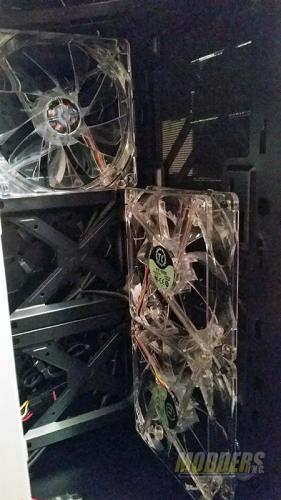
To start off the build I installed 4 red LED fans. Two intake on the front panel, one exhaust out the side panel in the front drive section, and one exhaust at the rear of the IN WIN 509. Removing the front panel is pretty straight forward with no surprises. The controls and front panel inputs are mounted in the top metal section of the 509 and do not come off with the front plastic and tempered glass panel.
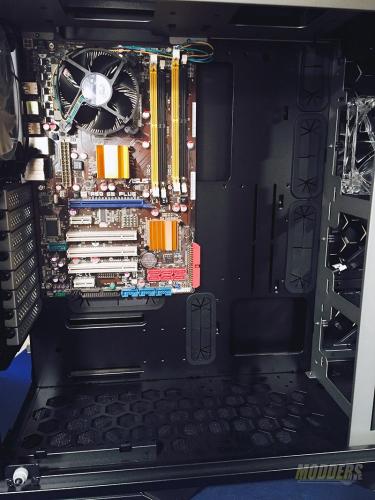
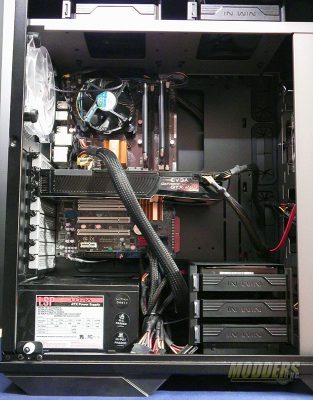
As the picture above shows, there is plenty of room for the ATX motherboard. This is a huge case and has enough room for all your toys. The motherboard mounting screw package comes with a handy socket for screwing in the standoffs. Everything else is a simple Philips head screw. There are more than enough to do the job. There is plenty of room in this case for my hardware. As you can see from the picture below, I elected to leave out the IN WIN 509’s drive bay. I did this so that you can get a sense of the scale inside this case. The 509 has an incredible amount of space. You may also notice that my Motherboard power cable is run over the top of my Video Card to the Motherboard. Unfortunately the cable on my old power supply is just too short. If your an accomplished modder who can make your own cables, or have a fellow reviewer like our own Joe Mercado, who designs his own cables, your golden. If not, you can purchase an extension cable. Available from almost any electronics supply store.
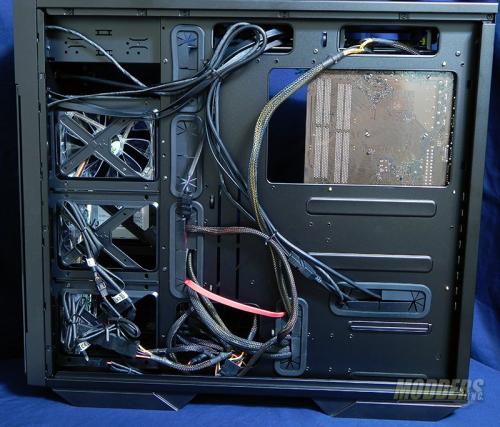
Cable management is another story. The 3.0 USB cables are so long I had to stuff most of the excess up in one of the top HDD bays. Speaking of which, I noticed these bays are riveted in. It would have been nice if the were screwed in for easy removal if you didn’t need them and wanted that extra space for liquid lines or excess cable storage. I tidied up the cables and had no issues with clearance when putting the rear cover back on. The IN WIN 509 looks to have plenty of room for moving cables through the back. Speaking of the back cover, you might notice that the 509 does not have any finger holds for removing it. Doesn’t need them. The cover slides out away from the case like its on hinges then slips off the front. Pretty neat and keeps the lines clean.
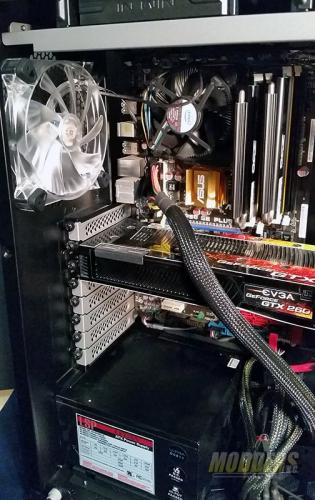
For those of you who may be wondering what the case looks like with the EZ-Swap HDD cage installed, here you go. It is a bit of tight fit between the power supply and the internal bracket. Those of you wishing to put in a larger power supply, up to 230mm, will need to relocate the EZ-Swap bay. This cage must also be removed or placed in the front section if you decide to put a 360mm radiator and fans on this frame. For reference, this power supply is 155mm.
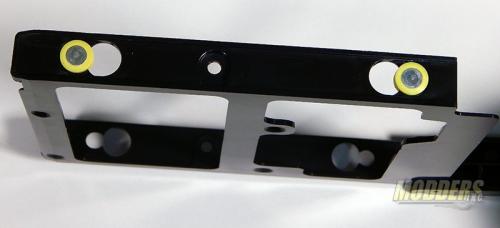
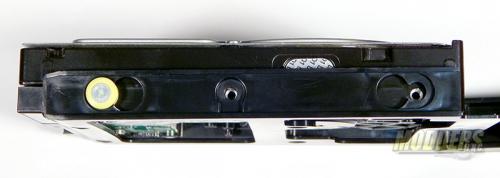
I had some concerns about the HDD mounting brackets. If you look closely you will notice the keyholes for the rubber mounting pins are off set in different directions. There does not appear to be any clear cut way of mounting a 3.5″ HDD into these brackets using the brackets as designed. You will notice in the second picture that with an HDD installed and a mounting pin installed, there is no way to slide the other one in place. To fit one in I had to pry out the bracket and carefully slip it in place. Then again, maybe its designed that way so that the drive wont slip out. Still, it was a bit of a chore to properly mount an HDD.
The rear facing fan in the IN WIN 509 can be either a 120 or 140mm. Though it looks a bit snug, there is plenty of room for a 188mm tall CPU cooler. Where many manufactures locate this fan more towards the center of the case, the IN WIN has put the mounting area upper left giving plenty of Mother Board clearance
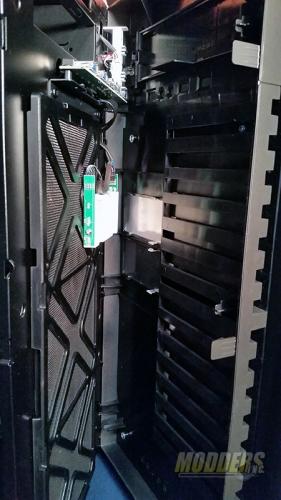
Here you can see the installation of the front fans. These are 120mm. Specs say you can mount 2 140mm fans to the front instead of 3 120mm. The exhaust fan is mounted to one of the SSD drive multifunction plates. There is also space here without the plates installed for to install a 360mm Radiator with fans to pull air through the front filter screen and exhaust it through the radiator and out the side. Or you can mount the same 360mm radiator on the front panel and pull air from the front, through the radiator and into the rest of the case. With the front cover pulled back, you can see the filter screen and 5.25″ bay at the top. To mount your front fans or radiator, or to clean the filter screen, you must remove this cover. Fortunately there are no wires attached to this cover and it comes off very easily. The RGB LED’s for the front logo are also mounted here. There are also some options here to mod your own logo. The logo panel will pop out after you remove the tempered glass. There is a second panel that can also be popped out right below the logo.
