IN WIN 509 Full Tower Gaming Chassis Review
A Closer Look
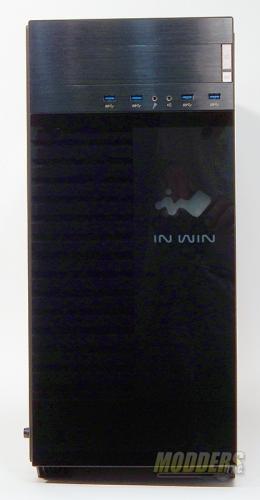
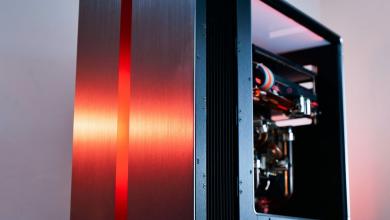
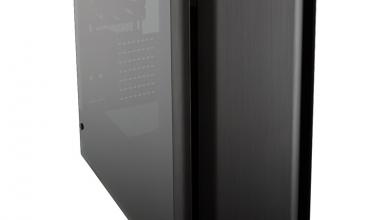
The front of the IN WIN 509 has a brushed aluminum top which incorporates a 5.25″ bay for a CD/DVD drive or a Fan/Cooling monitor, though I think I would leave it as is. There are also 4 3.0 USB ports, Headphone and Mic jacks, the ever-present power button. And something not commonly seen anymore, A reset button. In between the two buttons is your HDD LED.
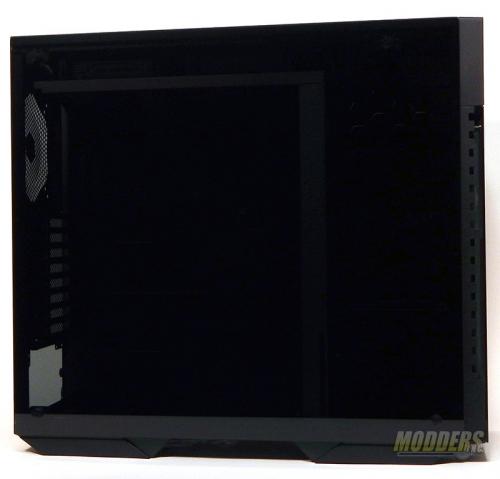
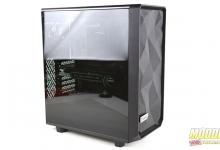
Down below this elegant upper is a clean sheet of black tempered glass. The IN WIN 509 has this beautifully reflective glass panel with an RGB capable logo behind it. It should be noted that the logo is defaulted red unless your using a Motherboard that supports RGB. Behind the glass panel is an air intake. There is a minimal filter screen here which will trap most larger dust particles. To remove this filter for cleaning, you must remove the front panel. A simple procedure once you remove the tempered glass side panel.
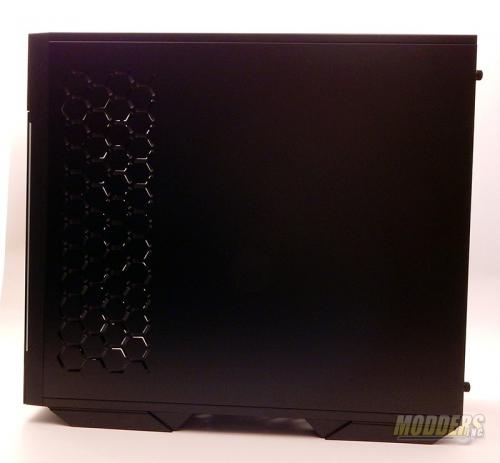
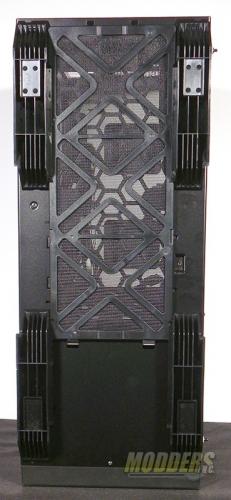
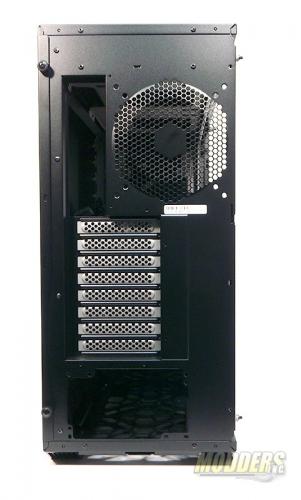
Next, we get the top, bottom and back of the IN WIN 509 out of the way. The top is nondescript. It is a brushed metal with no embellishments. The clean lines help give this case its presumptive elegance. The bottom at first seems like there isn’t much going on here. There is a simple mesh filter to stop most larger dust bunnies from making their way inside by the power supply. A closer look shows that with the HDD bay remove, there is room for another 120mm or 140mm cooling fan. The four feet are sturdy and provide good support. There are 4 rubber pads included in the parts kit so you don’t scrape your beautiful desk where you display the IN WIN 509 or the hardwood floor that the 509 will look so good sitting upon. The back of the IN WIN 509 has 8 PCI slots which are more than enough for your pci devices. The rear facing cooling fan will take either a 120mm or 140mm fan. A bottom mounted PSU opening will accommodate almost any power supply you wish to install.
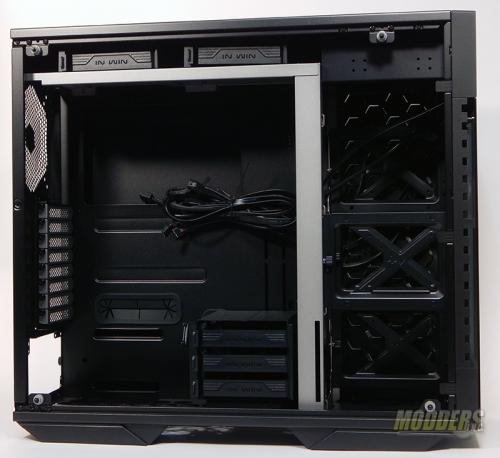
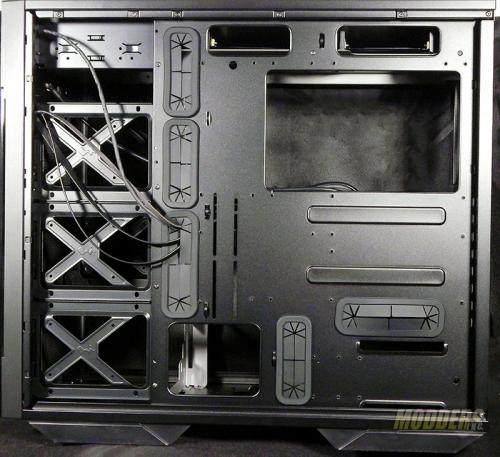
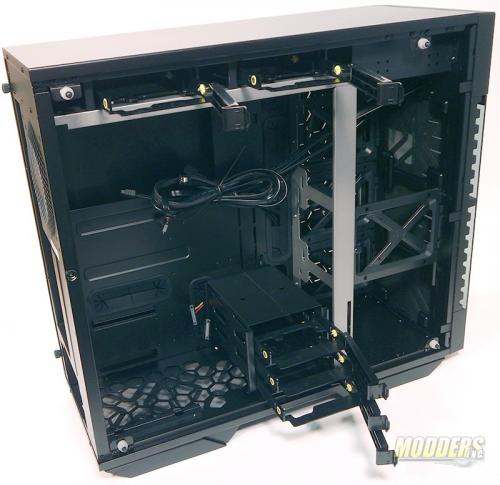
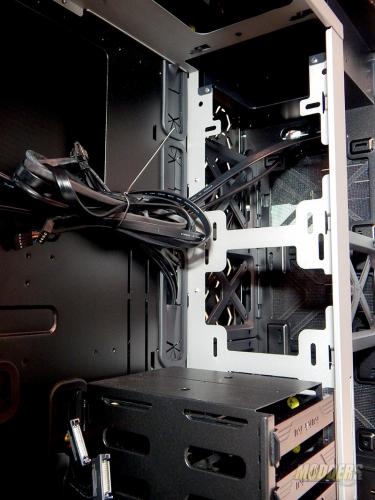
Now lets open up the IN WIN 509 and see whats inside. This first look inside shows us a nice, clean, and open floor plan. Large amounts of space inside the 509 lend itself to all kinds of build ideas. On the back of the 509 you can see 3 of the SSD/120mm fan mounts, lots of cable pass-throughs, the requisite tie-down spots and a very large opening for mounting of up to a 188mm CPU cooler. You also get a good look here of all the different Motherboard mounting holes.
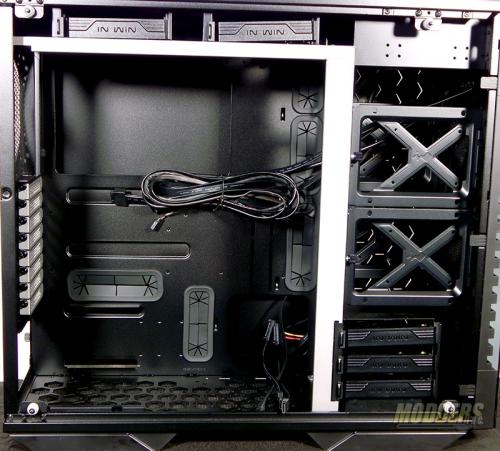
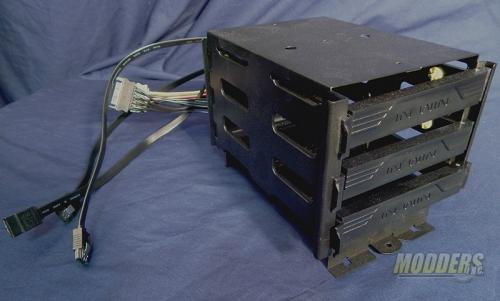
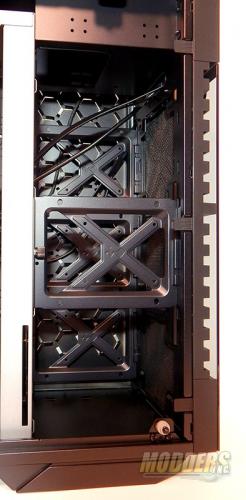
Now we come to what I think just might be the best parts of this case. The IN WIN 509 Gaming Chassis is a bare-bones case. There are no cooling fans installed. Mounting brackets are plentiful but minimized. In the left hand picture starting at the top you can see two 2.5″/3.5″ SSD/HDD drive bays. They are tucked up out of the way of everything else here. There is a very nice structural frame inside the 509 that is very functional as well. We will look more at that a bit later. This case will support everything from a full size E-ATX motherboard down to the smallest Mini-ITX. At the bottom of the motherboard area is another 3 2.5″/3.5″ SSD/HDD drive bays. There is a surprise hidden here, but you will have to wait just a few more moments to see what that is. The front section of the case has 4 multi-function brackets. These brackets can support either a 2.5″ SSD or a 120mm fan. The removable drive bay can be left in place OR moved to the front section of the 509 OR removed entirely. With the bay removed from the main section of the case, you can mount a 124/140mm fan in its place or you can put up to a 230mm power supply. There are plenty of places for cable runs as well.
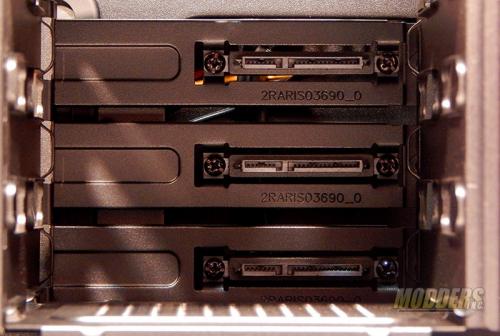
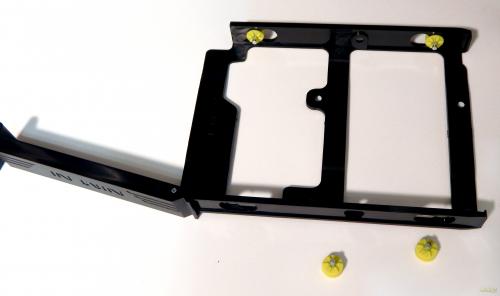
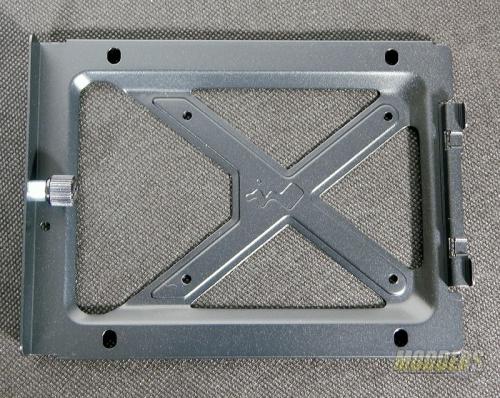
Here is a closer look at the removable hard drive bay in the bottom of the 509 case. Here is that surprise though that I mentioned earlier. Look closely at the inside of this bay with the mounting slide removed. EZ-Swap drives! If your using the IN WIN 509 as a gamer/media box, these EZ-Swap drives can be very handy. Want to slip in that SSD/HDD with your favorite adventure movies? Watch a bit of Terminator? Slip in the drive. Your significant other wants to watch a few chick flicks? Slip in the drive. Or maybe you want to set up a multi-disk raid. Well here is your spot. In our 3rd picture here you can get a good look at the drive mounting brackets themselves. There are 4 yellow rubber disks with pins that fit into the side of your drive and then slip into a key hole in the bracket. Honestly, I think this could have been a little better thought out. My initial reaction is how will they stay in the drive as I am trying to mount it. Also you will need additional mounting brackets to put a 2.5″ SSD in these bays. Each bracket has a positive latching arm that securely holds the drive into the bay. Bottom right is the mounting bracket for the SSD/120mm fans in the front section of the case. The mounting screw is spring loaded and secured to the bracket. No chance of losing it.
Remember that internal frame I mentioned earlier. Here is the skinny on that. This frame will support up to 3 120mm or 3 140mm fans OR a 360mm Radiator. It provides a great mounting area for these items and separates the SSD drive mounts or the removable drive bay if its placed up front from your other heat generating components. This sturdy frame also gives some well placed support to the IN WIN 509 Full Size Gaming Chassis. In the ROG version of this case, the frame is powder coated Red. The right hand picture gives you a good look at the front section with the SSD/120mm fan brackets. In this section can also be mounted a 360mm radiator with fans as well. With all the conventional and liquid cooling options on the IN WIN 509 you will have no problem keeping your rig cool!
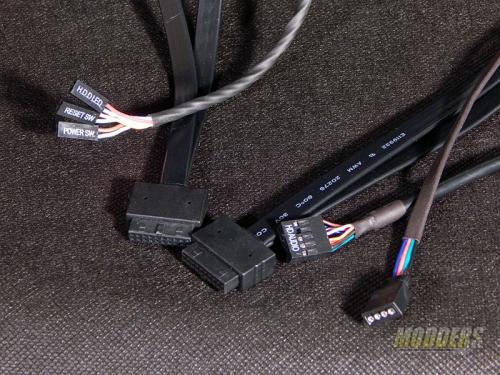
Lastly for this inside look we have the front cables and the Parts kit. Coming from the front controls panel are the HDD LED, Reset Switch and Power Switch cable. Two cables for the four 3.0 USB ports. The HD Audio connector for the front Headphone and Mic jacks. And the cable for the RGB INWIN logo on the front panel. Note that unless your Motherboard supports this connector, you will only be able to light up the logo in red with the included pigtail (though I suspect some of you more savvy techs could swap wires around and make it blue or green).
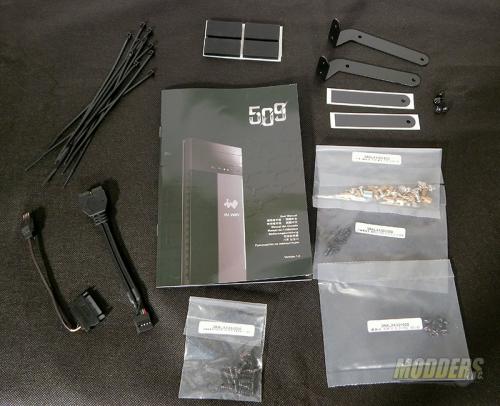
The Parts kit has all kinds of goodies in it. Center is the instruction manual. Fairly well written in multiple languages. Top center are the 4 rubber pads for the feet of the case. You will want to use these as the case can be slippery on most surfaces without them. Your significant other will not be happy if you scratch her floors either. Going around to the right are the two GPU brackets for supporting those long, heavy video cards. Comes with the mounting screws and thin pads to cushion the card. Screw packages with a variety of mounting screws for the MB, drives, power supply, and fans. Left side are two pigtails. One is to connect the front logo to a power source and turn on just the red LED. The other is to connect one of the two 3.0 USB cables to an older style 2.0 USB connector. Lastly are a plentiful supply of zip ties.
