In Win 101C and Polaris RGB Fans review.
A Closer Look at the In Win 101c
Exterior
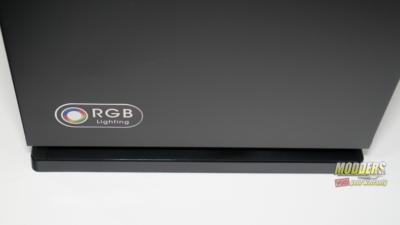
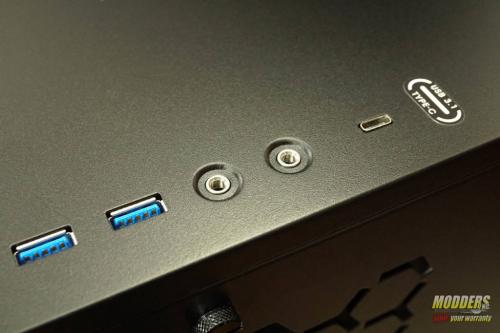
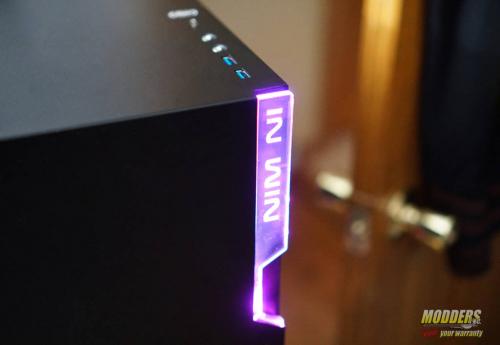
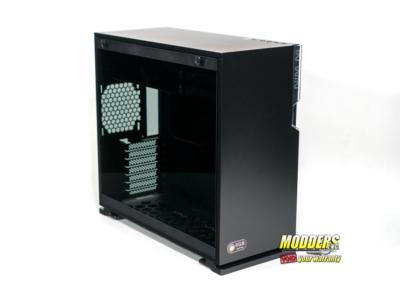
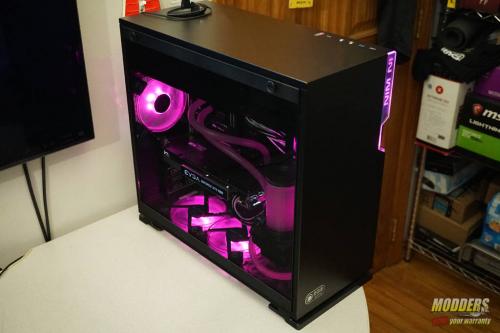
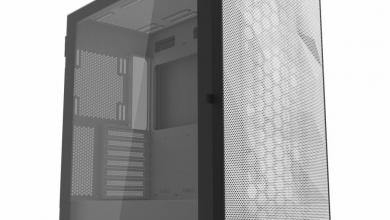
The In Win 101C is a mid-tower chassis that measures 445 mm in height, 480 mm long, and 220 mm wide. I’d consider this compact for a mid-tower, especially when put next to the In Win 303. Once the case is unpacked, we can take a better look at the In Win 101C. Owners of the 101 will know this case well. They have simply updated the original 101 with the front panel USB Type C connector. That’s not to say there isn’t a lot to like about this case. It has some of the most popular features that people look for in cases. Those features being tempered glass and RGB lighting built into the case. I’ll admit, I’ve never been a huge fan of RGB lighting. However, the 101C has made me begin to change my mind a bit. This is due to what I feel is the perfect implementation of RGB lighting. The only RGB lighting on the 101C is on the plastic border, near the front I/O and power button. When the lighting is paired with In Win Polaris fans, it can make for some great looking builds.
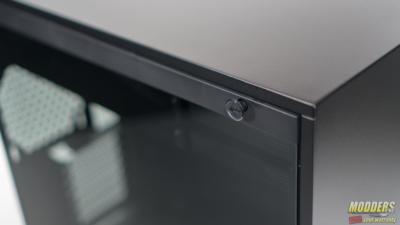
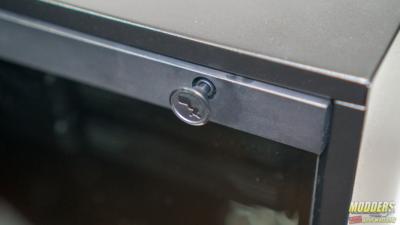
Looking at the front of the case, there is an In Win logo inscribed on a piece of acrylic. This is where the power button is cleverly hidden. In fact, hidden so well that it took me a few minutes to find it. Point being, it blends well with the rest of the case. The front side panel is almost entirely tempered glass. The exception being the top and bottom have a small black bezel. They really did a great job with the tempered glass side panel in my opinion. One of my favorite features of the In Win 101C is how the front panel locks in place. Traditionally, cases used thumb screws. Two major issues I have with thumb screws are, over time, the paint begins to scratch off. Second is they almost always strip over time. The 101C uses push pins to fasten the side panel. Pull them out and they release the panel, push them in and they lock it in place. This makes removing the side panel for cleaning and maintenance much easier than traditional cases.
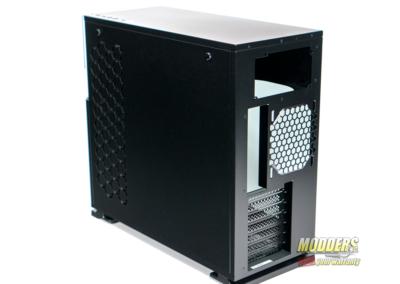
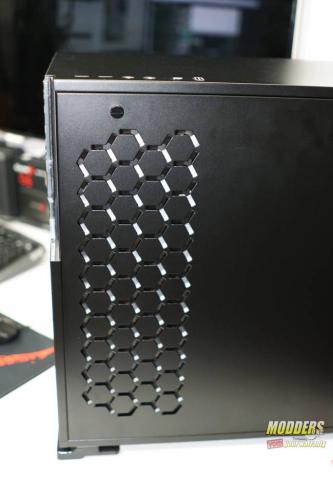
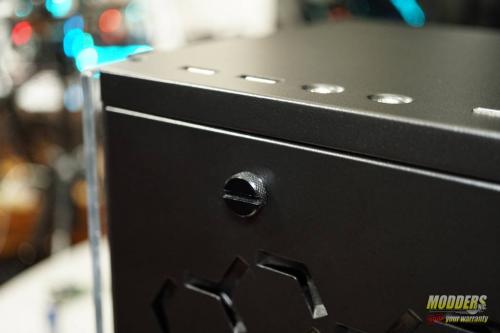
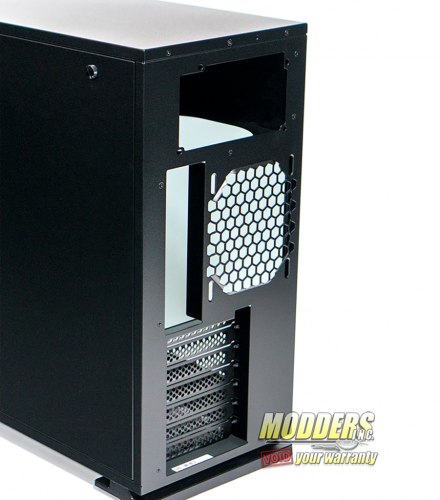
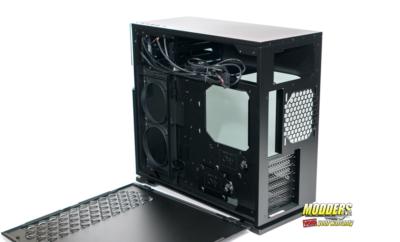
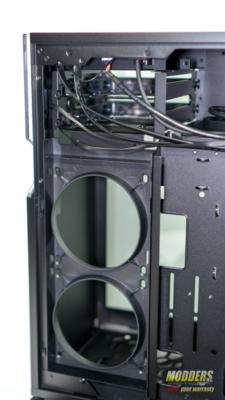
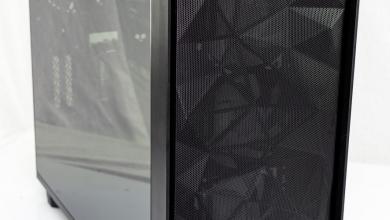
The rear panel is fastened in place with screws, but not in a traditional sense. There are two screws across the top of the rear panel. They are thumb screws, but much larger than your average thumb screw. These screws can also be tightened and loosened with a flat head screwdriver. Like the box the case came in, the left side of the rear panel has a series of hexagons along the height of the panel. However, this isn’t just an interesting design. This design has a function. The rear panel has a mesh portion for the rear mounted radiator bracket nested near the motherboard tray. This allows either hot air to be exhausted, or fresh air to be drawn in, depending on how you set up your fans.
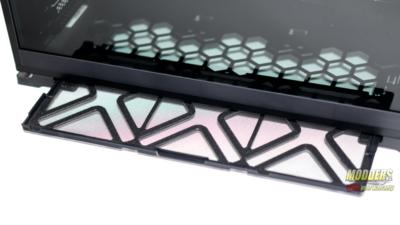
Being a mid-tower chassis, the rear of the case has seven expansion slots for PCIe add-in cards like graphics cards, sound cards, capture cards, etc. The 101C supports 120mm fans in the exhaust of the case and there is a spot for the I/O of the motherboard. This case supports up to an ATX motherboard with a max size of 12” x 10.5”. The 101C has a top mounted power supply. Underneath the case, there is a 360 mm dust filter for bottom mounted fans and radiators. The chassis sits on feet that run the width of the case on the front and back.
Interior
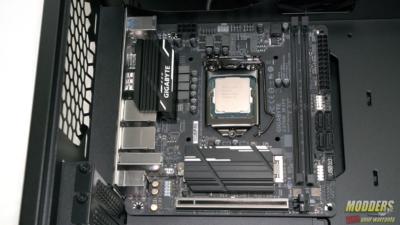
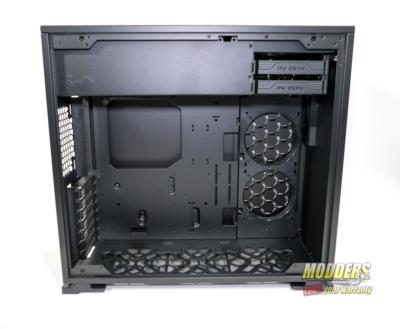
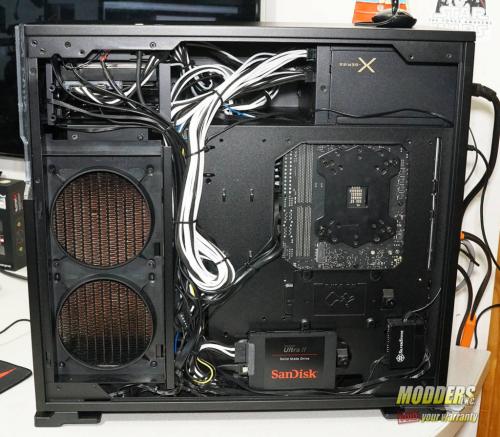
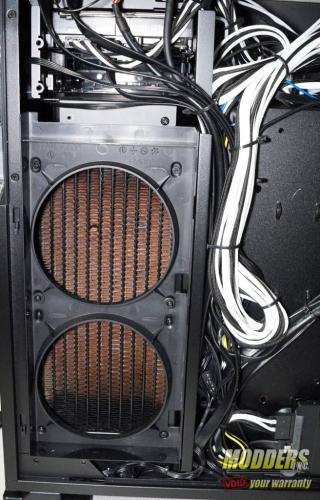
The interior of the 101C is pretty compact. There is mounting along the bottom for three 120mm fans or a 360mm radiator. It can fit up to an ATX motherboard. However, we used an ITX board in this build. I figured this would leave more room for water cooling hardware. The 101C has a rear mounted, removable radiator bracket mounted near the front of the case. Without this bracket, our build would not have been able to come together as easily as it did, if at all.
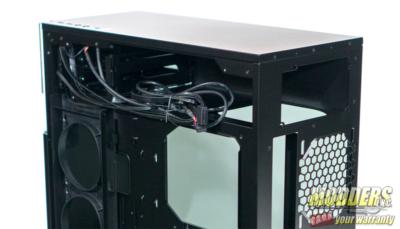
The 101C has a top mounted power supply mounting solution, for power supplies up to 200mm. I’m often not a fan of this, however In Win did it right, in my opinion. The reason being, the 101C doesn’t just throw a mounting bracket for the power supply at the top and call it a day. Instead, they hide the entire power supply, as well as the cables from sight. This feature is great especially if you’re like me and have less than perfect cable management skills. This also puts the focus on the motherboard and the hardware connected to it. Having a bottom mounted power supply can, at times, take away from the overall aesthetic of the finished build if the cables aren’t managed properly.
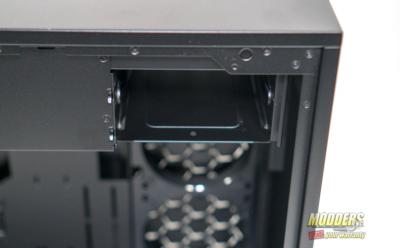
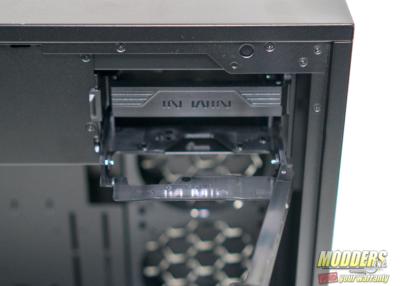
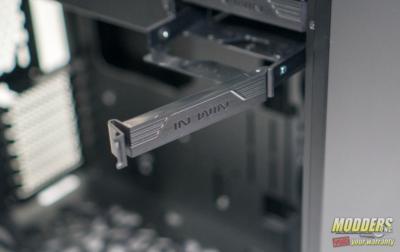
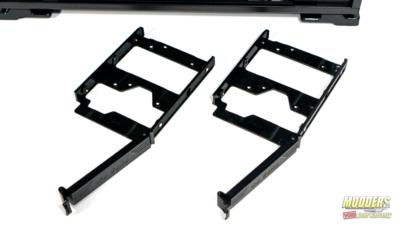
Although there are no front panel 5.25” bays, there are two 3.5” bays for hard drives. The drive sleds can support both 3.5” and 2.5” drives. In total, the 101C can support 2 x 3.5” hard drives and 2 x 2.5” hard drives or SSDs, or just 4 x 2.5” drives. I also really like the way the 3.5” drive bays lock in place. Unlike traditional drive bays where you pinch in either side to remove the tray, the 101C has a door that locks in place. Simply pop the clip, open the door, and the bay slides out with ease. Depending on your cooling set up, the 101C can support a total of six 120mm fans or a 120mm radiator in the exhaust, a 240mm radiator mounted on the side, or a 360mm radiator mounted on the bottom. For our final build, we settled on a mini-ITX motherboard. However, the 101C does support up to a full ATX motherboard.
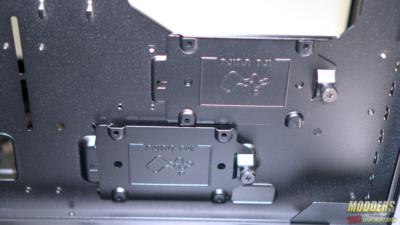
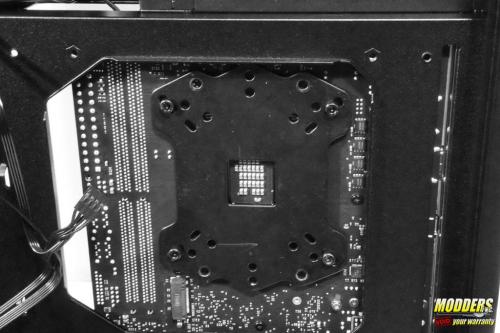
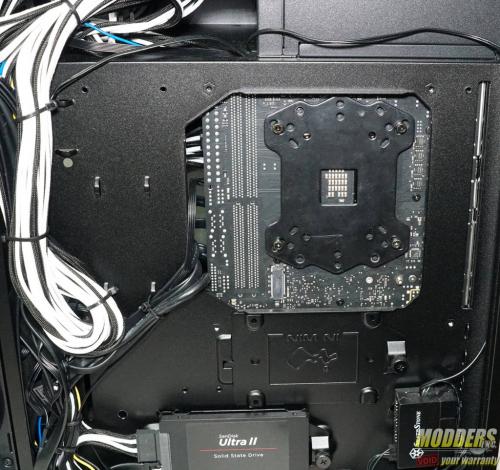
Behind the motherboard tray, there is ample room for cable management, as well as mounting for two 2.5” drives. The drive bays are mounted behind the motherboard tray, under the opening on the tray, just below the back plate for the water block. On most motherboards, these 2.5” trays would line up perfectly with the SATA ports. The cut out on the motherboard tray is a good size, and you should be able to remove most backplates without removing the motherboard. This is one of the most overlooked features of any case review I’ve seen in the past. If the cutout on your motherboard tray is too small, it really makes swapping coolers difficult.
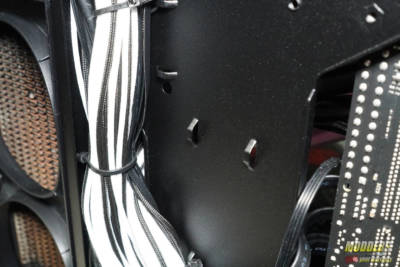
As I mentioned earlier, cable management isn’t my strong suit. However, In Win has made the process less painful with plenty of room both behind the motherboard tray, as well as in the top compartment, where the power supply is mounted. In addition, there are several zip tie loops spread over the rear of the motherboard tray. This really made my attempt at cable management much easier. The larger holes on the motherboard tray for running cables such as the 24-pin and PCIe cables through have no rubber grommets. Personally, I love this. Rubber grommets look great when the case is empty. However, they too often get popped out when running cables, and never look that great once all the cables are installed. I always just pull them out to begin with.
The Build
Test System 1:
- I5 8600k @ 4.8 GHz
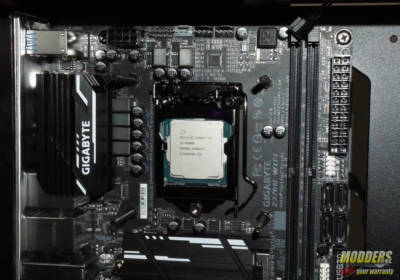
- Gigabyte Z370N WIFI ITX motherboard
- 16 GB of HyperX Predator DDR4 3000 MHz
- EVGA GTX 1080 SC
- Seasonic X-Series X-850 – 850 watt 80+ gold PSU
- 250 GB 960 EVO (OS)
- Custom AlphaCool loop
- In Win 101c
- In Win Polaris Fans
Test System 2:
- I7 7700k @ 5.0 GHz
- ASUS Z270 APEX
- 16 GB of G. Skill Trident Z 3400 MHz
- MSI GTX 1080 TI Lightning
- Enermax Platimax 1350 watt 80+ Platinum PSU
- 500 GB Samsung 850 EVO M.2 (OS)
- Swiftech H140x with EK Supremacy EVO
- NZXT S340 Elite
- Cooler Master MasterFans
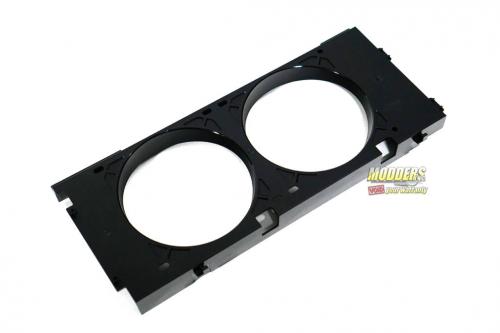
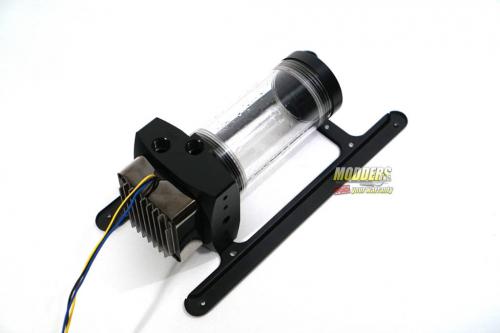
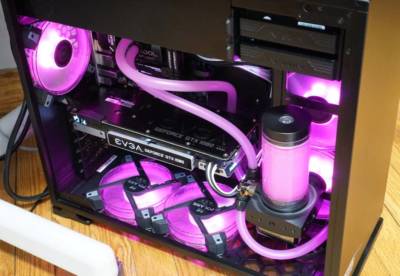
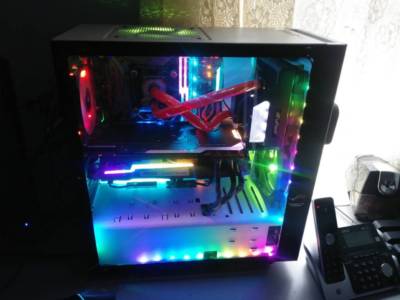
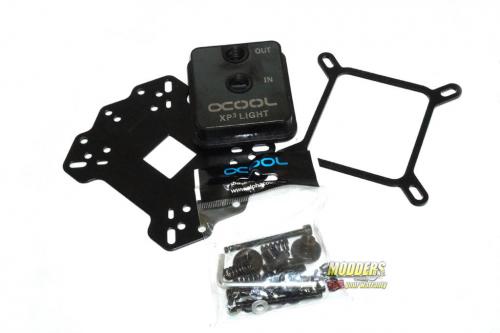
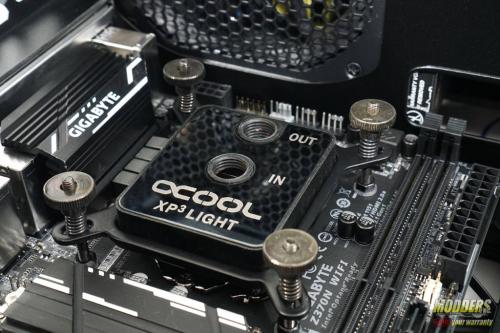
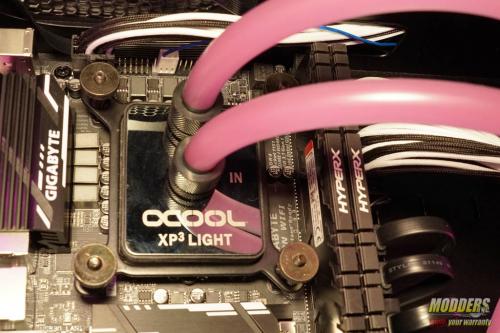
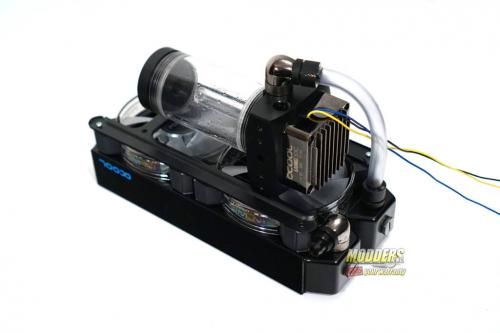
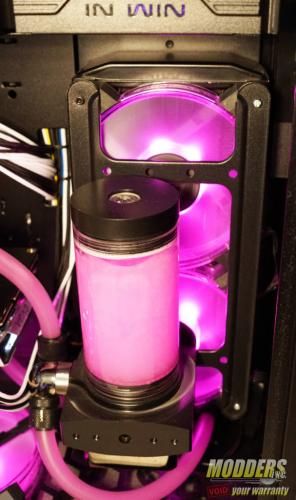
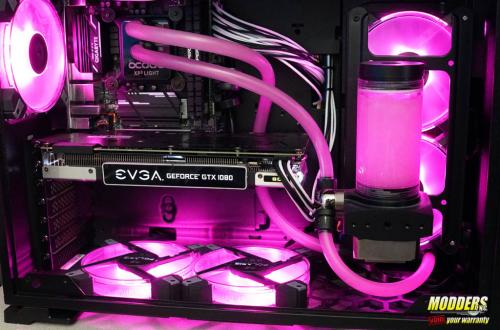
We decided to go for a CPU only custom loop. Since I swap out graphics cards so often, I rarely water cool them. The watercooling hardware was provided by our friends at ModMyMods. Originally, we had decided to use either an air cooler or an AIO in this system. The main reason being, this case wasn’t designed for the hardware we had. However, that’s never stopped us before and with one minor addition to the setup, we were able to get the loop together. Here is where the importance of saving things for previous builds come in to play. By using an old radiator bracket from who knows where, I was able to mount the pump and reservoir directly to the radiator and fans, saving our custom loop in the 101C. I had tried other configurations, but with no success.
Overall, I was happy with the completed build. I was pleasantly surprised at how much room there was in what I’d say is a pretty compact case. Where part of this is due to our choice of hardware, a big part of it was the layout of the case. The top mounted power supply kept the cables out of the way, which was a big help. Also, the decision to go with an ITX board was the right one, I think. So often, ITX boards look tiny inside of ATX cases. However, given the size of the 101C, I feel an ITX board works perfect for this case. If you want a board with a few more features and PCIe slots, a mATX board would also work out as well. I attempted using an ATX board for this build, however, for me, it made it more difficult than I wanted it to be. With having the bottom mounted fans, it was difficult to plug in the front panel headers, USB headers, and front panel audio on the ATX board, at least for me personally. Your results may differ.
Cable management was relatively simple due to the layout of the 101C. There is plenty of room behind the motherboard tray and the zip tie loops made the job even easier. This is where the top mounting solution for the power supply really gets me. If you’re using a cable mods cable set like we used in our build, there will be plenty of excess cable length. The attic of the case allows you to hide any untidy cables you need hidden. The one issue I had with running cables was the PCIe cable. I’ll admit, I was surprised by this one too. When I tried to run the PCIe cable the way most would, through the bottom cut out on the motherboard tray, the cable wouldn’t reach the card. So, I had to run the cable through the top cut out, showing off more of the cable than I initially wanted.
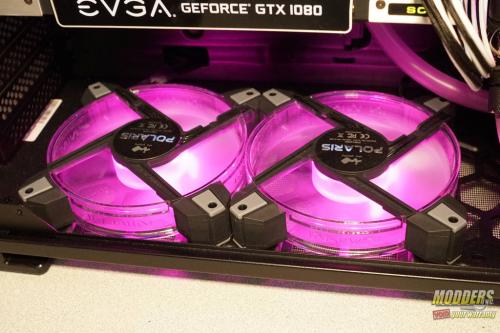
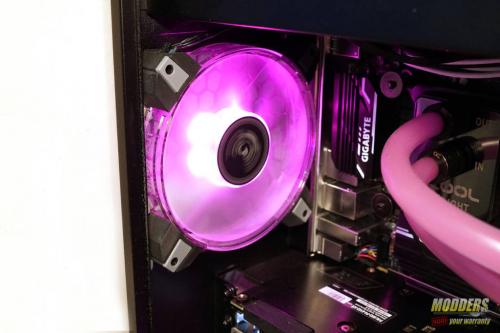
I had initially planned on installing six fans. Three for intake and three for exhaust. However, due to my irregular mounting solution for the pump and reservoir, mounting a third fan on the bottom just wasn’t possible. The tubing kept hitting the fan blades, making a terrible noise. I ended up with an odd layout for the fans. The two fans on the bottom of the case are for air intake, while the two on the radiator is for exhaust as well as the fan in the rear of the case. I’m aware this creates negative pressure, and it’s not the most optimal configuration, but it works well enough. The main reason I used this configuration is it draws plenty of fresh air and directs it to the graphics card.
My experience building in the In Win 101C was a pleasant one. Even though this case is on the smaller side of the spectrum, there is still ample room to build in. Yes, the bracket from my spare parts bin made this build much easier, it was far from a necessary addition. It was just the easiest way to go with a custom loop with the hardware I had on hand. The removable radiator bracket made mounting the radiator and fans much easier than it would have been without the bracket. I also love the aesthetic of the rear mounted the radiator. However, I personally prefer front mounted fans. While the rear mounted fans look great and add to the overall aesthetic of the build, front mounted fans allow for better airflow. Now, if you have good fans, this shouldn’t matter that much.

