HyperX Fury 2666MHz CL15 HX426C15FBK2 2x8GB DDR4 Review: Fast and Furious
Overclocking and Final Thoughts
Skylake and DDR4 overclocking is slightly different from what most people are used to in Haswell with DDR3 modules or even Haswell-E and DDR4. You cannot just flood the module with voltage and expect it to overclock, in fact most of the time, additional voltage is not going to help at all unless you have a good CPU for memory overclocking. Just to give you an idea of how much of a crapshoot IMC strength can be in Skylake, this i7-6700K I use is an engineering sample yet it requires additional voltage to be fed for anything over 3000MHz memory. Expect this to be a common thing with your Skylake processor, moreso than the 3000+MHz overclocks you see in other hardware review websites that have a good chip. If you have a chip that can do 3000MHz without additional voltage or tweaking, then you might have a golden one on hand.
Do not discount motherboard capability as well. It is not just the CPU memory controller you have to worry about, some motherboards have optimal layout and are designed for OC benching. There is also the fact that the BIOS has to be able to interact with the RAM properly, so try to get the most updated version. For this review, I picked a mid-range Z170X-UD5 from Gigabyte which, at the time of review can be found for around ~$179 to $189 which should show what an average Z170 motherboard should be able to do. Depending on the motherboard or BIOS setting, additional voltage for the system agent and/or even system IO might need to be increased to drive anything over 3000MHz. The bad news? Z170 System Agent is annoyingly sensitive to voltage change and it is not something you just cannot flood with maximum voltage that you think is safe and expect stability. You might be able to boot at 1.15 but fail to post at 1.25V. Again, this is dependent on your CPU so you should familiarize yourself with what your particular CPU likes and how it behaves when it is fed additional system voltage. You can try to feed your DRAM voltage up to 1.35 or 1.40V to give it some headroom to work with and dial that down once you think you have the SA and maybe IO voltage necessary.
For those who intermittent booting and stability issues getting into Windows, I suggest setting the boot mode to full (disable any fast boot option) so that the memory is trained properly. Give it time to read the SPD data (DDR4 is literally twice as much as DDR3, 512 bytes vs 256 bytes) which could take more than 25 seconds before you even hear the beep. Also, if you have a decent motherboard, allow it to recover on its own and give it at least four or five boot loops before you hit the power off switch.
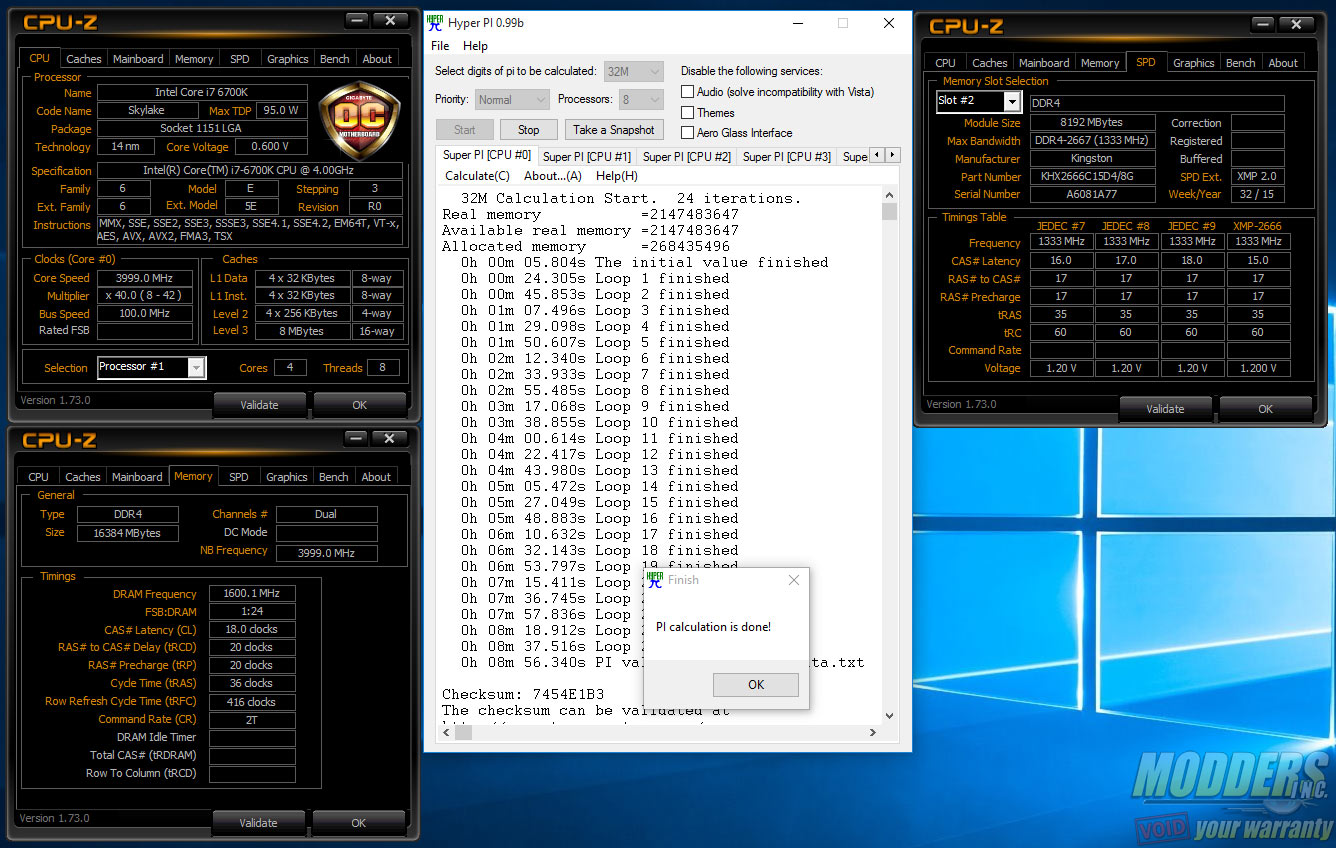
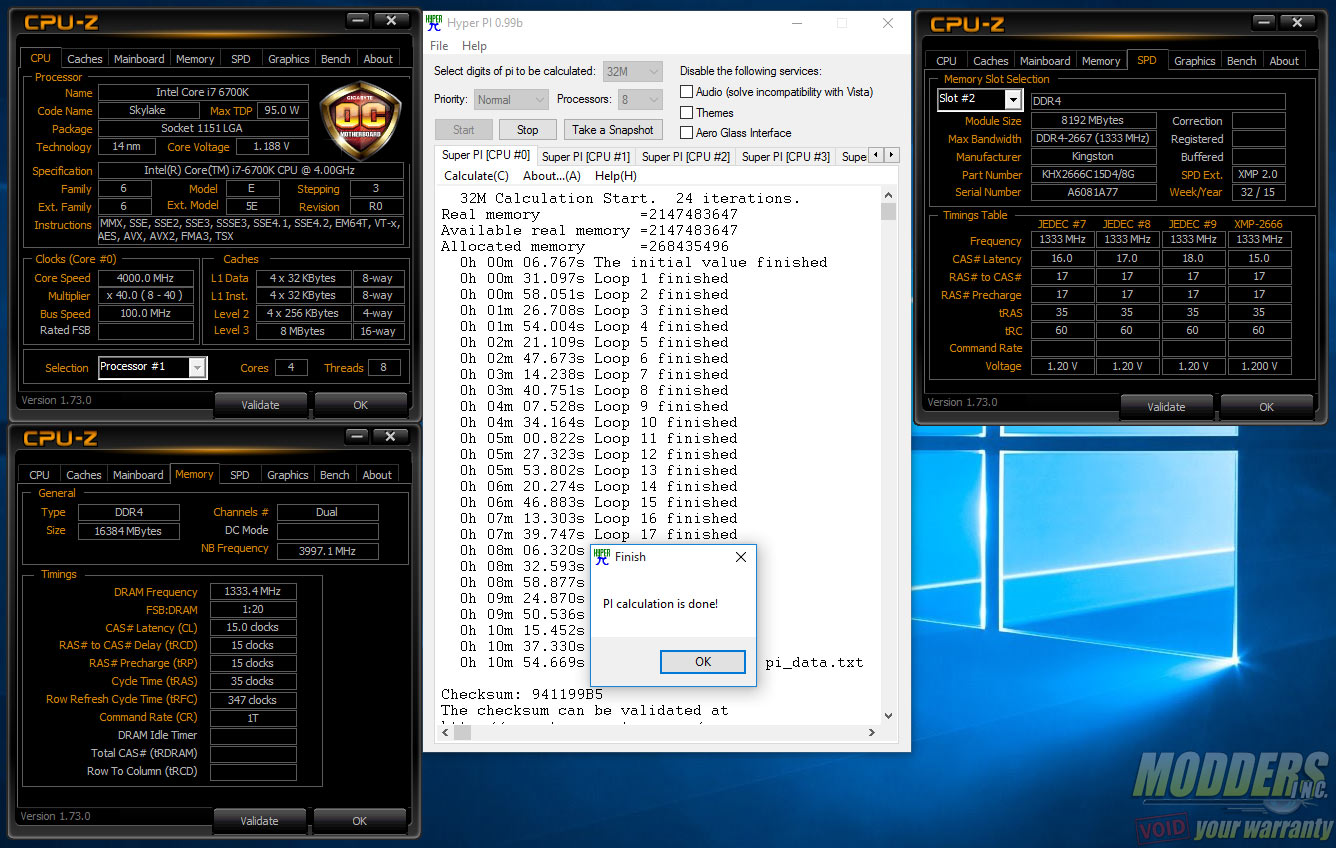
Now as for this particular HyperX DDR4 dual-channel kit, in this particular i7-6700K and in this particular Gigabyte Z170X-UD5, highest validated and HyperPI 32M stable I got was 3200MHz CL18 (screenshot below). HyperPI is basically multiple runs of SuperPI 32M at the same time so it is more stressful than just a single SuperPi. If you get an error here, I would suggest upping System Agent voltage first by the smallest increment and running it again. This is what I use to quickly determine stability when memory overclocking as reviewing always has a time constraint and this gives me that good middle-road of finding stability without taking up hours. If you require additional stability testing, RoG Realbench plus 7-zip are my go-to quick stability benchmarks as well which round out what HyperPi doesn’t cover and is more of a real-world test that can trip up stability. For long term stability testing, I would suggest HCI memtest (Windows) and MemTest (stand-alone) if you can spare several hours.
You can also set tighter timings, although I did not spend too much time on this. I just wanted to see what the tightest timing at defaults I could get. Timings are not really as big of a deal in DDR4 as I hoped it would be with the command rate actually showing the best difference in performance. So the easiest you can tweak your DDR4 is to set the command rate to 1 from 2 and you get noticeable performance boost compared to wasting time trying to get the timing as tight as you can. So in summary, set command rate to 1 and find the highest stable memory clock you can. This will net you better performance. In this review, I just showed the parity performance of the three different kits with different ICs but in my next DDR4 review in the next few days, I will show the performance differences with higher clocks.
Thankfully, the price of DDR4 has gone down now from what it was a few months ago before Intel’s Skylake was released. The HyperX Fury 2666MHz 2x8GB CL15 kit itself can be had for as low as $120 currently in NewEgg or $130 in Amazon.com. Memory prices are always in flux though so just watch out for price changes (not all brands change at the same time so that is something to keep in mind). The initial F2 BIOS in Gigabyte motherboards were not able to correctly read the XMP profile of the HyperX Fury 2666 CL15 kits but F3 BIOS versions and up were able to load and recognize it without issues.
What is interesting in the 2666MHz CL15 parity tests is how the HyperX Fury with dual-sided SK Hynix is faster in many of the tests including read, write, copy and bandwidth tests and 3DMark Skydiver physics. Where it falls behind is in the latency benchmarks where it had a noticeable lag and also in 7-zip compression. The HyperX Fury is design-sensible as well with a compact heatspreader that has a reasonable 34mm height and should fit well in most CPU cooler setups. For those who are casual overclockers, the HyperX Fury 2666MHz also was able to be pushed to 3200MHz which is decent for kit in this range and certainly delivers the speed if necessary, earning it a Modders-Inc Must Have award.
[sc:must_have_award ]
