How To Get a LCD Character Screen to Work
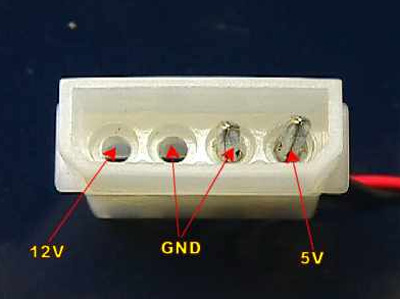
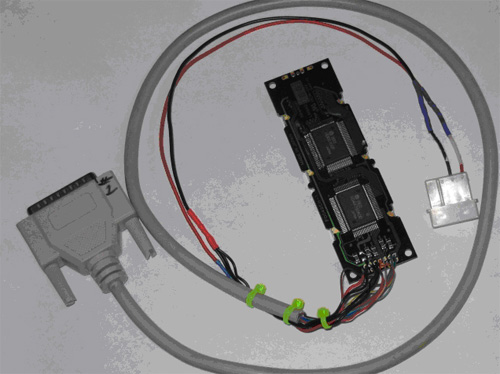
Now solder your red wire to the 5V wire/pin of the male molex connector. Then solder the black wire to the ground wire/pin of the male molex connector. With this completed you have finished wiring and all that is left is to connect and power on the computer.
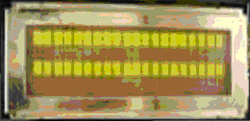
When you power on there should be row/rows of solid blocks that are showing on the LCD, if so your power supply wiring and contrast control has been wired successfully. The solid blocks show that the LCD is ready to accept data from your PC.
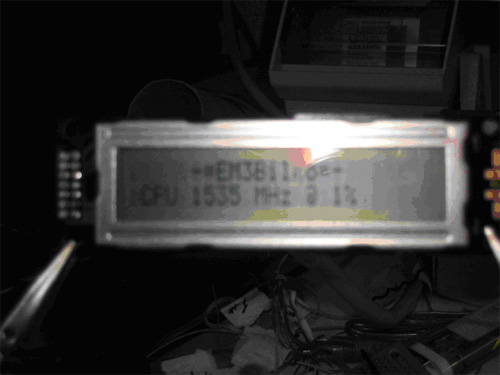
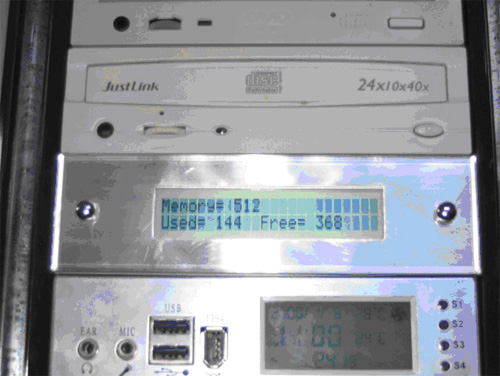
Most problems are caused by incorrect cable wiring. So make sure that all of your work is double checked and double checked again. When you have finished with your wiring then the next step is to put the LCD screen into a housing of your choice. Here is a example of a completed screen in use.
The next photo is showing how a LCD screen is installed into a 5.25 inch drive bay.
Hope this how-to is useful for your next mod and Happy Modding to ya





Nice, but this parallel port is so 90s. Not many modern mobos (and by that, I mean Core2 LGA775 and newer) still have one, and why bother, if you can get an Arduino (they were already available and popular in 2012), add an LCD shield, then connect this directly to the mobo via one of the USB ports?
I think this was from an archive post in 2007. The date was just marked as 2012 when the server moved.
You are correct Ron, this was an old post that was imported into the new theme in 2012. Krzysztof Słychań would be cool if you could do a how to on this and we can share it.