Hawg Wild U.S.A. : by XcaliburFX
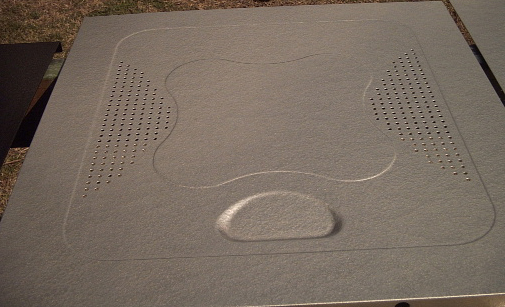
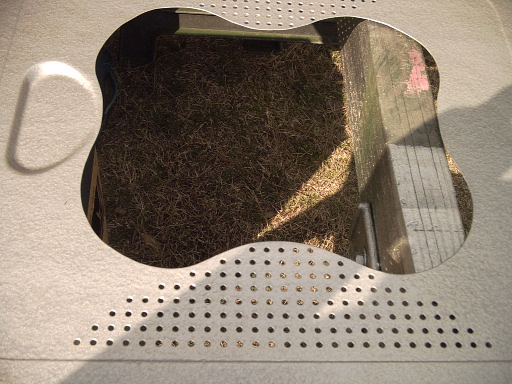
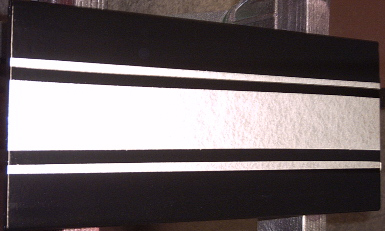
Silver Hammered Metal Base Coat for texture.
Hard to tell from these pictures (cheap camera) but the texture turned out perfect. :)
So, at this point I headed to my local auto parts store to find some cheap pinstripes to match the silver, and I did. However, as I was walking out I happened upon the clearance items and found a nice roll of Harley Davidson emblem pin striping for .99 cents. It was a no brainer, lol.
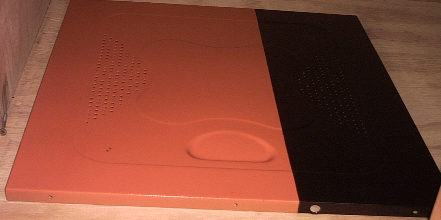
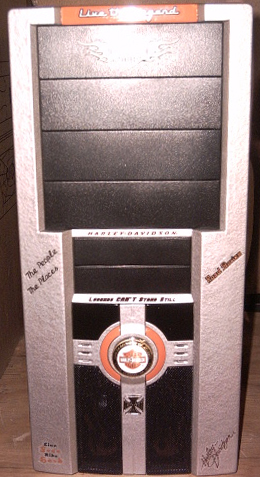
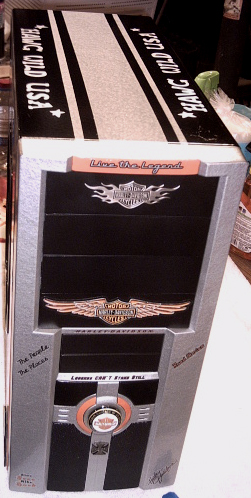
Back to the side panels, I lay two silver pin stripes one on each side of the HD emblem stripes to separate the orange and black paint. Then I took some nice Harley Davidson metal emblems and did a small amount of embellishing. I also added some small Harley Davidson vinyl decals to the bezel and in various spots on and in the case to dress it up. I contacted my local Harley Davidson dealer and they gave me a few Dip Dots, little brass round emblems that you mount to the Harleys Dip stick as an advertisement. One became the front power switch, one the speaker magnet cover and two the fan centers on the rear of the case.

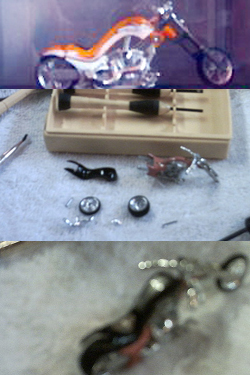
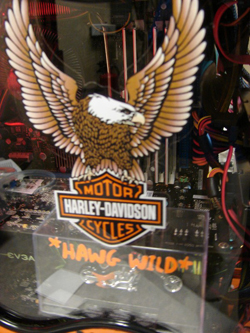
With all the embellishing done I installed the window, with a nice Harley Screaming Eagle on the plexi-glass. I was almost through when, I decided to add something that would bring a neat wow affect to the case. So, I bought a small “Hawg” in a display case. Took it out and disassembled it, then I proceeded to paint it to match the case, right down to the dual silver racing stripes on top of the gas tank. After it was reassembled and back in the display case, I attached the display case to the inside of the window, making sure that it would not interfere with any case internals that might be added later.
