News and Articles

Hawg Wild U.S.A. : by XcaliburFX
« Intro | Page 3 »

 
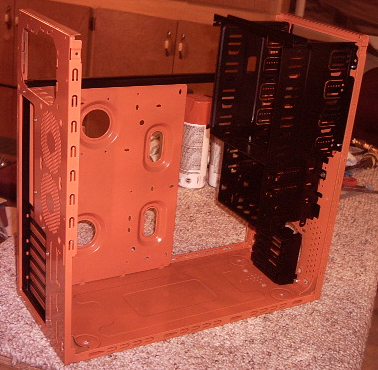
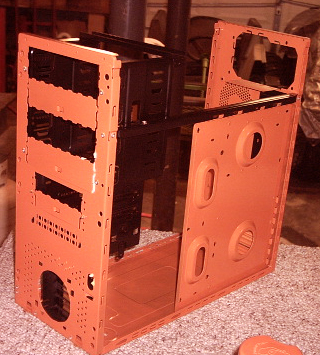
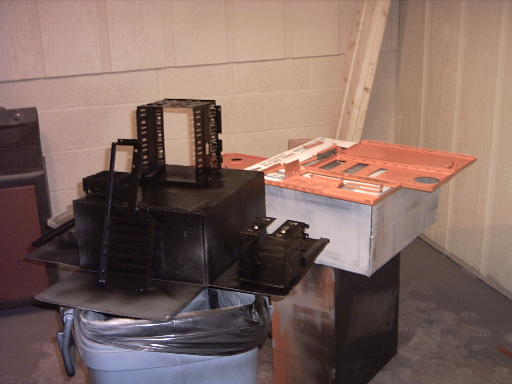
At this point I once again turned my attention to the frame. Early on I decided to use the Orange and Black Harley colors, or at least as close to them as I could get. With that in mind, I decided to paint the frame primarily Pumpkin Orange and the drive cages and expansion bay frame gloss Black. 

Hawg Wild U.S.A. : by XcaliburFX blog 1

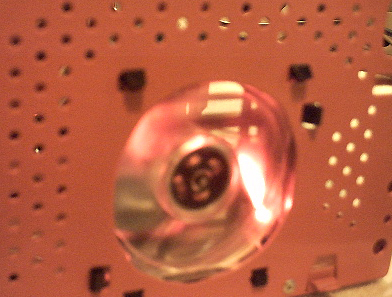
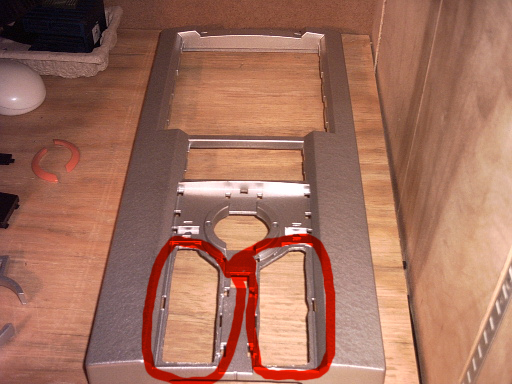
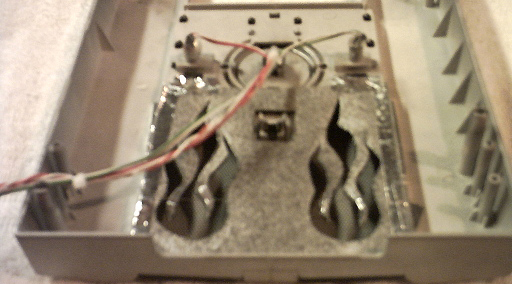
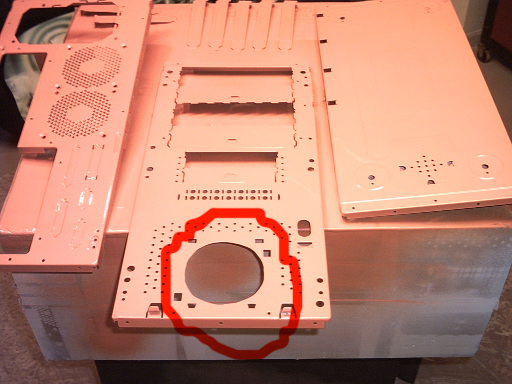
Next, I had an idea to add some flame behind the grills. So, I decided to cut a fan hole in the front panel of the frame, so I could put a bright red fan there to backlight the flames I would make. A 2 ½“ hole saw did the trick quite well. (Of course I had to repaint the area that I cut, but sometimes ideas arrive late. lol ) After doing this I took the front bezel and cut out where the grills covered. I then took a nice thick piece of poster board and drew out my flames. After doing this I glued a heavy felt like paper to it and then cut them out. Next I completely covered the flame sheet with Plasti Dip to give it strength. Then I sprayed them silver to help with light reflection, and attached them to the front bezel. I then reassembled the frame with aluminum rivets. Not looking too bad at this point, I decided to proceed.
 

Hawg Wild U.S.A. : by XcaliburFX blog 2

Hawg Wild U.S.A. : by XcaliburFX blog 3

Hawg Wild U.S.A. : by XcaliburFX blog 4

Related Articles
Got Flames?!?! ;) 

Hawg Wild U.S.A. : by XcaliburFX blog 5

Hawg Wild U.S.A. : by XcaliburFX blog 6

Looking Good!!!

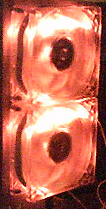
After this I installed the 3 Red 80mm LED ThermalTake Thunder Blade fans, one behind the front flames and two in the rear of the case. This should give the case a nice “Hot Glow” to it and provide sufficient cooling for a minor build.

Hawg Wild U.S.A. : by XcaliburFX blog 7

Hawg Wild U.S.A. : by XcaliburFX blog 8

All lit up!

 
Show More
Please Support Us, Every Purchase Helps Keep the Site Going Please Support Us, Every Purchase Helps Keep the Site Going
Back to top button