Gigabyte Z97-D3H Motherboard Review
UEFI Overview and Overclocking
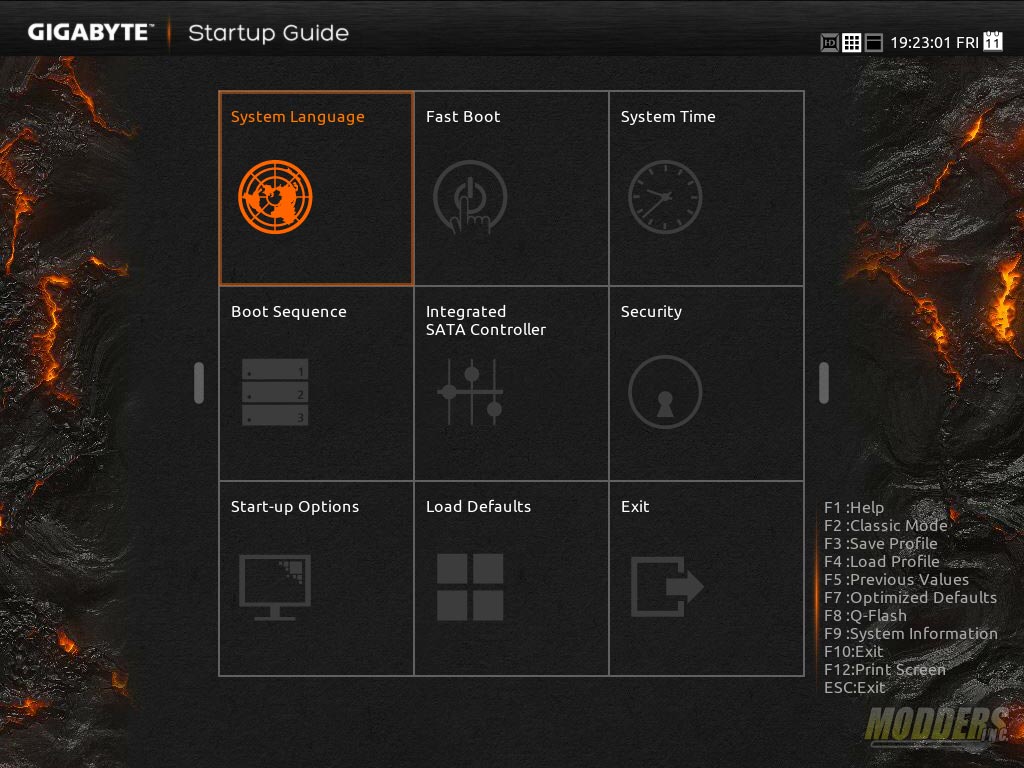
Having not used a Gigabyte Z87 motherboard personally this is the first time I am seeing the new UEFI (non-classic) design and it is very impressive. The UEFI starts out with a convenient StartUp guide similar to an “Easy Mode” found in other UEFI designs. There is full mouse functionality and is a lot snappier compared to the classical Gigabyte BIOS. The classic Gigabyte BIOS is still available for those with low self-esteem who prefer its clunky layout by pressing the F2 button, but the new Startup Guide and the new Smart Tweak Guide are basically all you need. All the extra options that serve to confuse most beginners are removed and all the necessities are within reach.
There are eight options in total on the StartUp Guide including Language options, Fast boot options, Boot Sequence (drag-and-drop function available), Integrated SATA controls, StartUp Options (for selecting which BIOS screen loads at boot), System Time and Date, Security, Defaults and Exit. Users can switch to SmartTweak Mode or Classic Mode anytime by pressing shortcut keys or click on the left or right arrows.
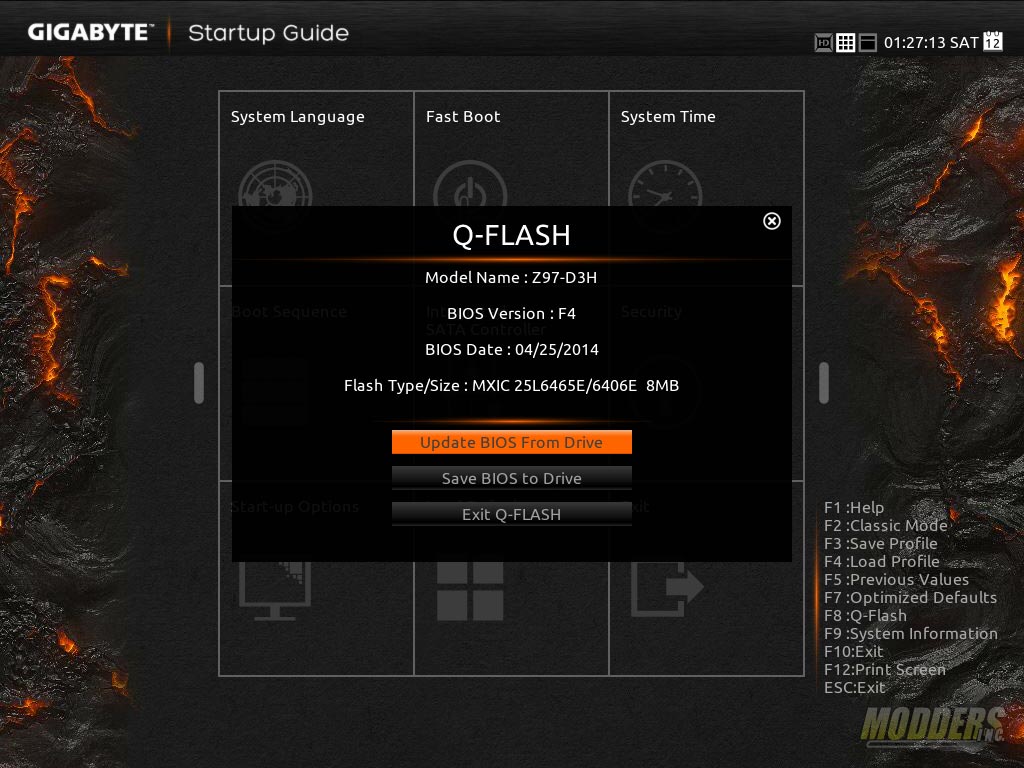
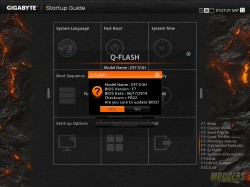
There is also a convenient BIOS flashing utility that allows users to update from a USB drive or backup the current BIOS to file. This Z97-D3H motherboard shipped with the F4 BIOS so it was updated to the latest F7 BIOS using the Q-Flash utility.
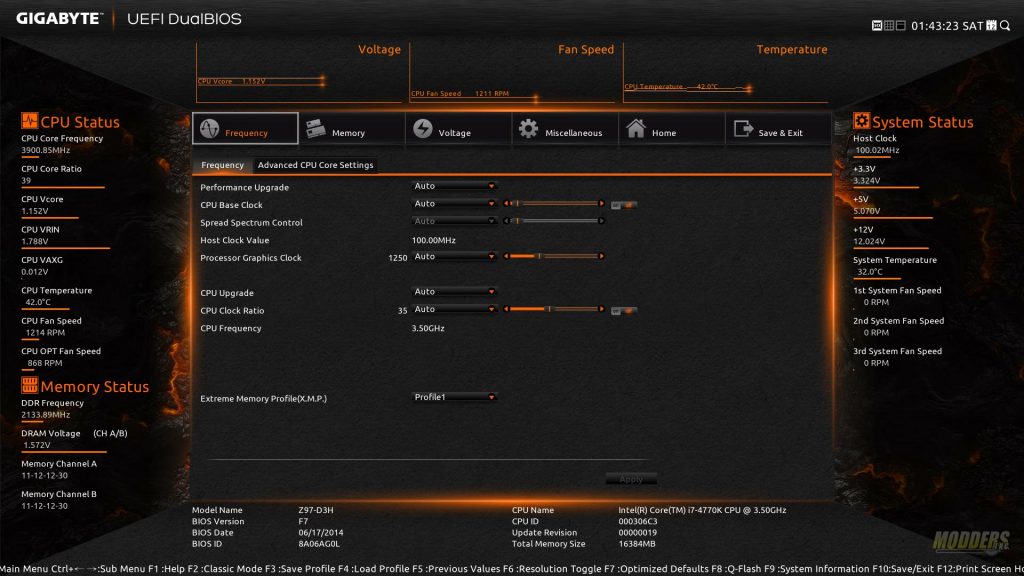
I am not even going to bother giving an overview of the Classic mode BIOS, as the new Smart Tweak is a much more convenient and easier way to adjust options and overclock. It is mostly for overclocking only and each part is separated into sections that make sense for overclockers instead of convenience for general users. Those with very little or no experience might think that it is convoluted or “can be hard to navigate” but that cannot be further from the truth. There are six sections in total: Frequency, Memory, Voltage, Miscellaneous, Home and Save/Exit. Users can also choose between the regular (1024×768) or an HD version (1920×1080). The HD version just fills out the extra additional space with monitoring values such as voltages, frequency, etc. on the all sides.
Now on to overclocking…a few notes about the Intel Core i7-4770K CPU before proceeding, just in case you are not familiar with Intel Haswell CPUs:
- A retail Intel Core i7-4770K CPU was used for this review. Unlike engineering samples which are handpicked and overclock further with less voltage, a retail Intel Core i7-4770K shows a more realistic overclocking experience.
- Voltages over 1.3V when pushing the frequency to 4.5GHz is usually too hot for normal air coolers. If you can hit 4.5GHz before needing 1.3Vcore, then you have a good chip. If you can’t, you will most likely need a custom water loop or better to get a higher OC.
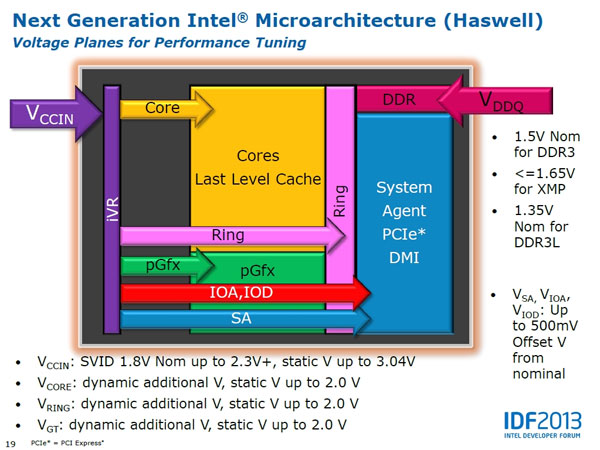
- Unlike previous Intel CPUs, Haswell has a built-in internal Voltage regulator (IVR) which takes VccIN from the motherboard and distributes to Vcore, Vring, VIOA, VIOD, Vsa instead of the old way with several independent inputs from the motherboard. Vddq for the VRAM is independent. This makes the power distribution a lot simpler and even beginner users do not need to worry about motherboard Vdroop as the CPU handles it (you have to look at VccIN not Vcore directly).
- This means that overclocking is HEAVILY CPU lottery dependent rather than motherboard power delivery dependent. It will take more effort from motherboard manufacturers to create a Z97 motherboard incapable of delivering power for Haswell Air OC up to 4.5GHz than to create one that does not.
- Each retail i7-4770K is WILDLY varying in their overclocking success and voltage requirements. Much more so than any other previous Intel processor. On air, most motherboards will pretty much reach that CPU’s thermal limit before it can realize its OC potential. Unless a motherboard’s VR is really inadequate, the same chip will OC on air on a budget Z87/Z97 LGA1150 board as it would on a high-end one. The CPU lottery is really crucial when it comes to getting a successful high overclock on air with an unlocked Haswell processsor. This does not even factor in the temperature limitation brought on by the IHS implementation which is another issue entirely which will limit your OC potential. Although to be fair to Intel, overclocking is and always has been a BONUS and not something they have to provide so the fact that they have not locked it out completely is surprising considering AMD has no equivalent processor offering in the same segment.
- The terms and names can vary between each UEFI implementation/manufacturer but it is otherwise referring to the same thing. VccIN = VRIN, Ring = Uncore = Cache, etc.
Even though there is an Auto-OC function via EasyTune or via the Smart Tweak, manually overclocking a Haswell is very easy. Mention of risk is always present in motherboard reviews but that is a given. Risk is living in the Gaza strip; overclocking Haswell by comparison barely requires an effort with significant gains. On the Smart Tweak page, under the CPU settings users can change the CPU ratio directly to whatever value they wish (45 for 45GHz, etc). The options for the Gigabyte Z97-D3H seem to include extreme overclocking and there is no warning when the user goes over the spec value or recommended for air overclocking so be careful with adjusting the voltage. Users can also choose whether to apply the settings immediately or apply only when saving. The Auto-OC presets provided have a range of 4.3GHz to 4.7GHz for the 4770K. Gigabyte is very aggressive with the voltages (using worst-case scenario 4770Ks) so make sure to use these presets as stepping stones and tweak your system until you have just enough voltages that you need.
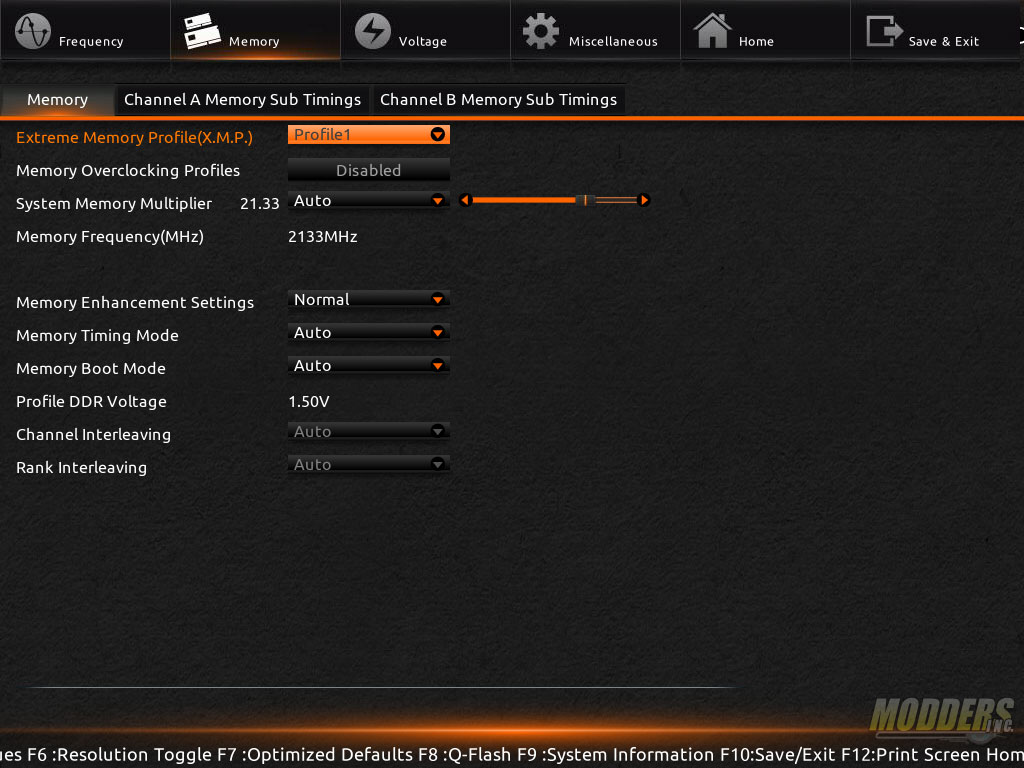
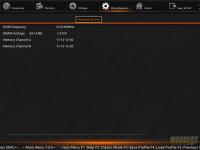
DRAM Configuration page allows us to set XMP profile or adjust timings, memory frequency divider and clock multiplier. The F7 BIOS however does not seem to detect the XMP profile on my Patriot memory modules correctly, setting the timings at 11-12-12-30 instead of 11-11-11-30. System Multiplier goes up to 29.33 (2933MHz), although the specs says it should go to 3100. The voltage adjustment is done on a separate voltage tab but the memory tab displays the current voltage setting nonetheless. Each channel can also be configured independently or at the same time. Advanced OC presets are also available from popular record benchmarks that users can choose from.
The second important part of the overclock is of course the voltages. This particular i7-4770K CPU overclocks to 4.4GHz at 1.2V but requires 1.28V for 4.5GHz and can reach 4.7GHz but needs to be pushed to 1.375V. That much voltage will require a strong custom liquid loop to keep cool so we are capping it at 4.5GHz to prevent throttling since a CPU air cooler is used (plus it sets a baseline we can all compare all other motherboards to in our graphs since BCLK values are different with each board). If you are overclocking by CPU ratio, the only voltage you really need to change is the Vcore which you can set as fixed and input the voltage (which for this case is 1.28V). Load line can be adjusted (CPU Vcc/VR Loadline) if you are seeing instability due to drooping (look at VccIN/VRIN as well). If you are still seeing instability, tweaking other aspects such as the Ring Bus (aka Uncore) and System Agent can help further. Use the image below from Intel as a graphical reference to see the relationships between all the voltage inputs.
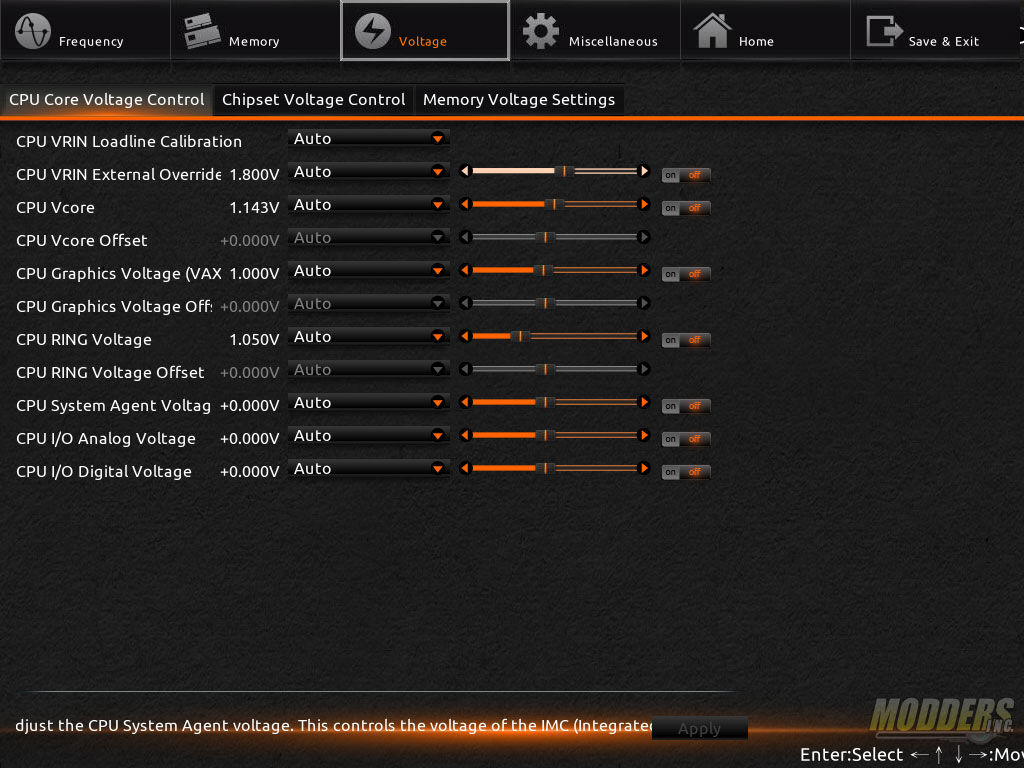
In the Gigabyte SmartTweak menu, the voltage adjustment page is separated between CPU core voltage, chipset voltage and memory voltage, this makes sense as each voltage adjustment page is for overclocking that specific part. The CPU VRIN Loadline controls are at the very top of the CPU voltage page and users can choose between auto, normal, standard, high and turbo. For typical overclocks you do not need to touch anything except Vcore. If you need more stability than that, you can also adjust the VRIN with the loadline. Leaving the VRIN Loadline at auto or normal and manually adjusting the CPU Vcore to 1.28, it would read as 1.296Vcore underload with AIDA64. CPU-Z reads it as 1.28V constant but AIDA64 says differently. You can keep power states at default if you want to save power as the aggressive voltage runs hot for normal aircooling.
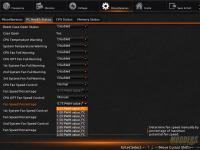
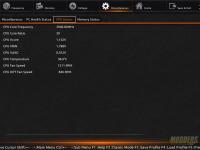
The non-overclocking settings are found under the Miscellaneous tab for convenience, including PCI-E slot configuration, fan control, system warnings as well as CPU and Memory status.
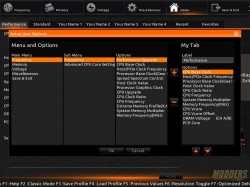
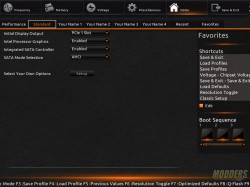
The last Home tab is basically a customizable Favorites menu for easy access to certain settings and allows users to place their often used or changed setting under different presets.
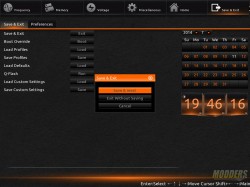
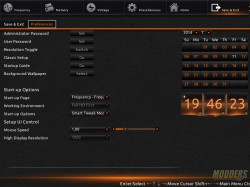
The last tab is the Save and Exit tab but it offers more options than a standard UEFI exit page. Users can do the typical tasks such as save and load, profile management, custom settings, etc. but also can change the date and time via the calendar on the side, while the preferences sub-menu house options such as security, accessibility controls, Start-up options, UEFI wallpaper customization, and HD resolution settings.







Thank you very much :D