Gigabyte Z170X-UD5 Motherboard Review: All Bases Covered
UEFI Overview and Overclocking
This UEFI overview shows the F5c BIOS (latest beta version) available at the time of review (1st week of November 2015). Unlike the Gigabyte Gaming motherboards, the UD segment board UEFI only have the “classic mode” by default, although Gigabyte could introduce the Smart Tweak option in a future BIOS update. There is a bug with this beta bios version in that it disables the on-board audio but it has been since pulled out and the latest as of the 4th week of November is bios version F5e.
This classic mode is a GUI overhaul of Gigabyte’s first generation UEFI interface which was basically almost a direct port aesthetically of their non-UEFI BIOS. It is a classic in the sense that the layout is the same as the old non-UEFI BIOS which is great for those who are used to the old way of doing things but practically speaking, it is not the most convenient layout. This is why Gigabyte has the Smart Tweak and Start-up Grid screen versions of the UEFI for their other boards which are significantly better laid out than the old way of doing things, but it is understandable why Gigabyte provides the old BIOS layout option as well since it is what most of their long term users are comfortable with. From a functional stand point however, the layout is just inefficient and the categorization is not reflective of what the modern user needs. Nonetheless, here is a walk-through guide on where to find things in the classic mode layout:
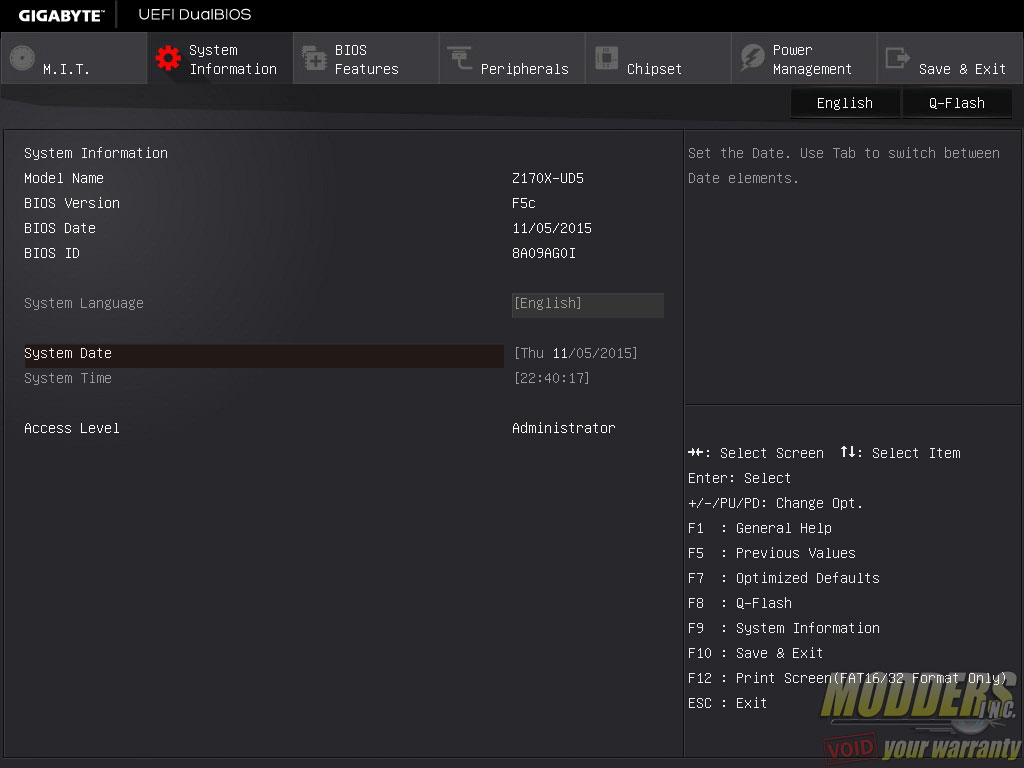
The first default screen is the System Information tab. No information can be changed here other than system language, access level as well as date and time.
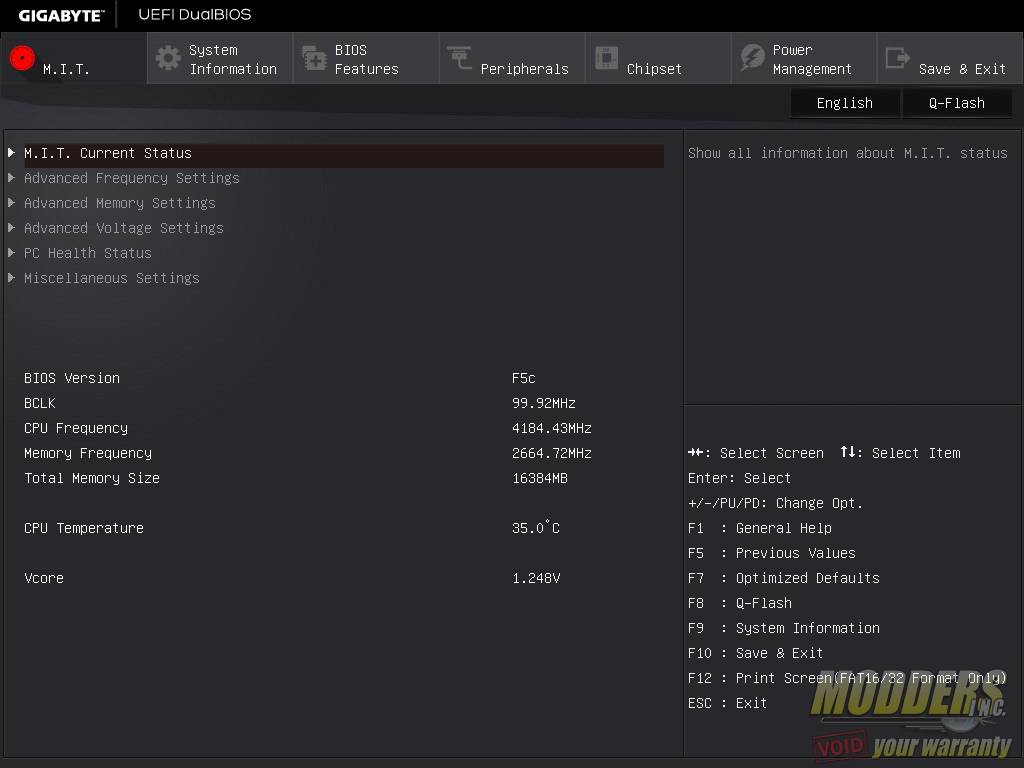
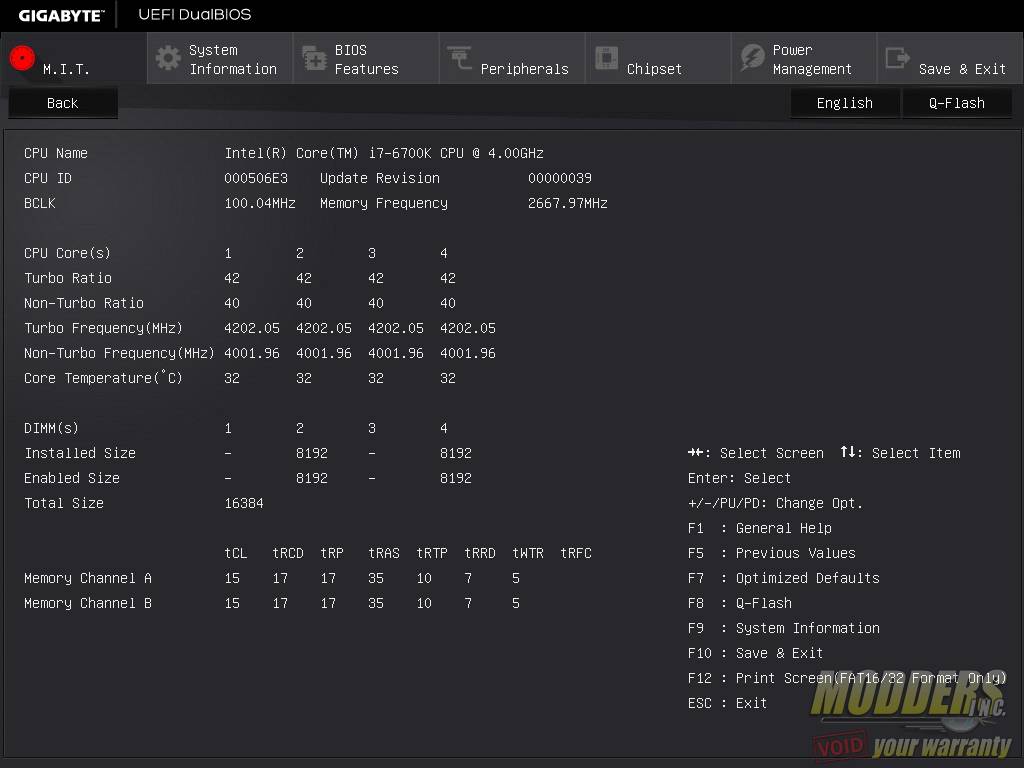
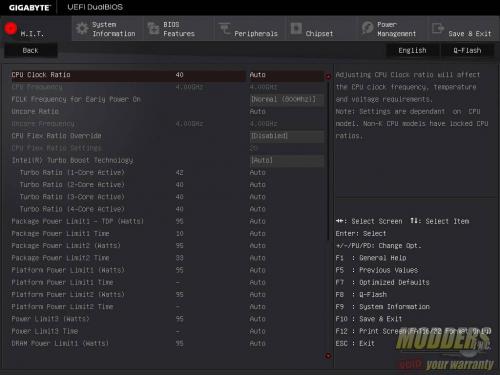
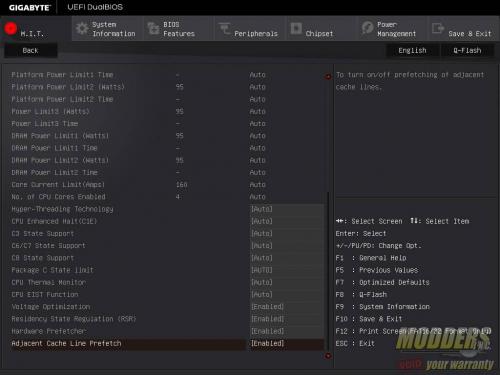
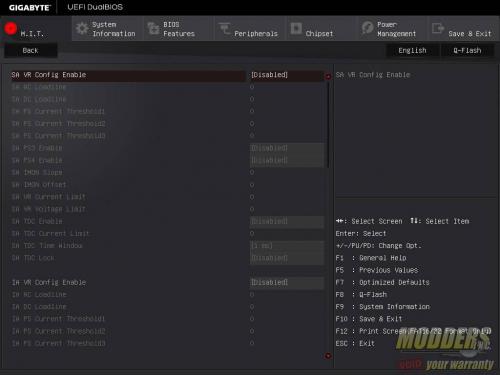
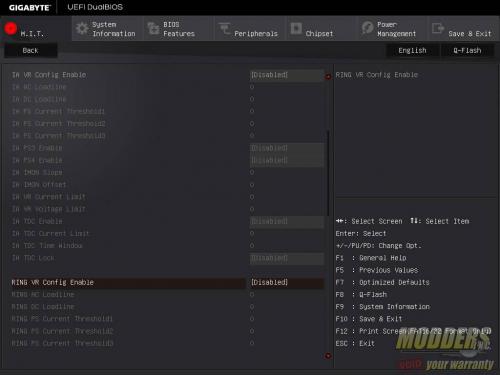
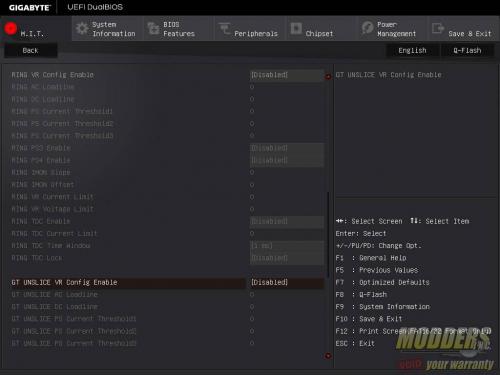
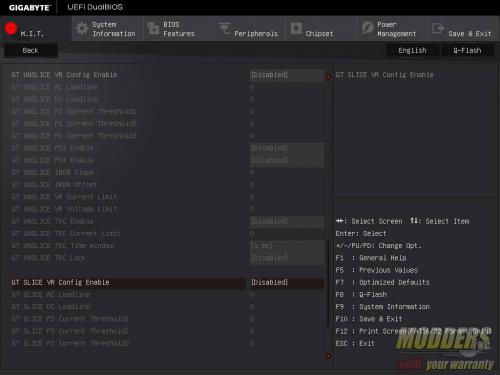
The Motherboard Intelligent Tweaker or M.I.T. tab is where users can overclock their CPU from. All the overclocking settings you need are in this tab including fan control for keeping the thermal levels in check. There are six sub-menus with the top displaying the current status (no values to change here) and the bottom for showing the PC health status and controlling fans.
M.I.T.\M.I.T. Current Status>: When you make changes, you can load this page for comparison with the default setting or to verify that the settings have been saved.
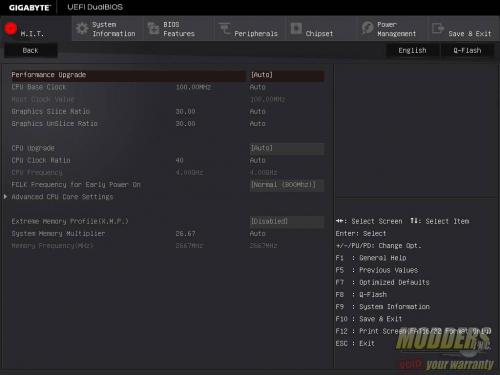
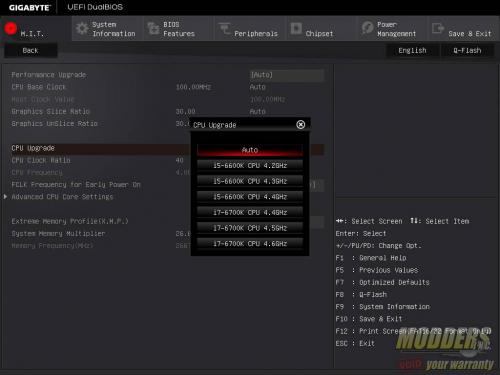
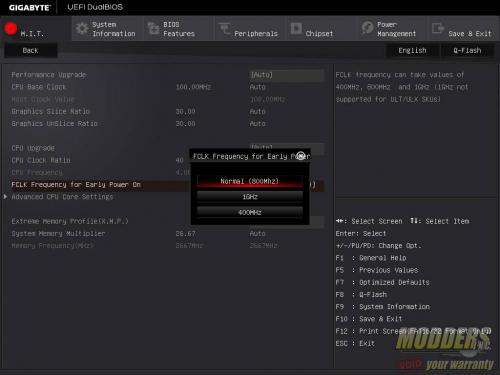
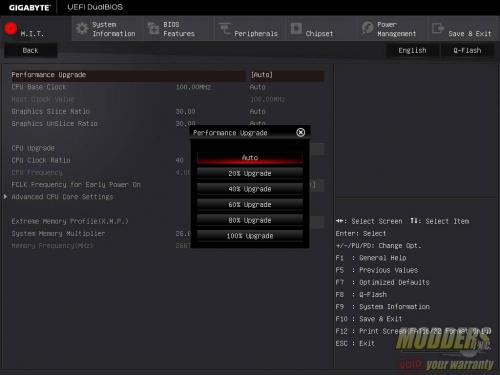
M.I.T.\Advanced Frequency Settings>:This is where overclocking values are changed with options to adjust CPU Base Clock, Integrated Graphics Slice and Unslice ratios , Memory multiplier and a sub-menu for enabling or disabling CPU-specific features. Users can use the PAGE UP or PAGE DOWN keys to increase or decrease values or just simply enter numerical values directly. There is a Performance Upgrade preset (up to 4.7GHz) and CPU Upgrade preset for quick overclocking up to 4.6GHz on the i7-6700K (and some presets for i5-6600K as well). Maximum BCLK adjustment is 500 from 80 and adjustable in 0.01 steps.
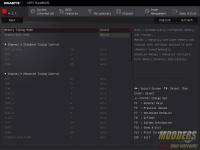
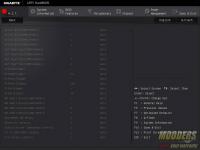
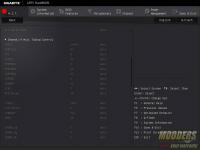
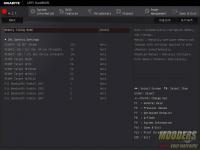
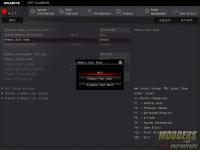
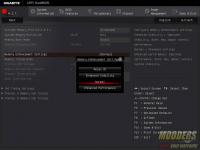
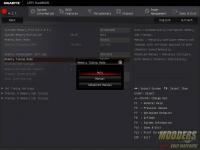
M.I.T.\Advanced Memory Settings>: This is the page for memory overclocking and timing adjustment. If you cannot set your memory timing any higher than 3300MHz, try installing the latest F5c BIOS which allows the memory divider up to 41.33 to be used for 4133MHz.
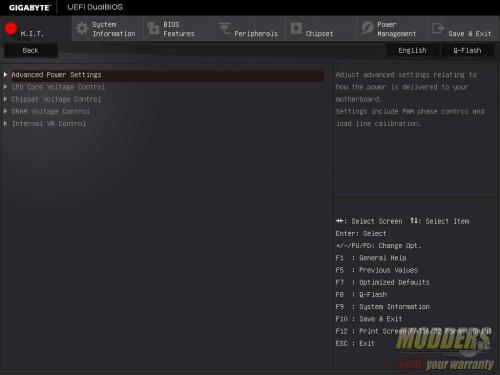
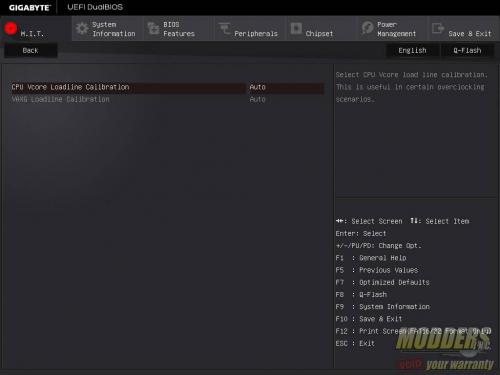
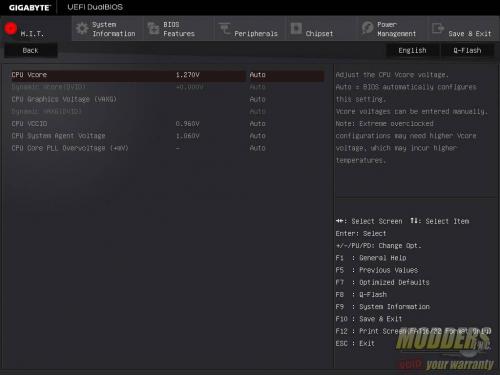
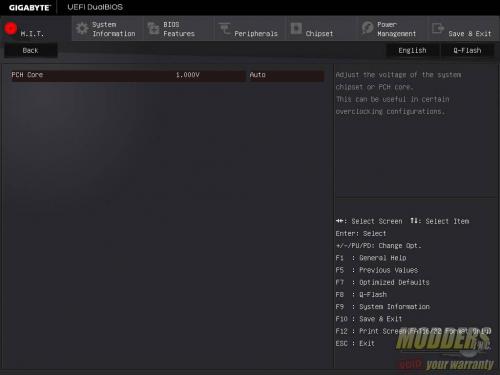
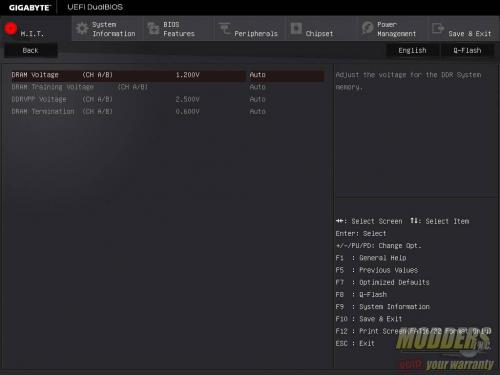
M.I.T.\Advanced Voltage Settings>: This page is for adjusting all the voltage related settings and there are five sub-menus to choose from depending on what to adjust. Advanced Power Settings is where Load Line Calibration is adjusted for the CPU and IGP (AUTO, Standard and High).
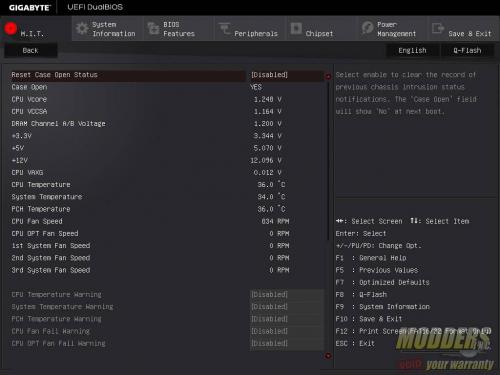
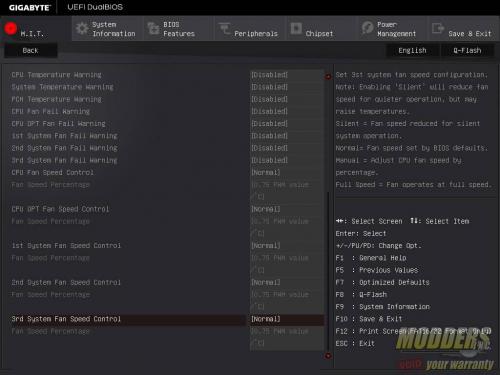
M.I.T.\PC Health Status>: This page contains voltage and fan speed readouts via the SuperIO but it is also where fan speed control is set.
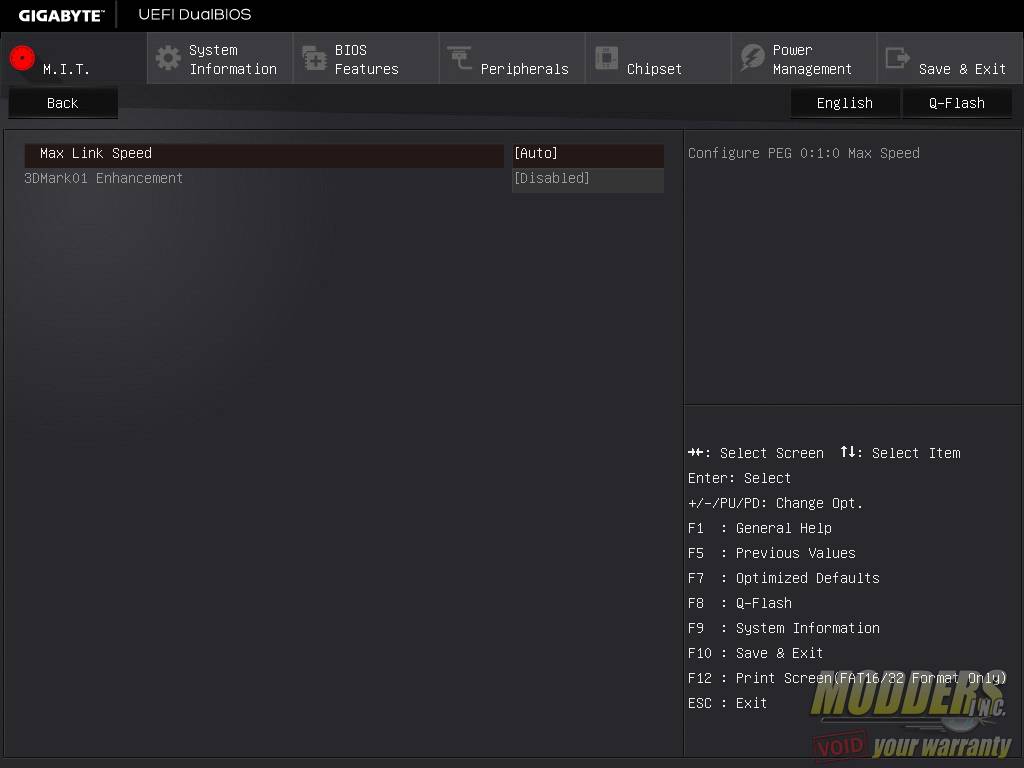
M.I.T.\Miscellaneous Options >: This page only contains two options: Max link speed for PCI-E graphics and 3DMark 01 Enhancement toggle.
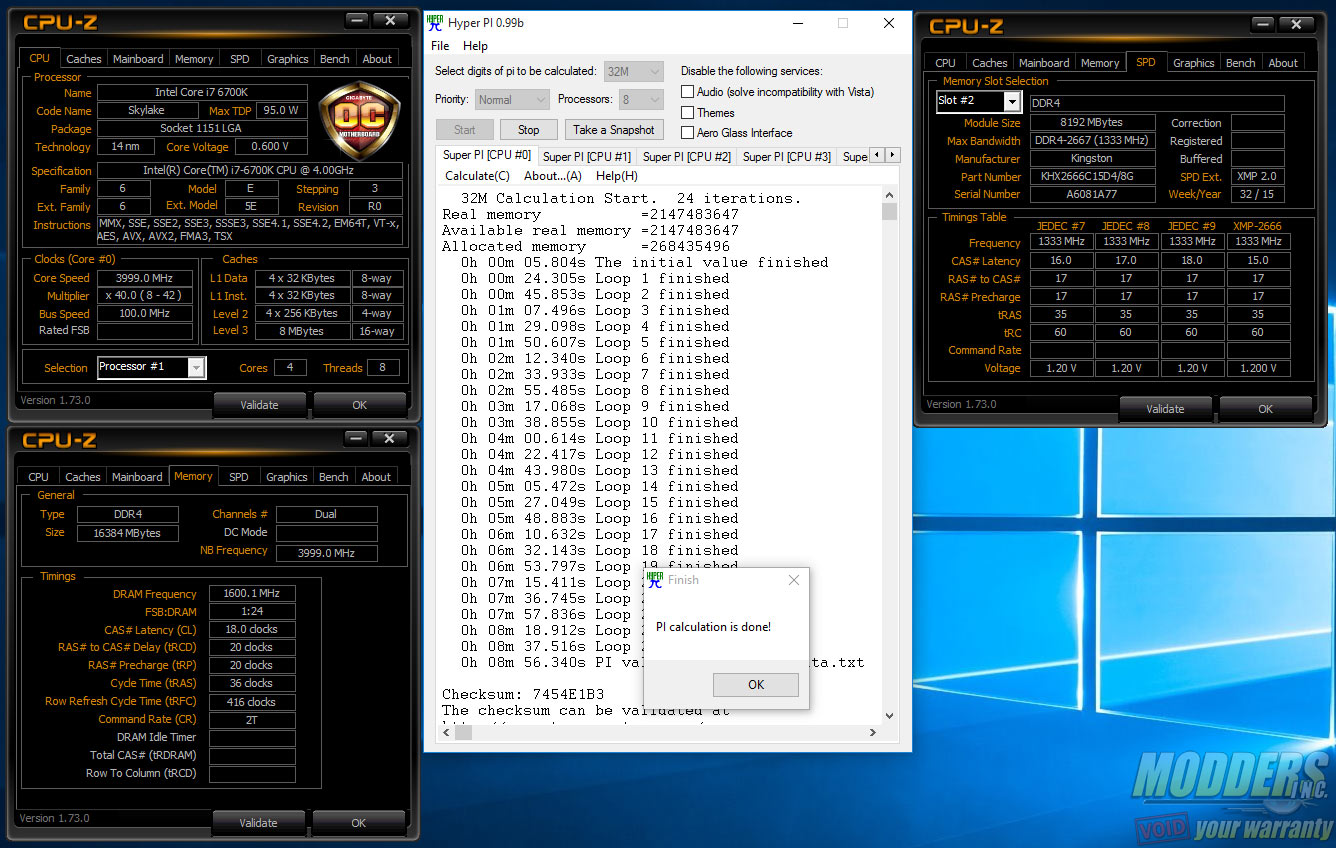
The VRM design on the Z170X-UD5 is identical to the Z170X-Gaming 7 I reviewed so I am not going to bother overclocking the CPU as it will be pointless. Just read what I said in that review and it is pretty much the same thing and expect to get the same experience on this board. I will instead focus on something I did not cover last time which is DRAM overclocking.
As noted in my previous HyperX DDR4 2666MHz 8GB kit review, overclocking DDR4 memory is slightly different than with DDR3. Additional DRAM voltage is not going to help at all unless you have a good CPU for memory overclocking when it comes to 3400MHz+. Depending on the motherboard model or BIOS update, voltage must be raised for the System Agent and/or System IO before running anything over 3000MHz+. The Gigabyte Z170X-UD5 motherboard did not automatically add voltage to both so they had to be manually set while some motherboards such as EVGA’s Z170 FTW automatically increases VCCSA and VCCIO (tested on 1.05 BIOS) when needed so it was able to boot the memory kits such as Patriot Viper 4 3400MHz modules (which I reviewed here) without any problems immediately.
If you have an older BIOS version out of the box and cannot even boot properly with XMP settings, I suggest clearing the CMOS and disabling any fast boot options. Since the DDR4 SPD table is twice as large as DDR3’s, it takes a lot longer and allow for memory training as well. Newer BIOS updates (latest betas) provide the most up to date memory support but F4 BIOS or newer work perfectly fine with my 3400MHz modules as long as I set it properly with SA/IO voltage and regular booting mode. These are all options contained within the memory settings sub-menu so there is no confusion in this regard; users do not need to exit and enter in other sub-menu except the memory as well as voltage settings.
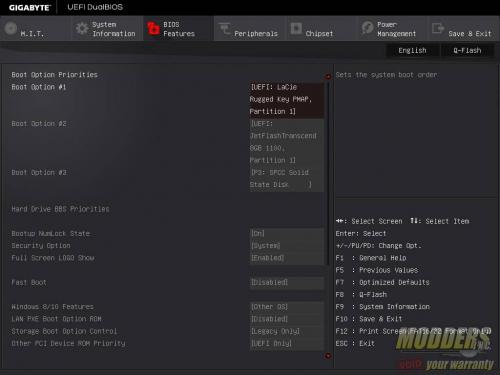
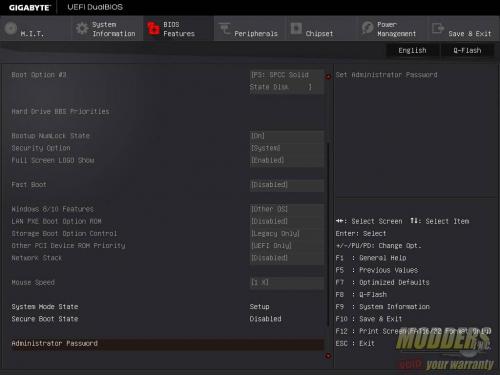
Now onto the rest of the UEFI layout. The third tab is the BIOS features page which allows users to change boot priorities and set other boot options.
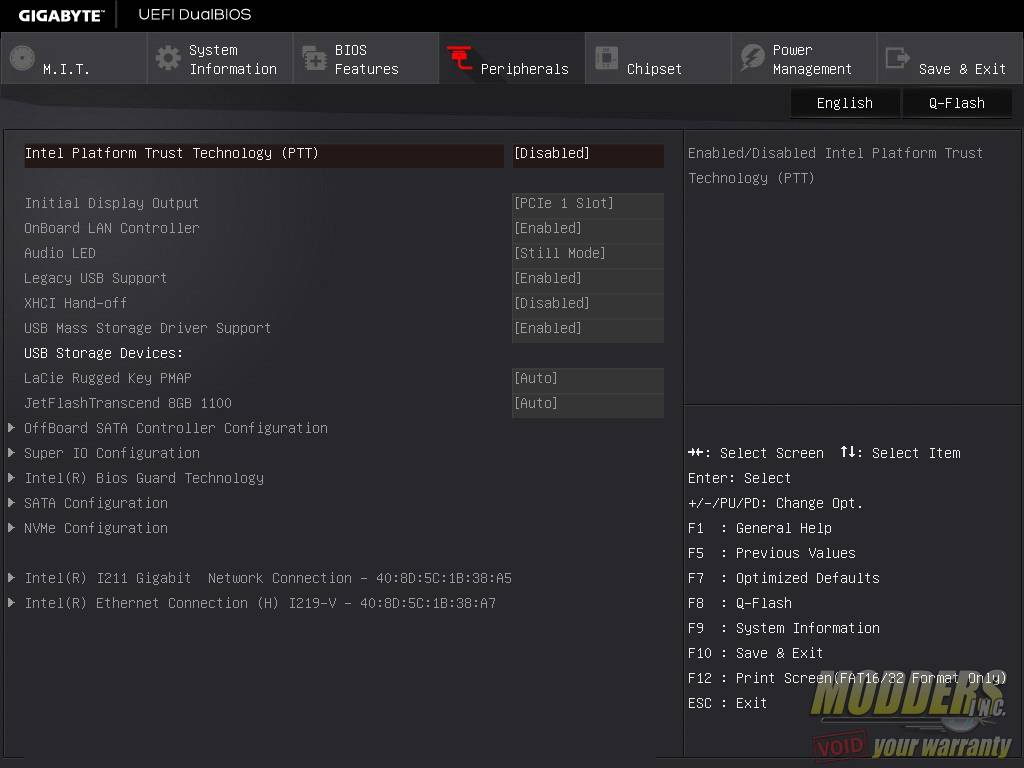
The fourth tab is the Peripherals tab which has the bulk of the motherboard related functions including enabling/disabling hardware such as USB, SATA, display and provides LED control.
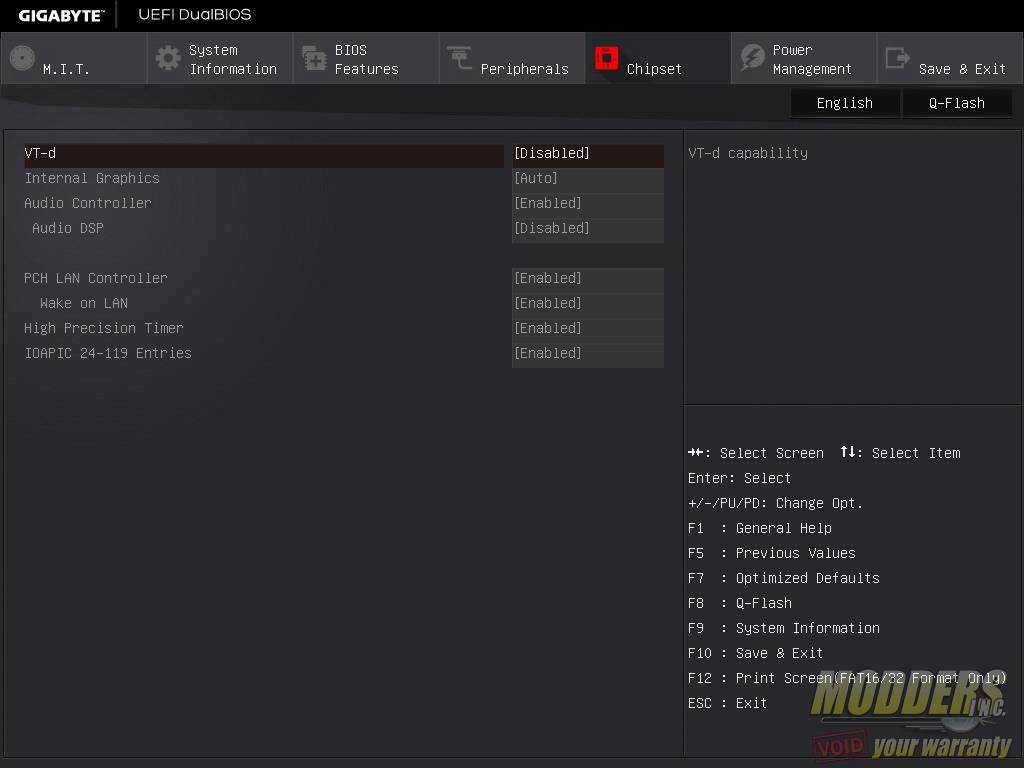
The fifth tab is the Chipset page which toggles features on both the Z170 chipset and CPU northbridge such as internal graphics, audio controller, VT-d and PCH LAN Controller.
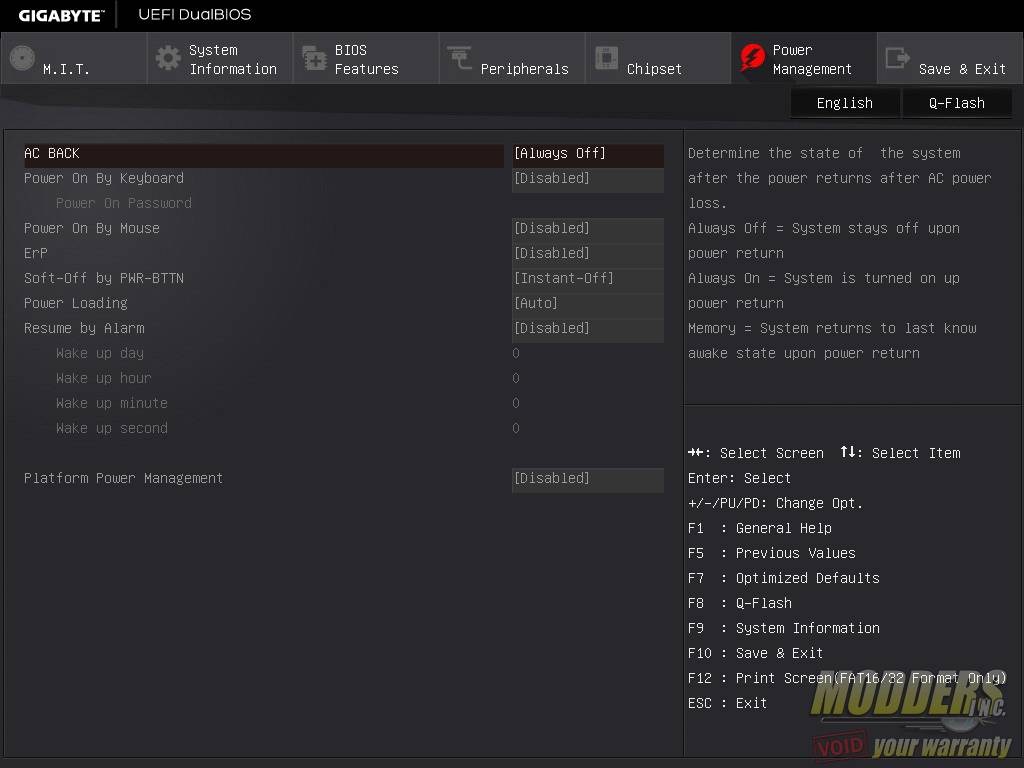
The sixth tab is the Power Management page which enables or disables power saving features as well as several platform power options.
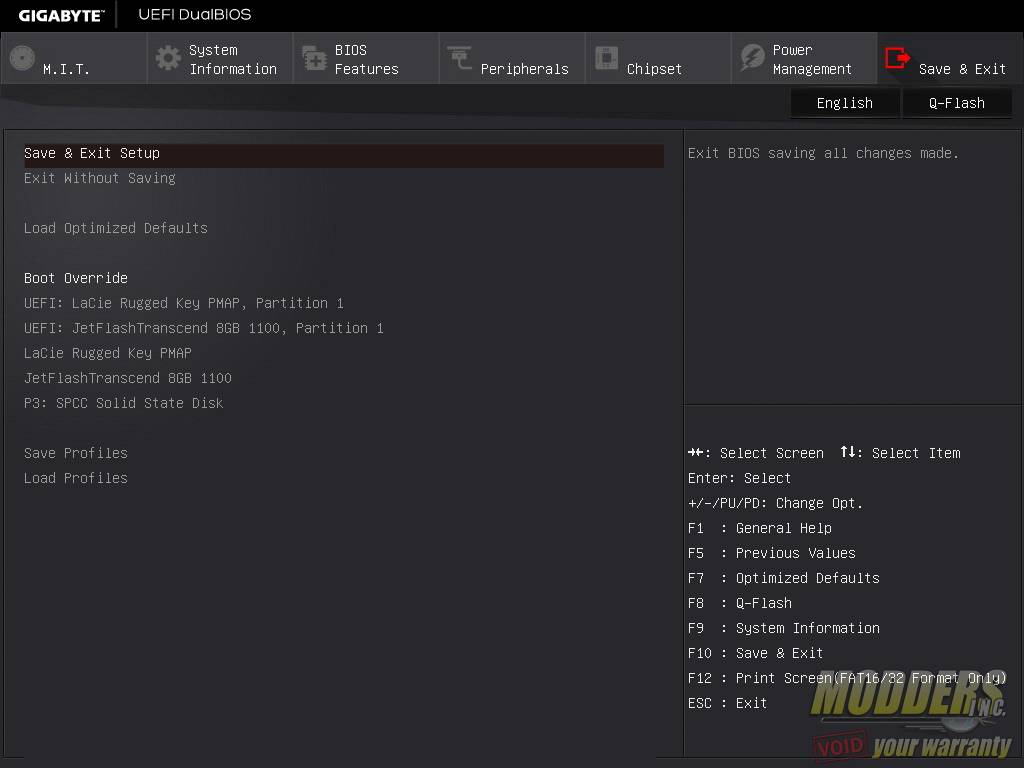
The last page is the Save and Exit page where users can save and exit or save as well as load a profile locally. As with every decent exit page, there is a quick single-click boot override option.
