GIGABYTE XM300 GAMING MOUSE REVIEW: One Size Fits Many
Software
The Gigabyte XM300 does not come with any physical software in the box however, a client is available on Gigabyte’s support page for the XM300. One thing that stood out about this software is that once your cursor enters the window the Gigabyte XM300 software, the cursor image is replaced with one of a right hand wearing motorcycle gloves. It’s a nice touch and doesn’t have the input lag I expected from older proprietary software that did the same.
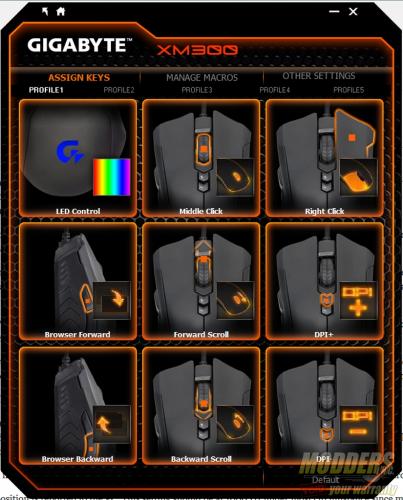
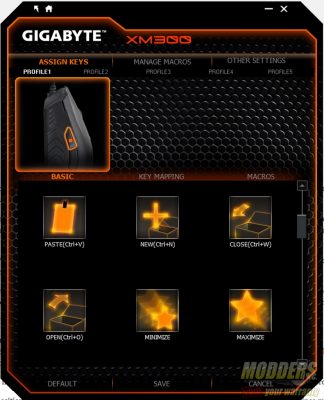
The first screen you will see will be of the assignable keys on the Gigabyte XM300. In this case it seems Gigabyte has made just about every button assignable even scroll wheel actions. In addition to this level of control the software for the Gigabyte XM300 can hold up to five profiles.
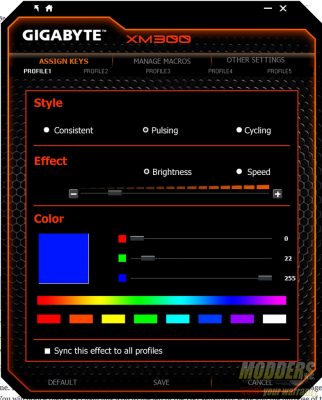
On this same page a user can change the color of the LED light from one of 16.8 million colors. There is no color wheel on this page like there is on Gigabyte website that demo’s the LED light, but there is a RGB slider than can be set anywhere from 0 to 255 so you can get the exact color you want given you have the proper RGB values. By default the Gigabyte XM300 will cycle through a set of 8 colors.
The LED light can either be a consistent color or pulsating. When you are on consistent or pulsating, you may modify the brightness of the LED light with the option to turn off this light completely when brightness is at the lowest setting. When you set the XM300 to pulsate, you may choose a speed at which to pulsate.
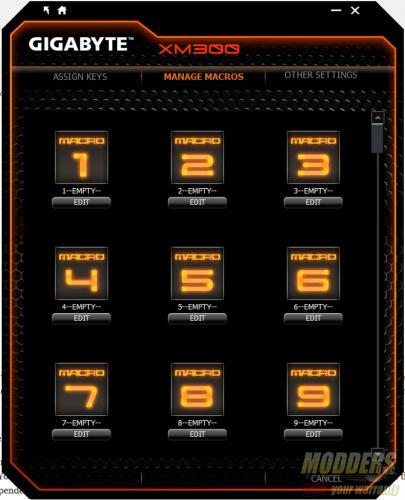
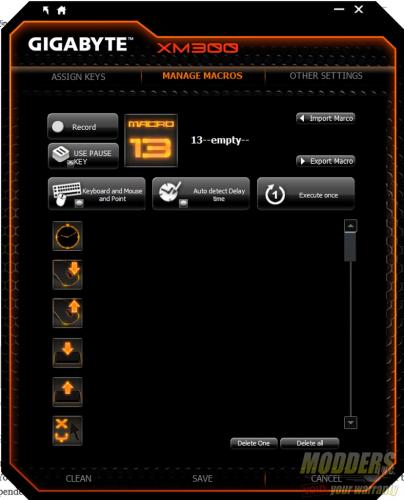
On the macro management page, you can record a macro for the Gigabyte XM300. This function is more thorough than I originally expected. In addition to recording a set of behaviors, the delay of the macros can be detected and will become part of the macro once created. Much like assigning keys, these macros can be assigned to just about any button on the Gigabyte XM300.
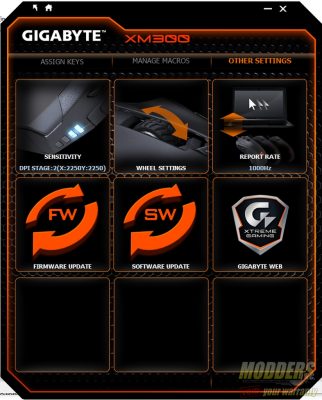
Under the other settings you can change the DPI stage, Wheel settings, and report rate for the Gigabyte XM300.
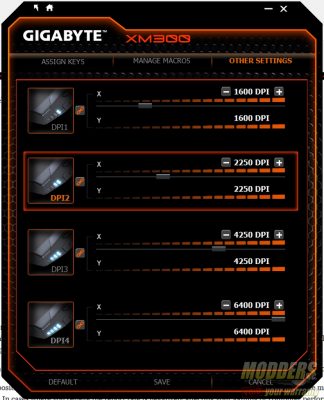
The DPI stage setting of the XM300 is one I find very well done. Each DPI stage on this page is mapped to one of four settings. The DPI assigned to each stage can be can be set in increments of 50 DPI as advertised. By default the highest DPI is set to 3200. You will notice there is a chain link icon to the left of the DPI sensitivity scale and the purpose of this is to allow you to either change the sensitivity of the X and Y coordinates of the XM300 independently or together.
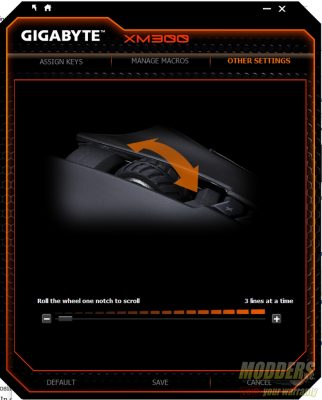
The wheel settings allows you to change how many lines each notch on the wheel will move up and down pages assuming you have not assigned a key or macro to the scroll wheel movements.
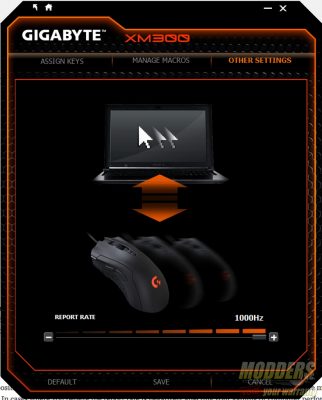
The report rate setting controls how often Gigabyte XM300 position is reported to the PC. This setting should be at 1000 Hz under most circumstance since modern gaming CPUs are powerful enough to shrug off the highest setting on this reporting rate. In cases where you believe the report rate is negatively affecting your gaming or computer performance in a negative way, then it is recommended to lower the reporting rate.
The second row of the Gigabyte XM300 software has option to update software and firmware as well as a link to the Gigabyte website.
