Gigabyte X99 Phoenix SLI Motherboard Review
UEFI Overview
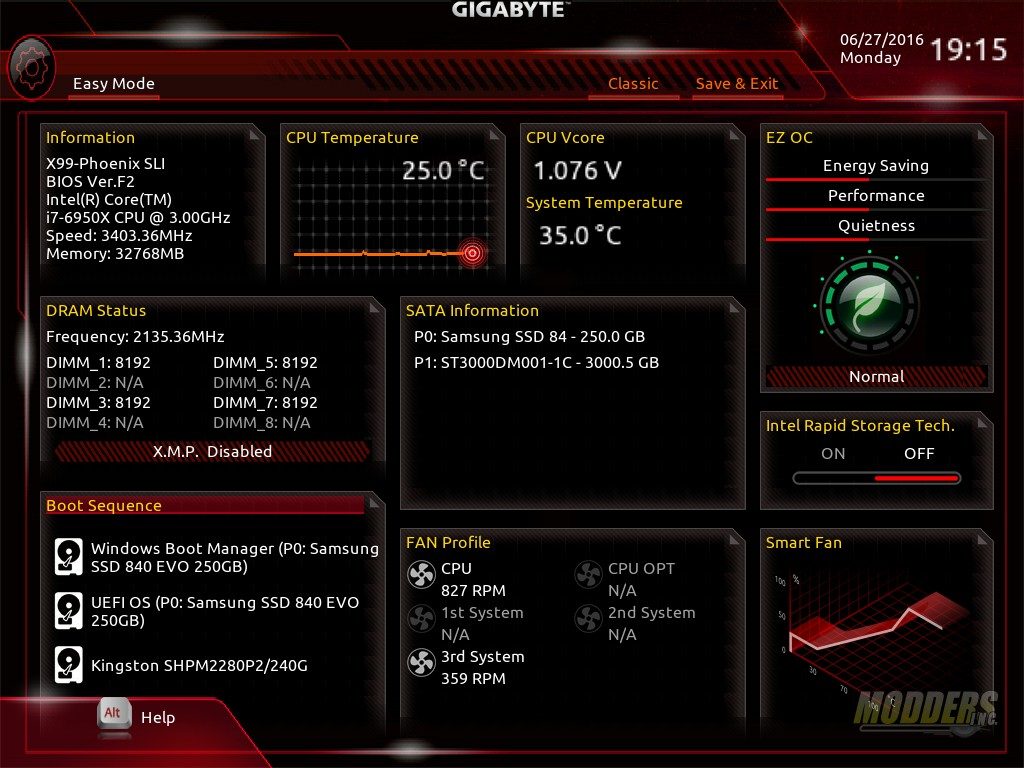
Right off the bat, this BIOS is different from what I’ve seen in the past from Gigabyte. No longer does the BIOS ask you what language, by default, it boots into “Easy Mode”.
Easy Mode gets you up and running fast without a whole lot of digging around. If you’re not a BIOS tweaker, a couple of clicks and you’re done. For most (non-tweakers) adjusting the fan speeds and turning on XMP maybe the only thing they need to mess with. I like the fact that Gigabyte has redone their interface. It’s fast and sleek.
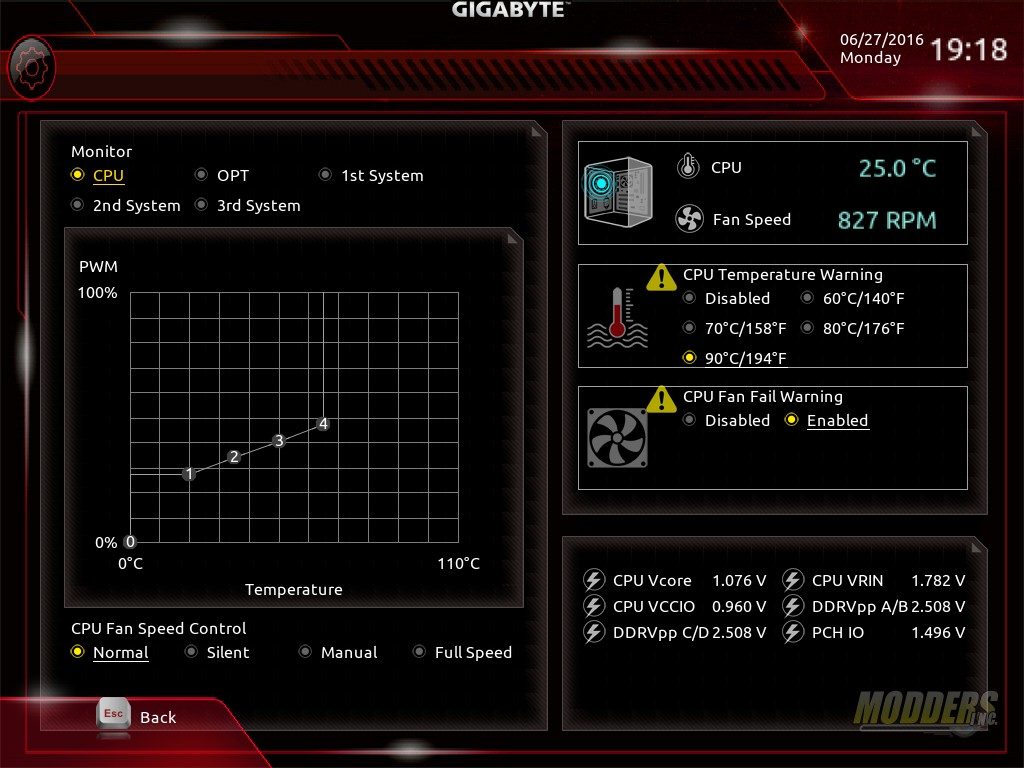
The hardware monitoring interface gets an update as well. This is much better than we’ve seen from Gigabyte in the past. While the older interface worked, in my opinion, it was a little clunky to get things adjusted the way that I wanted them. With the X99 Phoenix SLI, there are five fan headers that are controlled independently of each other and are adjusted by selecting the header and then using the graph below it to set your ramp up temperatures and speeds. Both CPU fan failure and CPU temperature alarms are set here as well. Gigabyte also offers quick and fast pre-programmed fan speed ramps with the normal, silent, and full speed selections.
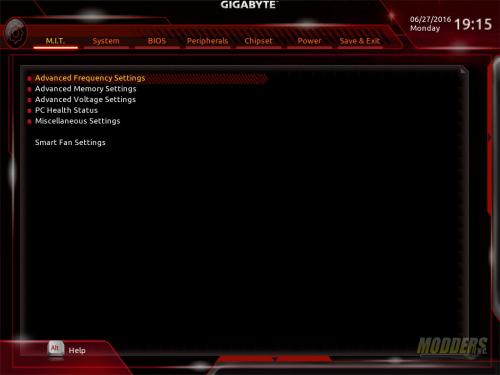
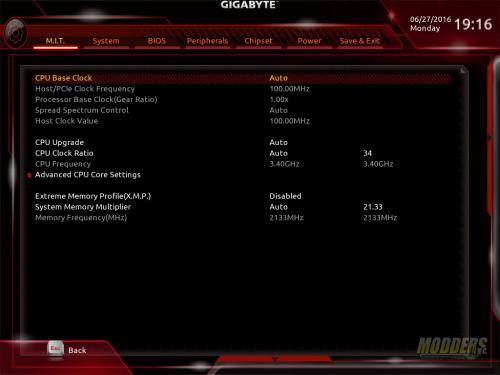
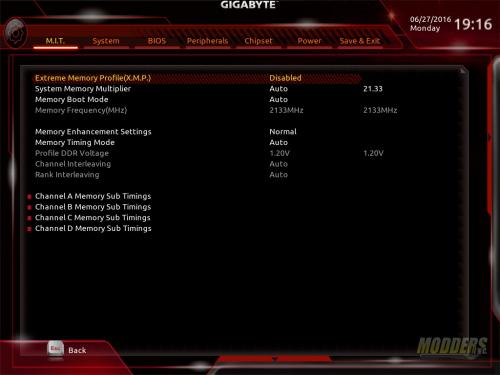
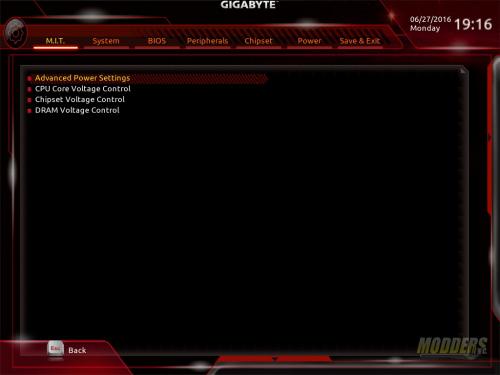
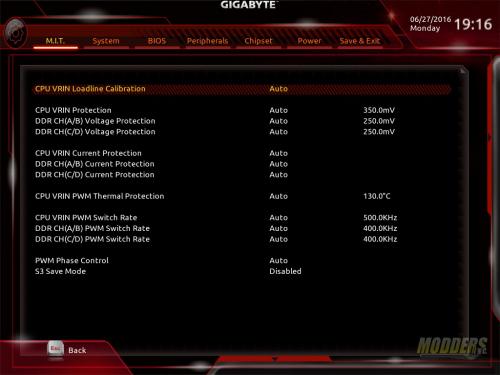
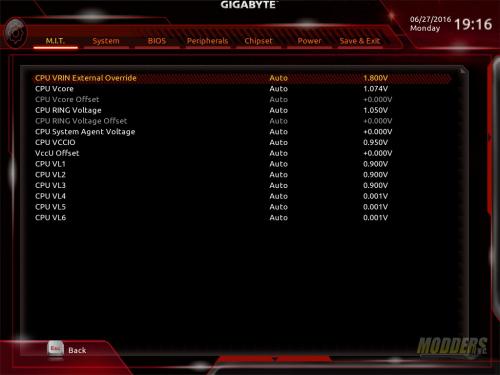
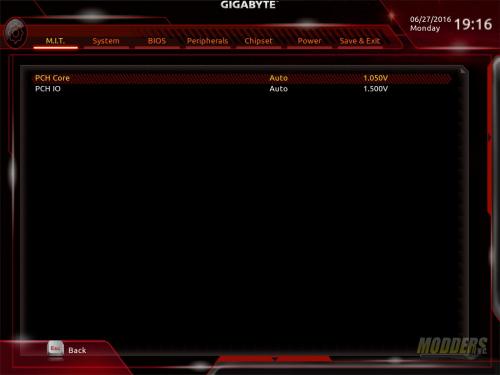
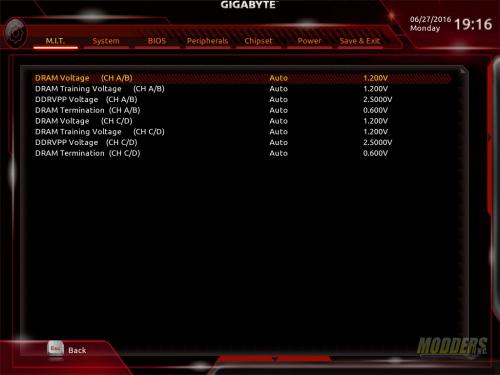
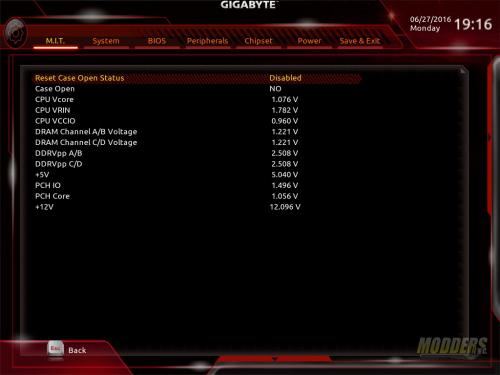
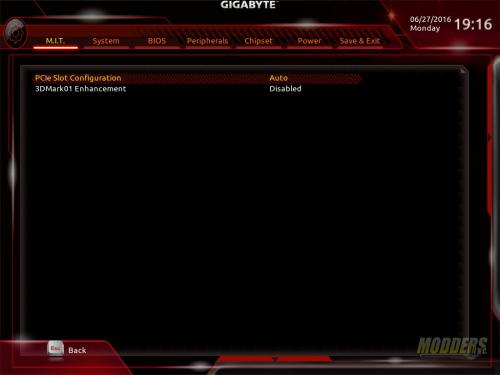
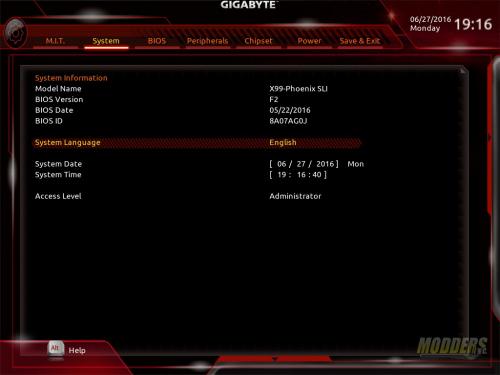
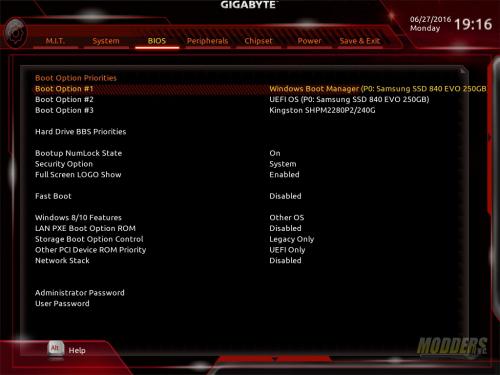
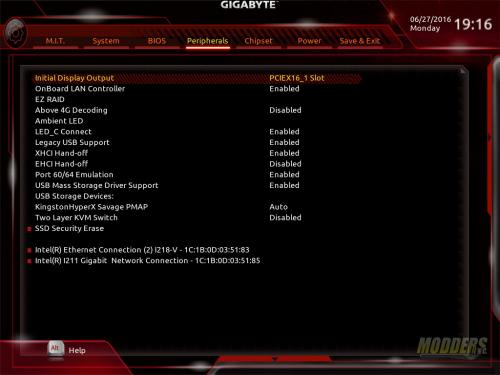
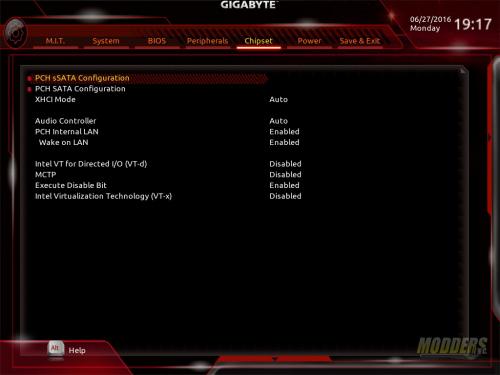
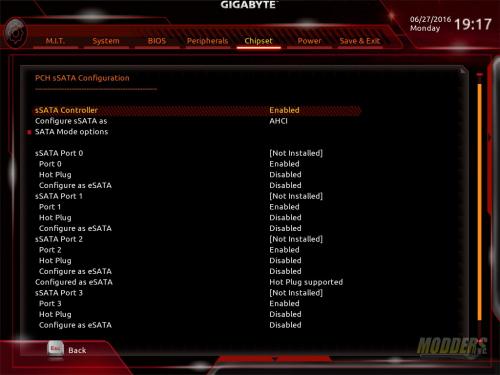
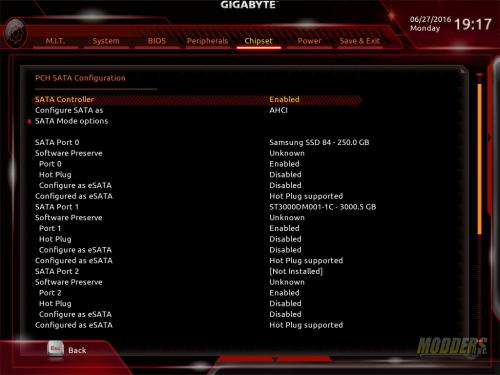
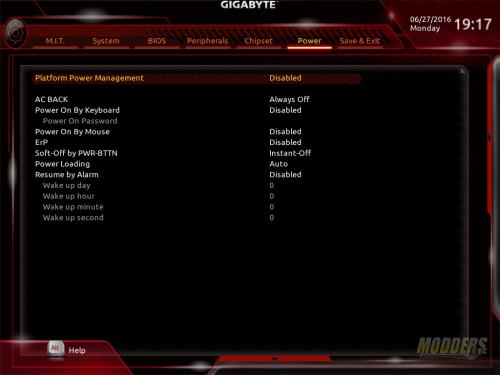
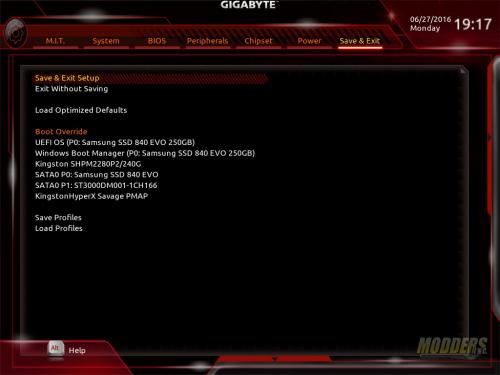
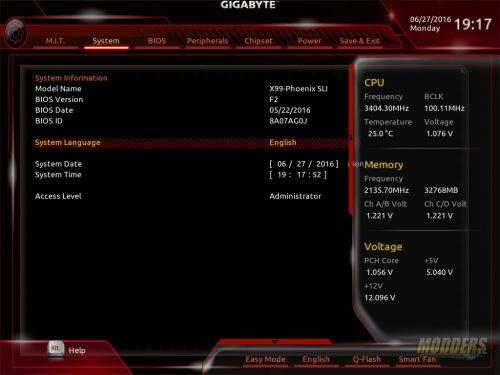
Classic mode looks and functions the same as it has in the past. I’ve always been a fan of Gigabyte’s classic mode as it’s representative of older non-UEFI BIOS menus.
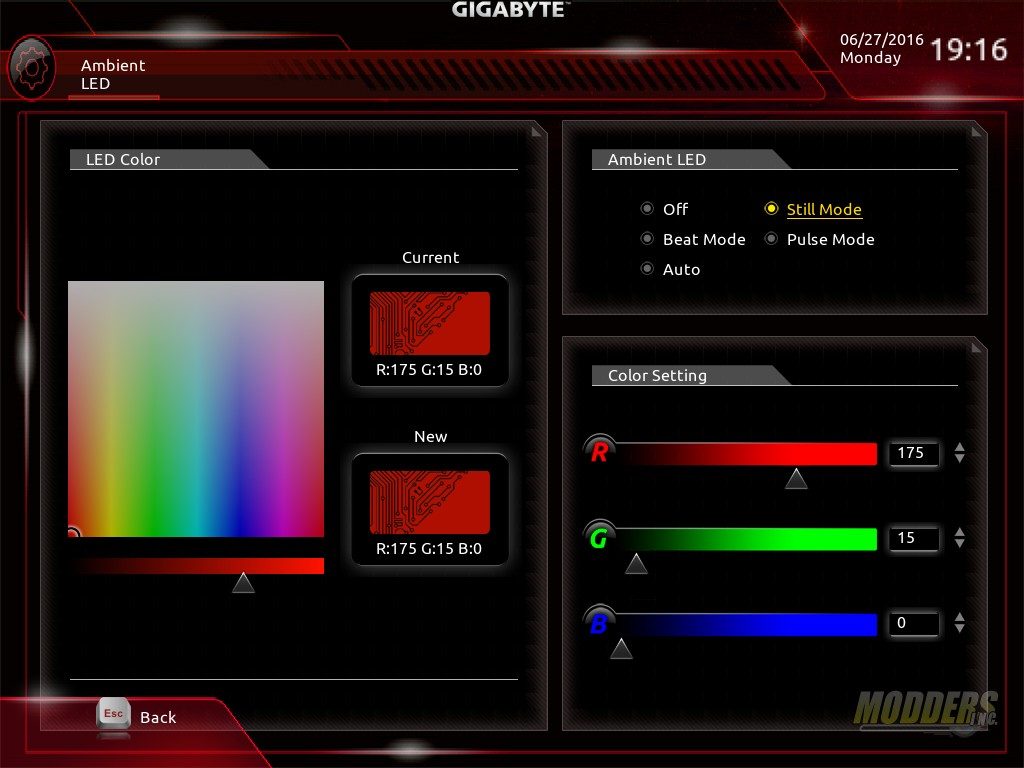
One new addition is the Ambient LED control. This allows you to control the RGB LEDs directly from the BIOS in the same manner as the software within windows.
