Gigabyte X99 Gaming 5P Motherboard Review
UEFI Overview
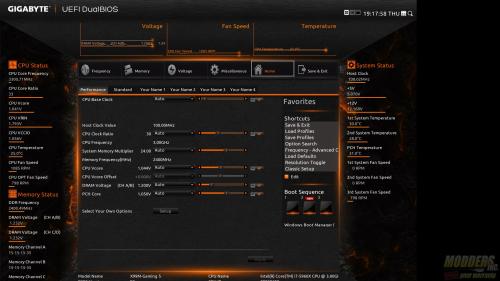
The BIOS on the Gigabyte X99M-Gaming 5 provides 3 interfaces, a grid style display, smart tweak mode, and classic. We will cover smart tweak and classic.
Smart Tweak:
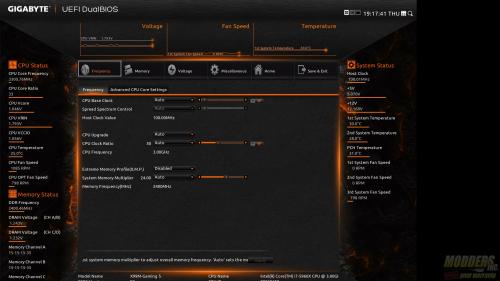
The first tab in the Smart Tweak UI is the Frequency settings. From this tab you can quickly overclock your CPU by modifying the Base clock, memory frequency and XMP profiles can be set from here as well. In the advance tab, the multiplier for the CPU can be modified.
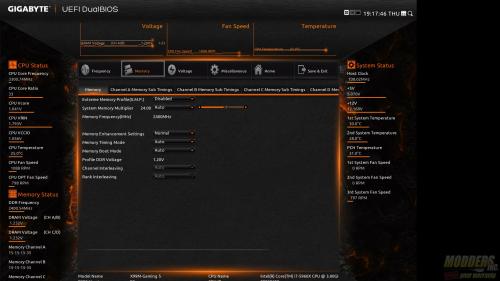
Basic memory settings such as XMP profile, multiplier can be set from the Memory Tab. More detailed settings are available in the channel subtiming tabs, allowing fine tuning of the memory timings.
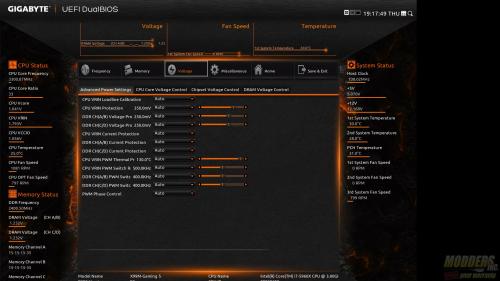
Advanced system, CPU, Memory, and PCH voltage control is available under the voltage Tab and sub-tabs.
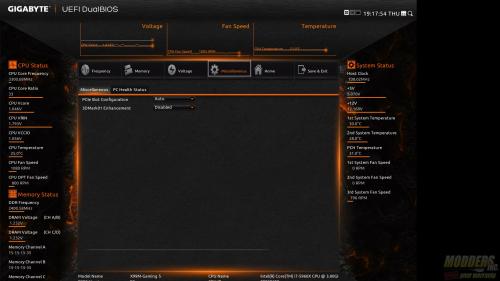
The miscellaneous tab allows you to set the PCIe configuration as well as check on the PC Health status. PC Health status displays crucial information such as CPU temperatures, fan speeds and voltages.
The home tab allows quick adjustments to CPU and memory multipliers as well as voltage for the CPU, memory and PCH. This tab can be customized to your liking and saved in one of four available slots. If you make BIOS adjustment constantly, this can come in quite handy.
For those of you that are change resistant, Gigabyte also includes a UI that resembles the older UEFI BIOS. The settings are similar to those above, but are in a more traditional tab format with sub headings under each tab.
![Gigabyte X99 Gaming 5P Motherboard Review 6 M.I.T._[19-18-18]](http://www.modders-inc.com/wp-content/uploads/image//2015/04/M.I.T._19-18-18-250x188.jpg) |
![Gigabyte X99 Gaming 5P Motherboard Review 7 Main_[19-18-25]](http://www.modders-inc.com/wp-content/uploads/image//2015/04/Main_19-18-25-250x188.jpg) |
![Gigabyte X99 Gaming 5P Motherboard Review 8 BIOS Features_[19-18-33]](http://www.modders-inc.com/wp-content/uploads/image//2015/04/BIOS-Features_19-18-33-250x188.jpg) |
![Gigabyte X99 Gaming 5P Motherboard Review 9 Chipset_[19-18-44]](http://www.modders-inc.com/wp-content/uploads/image//2015/04/Chipset_19-18-44-250x188.jpg) |
![Gigabyte X99 Gaming 5P Motherboard Review 10 Power Management_[19-18-49]](http://www.modders-inc.com/wp-content/uploads/image//2015/04/Power-Management_19-18-49-250x188.jpg) |
|
Overclocking the Intel i7-5960x was quick and easy with either of the interfaces on the Gigabyte X99M-Gaming 5. For overclocking I adjusted the multiplier to 44 and bumped up the vCore to 1.33. EIST, turbo and all C states were disabled.
