Gigabyte X299 AORUS Ultra Gaming Motherboard Review
Bundled Software
Gigabyte App Center
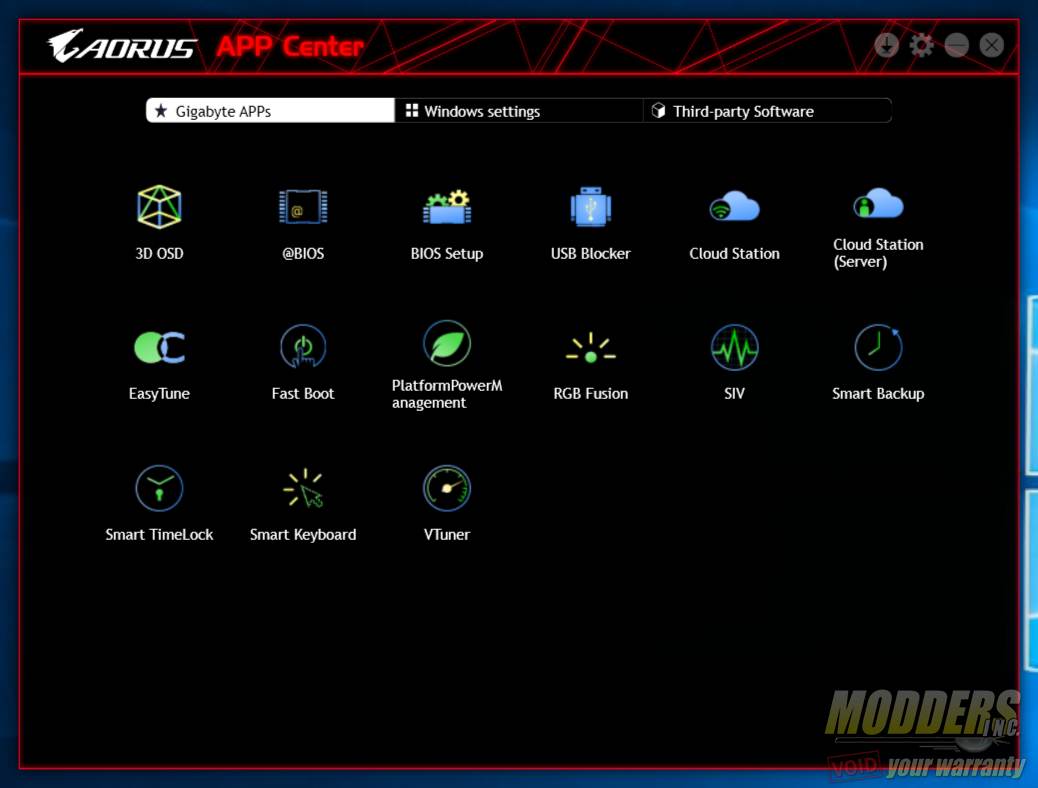
The App Center is a one-stop launch pad for the Gigabyte bundled software. It sits on the Windows system tray and opens up to a translucent floating window from where users can launch the Gigabyte applications installed. All the applications are Windows 10 compatible and verified in this review. Users can adjust the colors to fit the various Gigabyte theme colors including blue, orange, green and red. Gigabyte’s Easy Update is also now integrated into the APP Center, so users can update directly from the launching pad. These are all similar to previously reviewed Gigabyte motherboards so check out what the rest of those features are by clicking here.
RGB Fusion
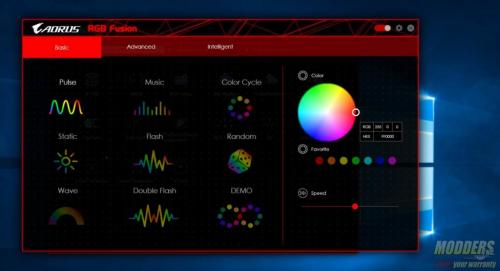
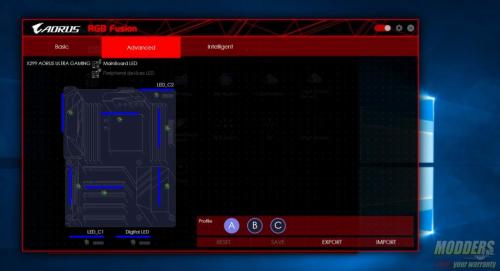
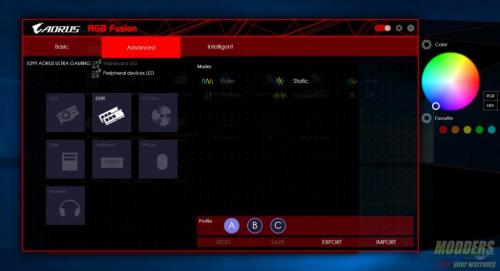
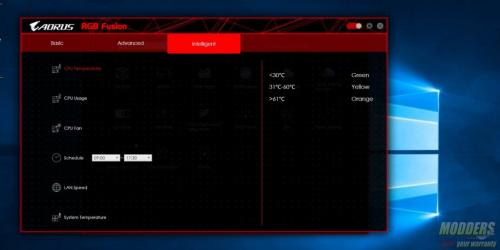
The RGB Fusion software is a severely upgraded control center for RGB lighting onboard and connected to the Gigabyte X299 AORUS Ultra Gaming mainboard compared to 100-series Gigabyte units. First, of all it is extremely snappy and responsive and much lighter compared to the previous RGB controller app. There is also an incredible amount of options as well as zone control now beyond just simply picking a color and preset. Up to three profiles can be saved and customized.
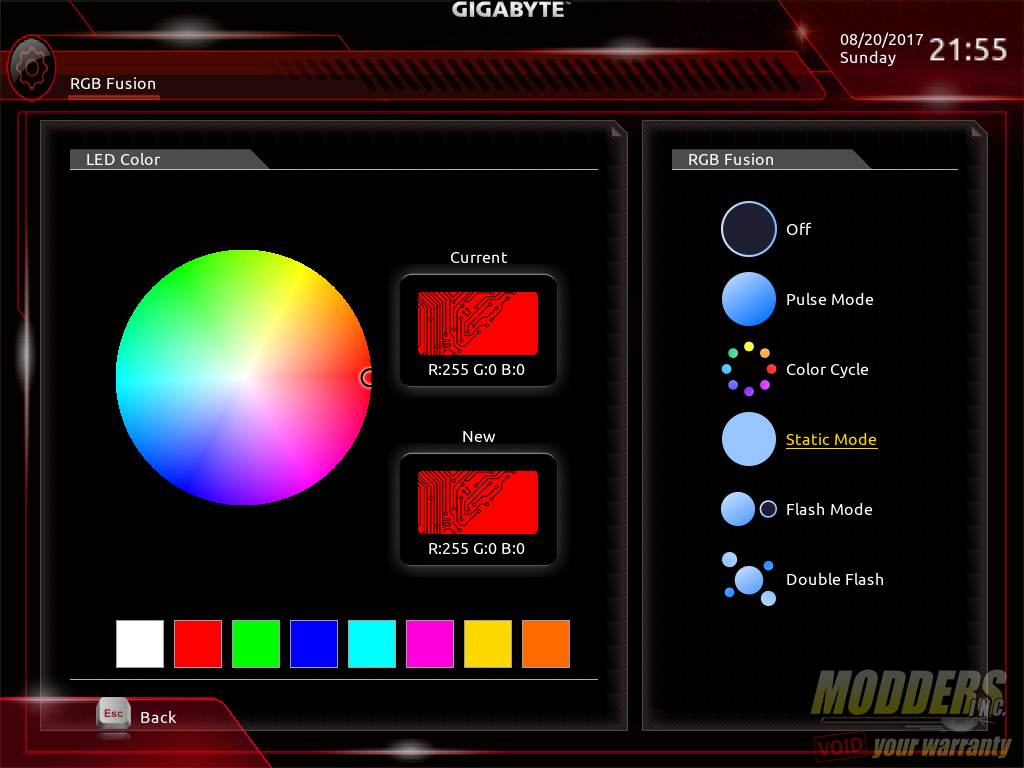
Similarly in the UEFI, there is also a feature like this present under peripherals but it is much more basic and does not allow for advanced options and calibration of LED strips. Eight color presets are available with four mode options available via UEFI. Users can customize the color with a similar color-wheel as the RGB Fusion app if one prefers a color besides the preset choices. LED extensions plugged into to the onboard headers will inherit the same color set as well but there is no independent zone color control like there is with the desktop app. There is also the addition of the digital LED support which is a welcome feature for those that are very particular about their RGB.
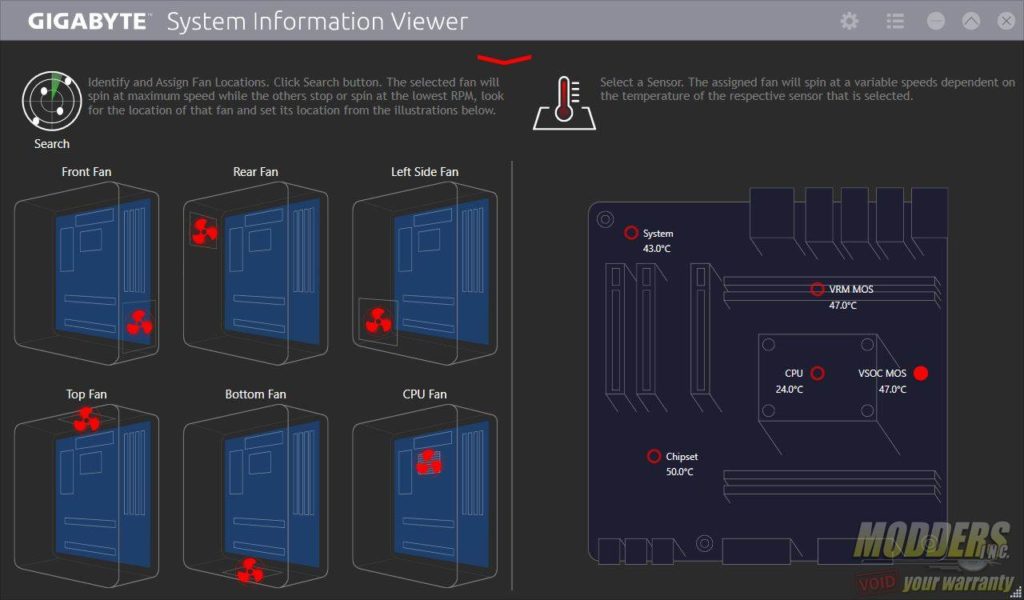
The Smart Fan options are also new, now providing a graphical custom fan curve for users to adjust plugged in fans. This has been further improved from the 100-series motherboards and allows users to set and monitor zones on the motherboard depending on where the fan is located on the case.
There is both a UEFI and a desktop version inside the System Information Viewer software. All fan headers support 4-pin fans and can be PWM or Voltage (DC) controlled. On the desktop version, each fan can be linked to any of six onboard sensors so they will react accordingly to the temperature changes in those zones. For example, an intake fan placed on top can be configured so it reacts to the top VRM temperature, ramping up if it reaches a certain threshold.
UEFI Overview and Overclocking Options
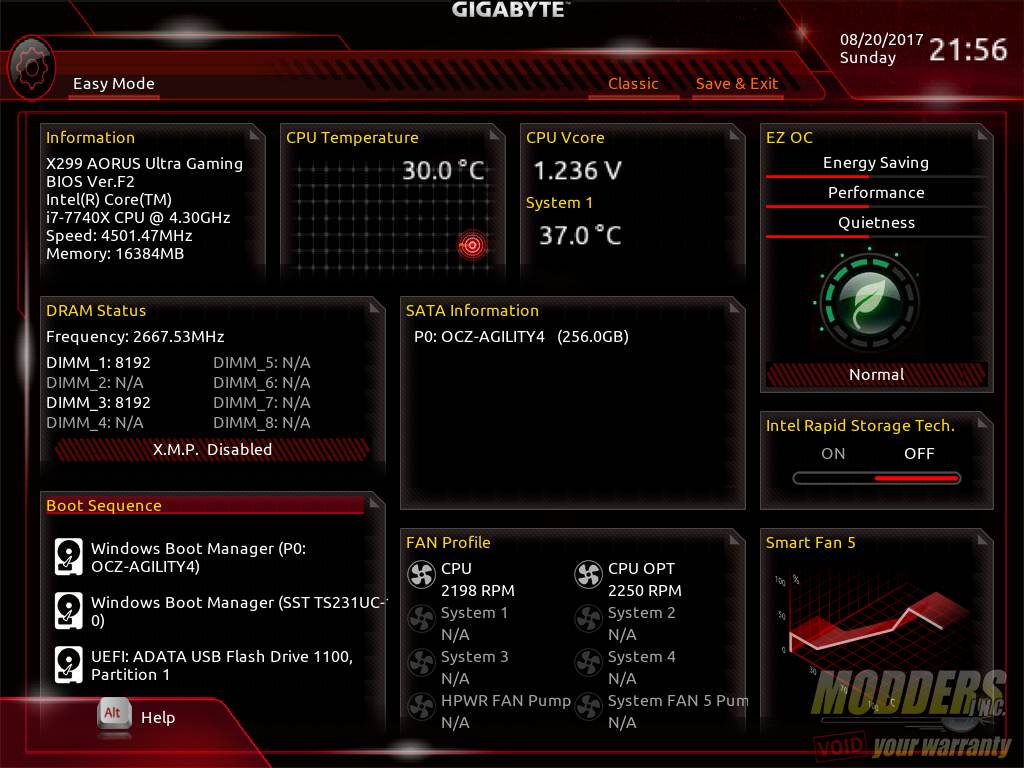
This Easy Mode shows a single page overview of basic customizable settings as well as a quick monitoring of CPU, system temperature and plugged-in components. Each setting can be expanded with the click of the top right corner of each tab. This overview is going to be for the classic mode however which is the default view on the F2 BIOS.
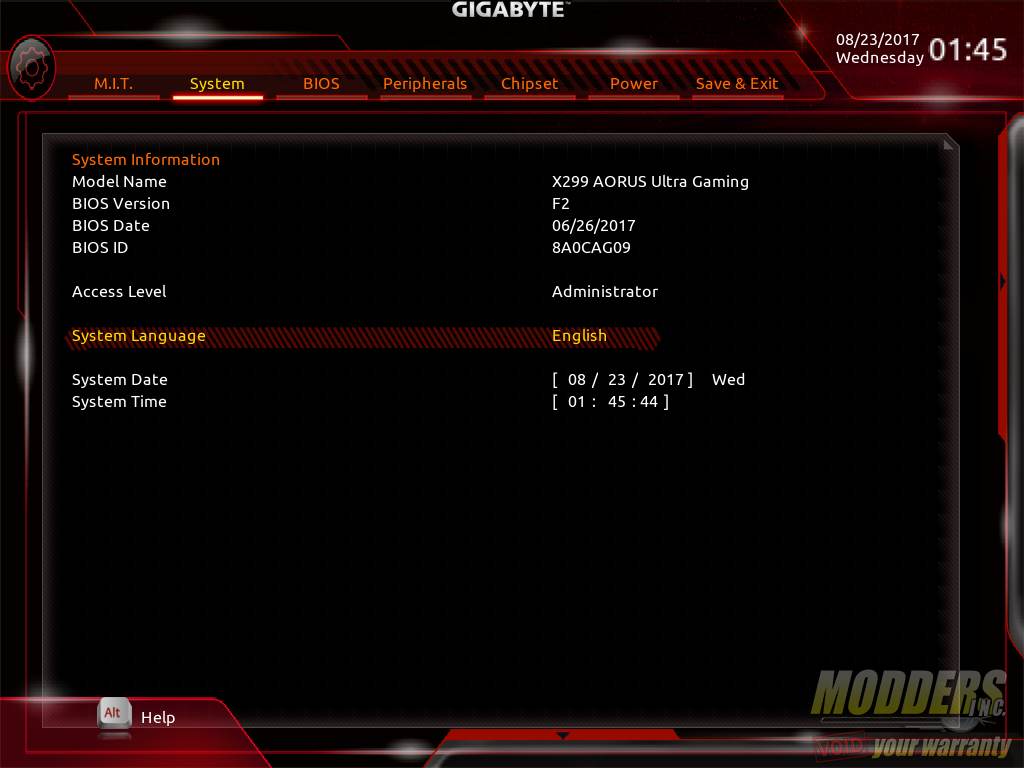
The first default screen is the System Information tab. No information can be changed here other than system language, access level as well as date and time. This is actually the second tab in the Classic mode menu. A hidden menu showing the current system settings are also available to the right and other embedded UEFI features are accessible via a hidden menu on the bottom.
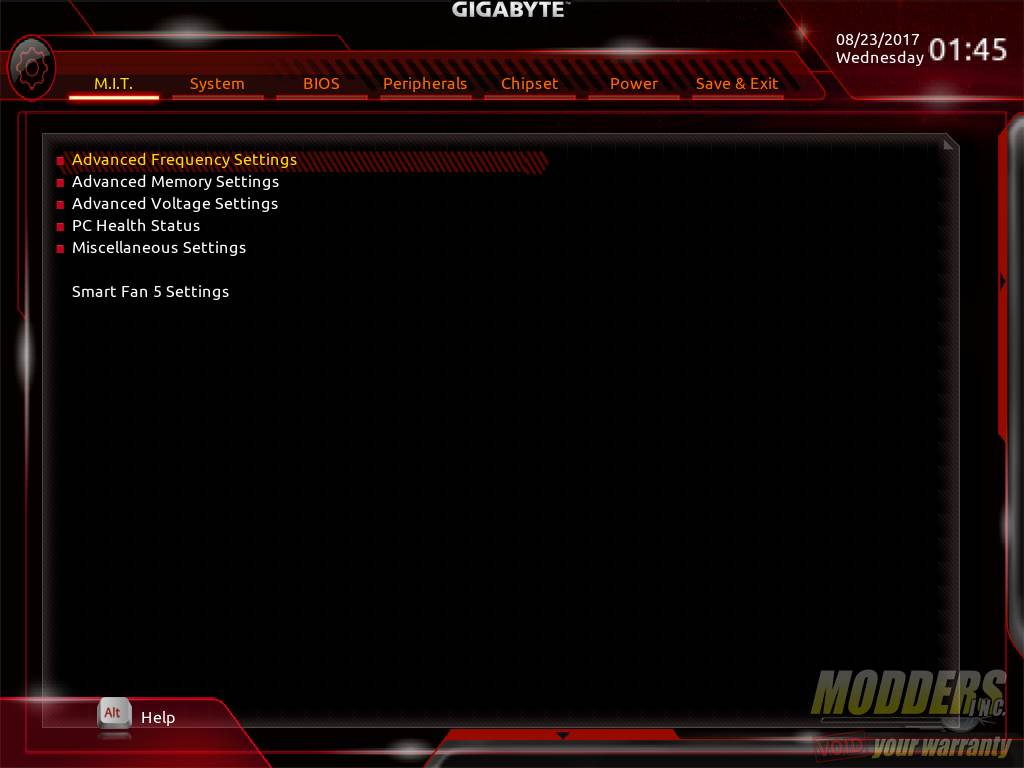
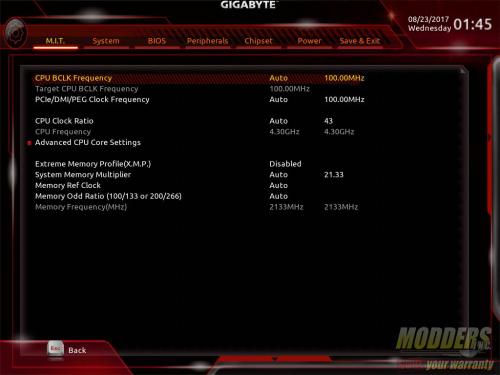
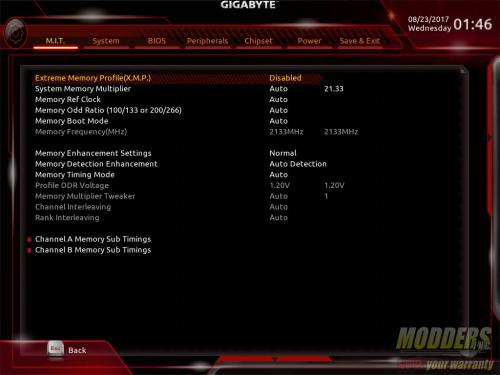
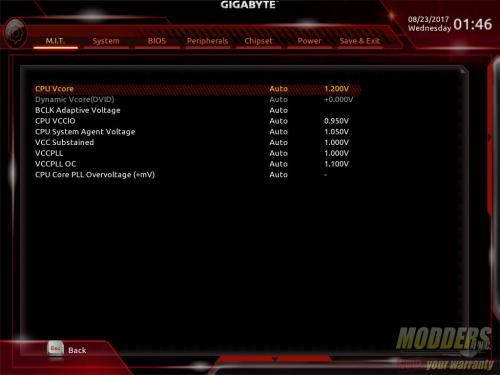
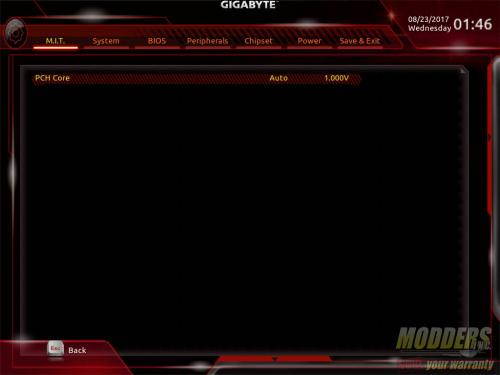
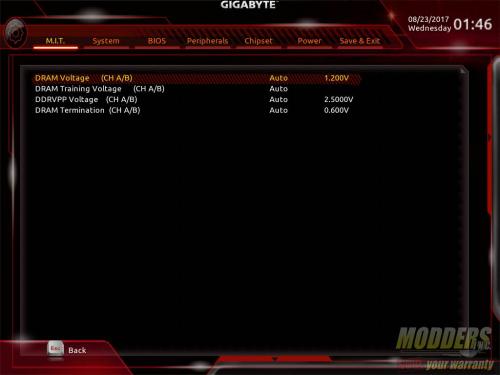
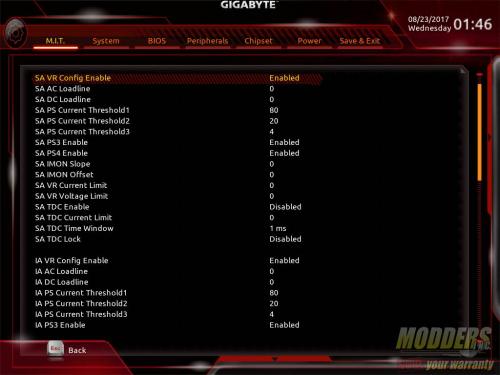
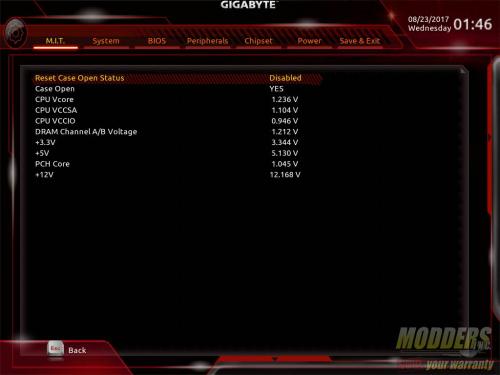
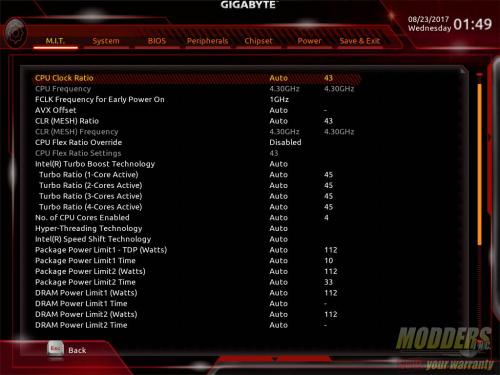
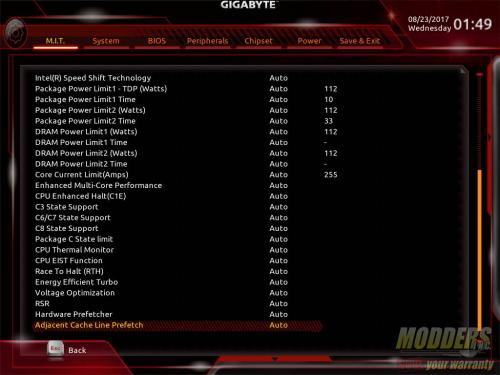
The Motherboard Intelligent Tweaker or M.I.T. tab is where users can overclock their CPU from. All the overclocking settings you need are in this tab, including CPU and memory.
- CPU BLCK = 80 to 500 (0.01 increment)
- CPU clock Ratio = 8 to 80
- System Memory = 8 to 41.33
- CPU Vcore = 0.500 to 1.8 (0.005 increment)
- VCCIO = 0.800 to 1.400 (0.005 increment)
- VCCSA = 0.800 to 1.400 (0.005 increment)
The load line calibration has 8 levels in total. The default is auto, and the rest of the options in order are: normal, standard, low, medium, high, turbo and extreme.
Now onto the rest of the UEFI layout. The third tab is the BIOS features page which allows users to change boot priorities and set other boot options.
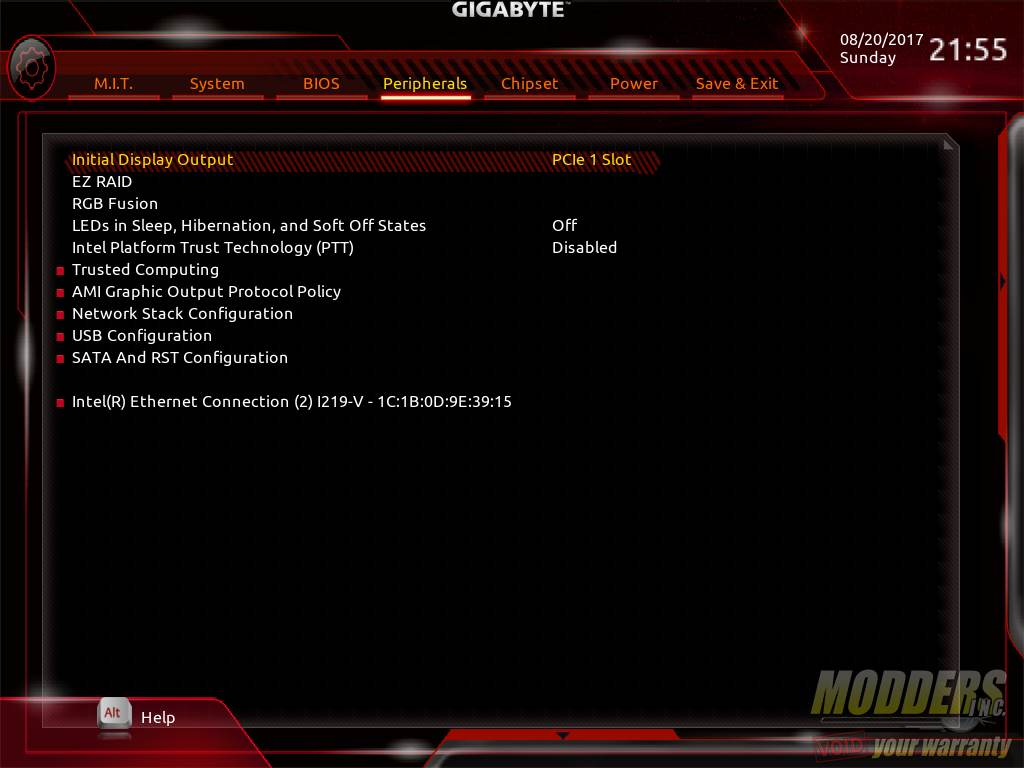
The fourth tab is the Peripherals tab which has the bulk of the motherboard related functions including enabling/disabling hardware such as USB, SATA, display and provides LED control via RGB Fusion.
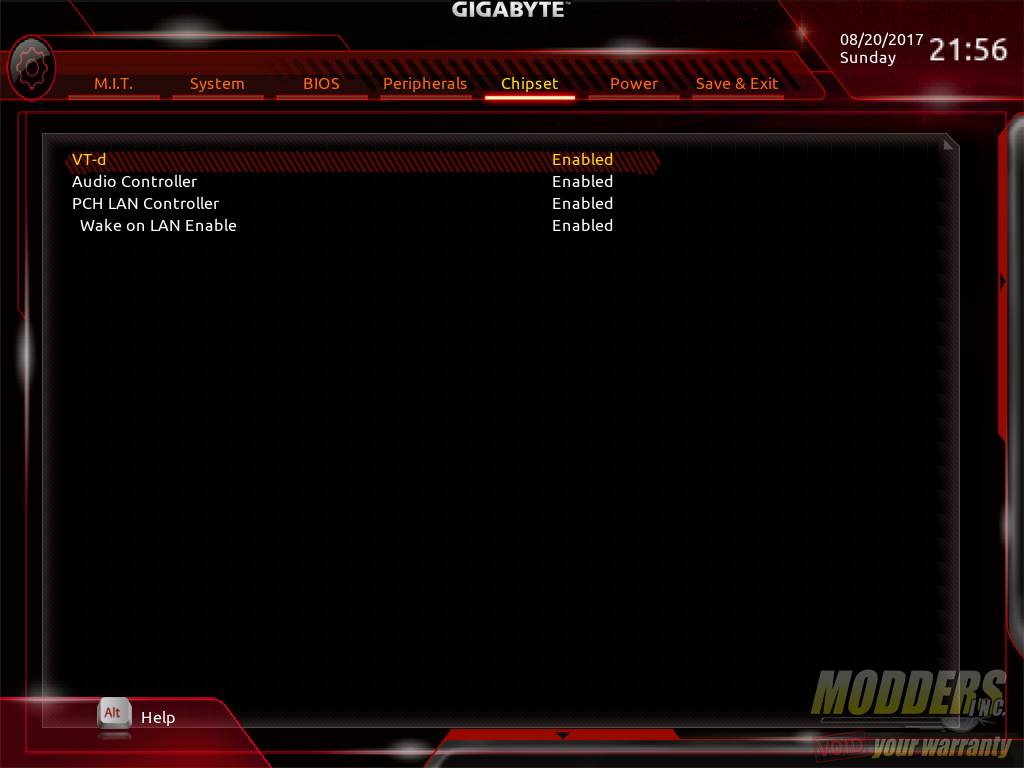
The fifth tab is the Chipset page which toggles features on both the Z270 chipset and CPU northbridge such as internal graphics, audio controller, VT-d and PCH LAN Controller.
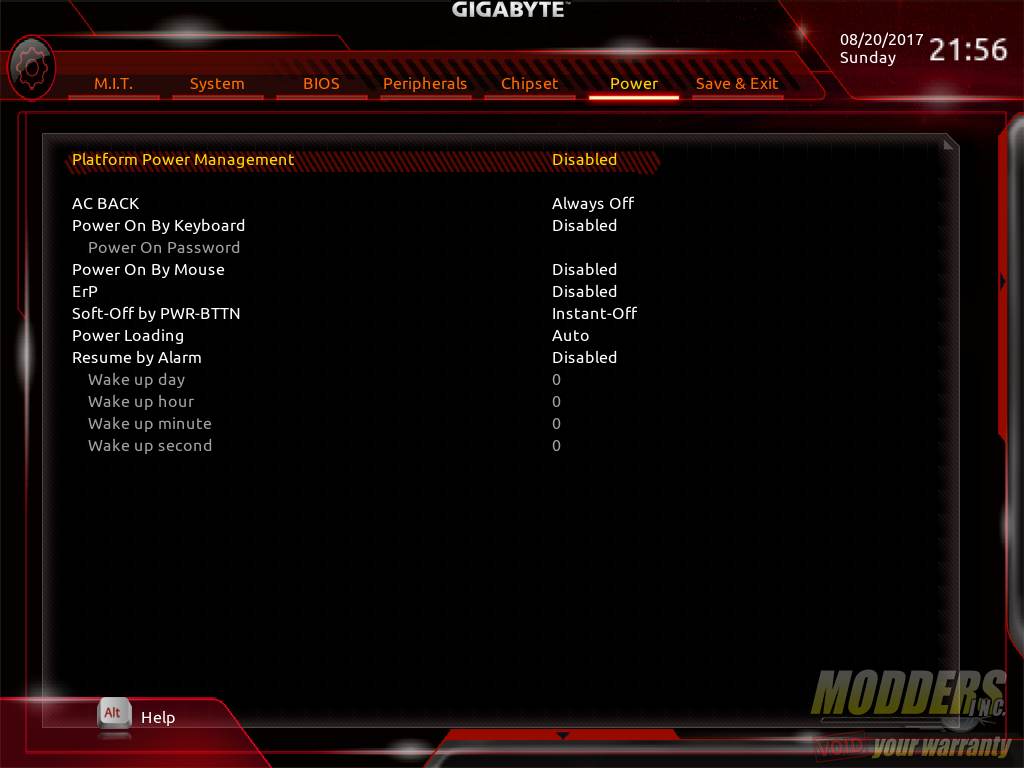
The sixth tab is the Power Management page which enables or disables power saving features as well as several platform power options.
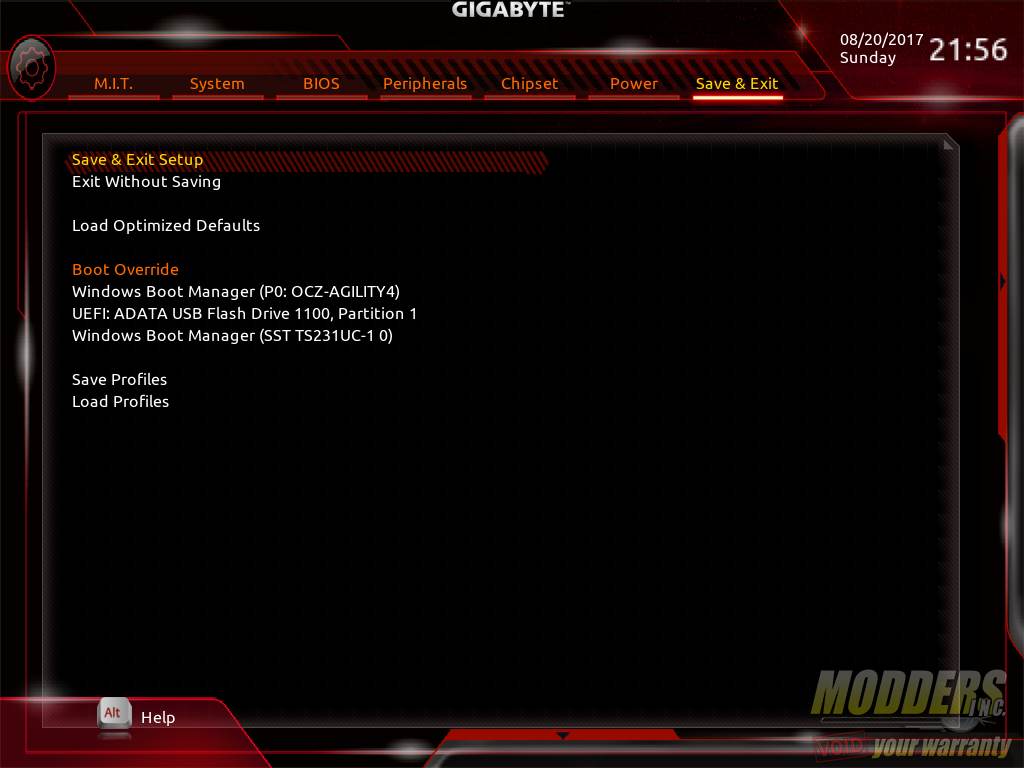
The last page is the Save and Exit page where users can save and exit or save as well as load a profile locally. As with every decent exit page, there is a quick single-click boot override option.
