Gigabyte WaterForce 3 Way SLI Review: A Force to Reckoned With
Benchmarks and Overclocking
[sc:graphic_card_testing »The Install of the Gigabyte WaterForce
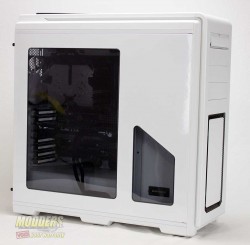
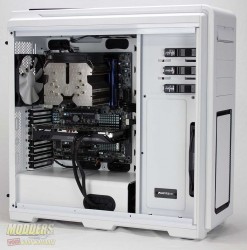
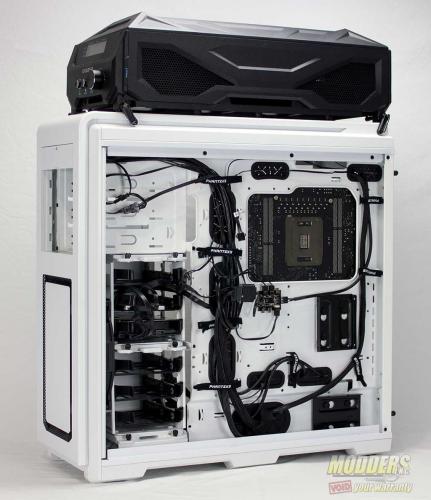
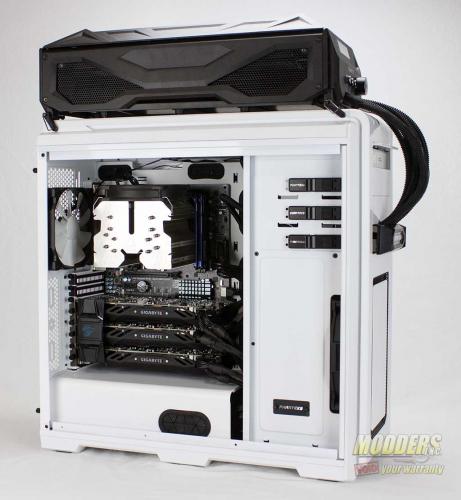
I thought I would use my own current desktop set up to install the Gigabyte Water Force into. The white and black highlighted Phanteks Luxe (reviewed here) turned out to a great backdrop for the review. Being a typical size case that most people use and everything is air cooled so no pre-watercooling setup installed.
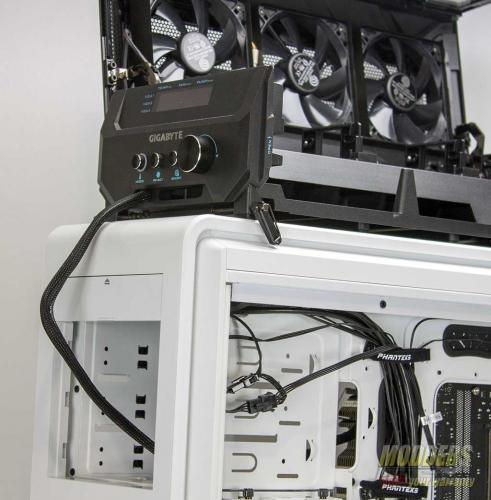
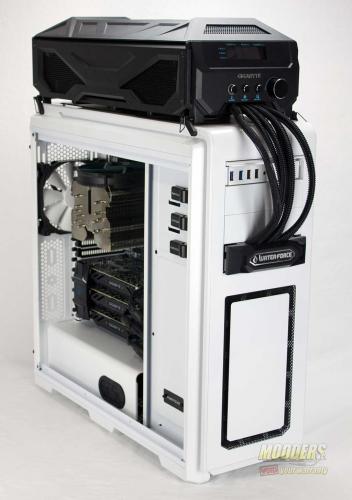
Placing the WaterForce water box on top of the case was of course easy to do. I was a bit worried at first as the top of the case has a lip that is not flush nor a typical width, but no fear as it sat just right on top. The side panel is off because the first thing you want to do is run the power/USB cable into the case and hook them up.
The way of entry into any case with the Gigabyte WaterForce is through the drive bays. Hopefully you have more than one and if you only have one that it is not being used.
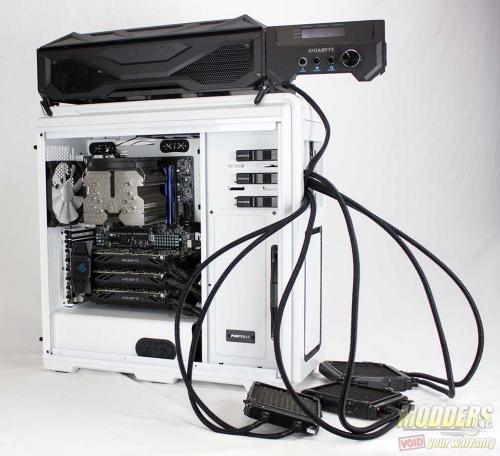
Next up is installing the graphic cards and the routing the water cooling hoses and radiators. Each video card/radiator setup is number 1,2 and 3. This is done as there is a particular order that Gigabyte wants you to install them and for a good reason. The lower the card is on the setup the shorter the distance the hoses can reach. So the lowest card will need its radiator installed into the first slot, but if you do that one first it will get in the way of routing the hoses for the top graphic card. With that learned you will need to install the top slot card first, route the hose in the correct positions and then continue to install the middle card followed by the lowest card. To do this correctly you need to feed the radiator through the inside of the case and out through the open drive bay(s), then install the card. Repeat until all the cards are installed and the radiators are in place.
At first the install looks like it might be a pain in the ass with all the hose and stuff, but if you follow the instruction that Gigabyte supplies it actually goes pretty quick.
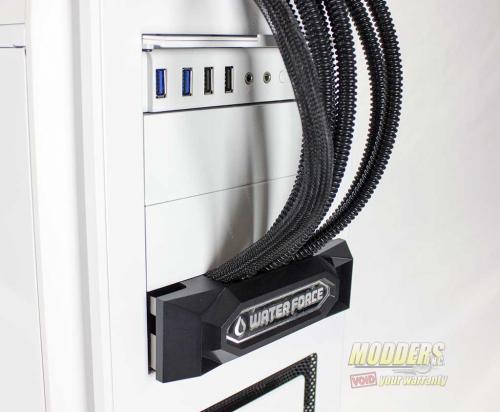
The two things that just did not go well with me was the hoses going through the ROM drive bay. Running them through and stuff was not the issue, the problem was the drive bay cover/guide they made. It was evident that there was a lot of thought put into the design of the Water Force setup but when it came to this point it must have been a Friday before or a Monday after a holiday weekend. OK, that might be a bit harsh but it seemed like it was half way done. The drive assembly is constructed will with the side rails that can extend out to provide more stabilization. But I when it came to locking it into place it just did not match up with the locking mechanism in the case and the holes did not line up for me to add any screws. The front top section of the cover have these three “grooves” that the hose are supposed to rest in and make things all nice an pretty. Well this just did not happen for me. Not being able to lock product in place allowed the hose to push out on it. I could have lived with that but a simple locking bar along the back side of the where the hose go would have been a huge help. I also found funny that there is no way in heck to push the drive cover / guide all the way in a flush, so why did they not finish the sides? You can see what I am talking about in the image above. Oh, the second thing? The, uh, clamps made for the hoses… yeah lets not go there as bad words kept coming out of my mouth when I would just get things where I wanted them and looking good and then the clamps would come loose and I would start all over. In the end they found their way back into the suite case and never thought about again.
