Gigabyte WaterForce 3 Way SLI Review: A Force to Reckoned With
A Closer Look at the Gigabyte WaterForce 3 Way SLI
Sure just about anyone that has enough spare change lying around can do a SLI setup, but once you start heading up the ladder to the top tier graphic cards you better start digging deeper in the couch cushions to find a lot of loose change. Just shelling out for three 980’s can set you back an easy 1800.00 USD. Now toss in three sets of custom water cooling and a custom radiator storage container that is also the control center for the whole setup you are looking at something that is rather unique, functional and simple to set up. There is no need to hunt around and try to figure out where to get the water block from, what size hose is needed, what GPM size pump I need and all the other things that go with a DIY watercooling setup. For all the reasons mentioned above is what makes the Gigabyte Water Force an attractive setup to purchase.
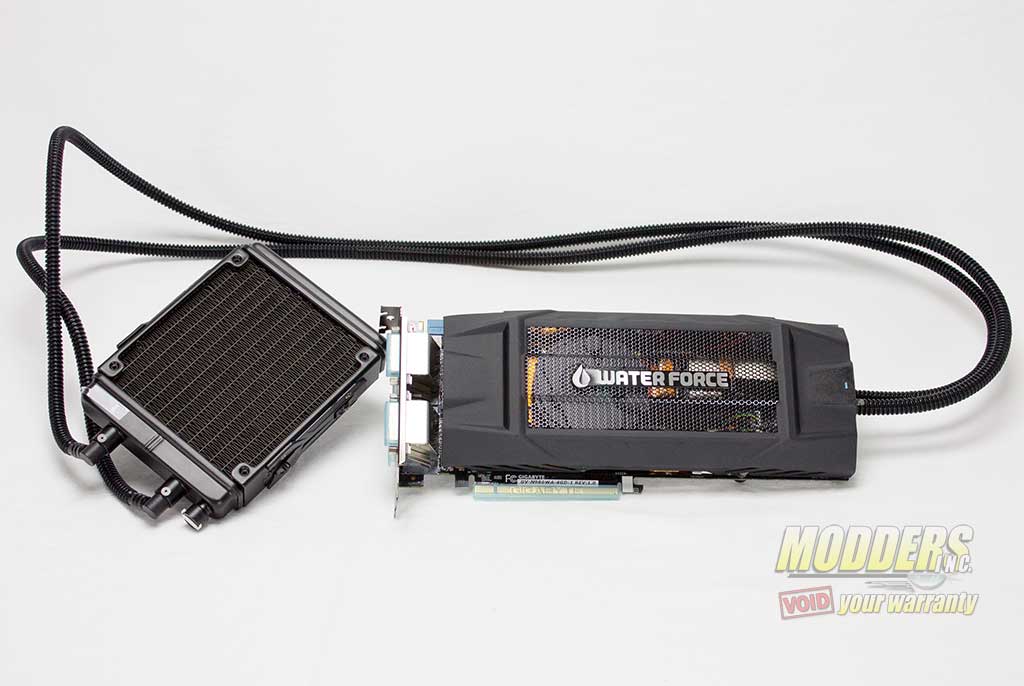
Our first look at one of the graphics card shows us that it is branded as the Water Force and that it is a all-in-one water cooled setup.
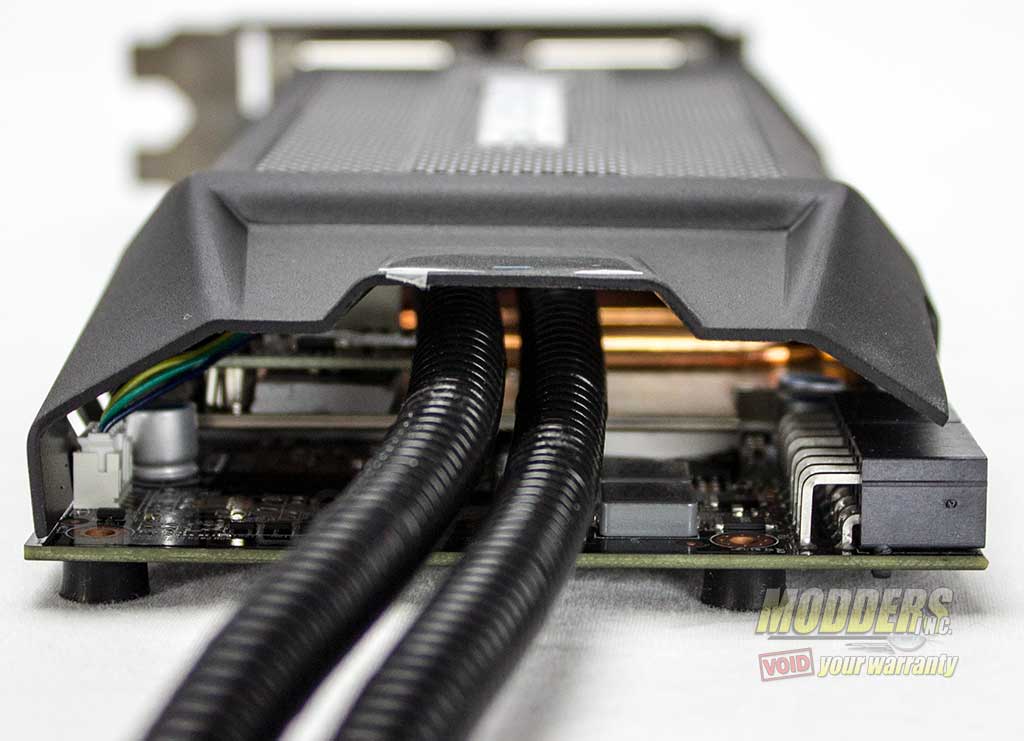
Routed out the rear of video cards are the hoses that carry the fluids in the closed looped system.
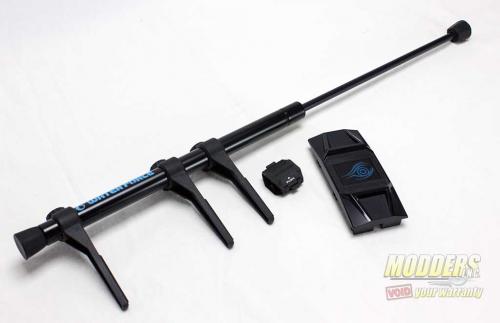
Also included in the Gigabyte WaterForce suitcase are a few other items. Included is a 3-way SLI bridge that lights up blue, some pipe clamps to help you route the hoses and finally a item called a VGA Jack. This “Jack Stand” is a brace that you can place inside of your case and then you can adjust the braces to help support you new graphic cards. I’m really not sure if this is needed as I found during my testing that the cards sat just fine, but maybe over an extended amount of time the cards could start to sag. But I would most definitely install the Jack if the system was going to move a lot or travel to LAN parties.
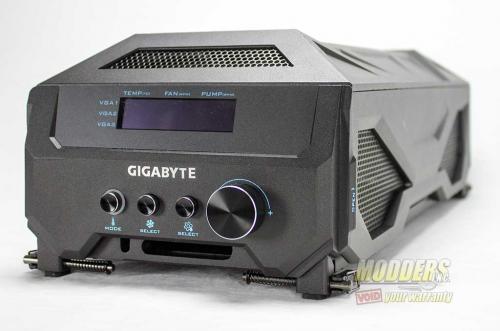
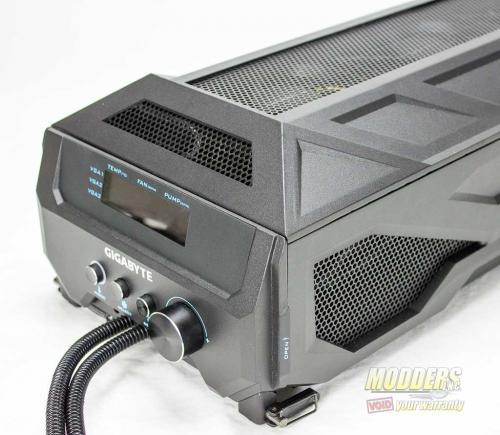
Here is the first look at the Water-cooling box that acts a both the housing for the radiators, fans and control center. Looking at the images of the Water-cooling box can be a bit deceiving as it looks like the box is made of plastic, but the box is made of heavy aluminum.
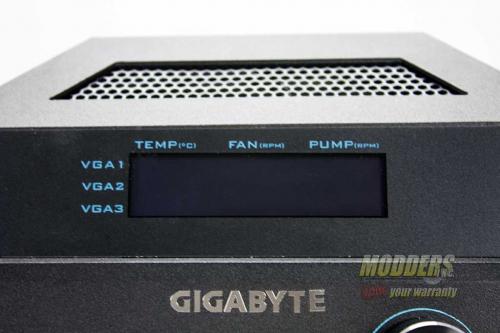
What we see here is the display area that gives you the visual feedback about how the WaterForce is performing. Each video cards data is displayed in a horizontal row starting off with real-time GPU temperature. Next displayed is the fan speed for each radiator while the last column tells us the speed of each the pump for each card.
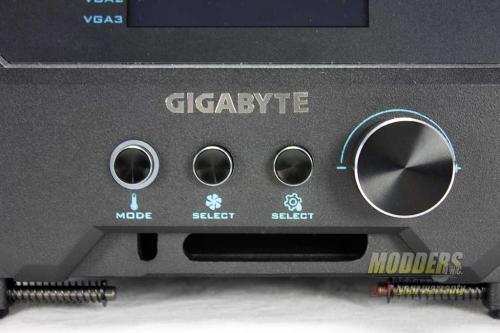
Each of the items that are displayed can also be controlled and adjusted with the push of a button and a twist of a knob. When you press the mode button and a light goes on you get a message on the display that says Target Temperature. Here you will setting the GPU target that you might want to achieve. During this setup the fan and pump speeds will automatically adjust to help you reach the target temperature which ranges from 30-60c. When this same button is released you see on the display Fan / Pump Control which at this point will allow you to manually adjust the Fan and Pumps speeds. When the first “Select” button is depressed you can use the knob to adjust the value. After adjusting, press again to confirm.
EX: Press once: Adjust all Fans in the same time; Press twice: Adjust the 1st fan only; Press three times: Adjust the 2nd fan in the same time; Press four times: Adjust the 3rd fan only. The available range for the fans is 1000~30000 rpm. By pressing the second “Select” button during the Fan / Pump Control mode you can and use the knob to adjust the value. After adjusting, press again to confirm. EX: Press once: Adjust all Pumps in the same time; Press twice: Adjust the 1st Pump; Press three times: Adjust the 2nd Pump in the same time; Press four times: Adjust the 3rd Pump. The available range for the pumps is 1200~1500 rpm.
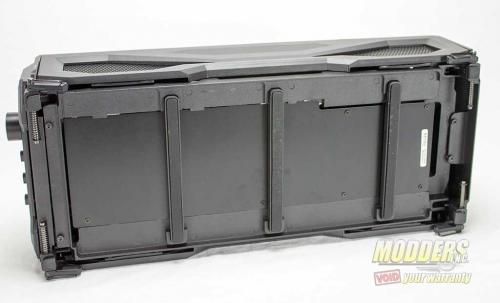
The Water Cooling Box is designed to sit upon the top of your case so will now take a look at the underside of it.
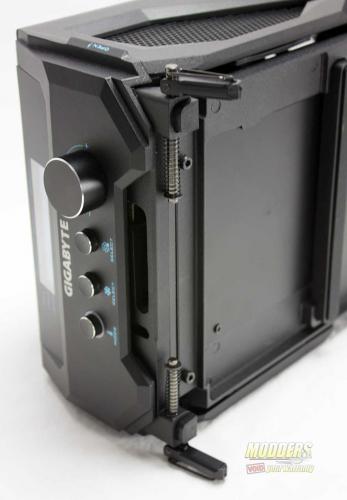
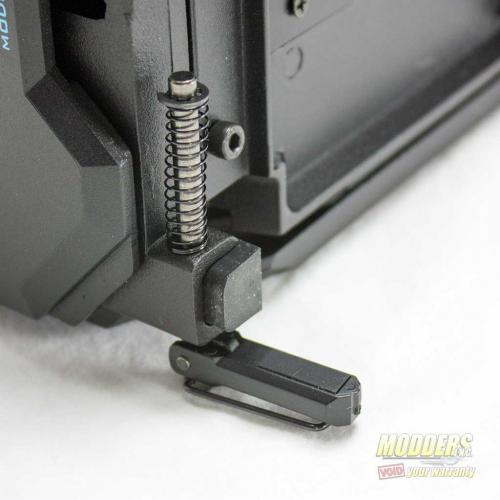
Located at each corner of water box are tabs that extend down, are spring loaded and padded with rubber. This setup is not meant to permanently attach the box to your case, rather it is meant to help keep it in place and from falling off.
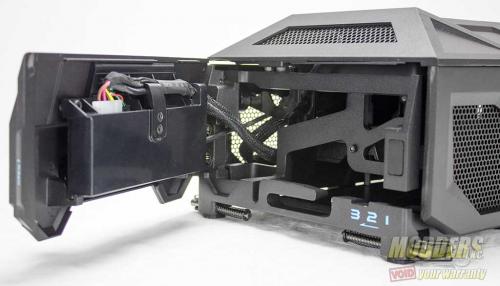
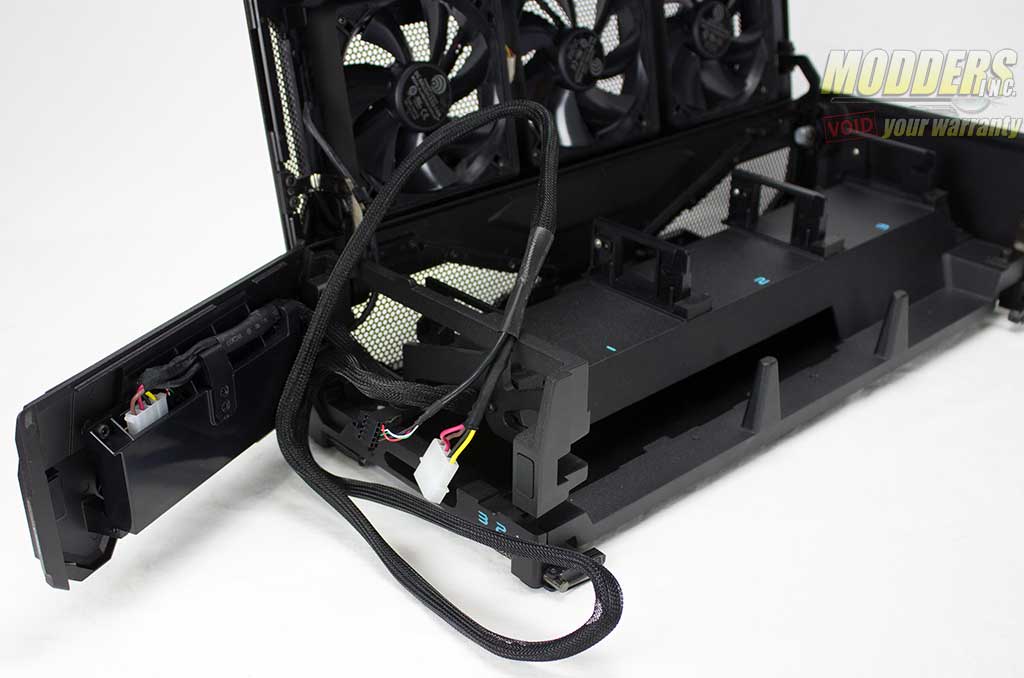
The front control panel is also an access door to where the hoses route from the water box to the front of the case.
A single really long power cord is used to power the control center and the three 120mm cooling fans. A USB plug runs along with the power cord and is used to interface with the motherboard and Gigabyte OC Guru software.
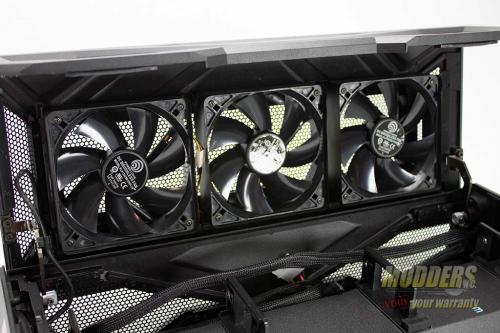
With the top of the water box open we cans see that the 120mm Pro Logic Brushless fans for the radiators are attached to it with screws.
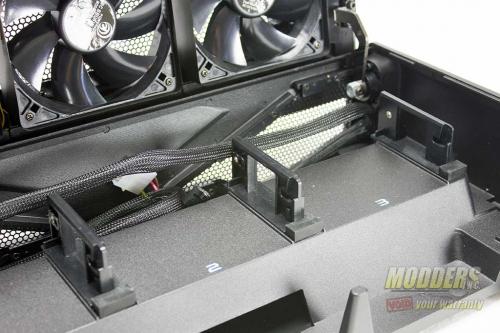
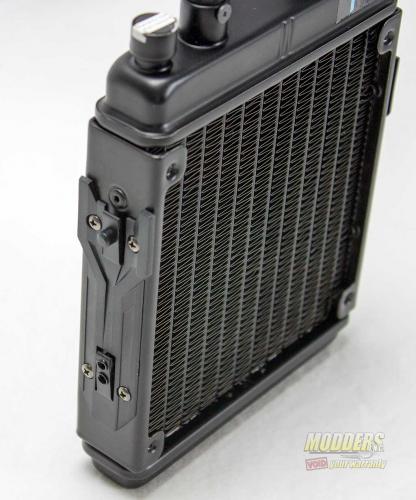
What we see here is where the water cooling radiators call home. A simple, yet smart locking setup is use to keep them in their place. As simple as sliding the radiator in at a small angel, guiding in the pins on the radiator into the slot and pushing it into place takes just a few seconds to complete.
Each radiator has a tab at the front that snaps into place and allows you to swivel the pins located at the other end into place.
Here we see one set of the hoses coming out the front of the water box. Remember the numbering system from before? Well this come into play once again as it helps you route the hoses so that fall into place.
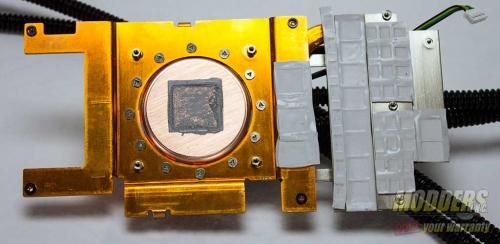
With the all-in-one water block/pump/heatsink removed from the card we can see that most of the surface of the cooler is not even used. With the lack of a cooling fan you have to make sure that the rest of the hardware is kept cool and working. Thermal tape is used to create the bond needed to the copper heatsink.
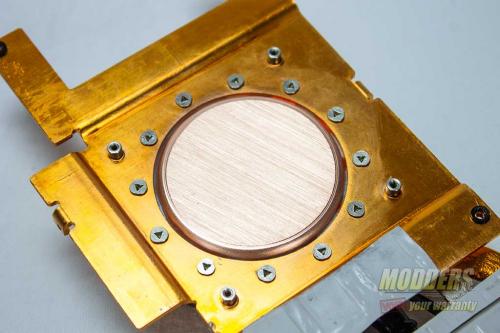
A close up of the water block / heat sink / mounting bracket give us a good look at the surface of the cooler, which unlike some that you may have seen in the past is not mirror finish. I am on the fence about the “it has to be a mirror finish so that it transfer heat better.” thoughts as if you really think about it if the surface has some small grooves it actually creates more surface area for the thermal paste to adhere to, thus transferring more heat. But that is a whole other article I could write about.
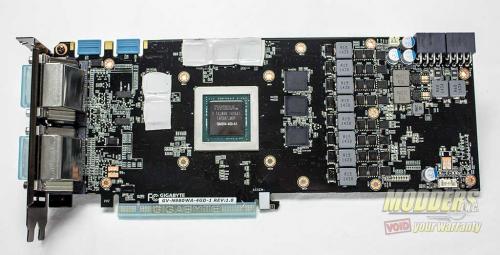
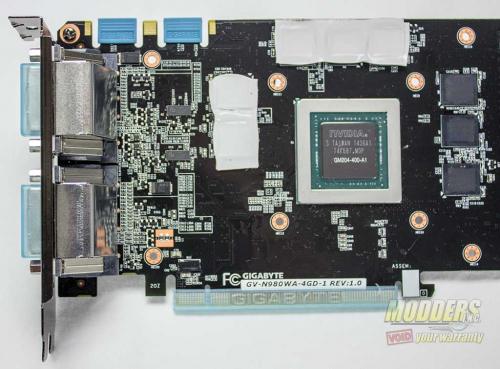
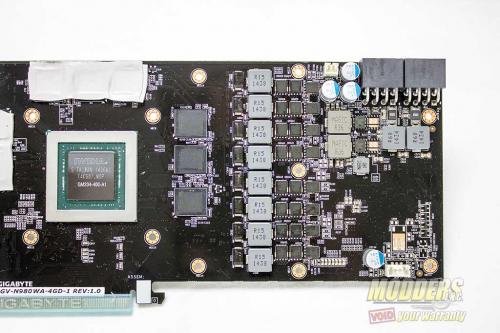
A look at the 980 with all it’s covers off.
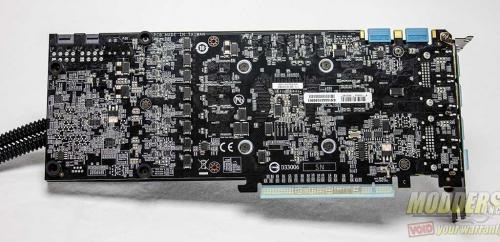
At the back of the card is an On-Semiconductor NCP81174, a controller that can be configured for up to 4-phase function. In the Gigabyte GTX 980 Water Force, this controller is coupled with four On-Semi NCP81162 doublers and a separate On-Semi NCP5901B driver that has a pair of Renesas RJK0393DPA and one RJK03B7DPA Low-RDS(on) WPAK MOSFETs per phase. Output filtering consists of eight 0.15uH inductors with 16x 330uF Tantalum SMD capacitors. A Texas Instruments INA3221 on the rear top edge is a 3-channel high-current bus and voltage monitor involved in power distribution.
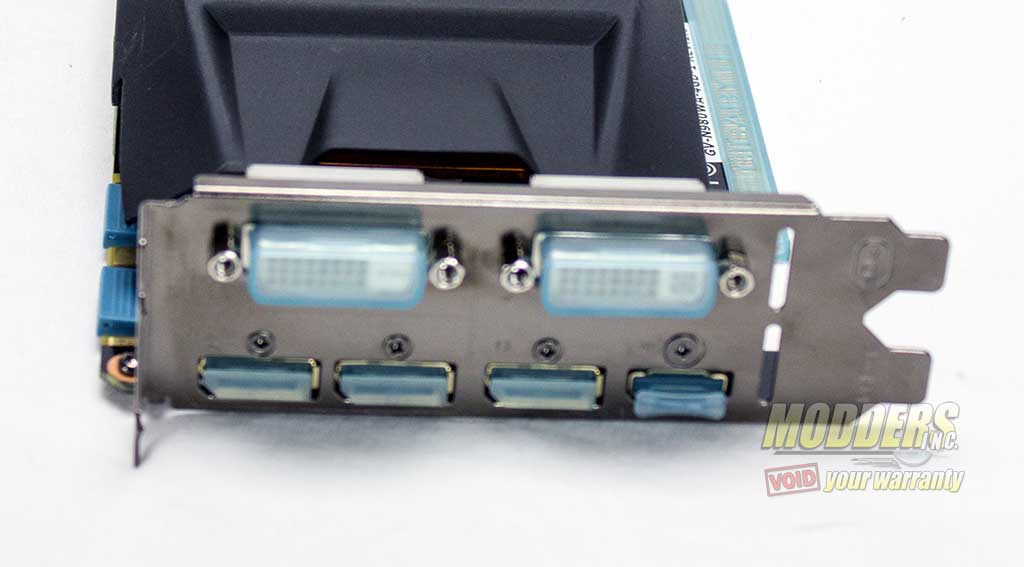
Each card has a pair of ChingisTek Pm25LD010 1Mbit SPI flash for dual redundant BIOS function. As with Gigabyte’s other NVIDIA 900-series video cards, a pair of Pericom PI3WVR 4-lane DP/HDMI switches each capable of up to 5.4Gbps data rate transfers are responsible for the flexible display output capabilities of the Water Force 980.
