A Closer Look At The Gigabyte AORUS AX370-Gaming K5
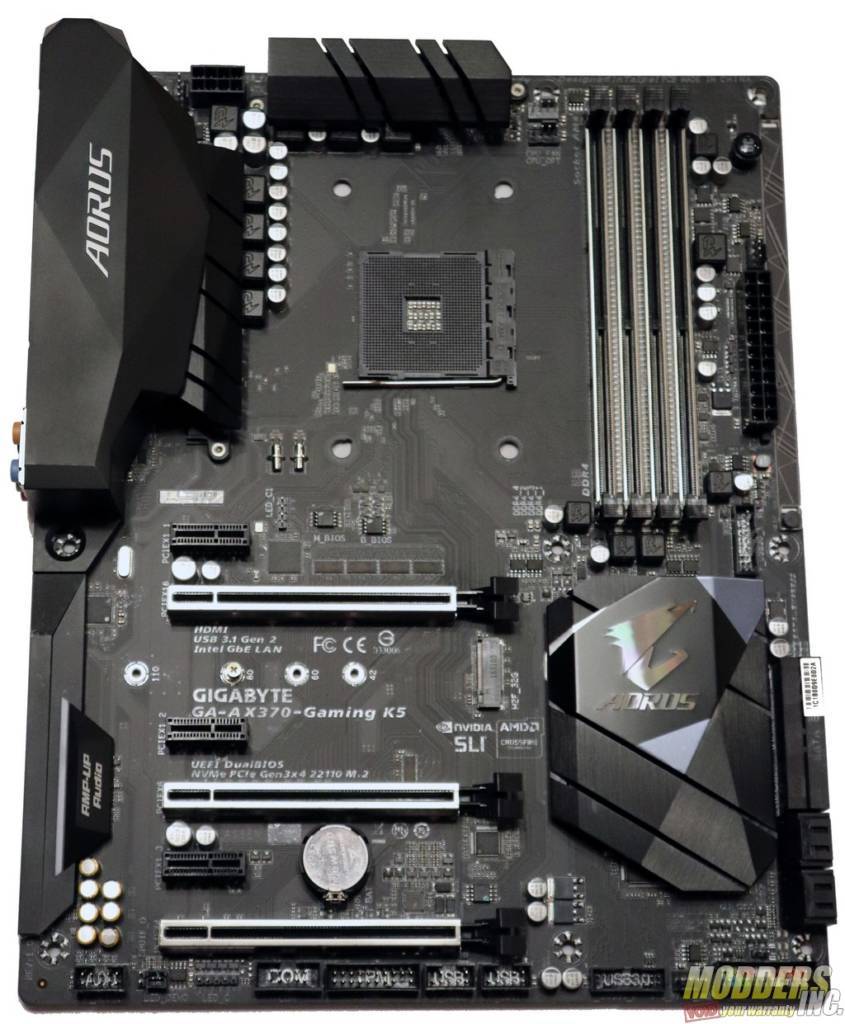
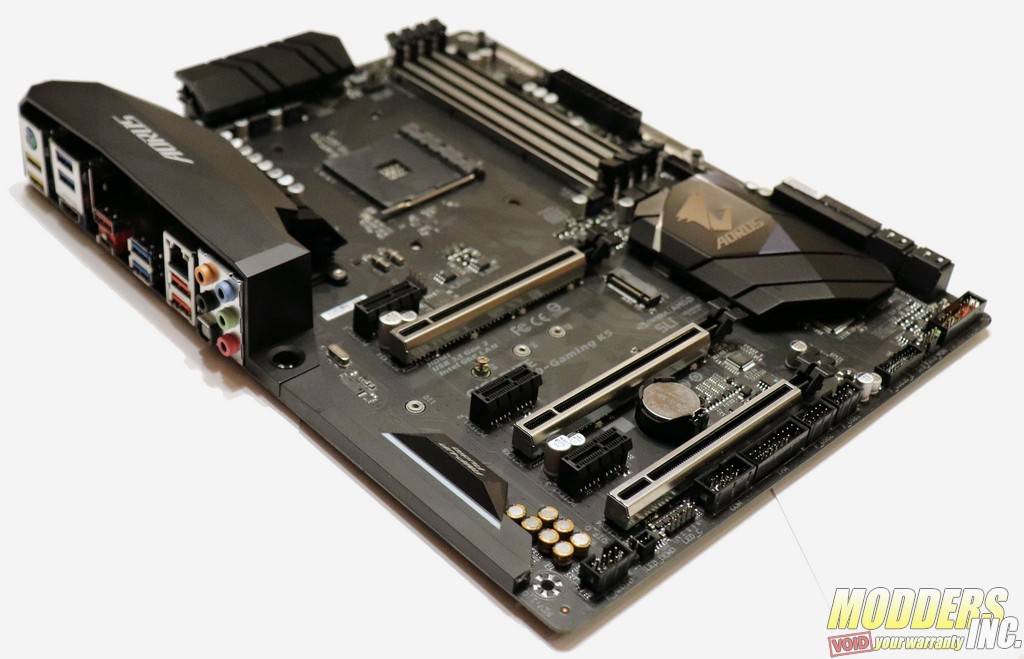
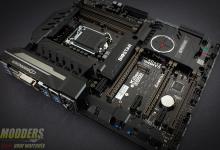
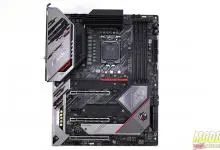
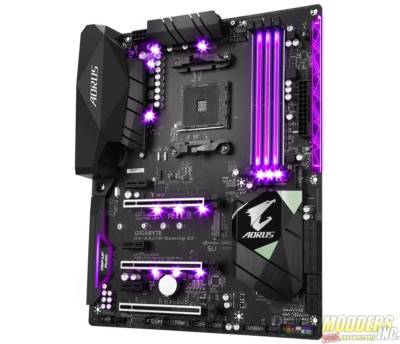
The Gigabyte AORUS AX370-Gaming K5 features an all-black PCB, a handful of anodized black aluminum heatsinks, matte black plastic shrouds over the rear I/O and the onboard audio components, and RGB LEDs peppering the board from top to bottom. It’s an attractive board that looks good with or without the LEDs lit, particularly if you prefer the neutral aesthetic.
Lighting Galore
Those LEDs, referred to as RGB Fusion, support up to 16.8 million colors and two distinct lighting zones. LEDs light up the VRM, audio shroud, the two PCIe graphics slots, the diffusers between the memory slots, and under the swappable accent overlay on the right-edge of the motherboard. All told, there are seven lighting effects and support for two 12V independently-programmable RGB, RGBW, and even UV-LED light strips. The software also lets you rearrange the locations of the RGBW signals and pins, letting you plug in a variety of third-party LED strips.
Cooling Considerations
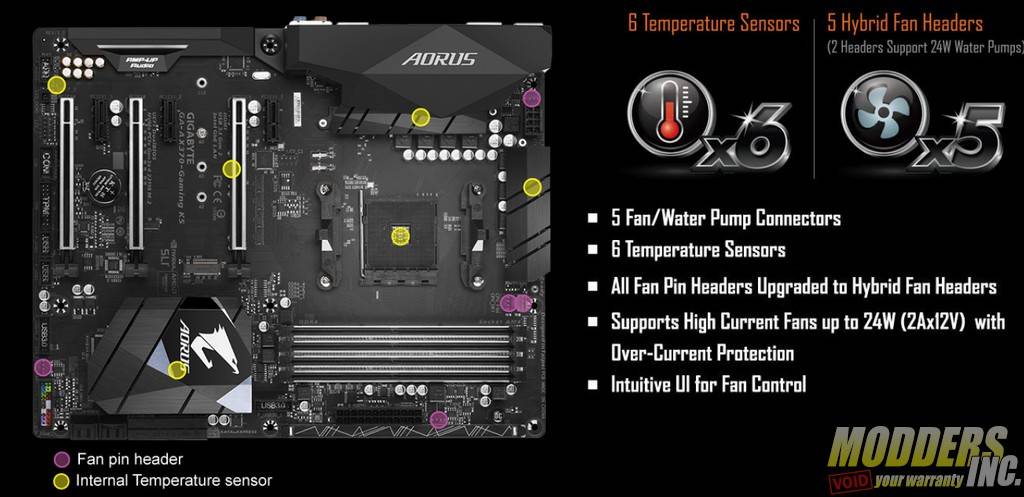
There are a total of five fan headers on the motherboard, and all of them are four-pin hybrid connectors, meaning you can install voltage- or PWM-controlled fans/water pumps. From the BIOS, these headers can be configured manually, or set to auto-detect the correct operating mode. Two of these headers, those labeled CPU_OPT and SYS_FAN3_PUMP, support 24W (2 Amp x 12 Volt) water pumps, and they also come with the requisite over-current protection.

Ear Candy
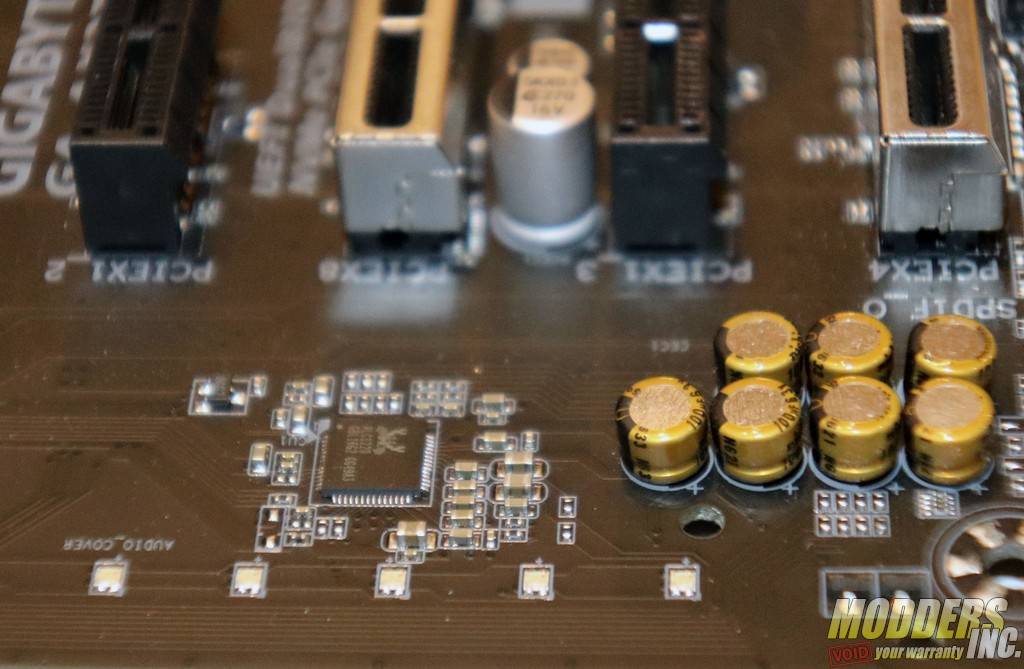
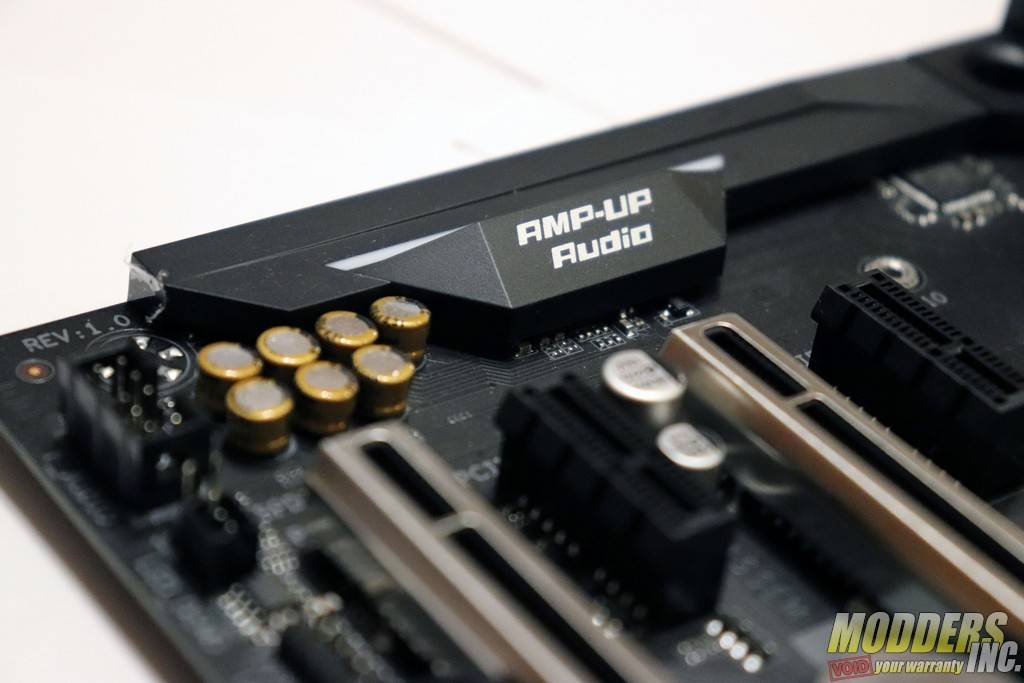
The audio subsystem on the Gigabyte AX370-Gaming K5 consists of a single Realtek ALC 1220 multi-channel High Definition audio codec that supports 120dB SNR HD audio. The non “K” version of this motherboard features dual codecs, one for the rear I/O and another for the front I/O. As long as you stick to the rear audio ports, you’ll get full access to some pretty solid-sounding audio hardware, 114dB SNR recording capabilities, the Smart Headphone Amp feature that can detect the impedance of your headphones or headset to deliver maximum volume and crystal clear audio to your device of choice, and hardware decoding of DSD128 (Direct Stream Digital-Double Rate) audio files, which can support up to 128 times the typical CD sampling rate.
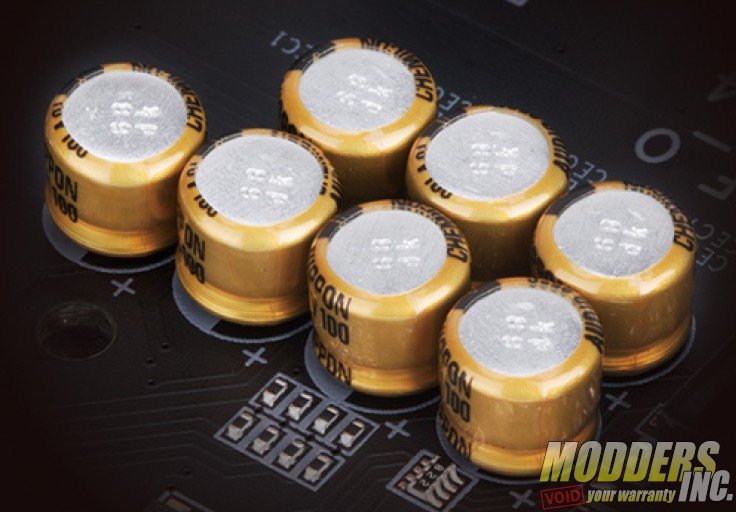
The capacitors dedicated to audio processing tasks have been upgraded to high-end Chemicon audio capacitors, which can provide the backbone to support high resolution and high fidelity audio whether you’re playing games, listening to music, or watching TV or movies.
Gigabyte’s Gadget Guru
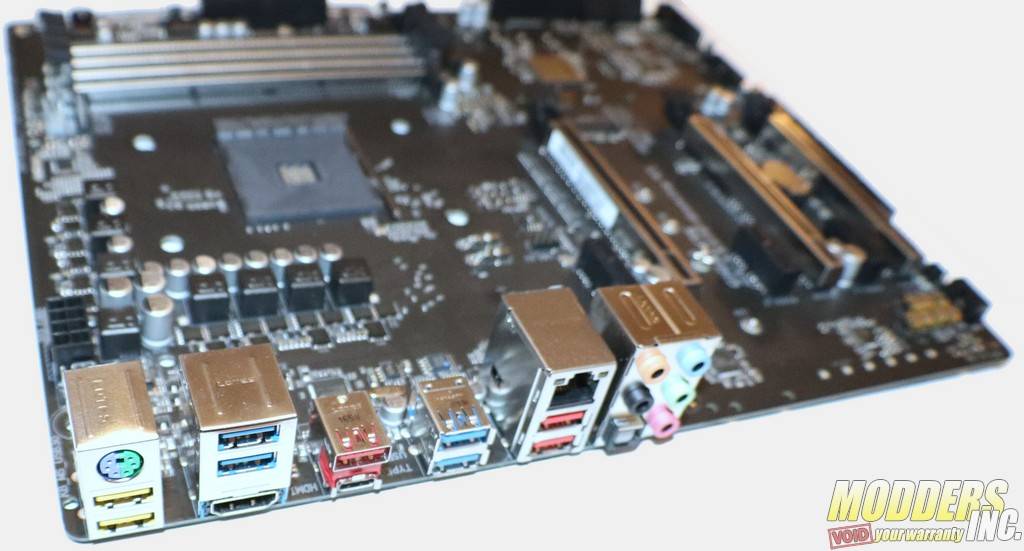
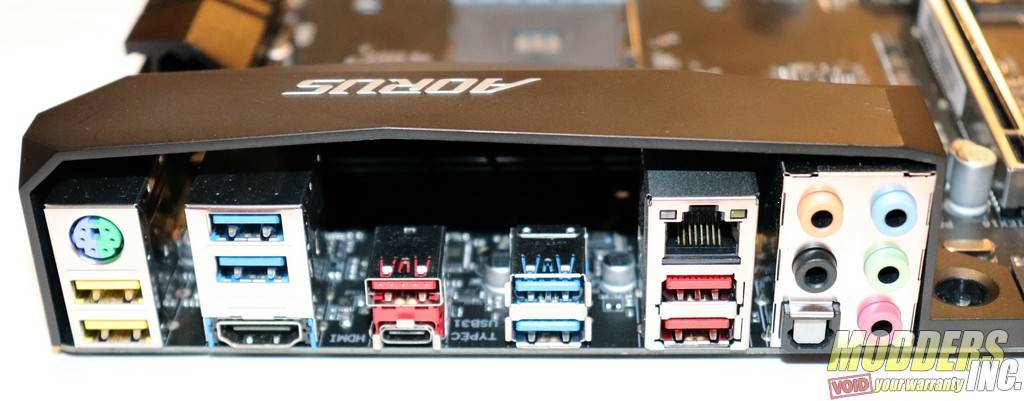
On the rear panel, you’ll find two yellow USB ports on the same riser as the PS/2 port. These are Gigabyte’s second-generation USB DAC-UP. Although they’ll function as USB 3.1 Gen 1 ports and support a theoretical bandwidth of up to 5Gbps for any device you plug in, these are specially designed to be isolated from the rest of the USB circuitry, which results in low interference noise for sensitive external audio hardware, such as digital-to-analog converters.
That’s why “DAC” is the operative abbreviation here. Although the number of enthusiasts who are likely to hook up a DAC is rather small, Gigabyte contends that these ports also suffer from less voltage drop when running devices with longer cables. From the AX370-Gaming K5’s BIOS, you can set the output voltage to Normal, Disabled (for audio devices that utilize dedicated power source), and three Voltage Compensation levels that add 0.1V, 0.2V, or 0.3V to the port’s output. The clean, low-interference signal delivered over the DAC-UP 2 ports can also benefit VR headsets, mice, keyboards, gamepads, headsets, and external HDDs and SSDs. The front panel USB 3.0 ports also support user-adjustable voltage.
The rear I/O panel also features four USB 3.1 Gen 2 ports that can support theoretical data rates up to 10Gbps and one of these is a reversible Type-C port (the rest are the more common Type-A). These four ports are red, making it easy to find them if you have a device that supports the latest revision of the USB standard. Of course, all of the USB ports on this motherboard are backward compatible.
Get Serious About Storage
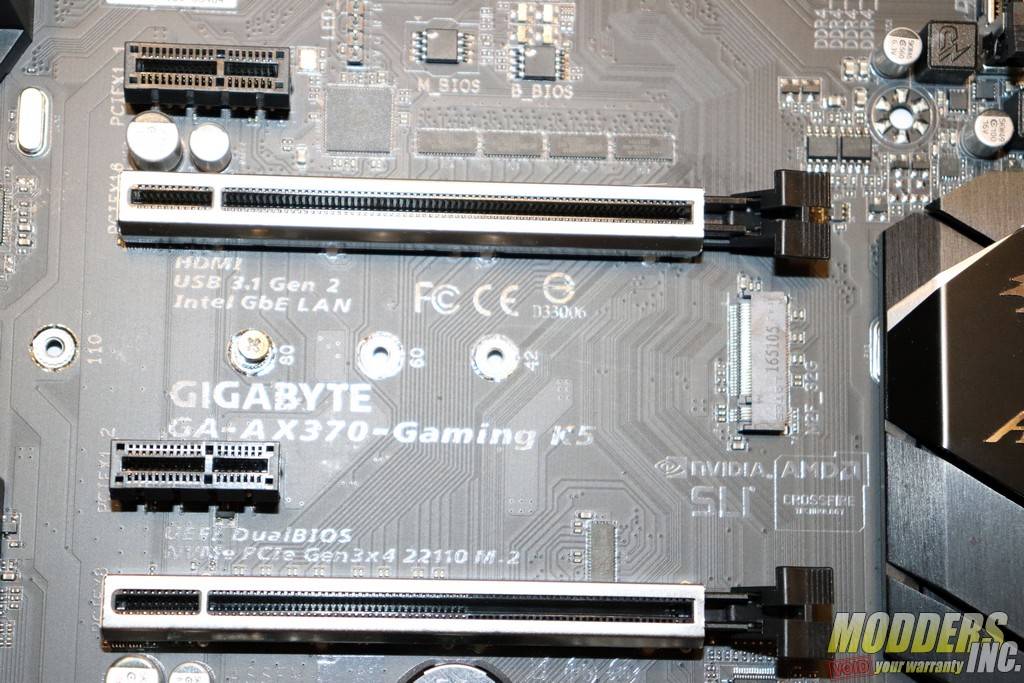
For consumers, nothing beats NVMe M.2 SSDs. Well, nothing except an NVMe RAID, but that’s not possible on AM4 (yet). This board features a single PCIe 3.0 x4 M.2 slot, which offers theoretical bandwidth up to 32Gbps.
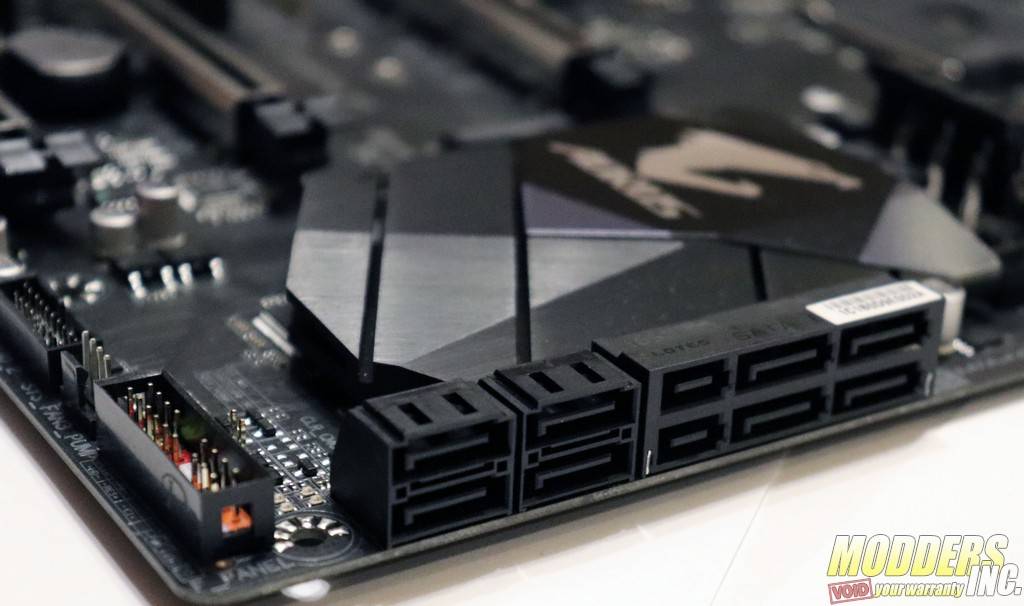
SATA-based M.2 devices also work in this slot but, are limited to that protocol’s 6Gbps peak bandwidth. This slot resides beneath the primary PEG slot and can accommodate up to 110mm M.2 SSDs. Another modern storage technology you’ll find support for on this board, albeit one that doesn’t get many headlines these days, is SATA Express. SATA ports 4, 5, 6, and 7 can support either four independent 6Gbps SATA devices or two SATA Express devices.
Born To Overclock
Most of the early AM4 motherboards to hit the market featured a fixed 100MHz BCLK that you couldn’t change. With this motherboard, however, Gigabyte installed its Turbo B-Clock Advanced Performance Tuning IC, which is just a fancy name for a chip that lets you actually add a few MHz to the B-clock. The official range of the clock-gen is 100 to 300MHz, but you aren’t going to get that far without some exotic wizardry and a silicon lottery-
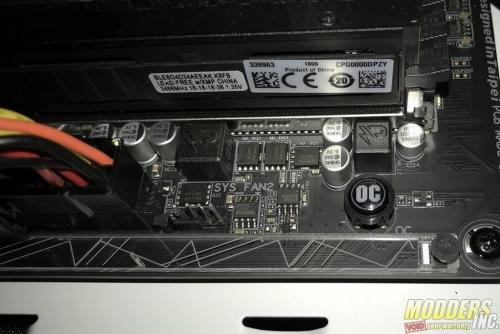
winning processor. This feature isn’t of much use to the casual overclocker, but for those who want to really fine-tune the system performance, and don’t mind having to fiddle with PCIe clocks past a certain frequency, then this is a top-notch feature on such an affordable board. For our overclocking, we took the path of least resistance and just raised the multiplier and layered on a bit extra core voltage from within the BIOS. It’s true, Gigabyte includes its one-touch OC button here as well, but we’ve never been a huge proponent of these types of automated overclocking features. We tested it, and it spent an hour repeatedly restarting the PC before we disabled it again and got on with our lives.
Layout, Slots, & Extras
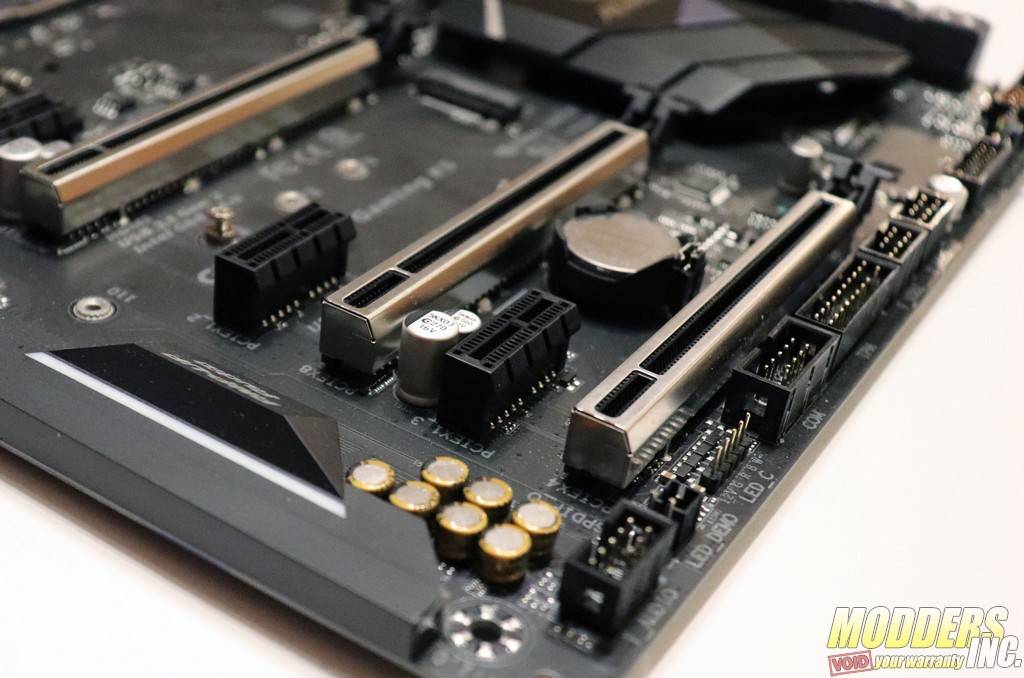
Gigabyte has been peddling its Ultra-Durable features for as longs as I’ve been testing their boards, so it’s no surprise to see this feature once again on the AORUS X370 Gaming K5. The Dual Armor DIMM and PCIe Metal Shielding features, which consist of metal braces surrounding the plastic DIMM and PCIe slots, are somewhat new additions to Ultra-Durable. The former prevents the board from flexing alarmingly when you go to install DRAM modules, and the latter help prevents heavy graphics cards from shearing off the PCIe slots. You may not ever have had this happen to you, but for those who ship PCs or travel with them, traditional un-braced PCIe slots can be pretty fragile. As an added bonus, these braces also help prevent electrostatic discharge. The motherboard’s multitude of resistors have also gotten Gigabyte’s Anti-Sulfur treatment, which keeps them pristine and fully functional for the life of the board.
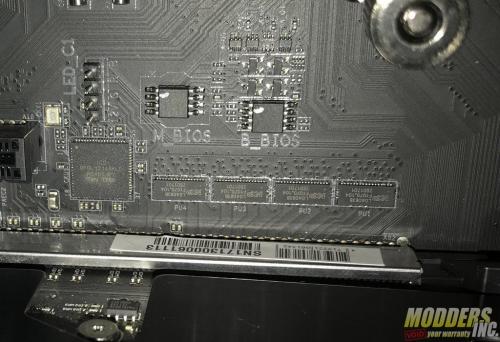
One of the things we really like seeing on this board is the dual-BIOS chips. Gigabyte DualBIOS (UEFI) Design virtually guarantees that any shenanigans you get up to with the primary BIOS won’t leave you high and dry should problems arise. If the BIOS becomes inaccessible for any reason, you have but to switch to the backup BIOS, and you’re in business again, ready to flash the stock or an updated BIOS back onto the main chip.
One of the things this board lacks is onboard buttons, for power, reset, or clearing the CMOS. The Gaming 5 motherboard this board shares so many features with also features a pair of BIOS buttons on the PCB. In the lower-right corner of the Gaming K5, you will find traditional clear CMOS header.
The layout on this ATX motherboard is fairly standard. The eight-pin CPU power connector is very close to the 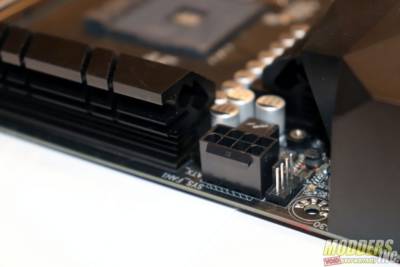
The M.2 NVMe slot is underneath the primary PEG slot, so expect to have to remove your dual-slot graphics card to access this. The topmost PCIe slot is also an unrestricted x16 lane 3.0 slot, whereas the middle runs at x8, and the bottom at x4. There are also three x1 slots, which all operate as PCIe 2.0 slots. If you plan to run two graphics cards on the board, the top two x16 slots will operate with eight lanes each. The M.2 slot doesn’t share bandwidth with the primary PEG slot, so that’s ideal.
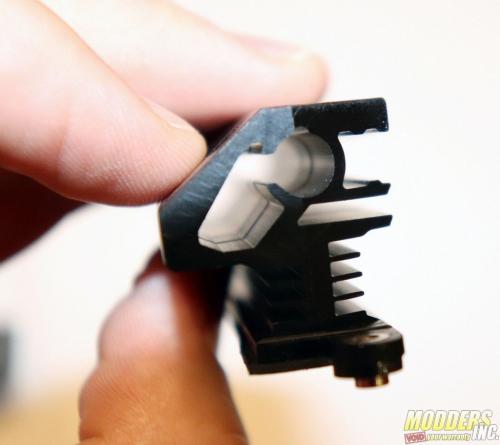
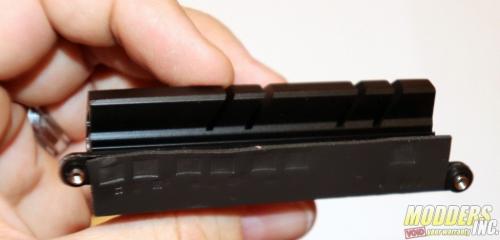
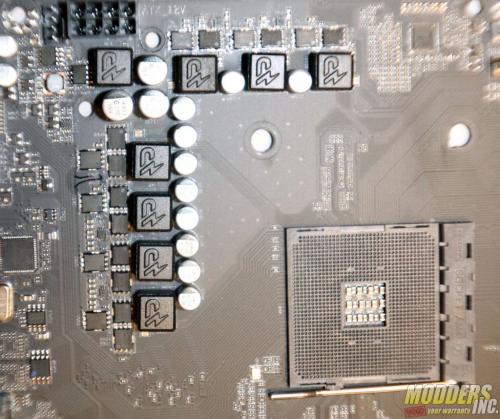
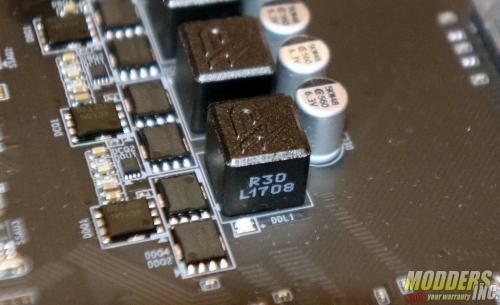
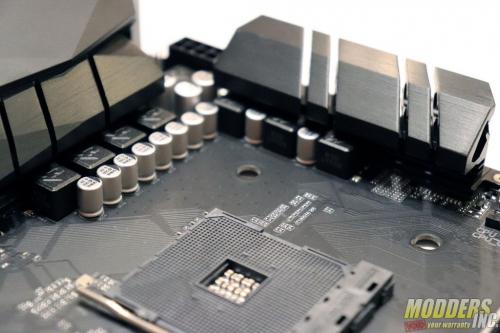
The VRM MOSFETs come with fairly decent aluminum heatsinks that have thermal pads that actually make contact. This is particularly important because this motherboard features a rather barebones 4+3 phase voltage controller for the core voltage, which will generate a good amount of heat across a rather short bank of components once you begin to overclock the processor.
This is more than adequate for the eight-core Ryzen 7 1700X we used for our test system, and we even tested it with the much more power-hungry Ryzen 7 2700X, with no ill effects. The SOC VRM, which is the bank of components north of the processor, also features a beefy heatsink, and this is more than adequate for anything you’ll end up doing with this motherboard.
Those who plan to install a large CPU air cooler will be pleased to see that there’s a decent amount of space between the DIMM slots and the CPU socket. To make matters even more favorable, the primary DIMM slots are DDR4_2 and DDR4_1, which leave the DIMM slot closest to the CPU socket bare if you’re only running two DIMMs for dual-channel (as you should).
