Gigabyte AB350-Gaming 3 Motherboard Review: Fun and Flexibility
A Closer Look at the Gigabyte AB350-Gaming 3 Motherboard
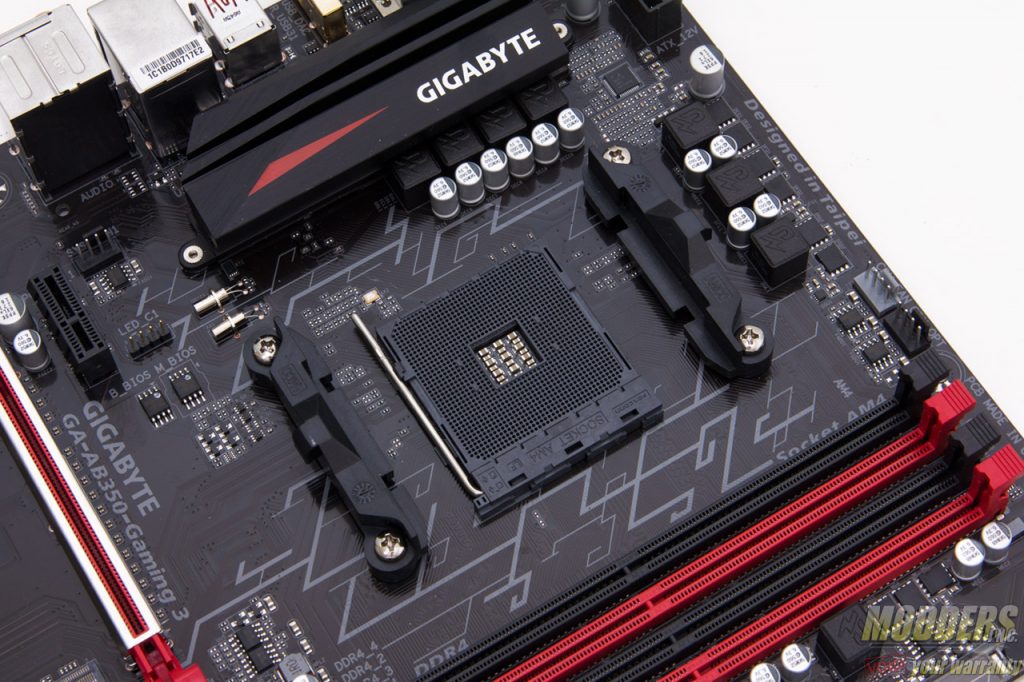
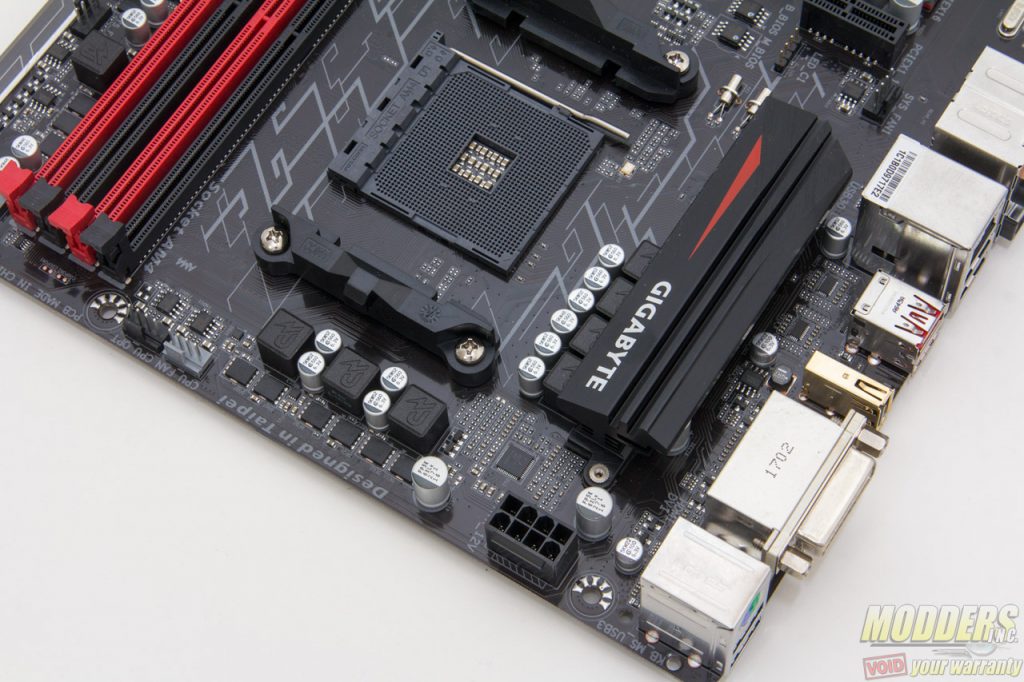
The GA-AB350M-Gaming 3 supports AMD Ryzen AM4 CPUs and have a standard two-piece heatsink mounting design. The mainboard’s color scheme is mostly black and red with the RGB LEDs defaulting to red colors out of the box.
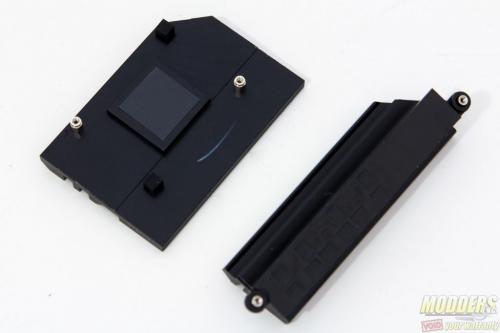
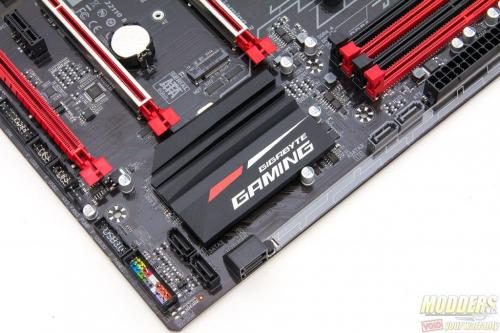
The VRM and chipset coolers are made up of single pieces weighing 71 grams and 65 gram each. These are black anodized aluminum heatsinks with a minimal design so as not to take away and clash too much with the RGB color options. AMD’s new chipset is significantly efficient compared to AM3+ chipsets so the heatsink on this only uses a thin graphite thermal interface material. For the MOSFET, a black thermal pad is used between the heatsink and the motherboard, held together by screws mounted at the back of the motherboard.
As with AMD’s AM3+ mainboards, the voltage plane for the CPU is dedicated to the main CPU voltage and the CPU NB, now called SoC. The RAM is separate as well as the chipset. Although most of the chipset features are now directly on the SoC (system-on-chip) on the processor, it is still not as advanced as Intel’s current chipset.
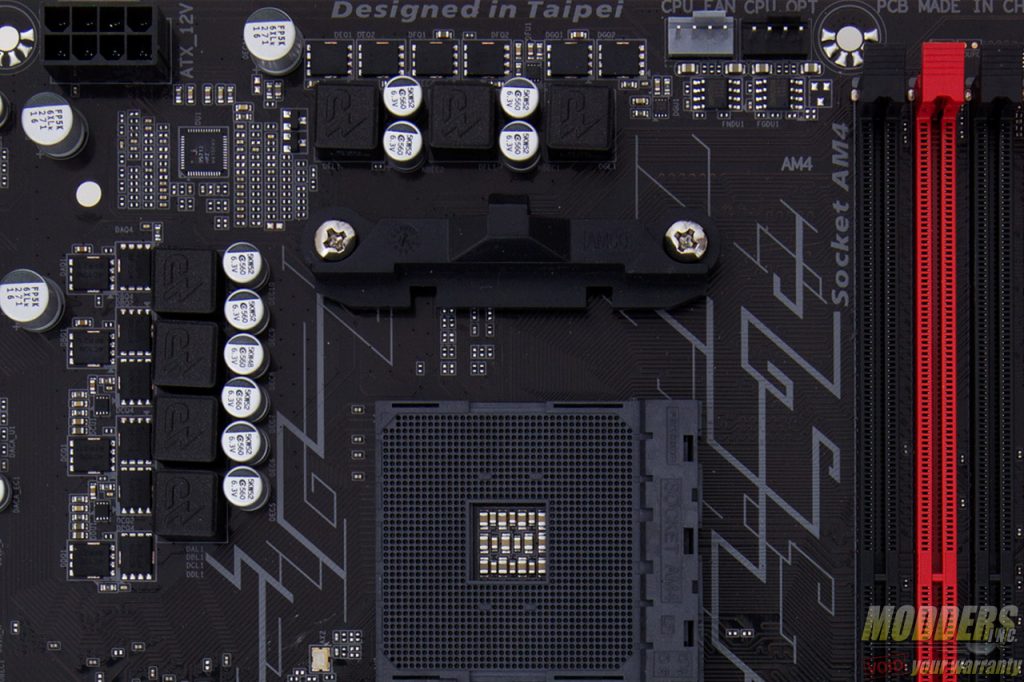
On the Gigabyte AB350-Gaming 3, the main PWM controller is an Intersil ISL95712 which can be configured for up to 4+3 phases and it uses all of that on this motherboard. Four phases are used for the main CPU and three are for the CPU NB. Each CPUphase has a single OnSemi NTMFS4C10N and two NTMFS4C06N (two are located in the back), while the CPU NB/SoC has a single NTMF4C10N and NTMFS4C06N FETs. Additional Intersil ISL6625 drivers are used to augment the integrated drivers on the PWM controller. All of the input capacitors use 5K Japanese FPCAP solid while all the other capacitors including the output capacitors are Taiwanese Apaq capacitors. The audio subsystem is an exception as well, using Japanese Nippon Chemicon audio-grade capacitors. There is no heatsink installed on the CPU NB MOSFETs and there are no mounting holes to install one later on.
The 8-pin EPS12V CPU power connector is at the top left hand corner, right above the VRM heatsink. Gigabyte was wise to make the latch for this power connector facing upward so it is easier to release later during uninstallation.
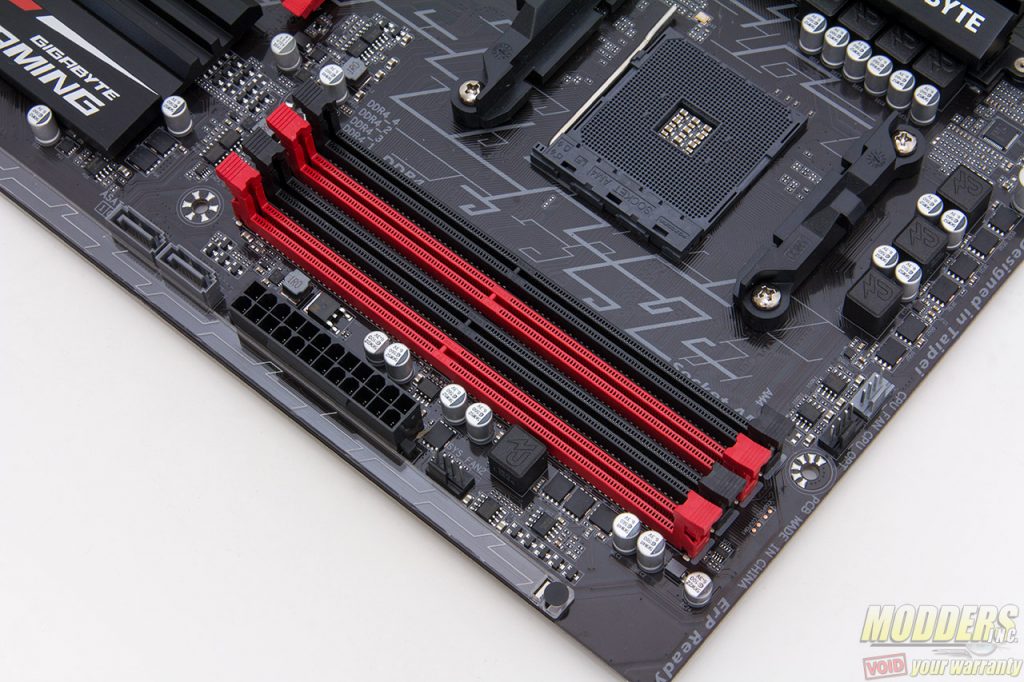
The four DIMM slots are available supporting dual-channel DDR4 RAM installation. A single-phase buck Richtek RT8120 with three OnSemi NTMF4C10N MOSFETs used per phase. There is no reinforcement armor here like there is on higher-end models and the latch locks at the top and bottom.
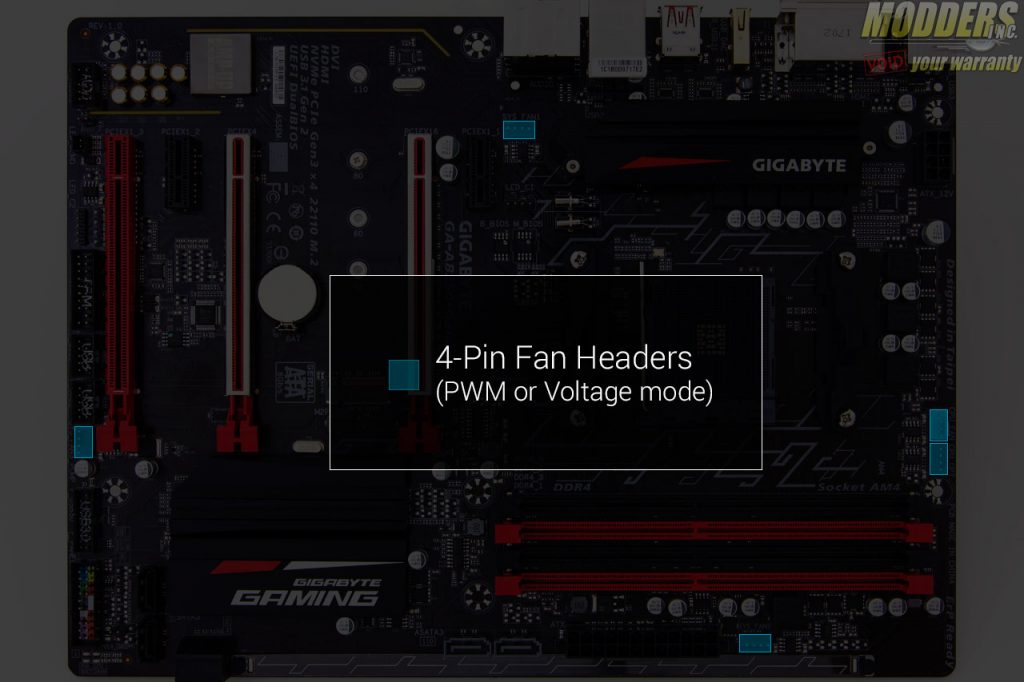
Five 4-pin fan headers are available on the GA-AB350-Gaming 3 and they are all configurable for either PWM or Voltage mode control via the UEFI or via the Gigabyte SIV (System information viewer) software. Each header is equipped with a Nuvoton 3947S IC, supporting up to 12V/2A per header and provides advanced smart fan control. Coupled with the embedded per-zone monitoring features, the GA-AB0350-Gaming 3’s cooling system can be completely tailored up to the user’s needs.
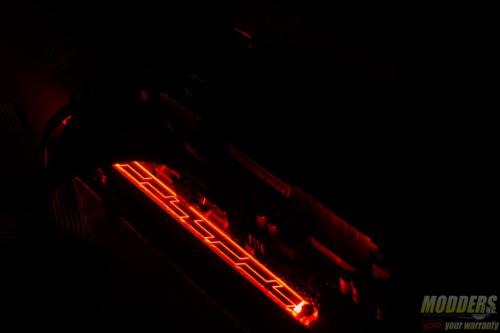
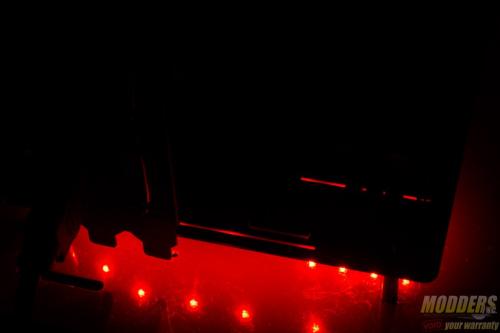
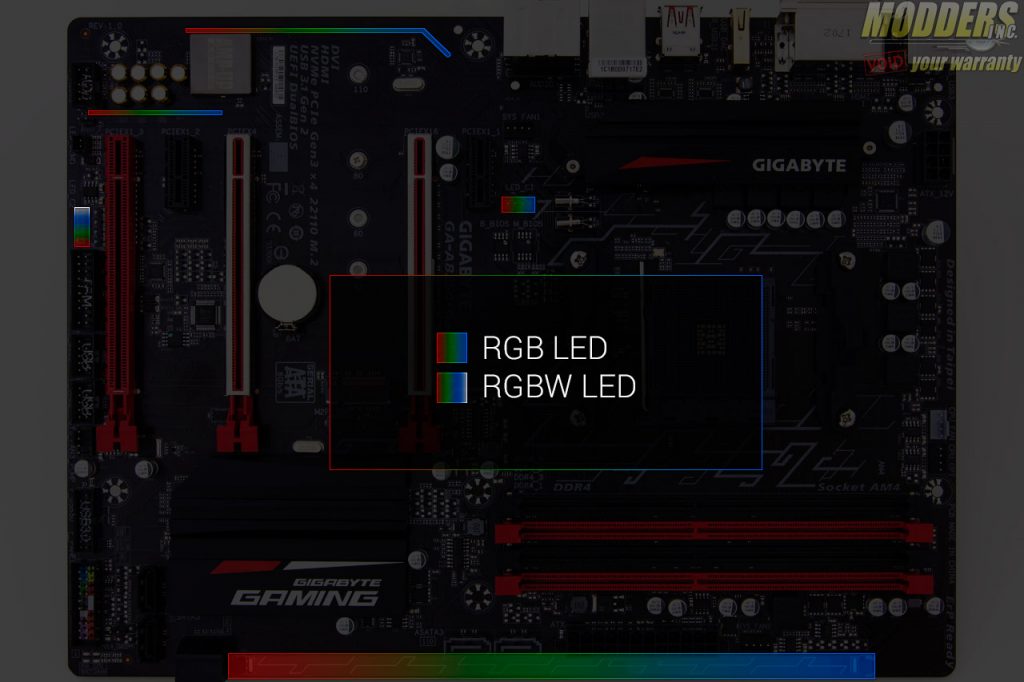
As for the RGB LED features, embedded LEDs on the audio separation area and on the light bar on the right side edge default to red but can be configured into any RGB color via UEFI or via the Gigabyte RGB Fusion desktop software, or even remotely via the new mobile app. An additional RGB header is available nearby the CPU socket for Ryzen R7 bundled heatsinks that have RGB LEDs and an extra 5-pin RGB header for RGB/W or RGB/UV LED strips is available at the bottom edge of the motherboard as well. This RGBW header can be calibrated so as to match the user’s LED strip pinout just in case it does not match the default lineup. This header at the bottom is +12V, G, R, B, W by default so users with a strip that has +12V, R, G, B, W chronologically can still use theirs after calibration via desktop software.
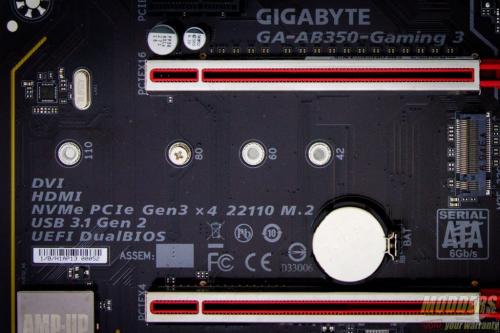
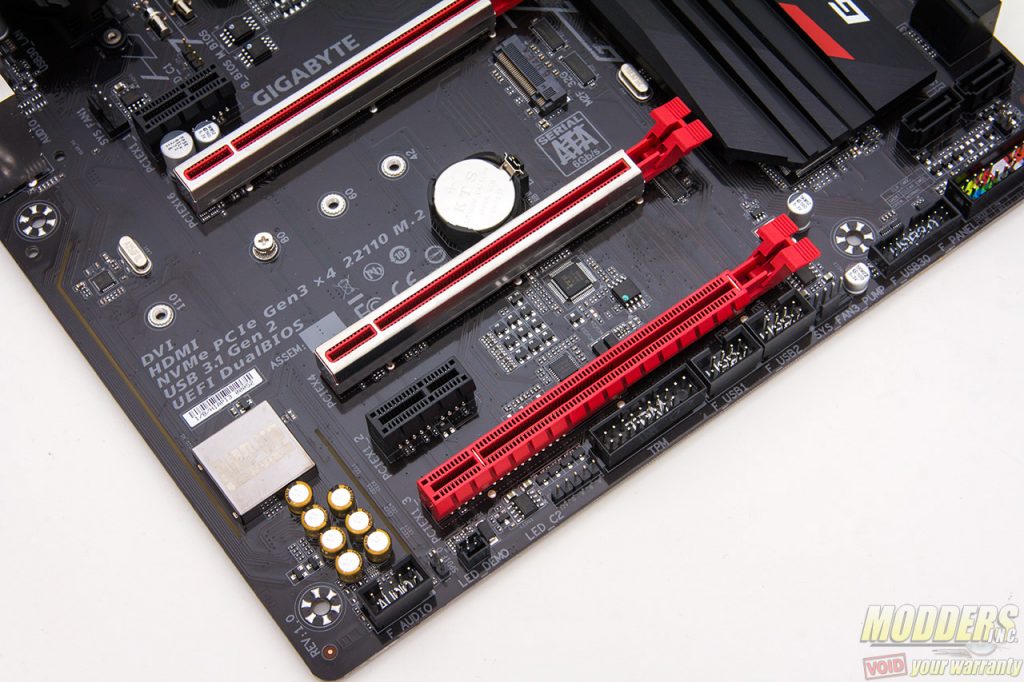
Onboard storage begins with a pair SATA ports right below the 24-pin power supply connector. This is natively from the Ryzen CPU and shares bandwidth with the PCIe x4 M.2 slot (via ASMedia ASM1480 switches) so if this M.2 slot is populated with an NMVe SSD, both SATA ports cannot be used. This M.2 slot supports up to 22110 form factors so it has no compatibility issues in terms of SSD PCB size. It is located directly underneath the PCIe x16 graphics card slot however which can be a thermal issue or a clearance issue for certain M.2 drives that have a thicker heatsink such as the TeamGroup Cardea NVMe SSD.
Four more SATA ports are located towards the bottom corner, two of which are stacked 90-degree ports and two are side by side facing upward right below the chipset heatsink. All four are from the chipset. All six SATA ports support RAID modes 0, 1 and 10.
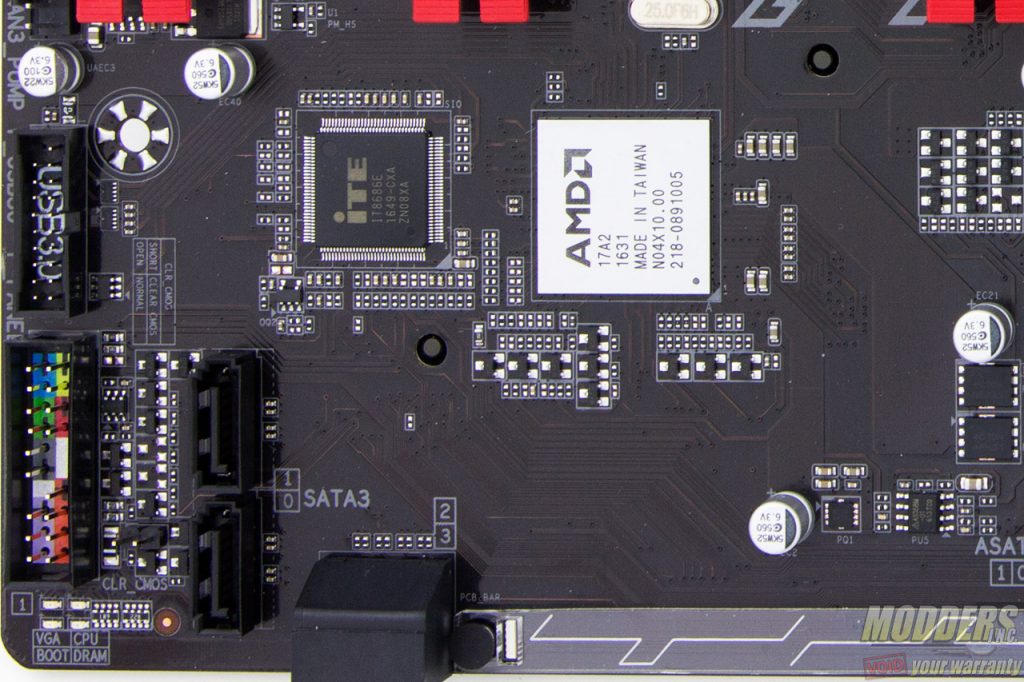
Underneath the chipset heatsink is the ITE IT8686E SuperIO responsible for most of the monitoring functions. At the very bottom corner of the motherboard are four diagnostic LEDs that light up in sequence during boot time to indicate initialization of the CPU, DRAM, VGA and boot. The front panel header IO is also located here and is color coded with the polarities marked. The installation of the front header is made even more convenient with the inclusion of the G-connector. For CMOS reset, the header is located right above the front IO headers. Two BIOS chips are available, soldered onboard and located close to the CPU socket. The secondary BIOS kicks in automatically just in case the primary BIOS IC gets corrupted.
Unlike the X370 chipset, the B350 chipset has no PCIe x16 bifurcation capability so there is no SLI support, however CrossFire is still supported, albeit limited to PCIe x4 bandwidth.
Expansion slot distribution is as follows (in order top to bottom):
- PCIe 2.0 x1 via B350
- PCIe 3.0 x16 via Ryzen CPU
- PCIe 2.0 x4 via B350 (x16 physical slot, shares bandwidth with the PCIe slots underneath it, running at x2 mode when they are populated)
- PCIe 2.0 x1 via B350
- PCIe 2.0 x1 via B350 (x16 physical, x4 electrical)
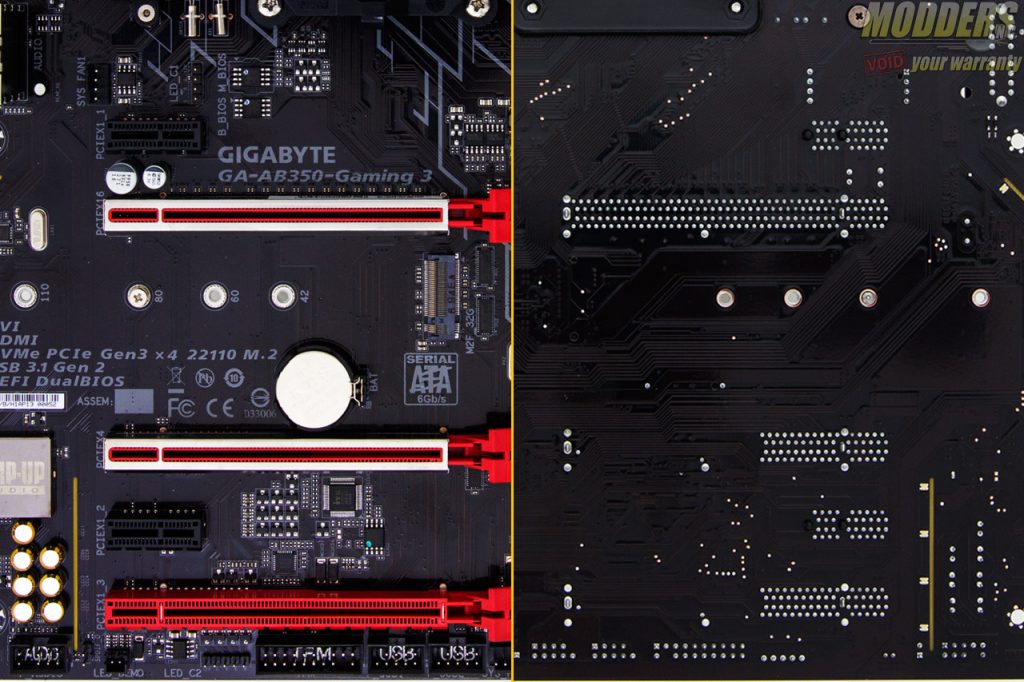
The AB350-Gaming 3 motherboard’s two topmost PCIe retention slots are reinforced with soldered-through shielding. This prevents the motherboard from getting damaged just in case something heavy drops on your video card that dislodges it.
The storage options continue through the on-board headers at the bottom for USB 3.1 Gen1 (1x 19-pin header) and USB 2.0 (2x 9-pin headers), natively provided by the B350 chipset. A trusted platform module header is also available here as well as the RGBW header and the 2-pin LED power bypass that is used to demonstrate the on-board LED lighting without powering on the entire board.
The audio subsystem is isolated and utilizes the latest Realtek ALC1220 HD audio codec with a soldered in EMI cover and utilizes Nippon Chemicon electrolytic audio capacitors. This boasts the highest SNR on a Realtek onboard solution yet with 120dB and includes a built-in headphone amp driver without the need for an external solution like in previous generation Gigabyte mainboards that use a Realtek ALC1150.
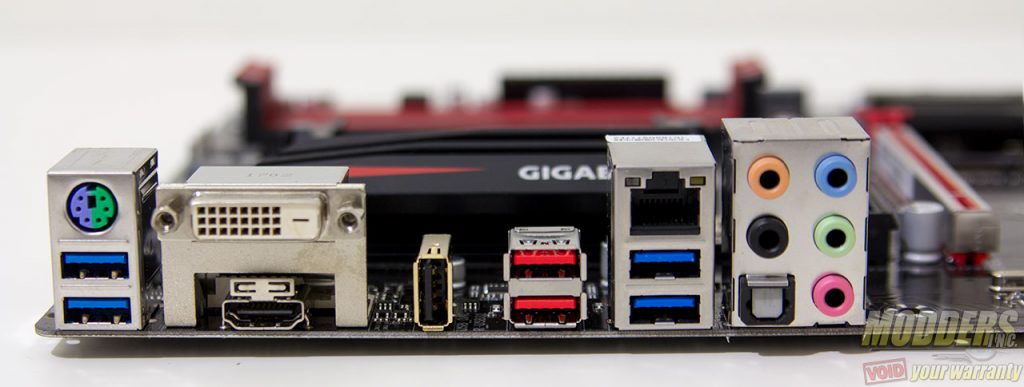
In terms of audio output at the rear, there are five configurable analog audio jacks with one optical audio out. There is an SPDIF passthrough header right beside the front panel header at the bottom right corner of the PCB. Gigabit Ethernet is also handled by a Realtek chip, specifically the Realtek 8111G. In terms of display outputs, there is an HDMI 1.4 (up to 4096 x 2160 @ 24Hz) port and a DVI-D port available (up to 1920 x 1200 @ 60Hz) available for upcoming Ryzen AM4 APUs (not available yet). A PS/2 combo port for connectivity is available to plug in older peripherals such as an IBM Model M which I used to type this review on.
The rest of the USB storage continues at the rear with the single USB 2.0 header that has the Gigabyte USB DAC-UP2 feature. Basically, it has a power supply closeby that pulls directly from the 12V input and provides a separate, stable +5V output for this USB port specifically. Users can even control the voltage offset via the USB DAC-UP2 feature or disable the power on these ports completely. The red USB type-A ports are the USB 3.1 Gen 2 ports and four USB 3.1 Gen 1 ports that are from the B350 chipset.




The Aorus Z270X-Gaming 5 ????? on first site?
Nice review, this is the motherboard I finally decided on for my new build. It seemed like a very good value and had what I was looking for in a mobo. I am so happy the Ryzen processors can overclock on both the midrange B350 and high end X370 boards, it means you can save quite a bit of money if you are not going for a top end build.
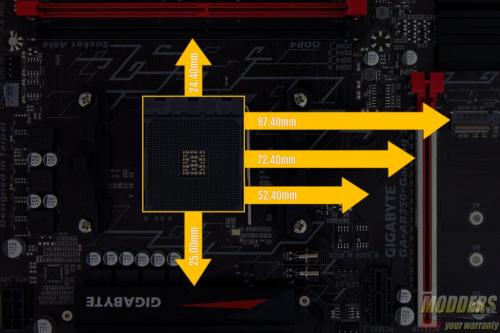
Are the mounting holes a little different from standard ATX? for the holes closer to the right of the board.
Thank you for pointing it out. It seems I have forgotten to paste the entire last paragraph of the first page from the last template I used. It has been corrected now.
I have this board with an R7 1700x and 2×8 GB Corsair Vengeance at 3200mhz. The memory works at 2933 cl 16-16-16-36 without problems. I didn’t see nothing like this board till now, not even a bluescreen in more than 2 weeks of usage, with all the drivers and programs i tried, and the Windows boots in 5 seconds with an Intel 600p Nvme 512 gb… it’s incredible… My last board was an Asus M5A99X Evo R2.0 (a very good board too), but this one seems like from other league.
I have the mATX version of this board (AB350M G3). It’s rock solid running my R7 1700 at 3.9GHz and my G.Skill 16gb kit at 3200 cl14 (Bios version F2). I might be able to push my CPU overclock higher, but the voltage is already at 1.344, so I decided not to bother.