Fractal Meshify 2 Compact Case Review
Meshify 2 Compact Hardware Installation and Clearance Compatibility
- Internal length: 372mm.
- Internal height: 340mm.
- Internal depth: 188mm (to the glass).
Front-mounted:
- Front :3×120 or 2x 140mm Fans. (2x Dynamic X2 GP-14 included)
- Radiator support for 120/140/240/280/360 mm. (max 145 mm width)
Rear-mounted:
- Rear: 1x120mm Fan. (1x Dynamic X2 GP-12 included)
- Radiator support for 120 mm.
Top-mounted:
- Top: 2x 120/140mm
- Radiator support for 120/240 mm.
- The maximum top radiator recommended thickness is 30-40 mm.
Power Supply:
- There is a removable plate for installing PSU.
- 221mm Clearance for Power Supply installation.
Video Card clearance:
- There is 340mm of clearance before reaching the front fan mounting area.
CPU Tower coolers:
- CPU heat-sink height clearance is about 180mm.
- Large CPU backplate cutout.
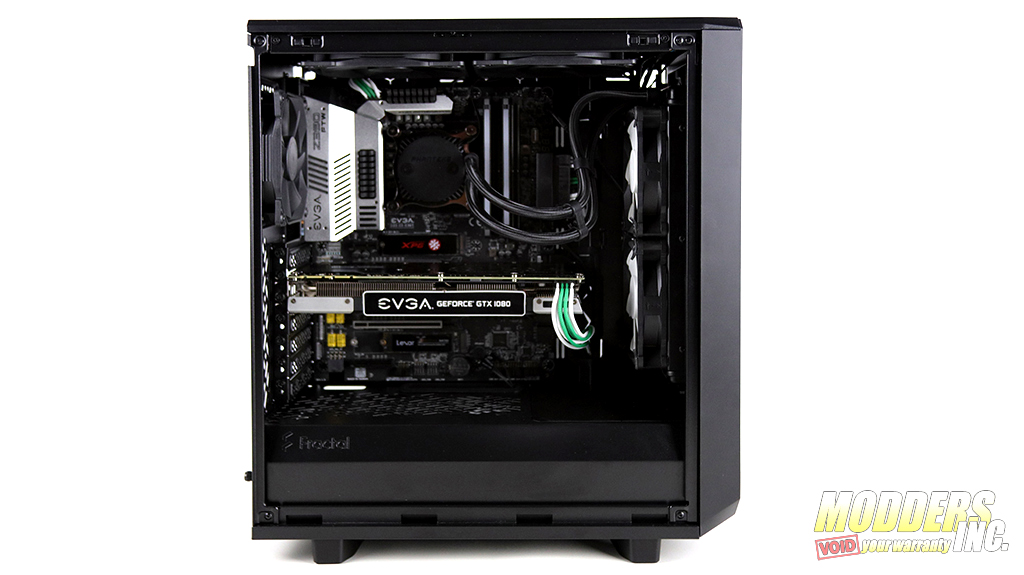
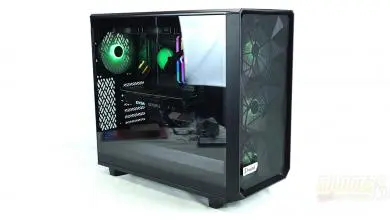
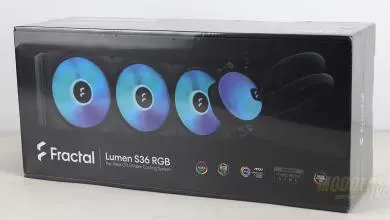
The installation of components into this case was an interesting one. Once I had installed the motherboard I originally wanted to install my AIO cooling radiator on the top of the case. Unfortunately, I wasn’t able to mount the radiator with fans on the top. The fans would hit the RAM modules so I had to install the radiator in the front of the case. I moved the supplied 140mm fans to the top of the case and left the 120mm fan in the rear.
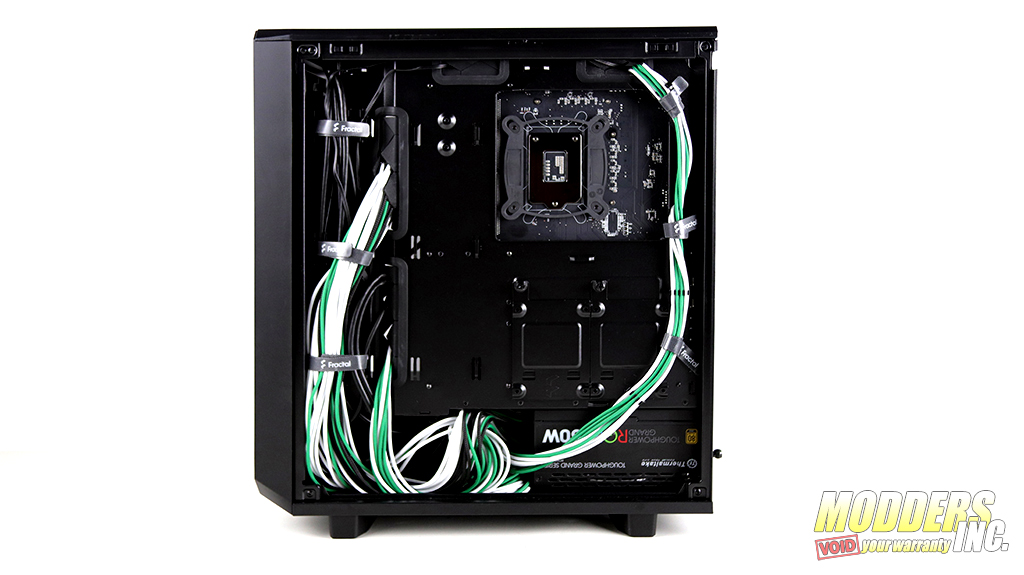
The GPU installation was interesting as well. My first choice was to install a Gigabyte RTX 2080 Super but when trying to install it with the radiator being installed in the front of the case I ran into the space limitation issue. The card was just too long to be used in this build. This is why I have settled for a shorter card and I installed the EVGA GeForce GTX 1080. Cabling and cable management, in this case, is very well thought of as I was able to run cables in the case without any issue. There is enough clearance on the right side of the case for cables so the panel could close without interference.
One of the issues I did find while installing my motherboard is the IO connectors on the board and running them to the front of the case. The motherboard I am using in this build has connectors that are rotated 90° when compared to other motherboards and connecting power LED, and the power switch was extremely difficult. I ended up completely removing my motherboard from the case, reconnect the IO connectors, and reinstalling the motherboard into the case.


