The Meshify 2 Build
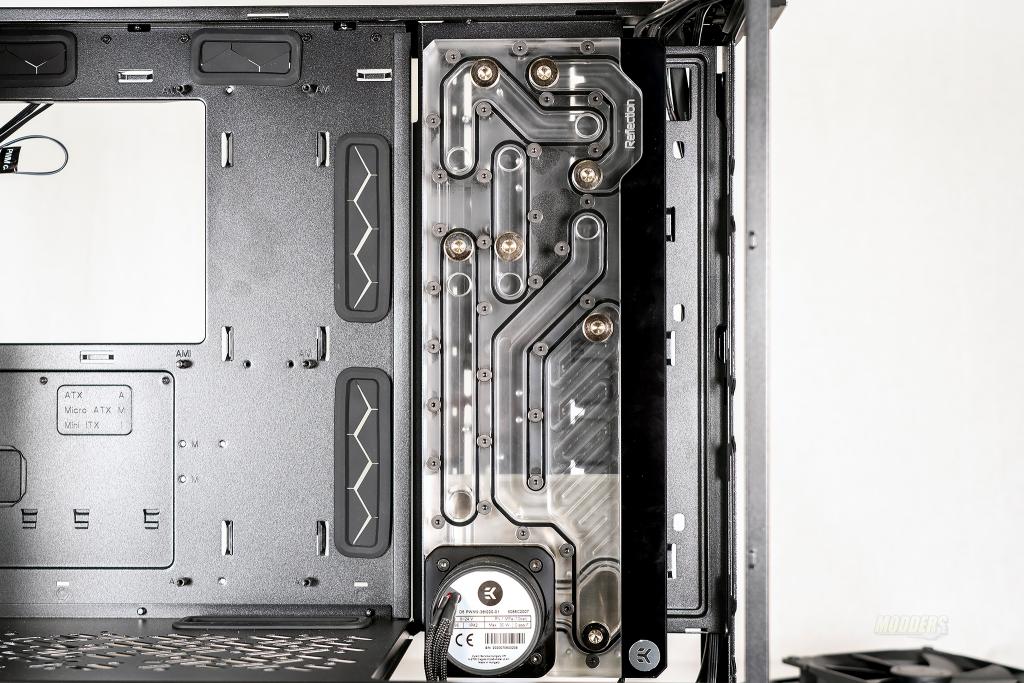
To start with this case my plan from the beginning was to a full on water cooling build. A while ago, I picked up the EK Quantum Reflection for Fractal cases. Originally I had planned on doing a build inside the Define 7 that I previously reviewed here. However, the case is currently in use for another project and it’s been sitting for a while. Since the distro plate was designed to fit the Define 7, I asked Fractal if they knew if it would fit in the Meshify 2 and after a few measurements, I got a reply stating yes it will fit.
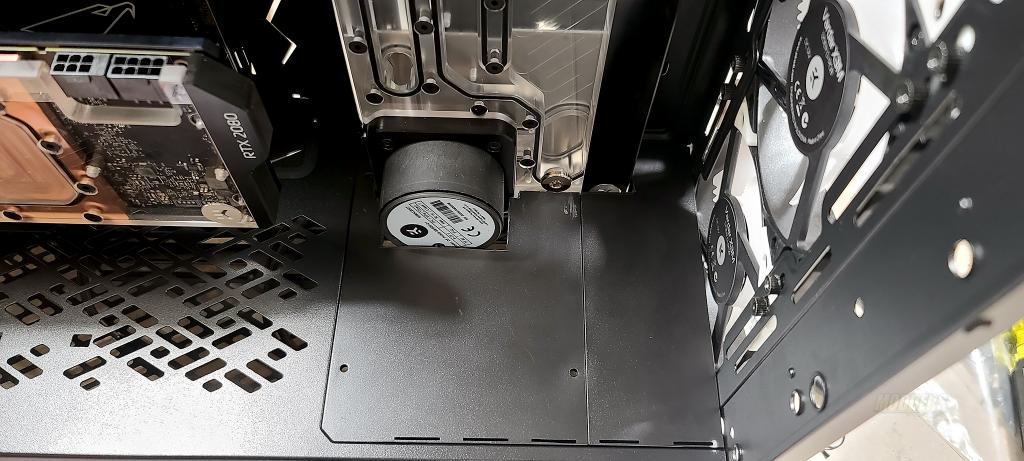
At this point, I hadn’t yet mounted the motherboard and I mounted the distro plate as high on the mounting plate as it would go. However, this presented a couple of problems. I wanted to go with a super clean build. With the plate in the current position and the pump rotated as it is, I couldn’t really achieve what I wanted. The 1st step was to rotate the pump so the wires are directly at the bottom of the distro plate. At this point in the build, I didn’t know what motherboard that I wanted to use. I also wanted to makes sure that I could maintain a clean look on the inside especially when it comes to the inserts that are at the front of the power supply shroud. To get the look I was going for, I cut the insert to fit around the distro plate and the pump. I roughed it in with the Dremel and then finished it out with a file.
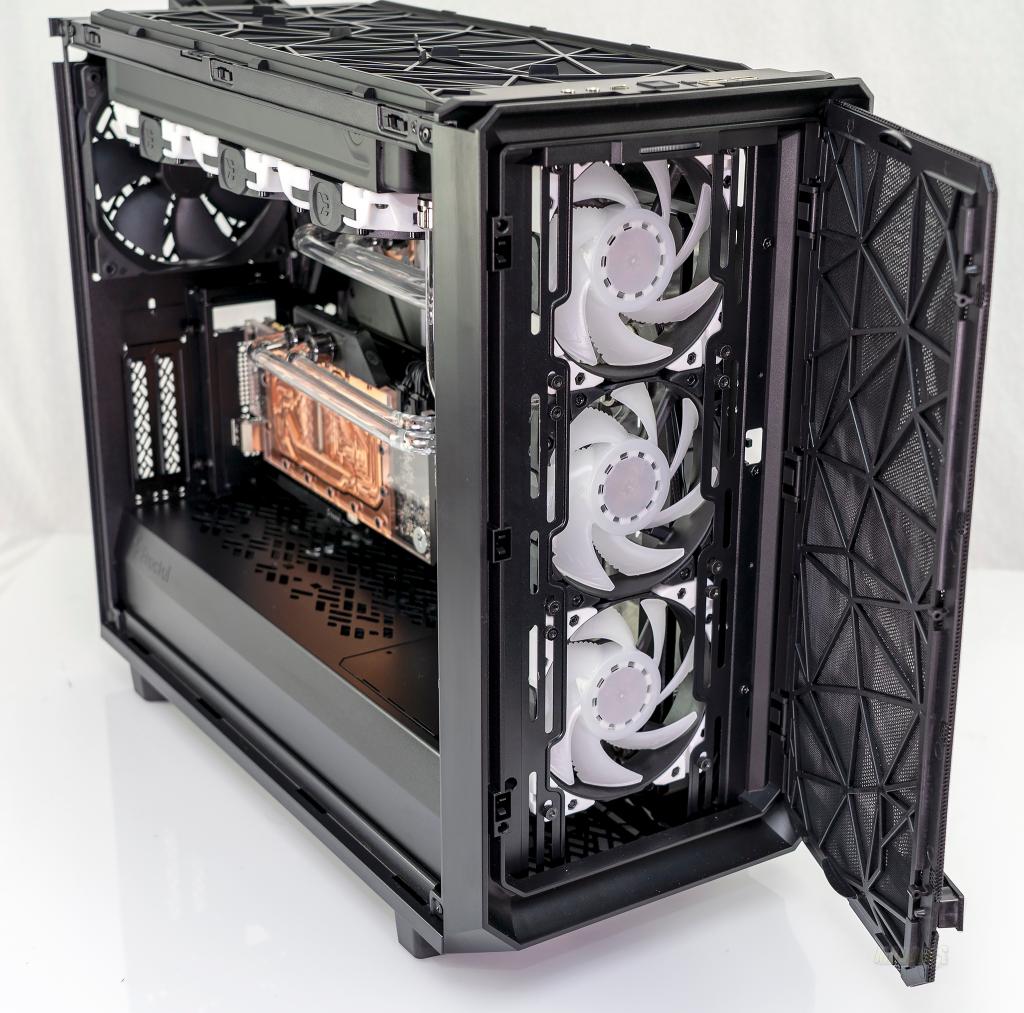
In the photo above, you’ll notice that I cut both front panels with the fans mounted to the outside of the case. This was done with the front panel off the case. I discovered that the fans when mounted to the front of the case would not fit under the mesh and could not close the door. So for the final version, I moved the fans back to the inside and removed the front-most panel.
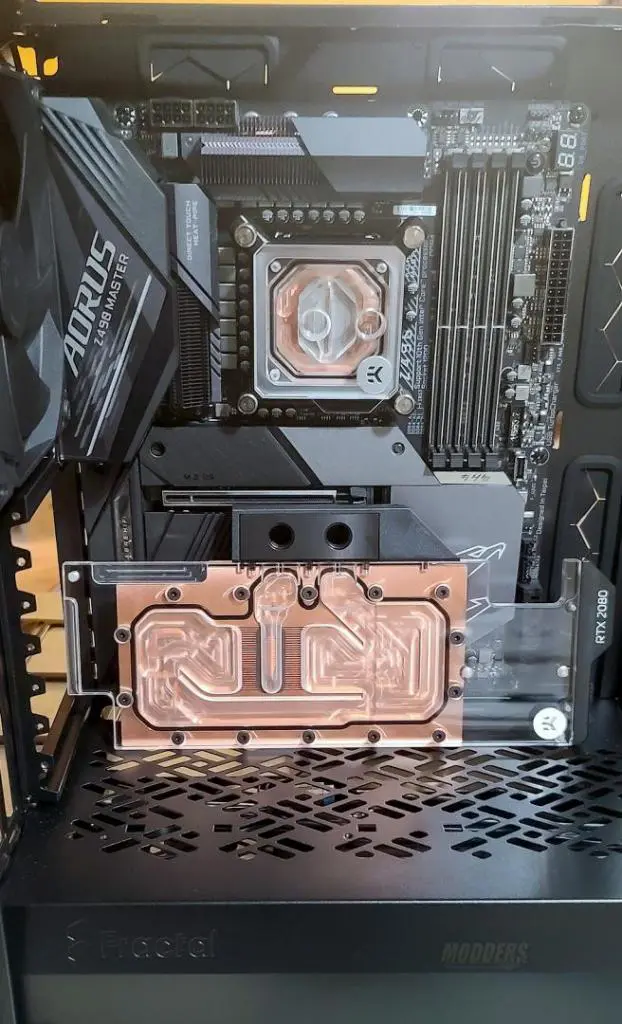
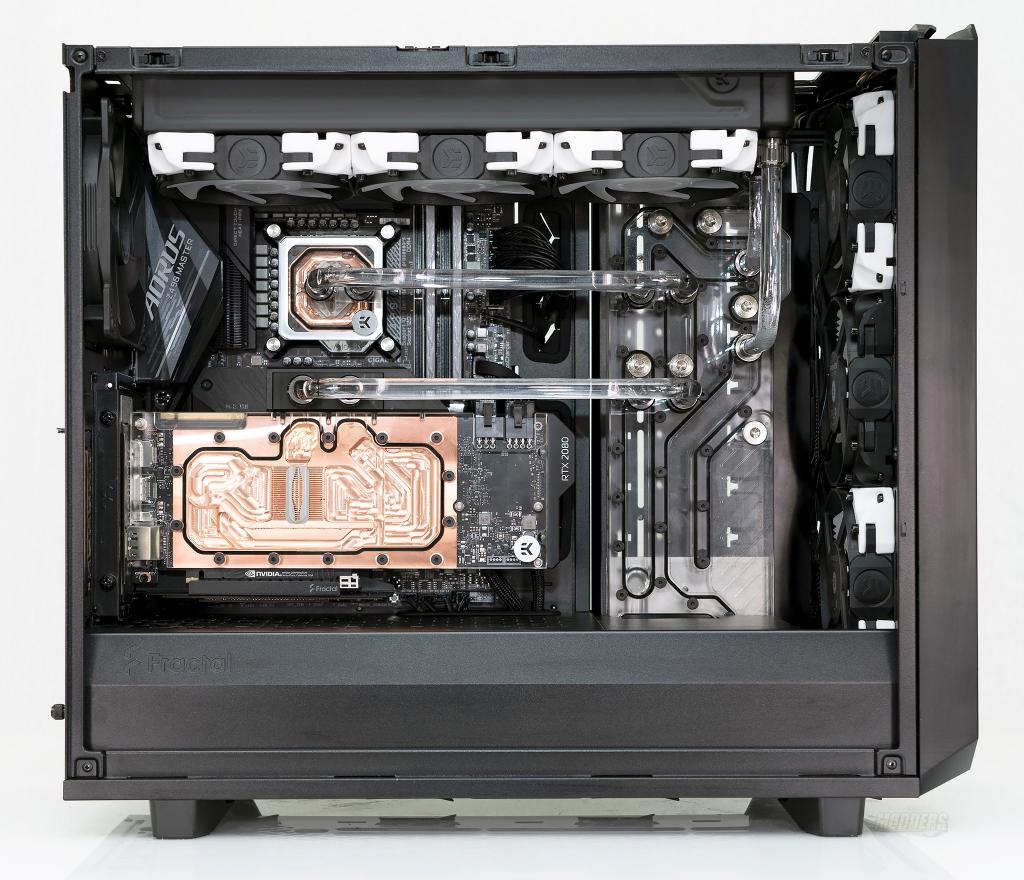
I finally decided on the motherboard I wanted to go with. I decided on the Aorus Z490 Master and the Intel i9-10900K and topped off with an Nvidia RTX 2080 Founders Edition. I had some of the EKWB Velocity blocks in copper/nickel on hand so, that is what I used to water cool the CPU and GPU.
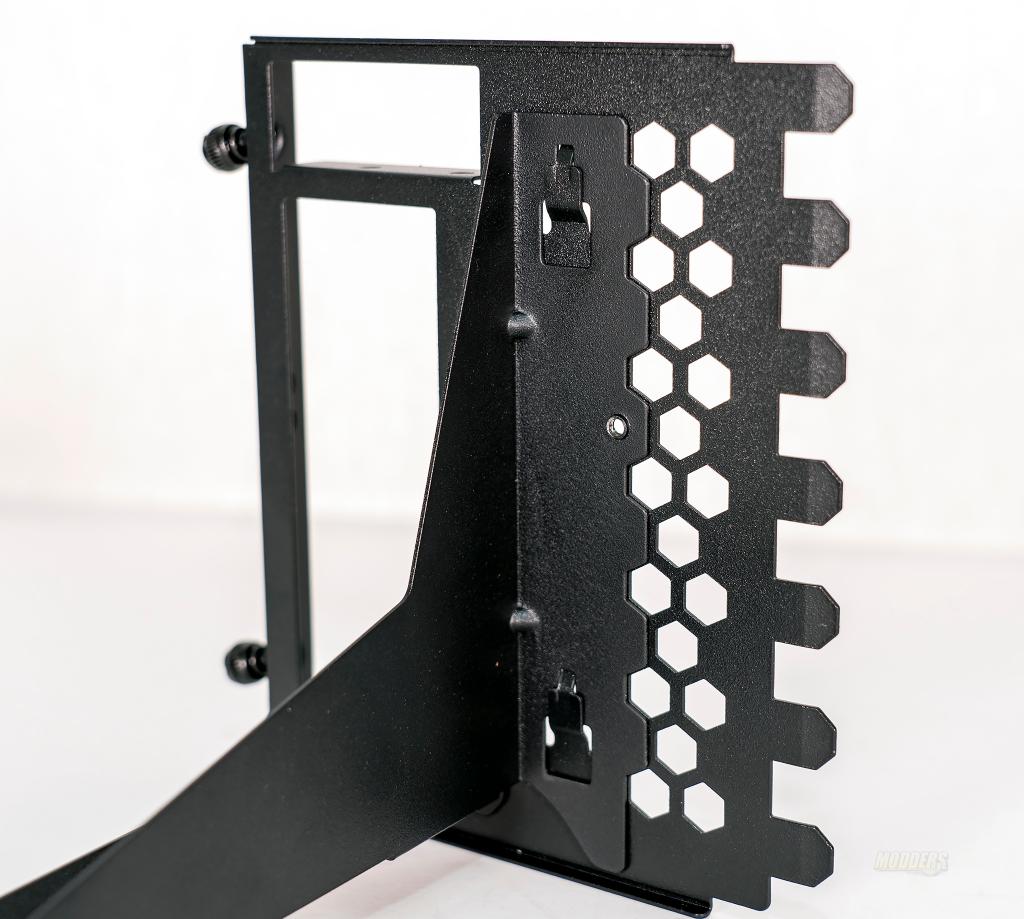
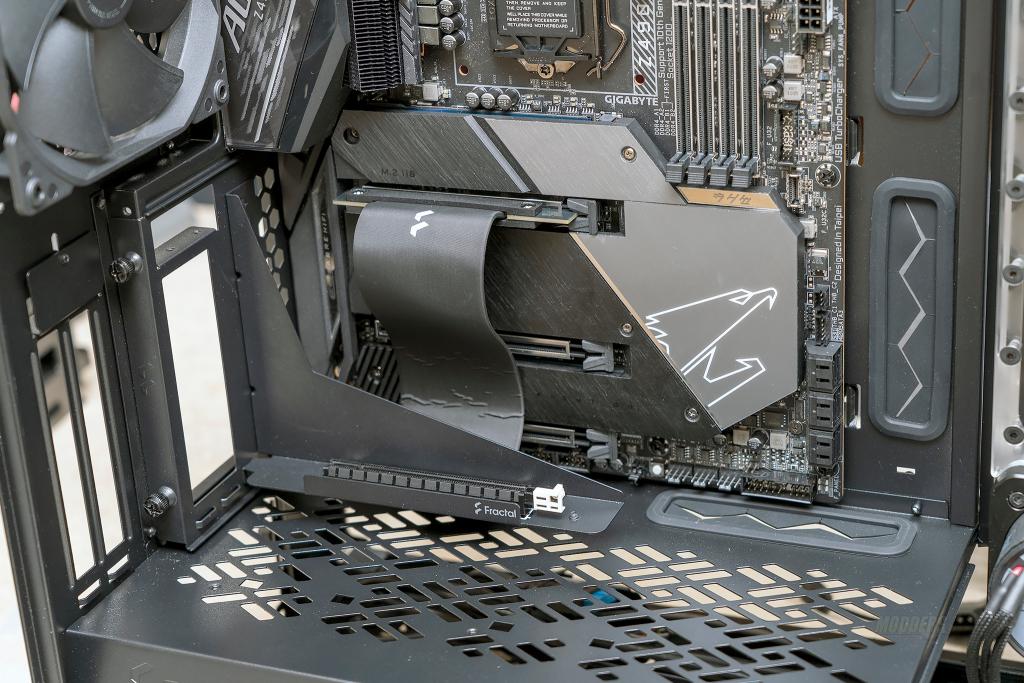
Now that I had the motherboard, CPU, and GPU figured out, it is time to assemble and install the Fractal B-20 bracket. The 1st step in the assembly process is to attach the backplate to the angled support bracket. To do this there are slots to line up and then slide the parts together. Secure with the provided screws on the outside of the bracket.
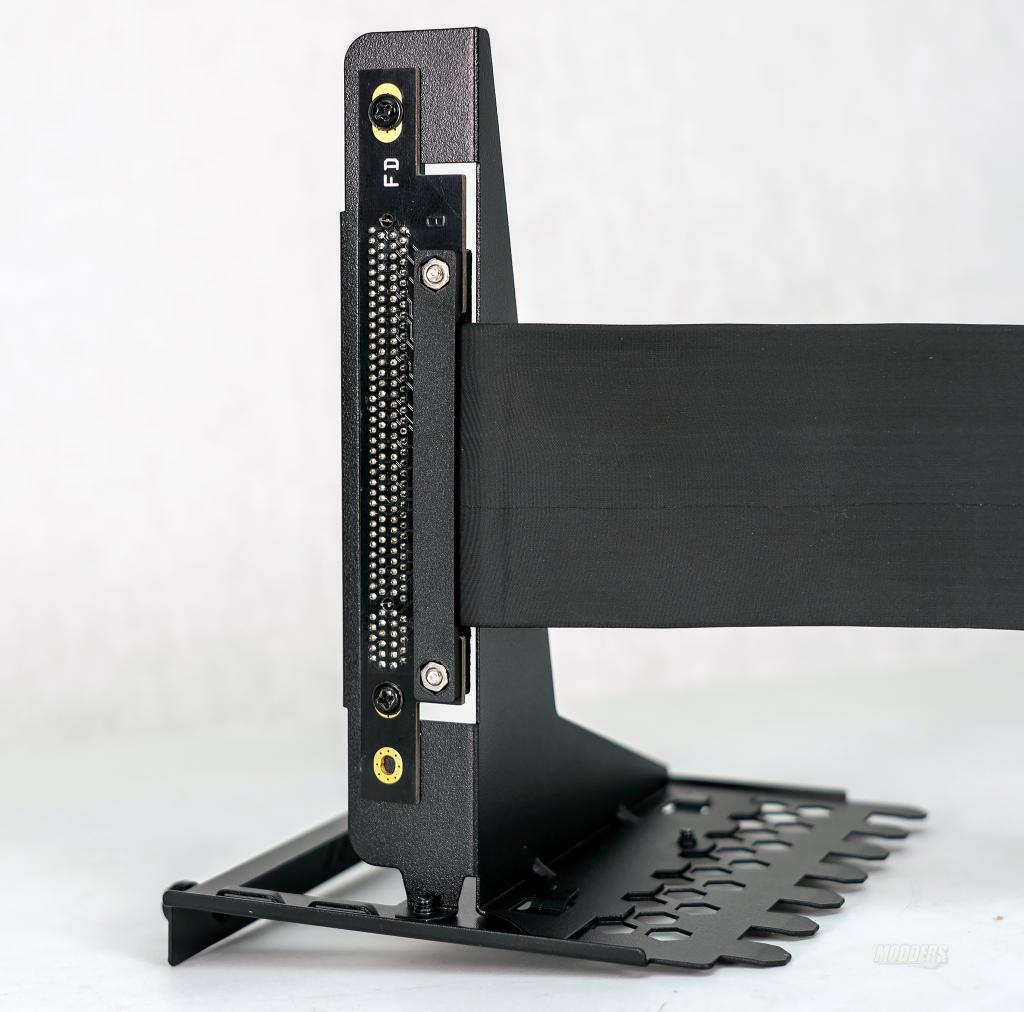
The next step was to install the PCIe riser cable. From underneath the angled support bracket, use two screws to attach the PCIe connector to the angled support bracket.
Once it is all assembled, it is ready to go in. While the Meshify 2 does come with a dual-slot vertical mount built-in, the built-in mount moves the GPU closer to the tempered glass. However, there is still plenty of room for airflow between the tempered glass and the fans on the stock cooler. The B-20 vertical bracket moves the GPU mount further back and closer to the motherboard.
I decided to move the EKWB Quantum Reflector down a bit to be more in line with the ports on the water blocks to allow for straight runs for the hardline tubing. In my haste to order more EKWB aRGB fans, I mistakenly ordered one fan with black accents vs. the rest of my fans with white accents. I was a little worried about the panel that I cut around the pump and the distro plate looking odd now that the pump was moved down and is mostly below the insert of the power supply shroud. However, even with the cut out there, it still gives me the option of moving the distro plate up and down depending on the look I wanted to achieve and still having a clean and finished look at the front of the case. . Overall, I’m really impressed with the look of the build. It is super clean and everything is on display.
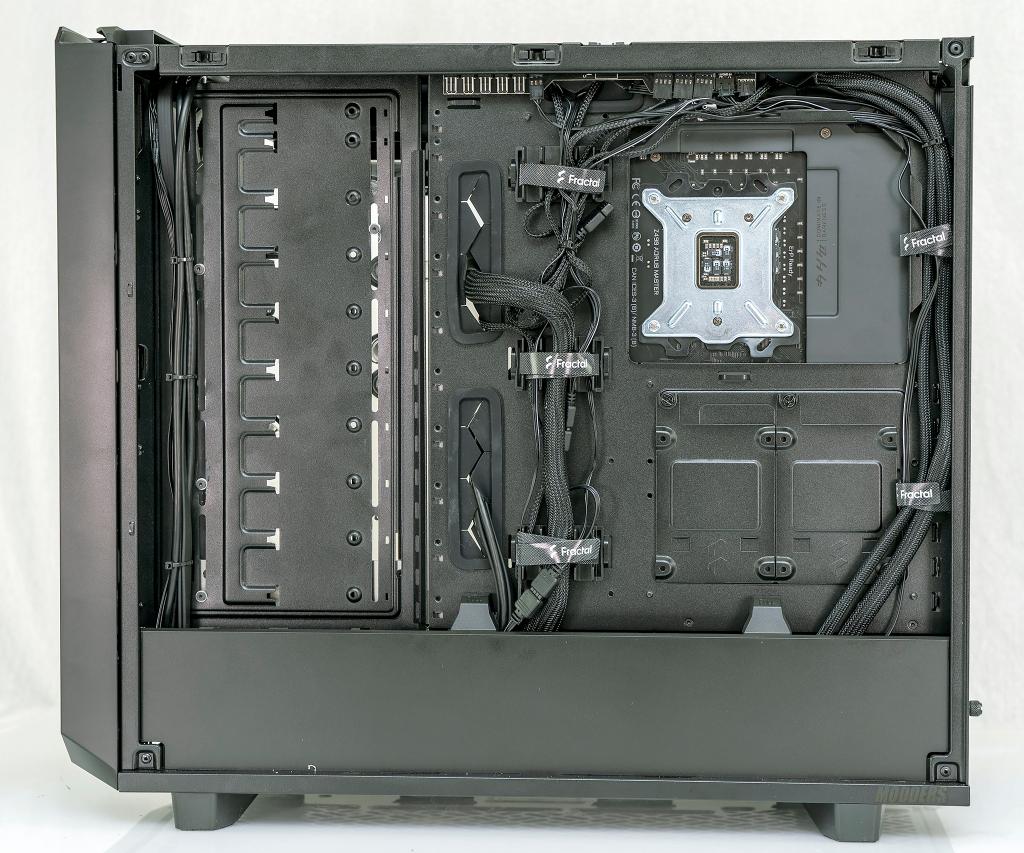
With NVME drives being so cheap, there’s not really a reason for me to install SATA drives. I used two 1 TB NVME drives in this build. This helps reduce the cabling mess in the back. I also used an EVGA fully modular power supply to further reduce the mess as I don’t have to install all the cables. I wound up using the dual 8-pin CPU power cables, 24-pin ATX cable, two PCIe 8 and 6-pin GPU power cables, and a single SATA and Molex power cable. All in all, the back of the case looks pretty good. Fractal provided enough tie-down spots to secure the cables and dress them.
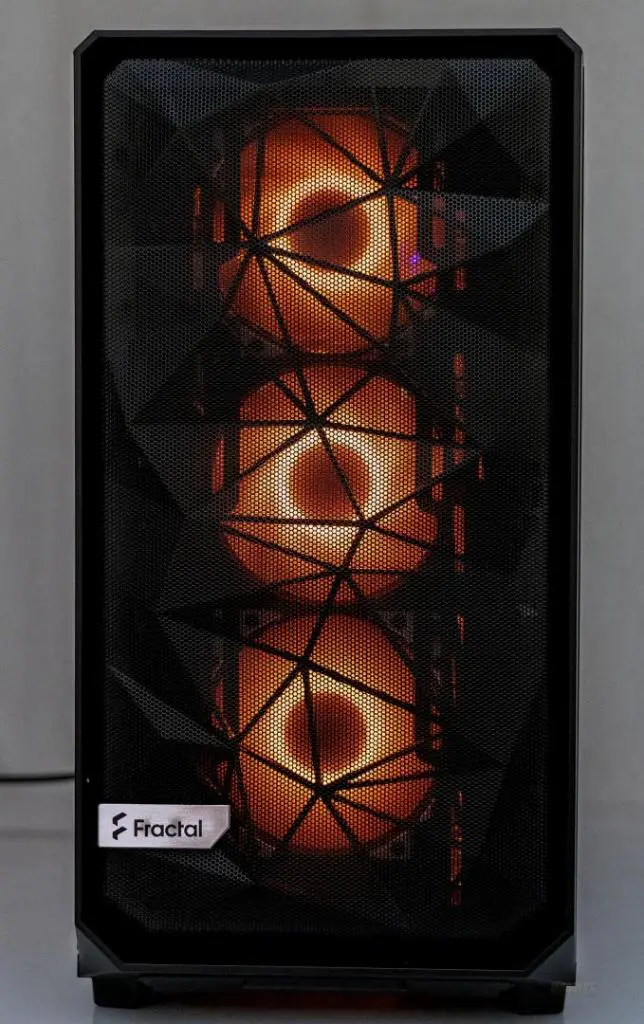
The only complaint that I have is with the fans fitting under the front panel. Since I used LED fans that are mounted behind the front panel, all the extra slots are visible when the fans are lit as the light is behind the slots and the look is not as clean as I wanted it. I may have to take another look at this and cut the fan mounts to give a fully circular look and clean it up a bit. As far as the filter lines, I actually like the lines of the filter showing.



Did you have to drill extra holes for the distro plate to fit? On the EKWB product page, this case is not shown as a compatible case.
I did not. I just had to slide the distro plate up and down until the holes lined up. I think there’s a total of 4 holes in the distro that lined up with the slots.