Meshify 2 External Tour
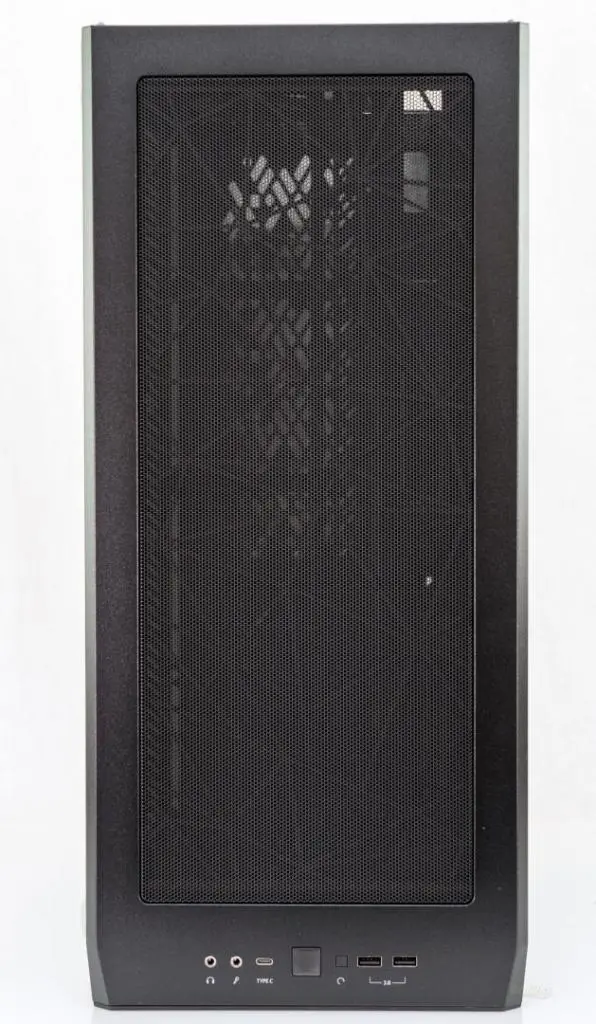
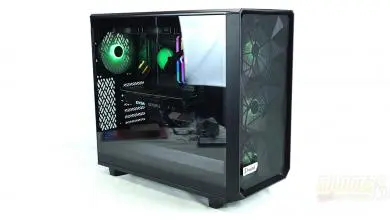
The front panel of the Meshify 2 has been redesigned and retains the angular front panel. The front panel now features a swing-away door and a nylon filter for easy cleaning. The version of the Meshify 2 I was sent is the black tempered glass version. There is a white and grey version as well as a version without tempered glass.
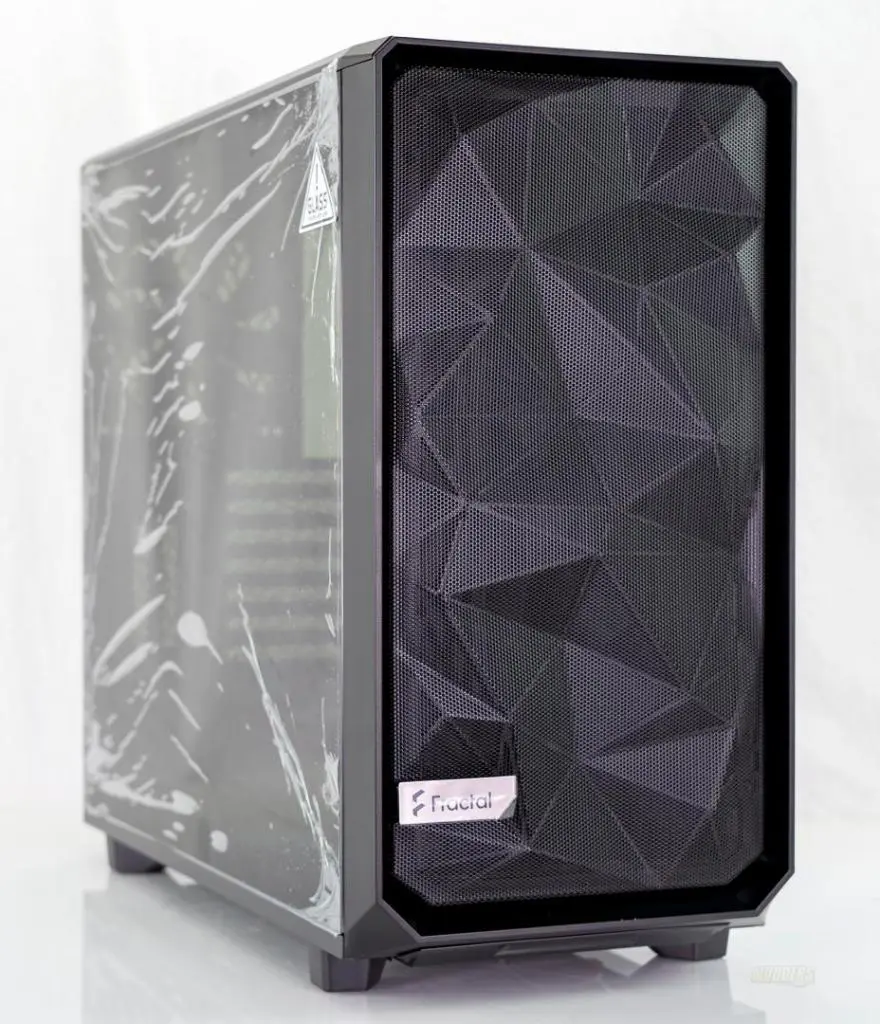
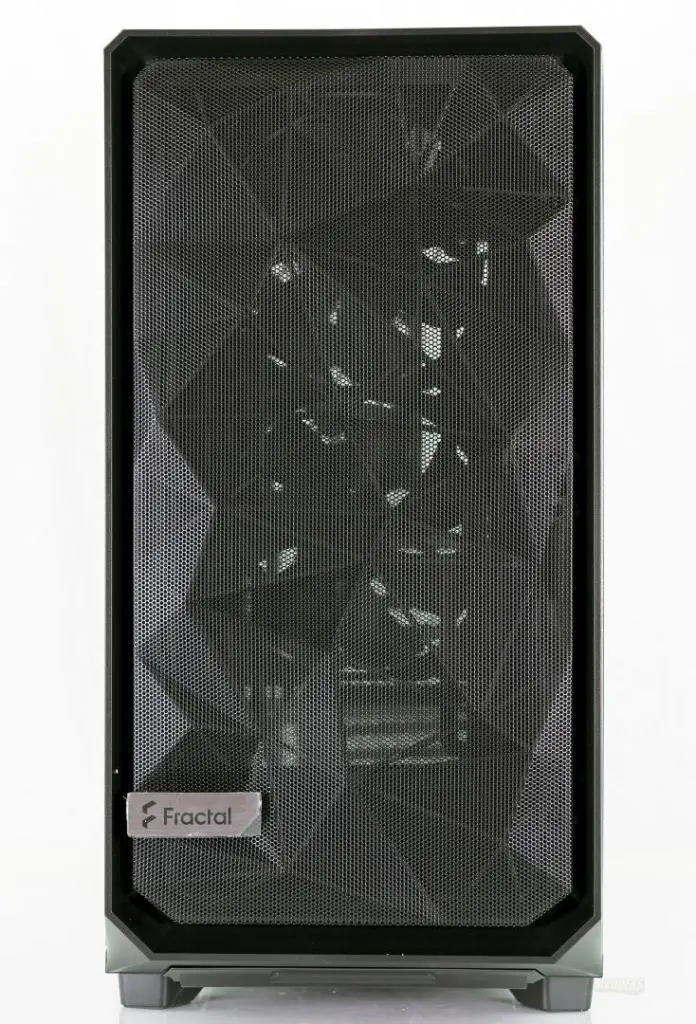
The complete mesh panel allows for a lot of airflow from the front of the case. This should ensure that the components receive adequate cooling. Behind the angular panel, is a removable nylon filter that can be easily removed for cleaning. The previous version of the Meshify, just had a foam filter that was difficult to remove (if at all) and clean.
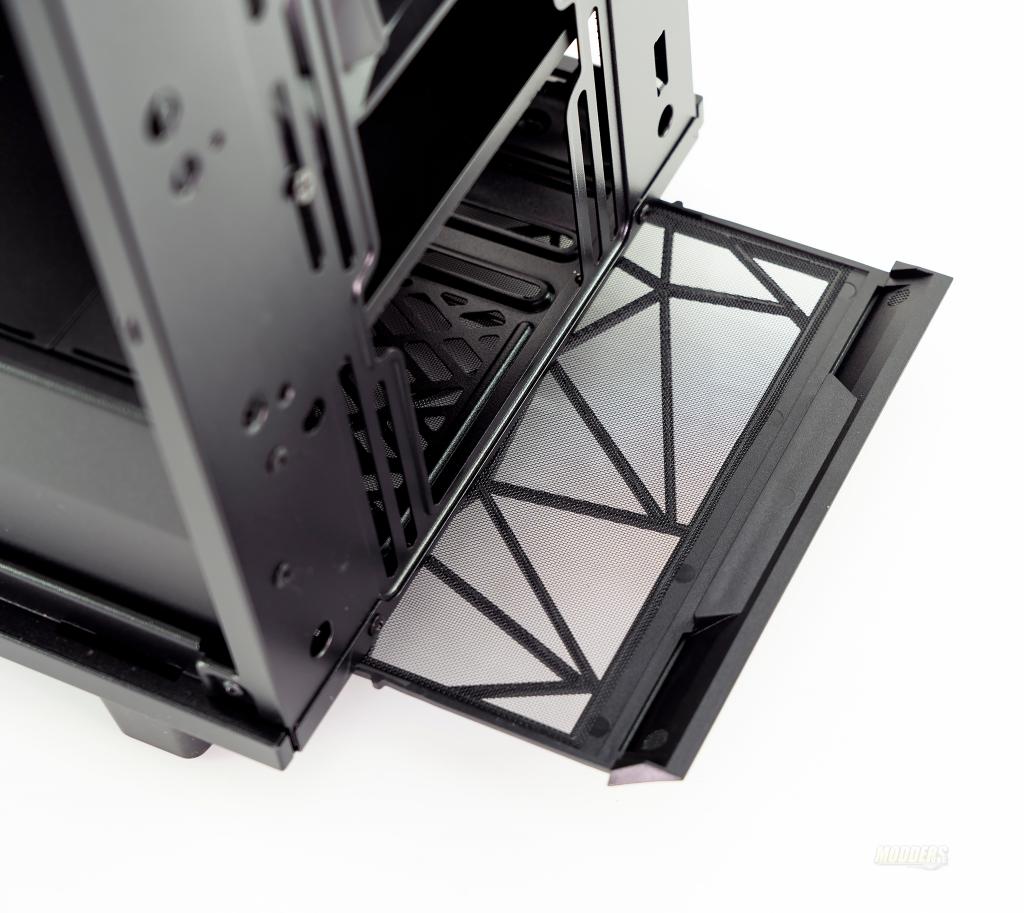
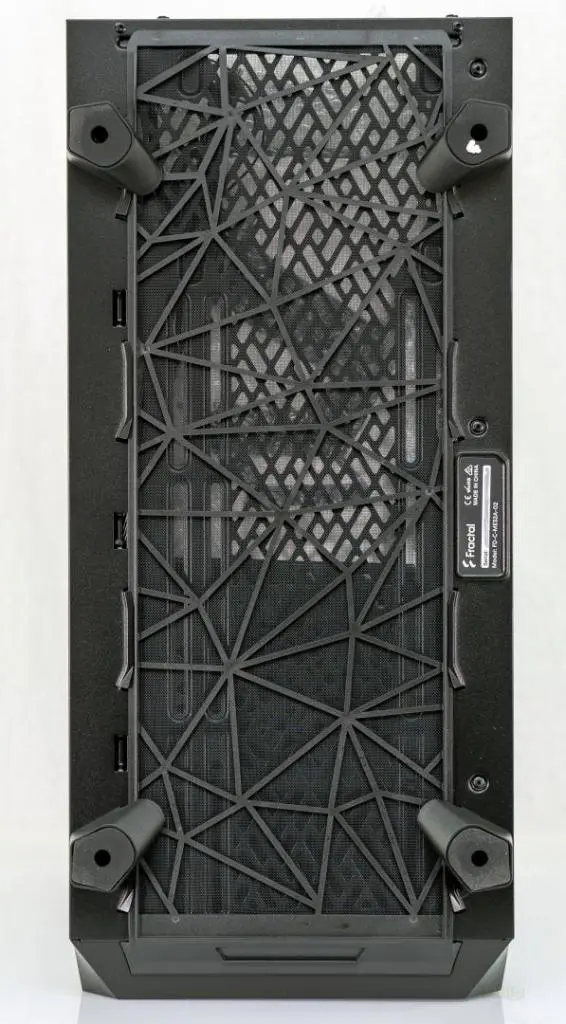
The front panel has been removed here for clarity. At the bottom of the front panel, there is an additional full-length filter on the bottom of the case that can be removed by pulling gently towards the front.
Here, you can see a better view of the bottom filter. Also on the bottom of the case are 4 case feet with rubber inserts. The feet lift the case off the desk high enough to allow airflow into the bottom considering that two 120mm or 140mm case fans can be mounted in the basement.
The top of the Meshify 2 features another mesh panel. The center section of the top panel is a metal mesh and is nearly the same size as the internal build area.
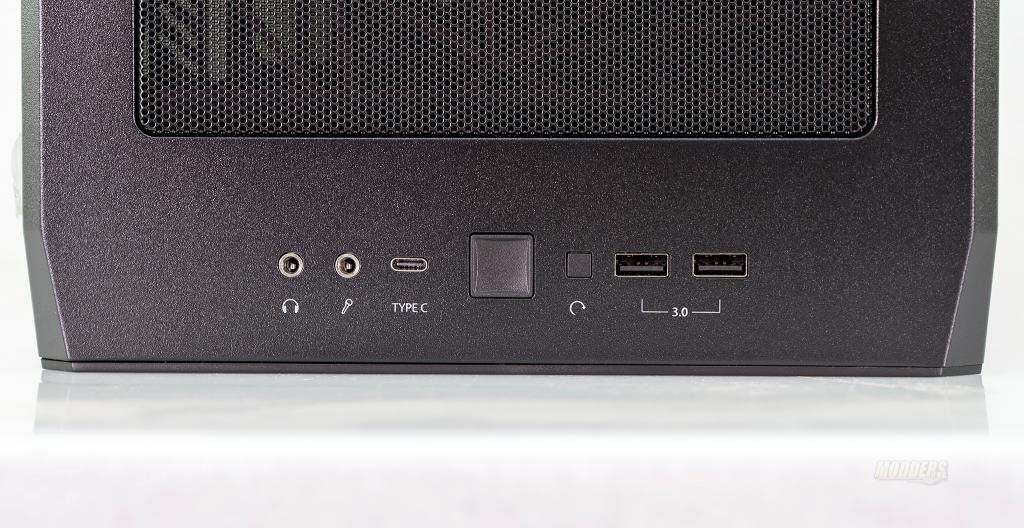
The front I/O is separate from both the top and front panels. This means that both panels can be removed without any of the front I/O going with them. Included for the front I/O is a headset and mic 3.5mm jack, a Type C USB jack, power and reset buttons and two USB 3.0 ports.
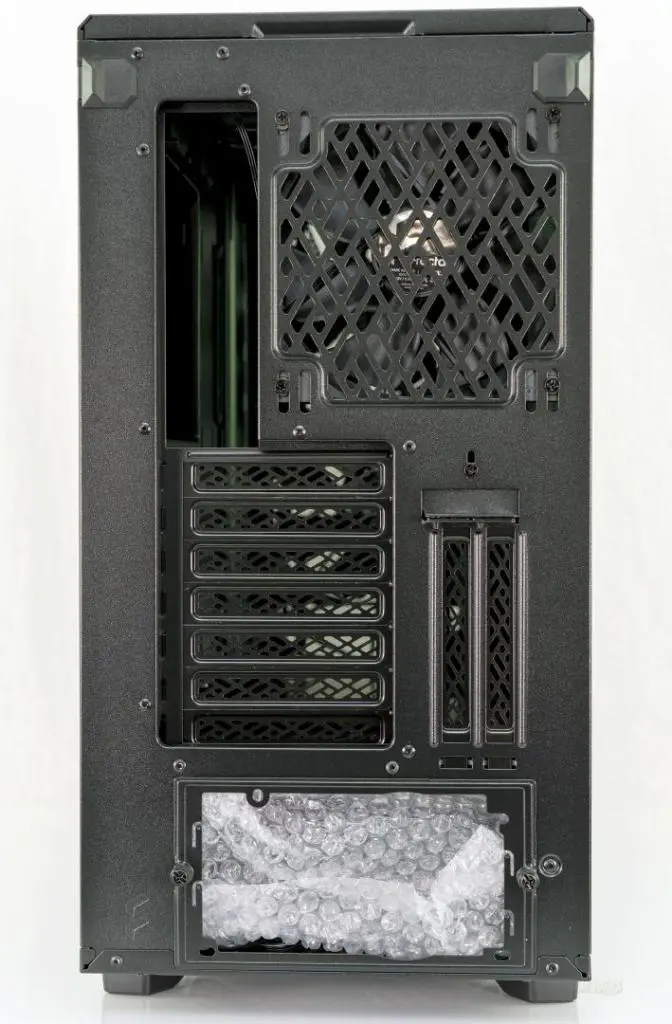
To finish off the external tour, we’ll take a look at the backside of the case. The most prominent feature of the backside is the 7 horizontal and two vertical PCIe expansion slots. These slots lack the horizontal cross members that we’ve seen on other cases and seem to be an increasing trend among case manufacturers. There is a single fan mount that can accommodate either a 120mm or a 140mm fan. The case also mounts the power supply in the basement underneath the power supply shroud.



Did you have to drill extra holes for the distro plate to fit? On the EKWB product page, this case is not shown as a compatible case.
I did not. I just had to slide the distro plate up and down until the holes lined up. I think there’s a total of 4 holes in the distro that lined up with the slots.