Fractal Design Era ITX
Full System Build
The Era is a fairly straight forwards case to build in despite its small size. Its layout is clearly oriented towards systems an AIO water cooler and an air cooled graphics card. While Fractal says that the Era supports graphics cards with built-in liquid cooling, your mileage may vary for reasons that we will cover in a moment.
For my test system I used the following parts:
| CPU | Intel i7 6700k |
| Motherboard | ASUS Z170I Pro Gaming |
| Cooler | Asetek 120 mm AIO with EK Vardar 120 mm fan |
| GPU | AMD R9 390X reference |
| Power Supply | Silverstone SX-600-G 600W SFX |
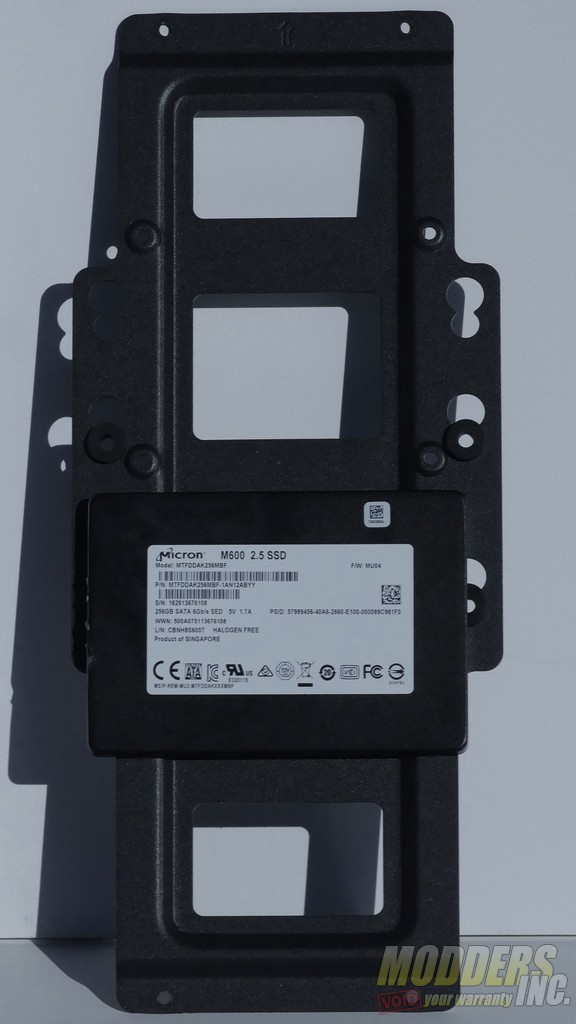
| Storage | Micron M600 256GB SSD |
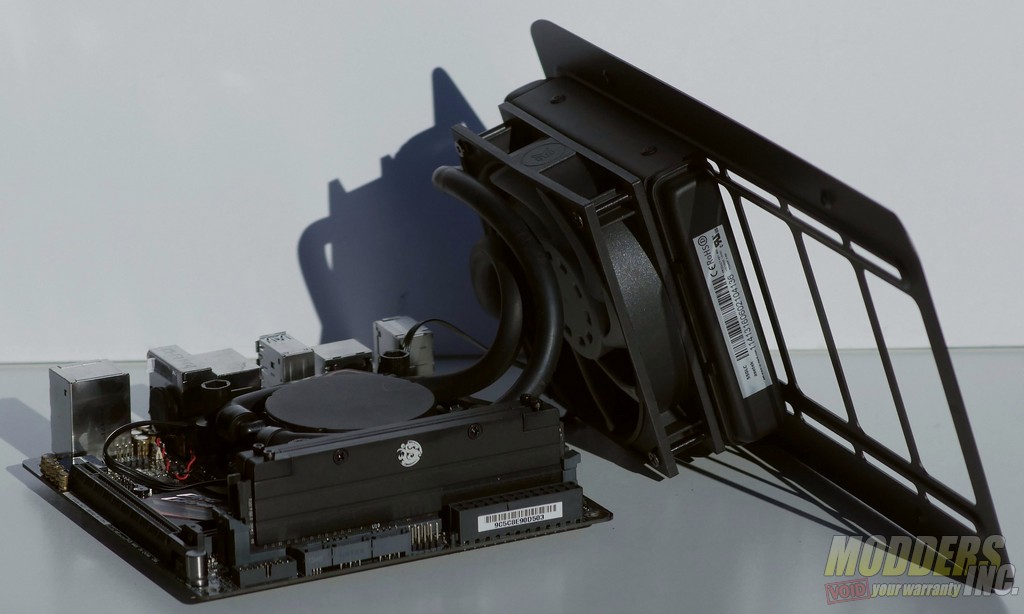
The best way I found to build in the Era starts with mounting the CPU, RAM, and AIO CPU cooler to the motherboard, removing the top radiator mounting bracket from the chassis and mounting the AIO to the radiator bracket. Next, the I/O shield is popped into place, and the entire motherboard/cooler/bracket assembly can be carefully slid into place through the top of the chassis. Screwing the motherboard and radiator bracket into place completes the first major section of the build.
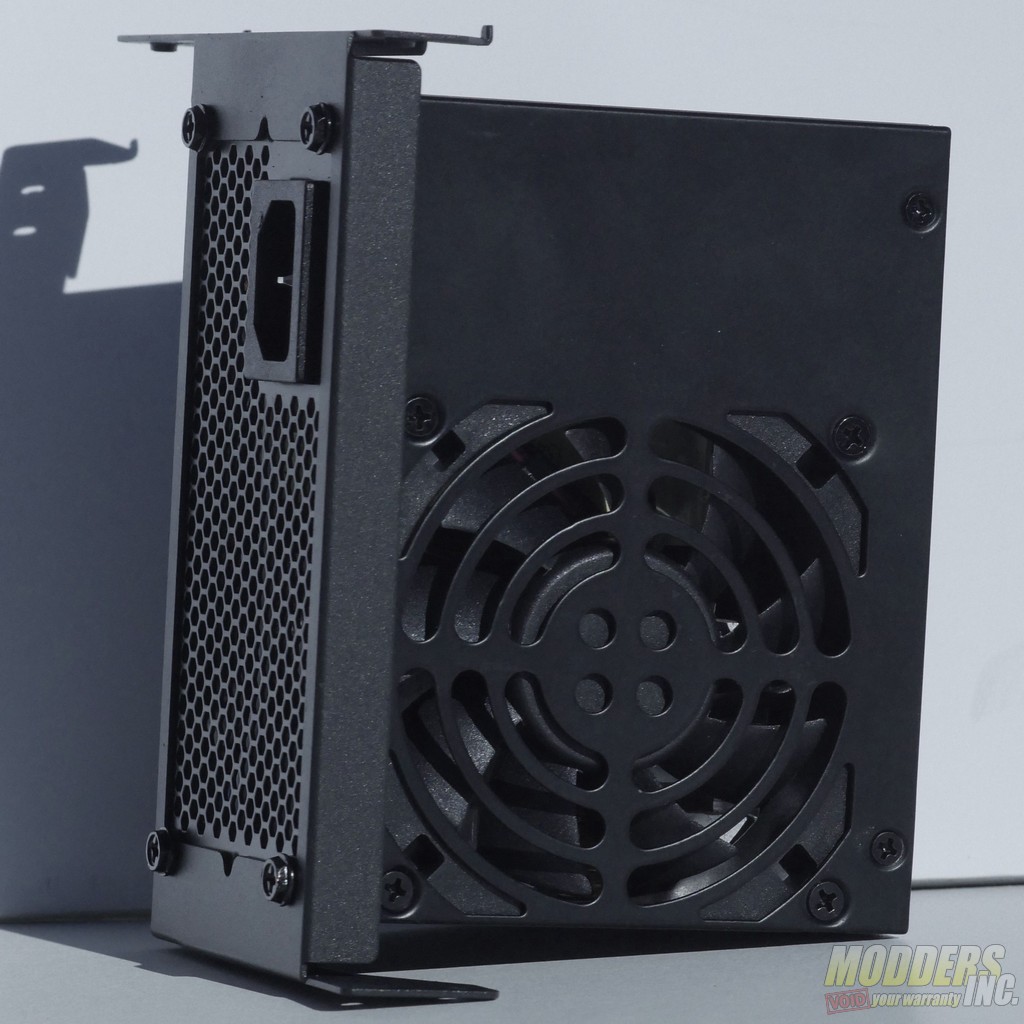
Once the motherboard is in place, the front I/O cables can be plugged in and tied down. This is also a good time to plug in the rear 80 mm fan. After the cables are plugged in, the power supply can be mounted to its bracket and screwed into the case. It’s easiest to screw the power supply bracket in from behind the motherboard tray first because it has two pins that align the bracket with the mounting holes on the chassis.
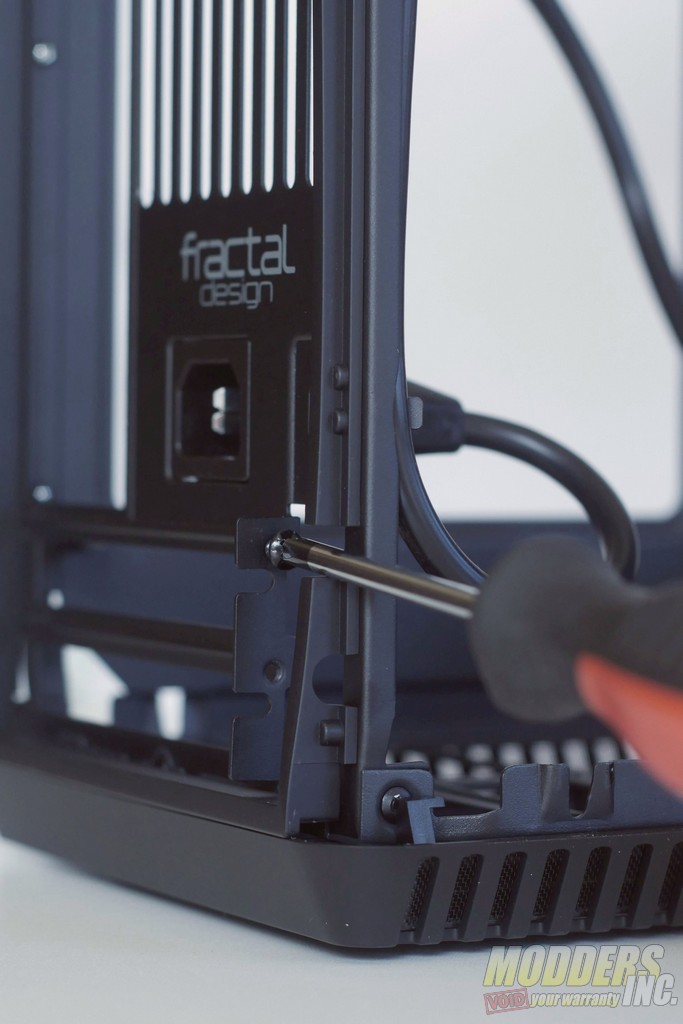
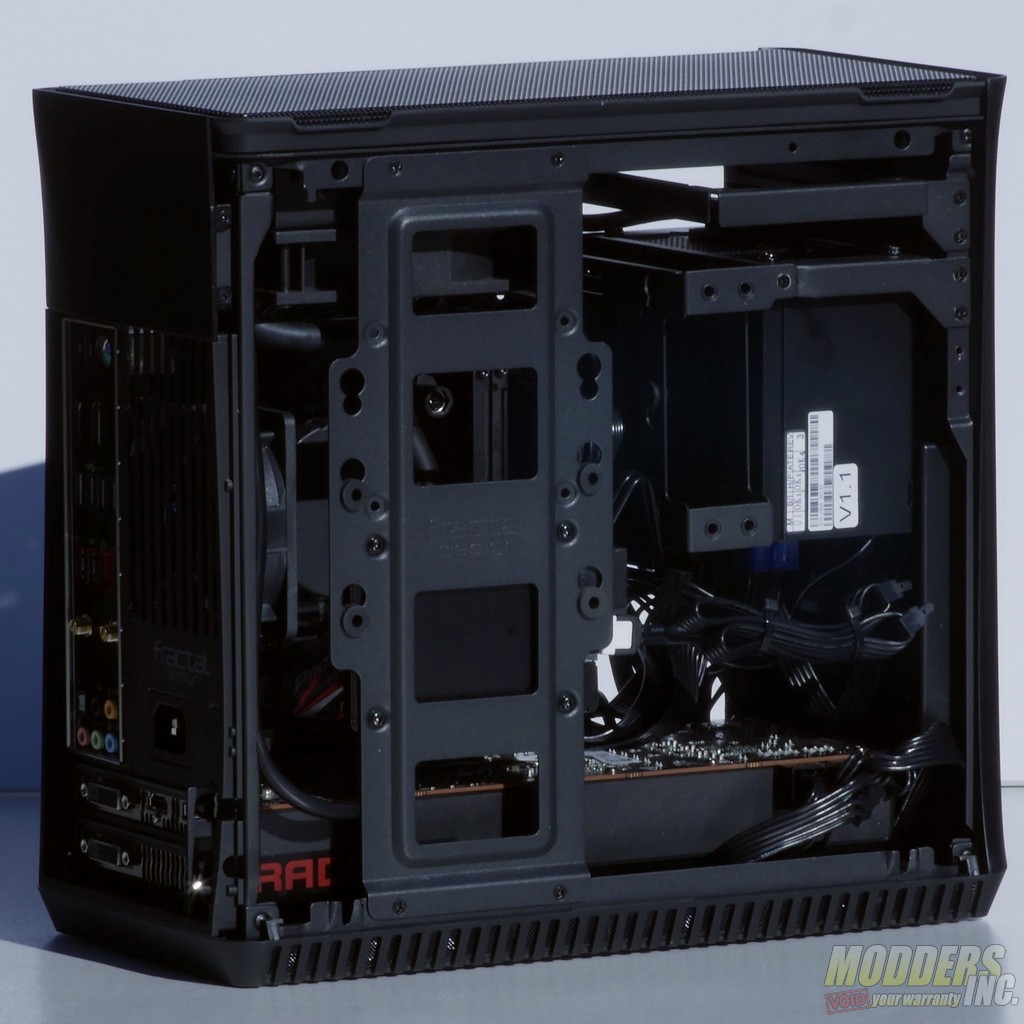
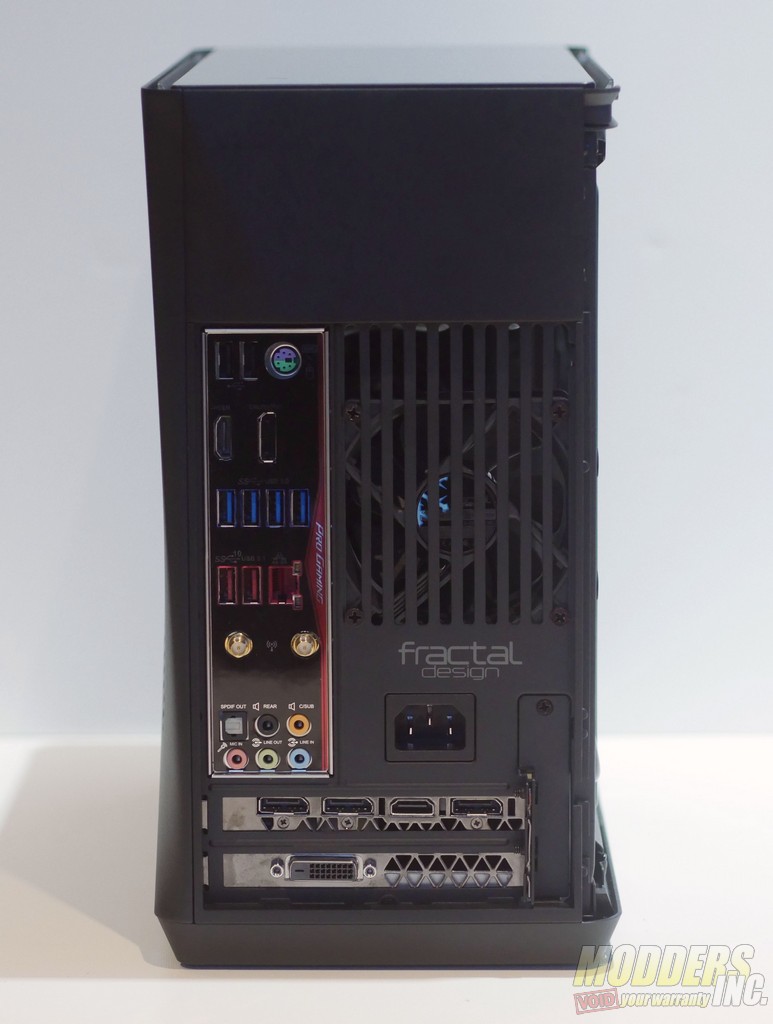
After the power supply is mounted, all of the remaining cables can be plugged in and tied down. It’s best to keep cables back towards the motherboard tray so that they don’t interfere with the graphics card. Which is a perfect segue into the trickiest part of the build: the graphics card. The small size of the Era means that even standard blower-style cards like Nvidia’s 10 series Founder’s Edition cards or the R9 390X reference design barely fit into the case. Cards that are wider, thicker, or longer than a 10 series founders edition card simply will not fit. To get my R9 390X into the case, I had to slide the back end of the card in first, then gently slide it into place. There is a small trim piece that needs to be removed to access the rear expansion slots, but the mounting screws for the slots themselves are easily accessible thanks to some clever cutouts in the back panel of the case.
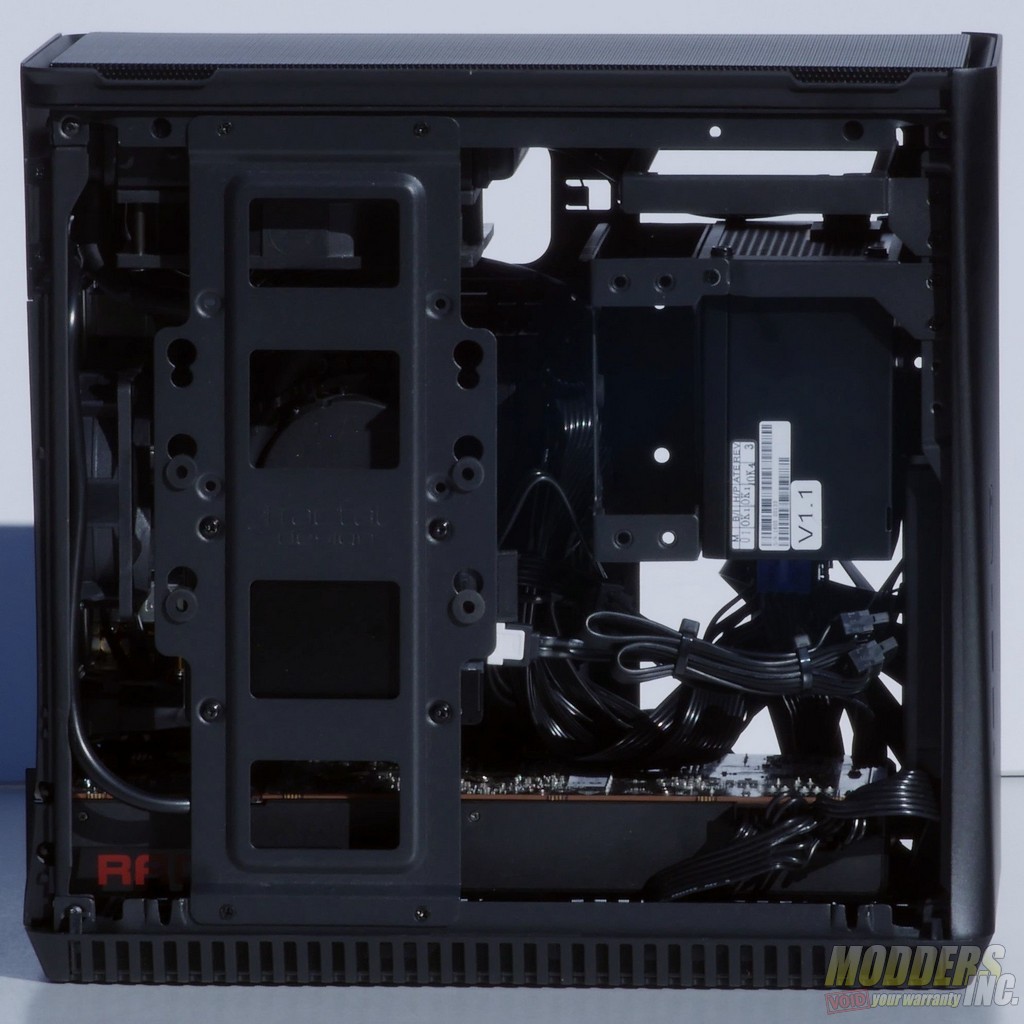
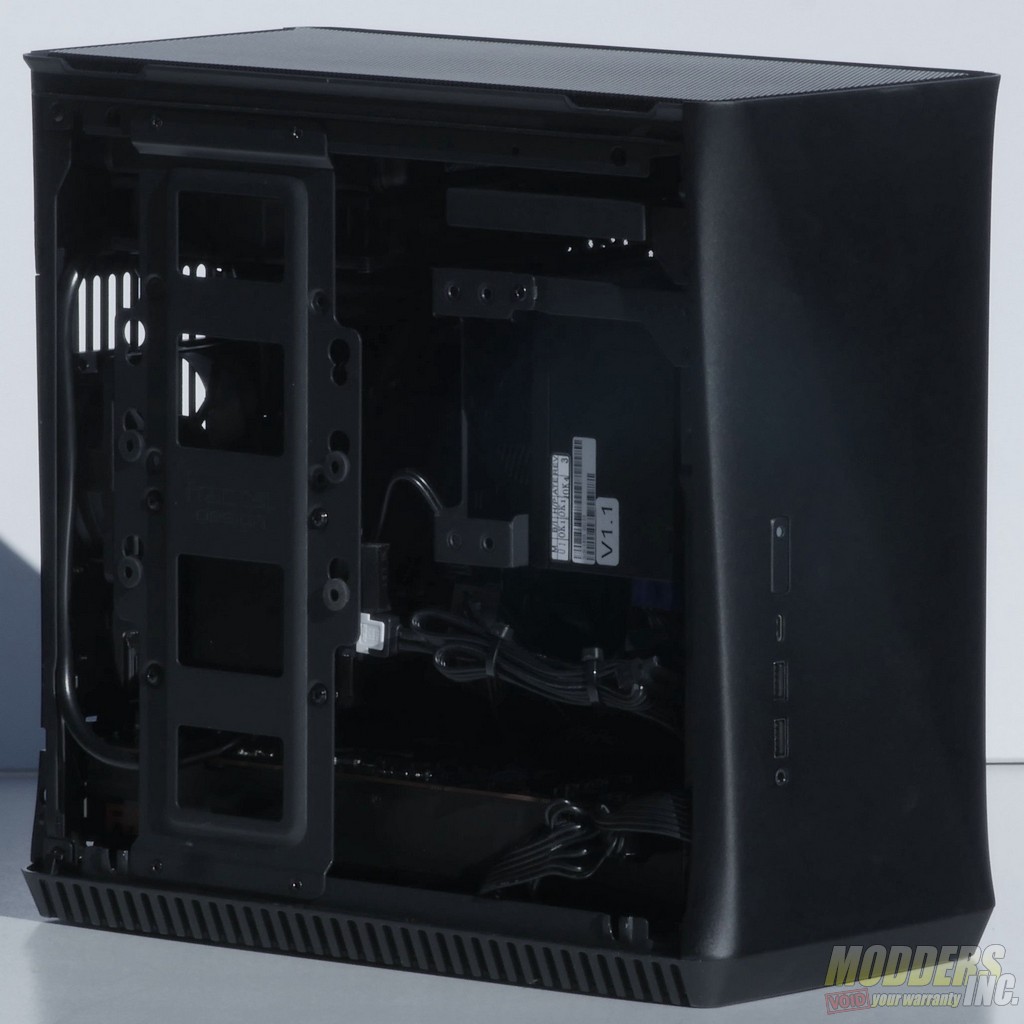
Once the graphics card is in place and plugged in, the system should look something like this:
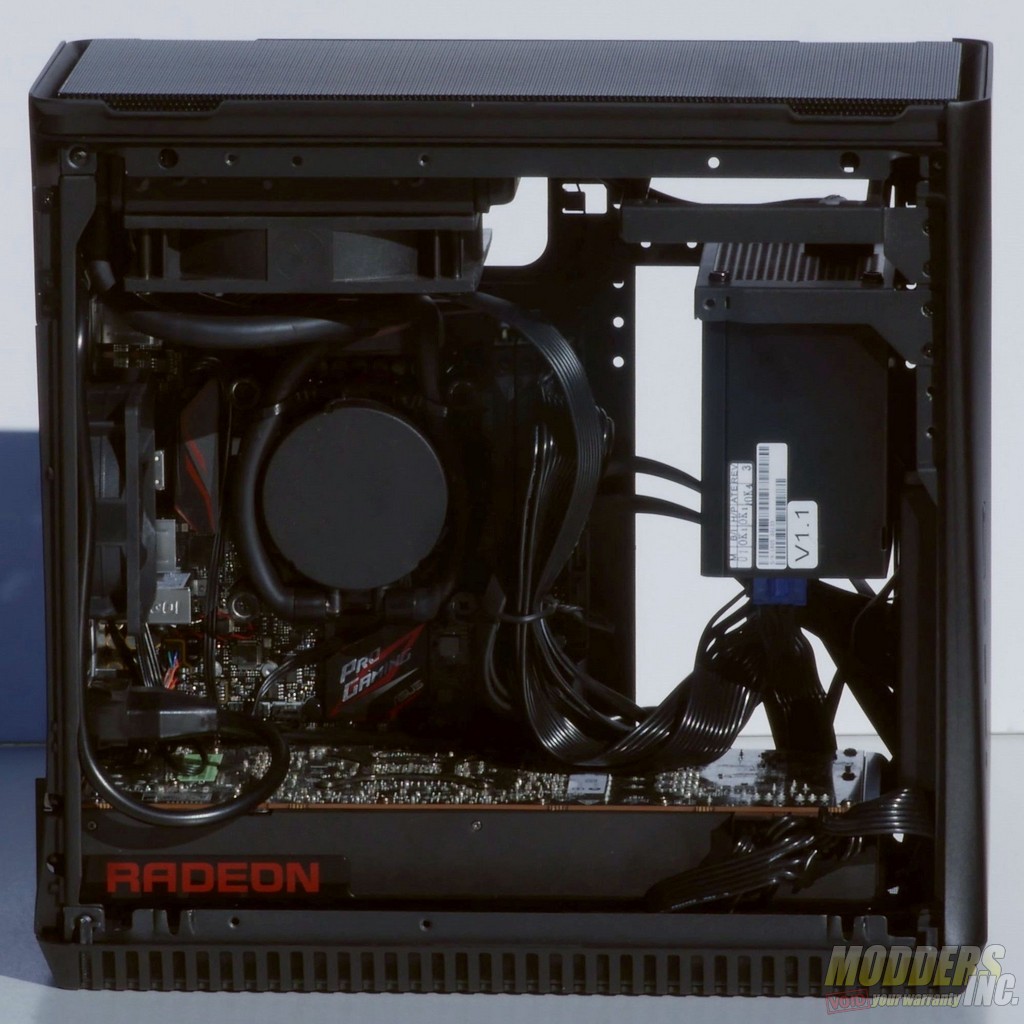
If you are using an M.2 drive for your storage without any SATA drives, you can simply put the side panels back on and be finished with the build. Otherwise, SATA based drives can be mounted to the side mounted tray or in the cage that screws to the SFX power supply bracket.
Once everything is plugged in, the final result is a very dense system that is still relatively easy to open up if you need to fix or clean something.



I’ve never seen such a terrible airflow design before.