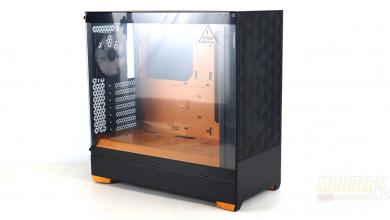
Fractal Design Define Mini C Windowed Edition Review
Hardware Installation
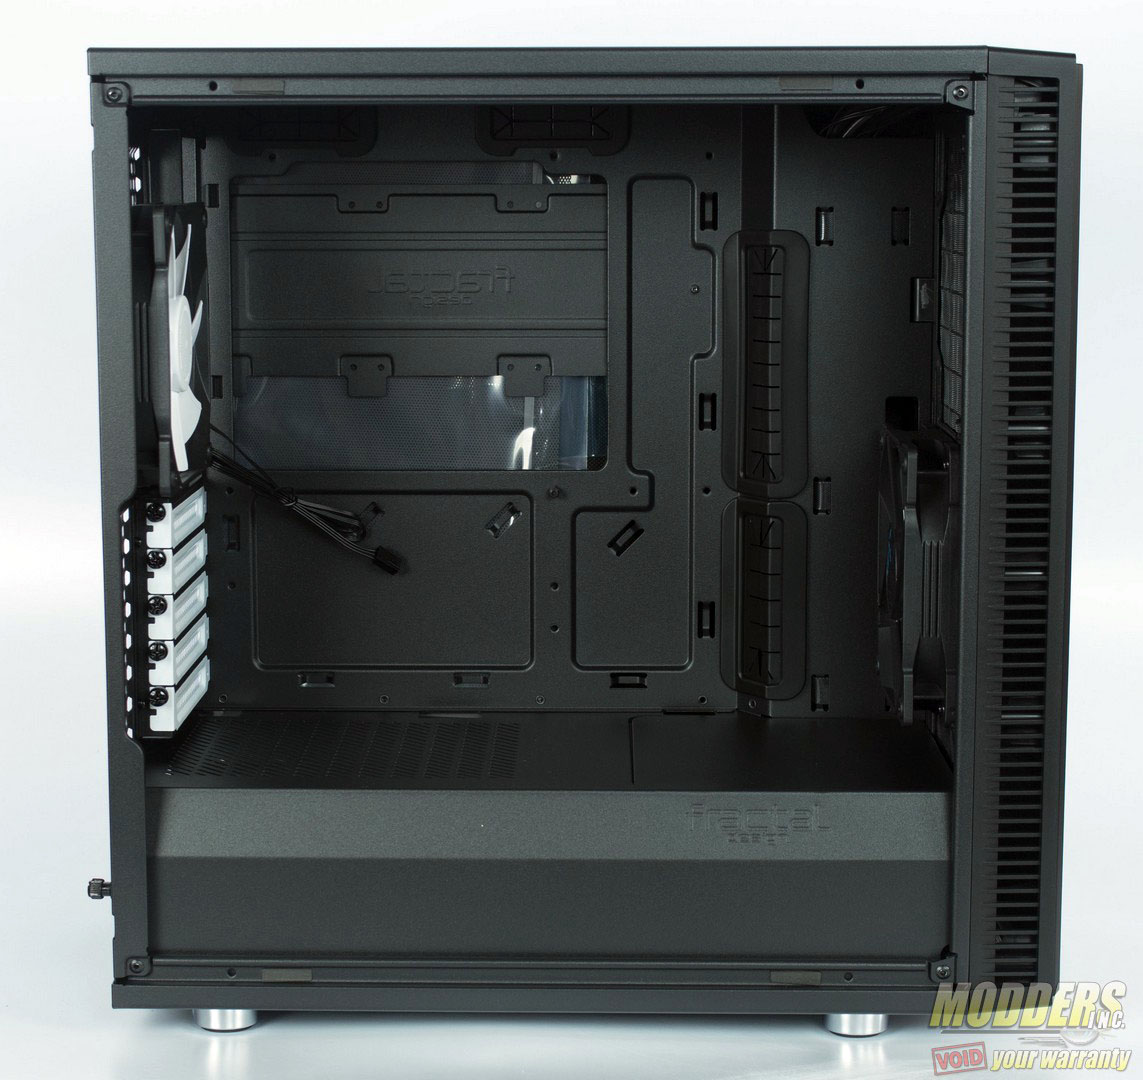
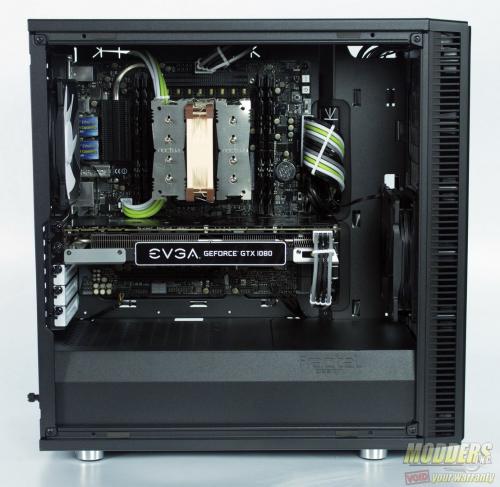
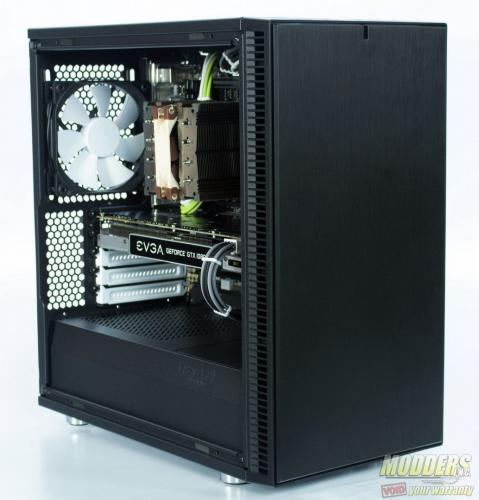
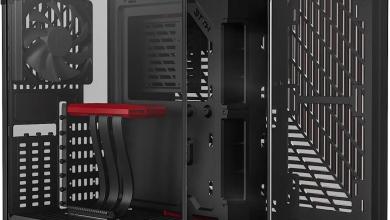
To access the interior of the chassis, simply remove two screws from the side panel and pull back. The interior the Mini C, is essentially a shrunken down version from the Define S, which shares the same offset motherboard panel.
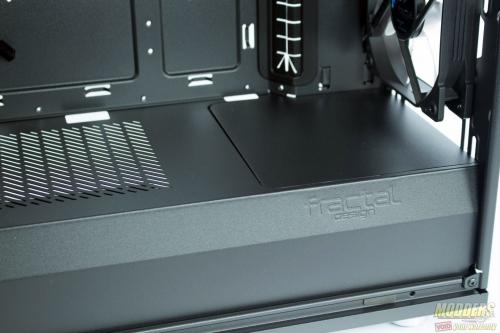
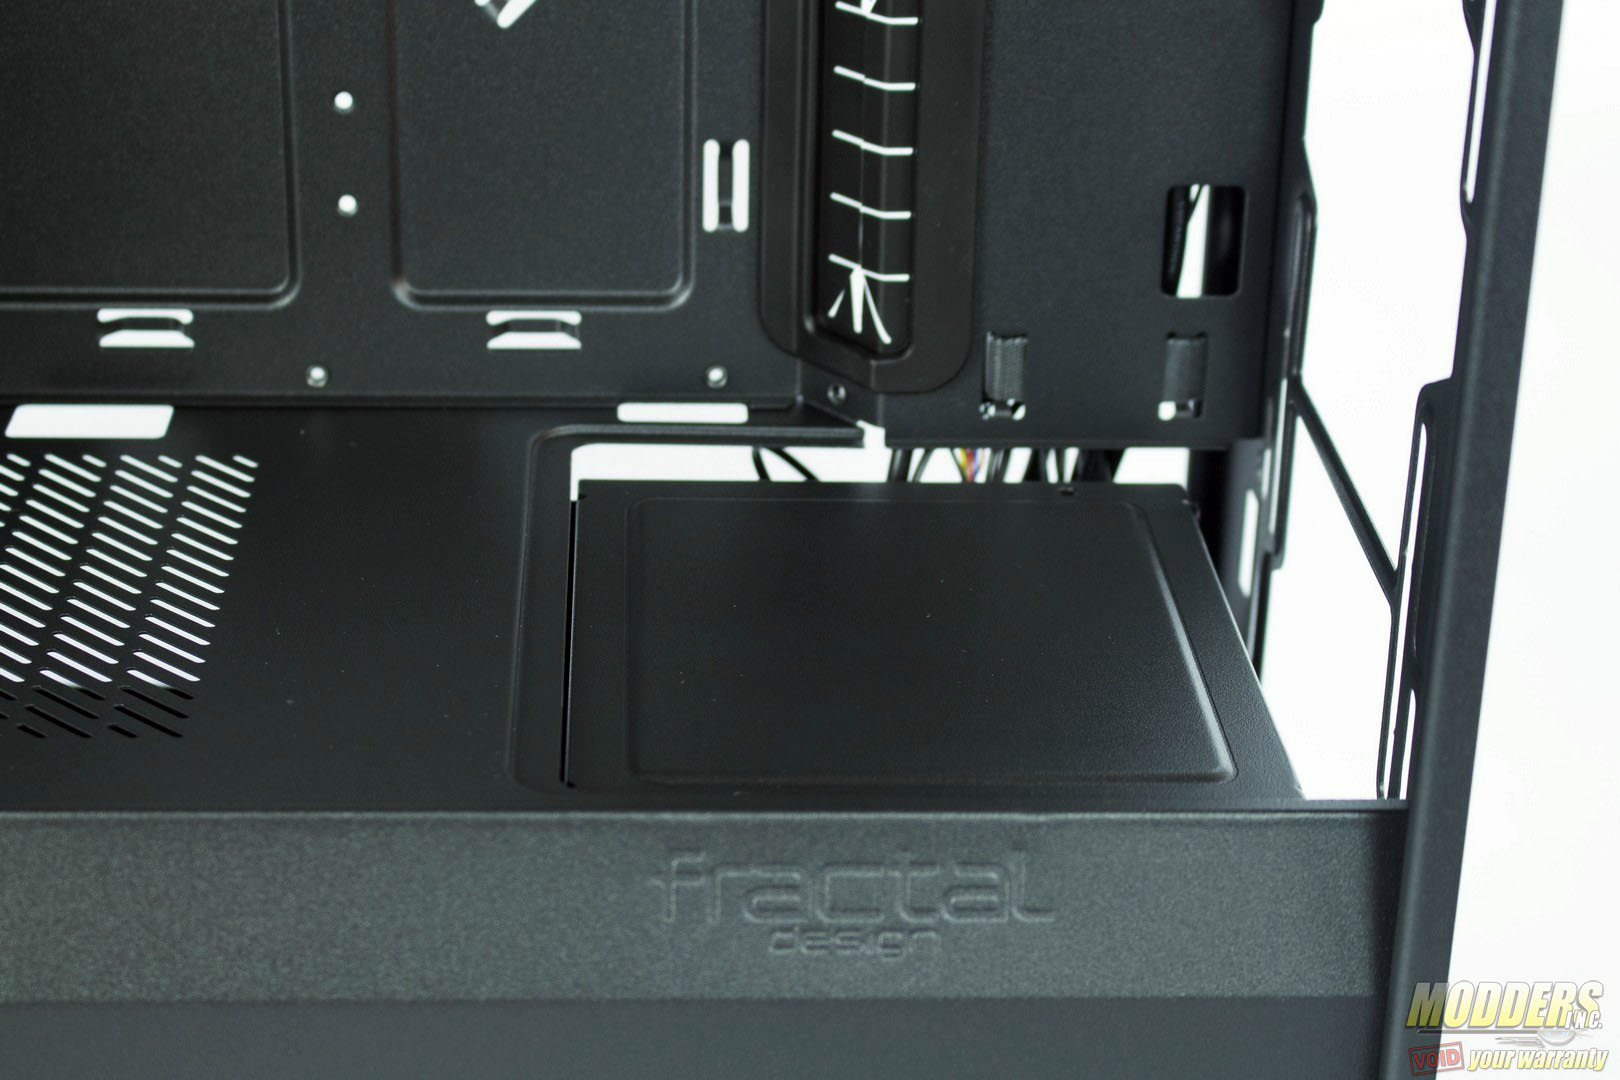
The case is separated by a steel PSU shroud that runs the length of the case, and is embossed with “Fractal Design” in a tasteful manner. I do wish this panel was removable in the means of a few Phillips head screws, however it is riveted in place.
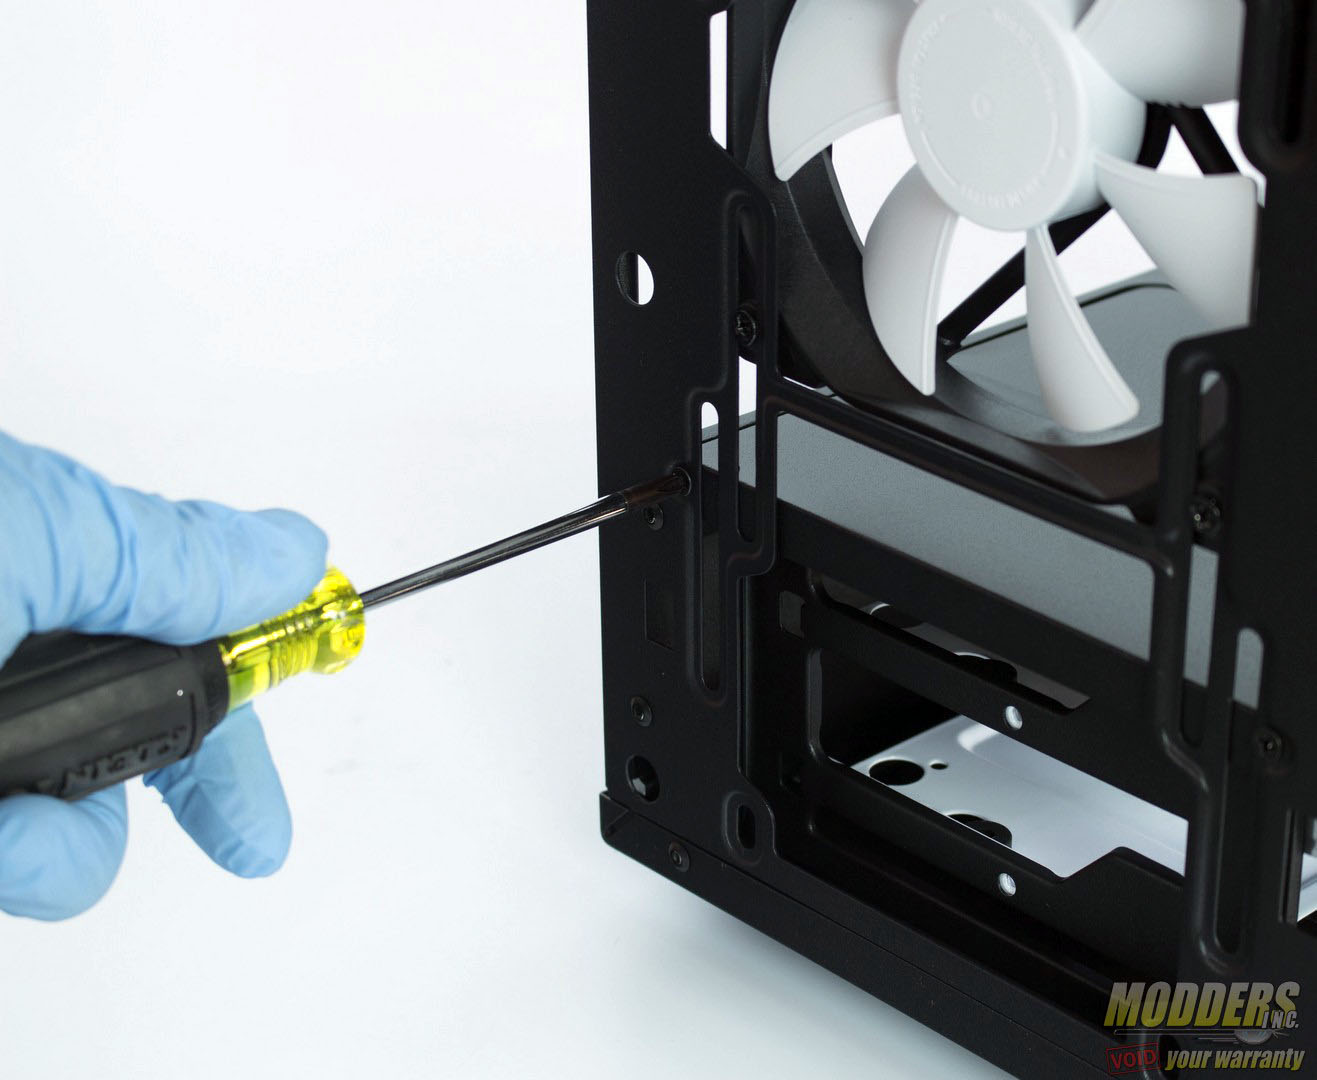
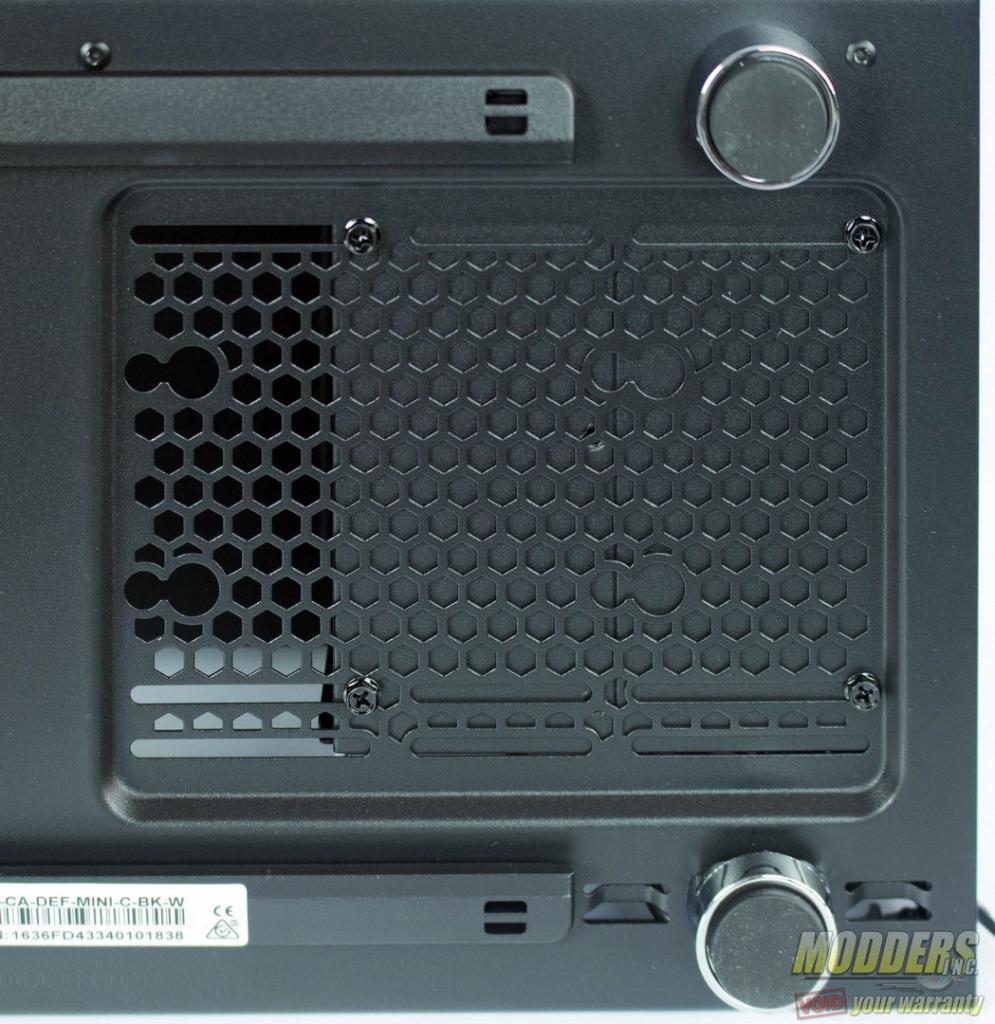
At the front of the partition is a small section that can be removed in order to install additional fans or clearance for radiators. This section is removable by removing two small screws located underneath the filter on the front panel.
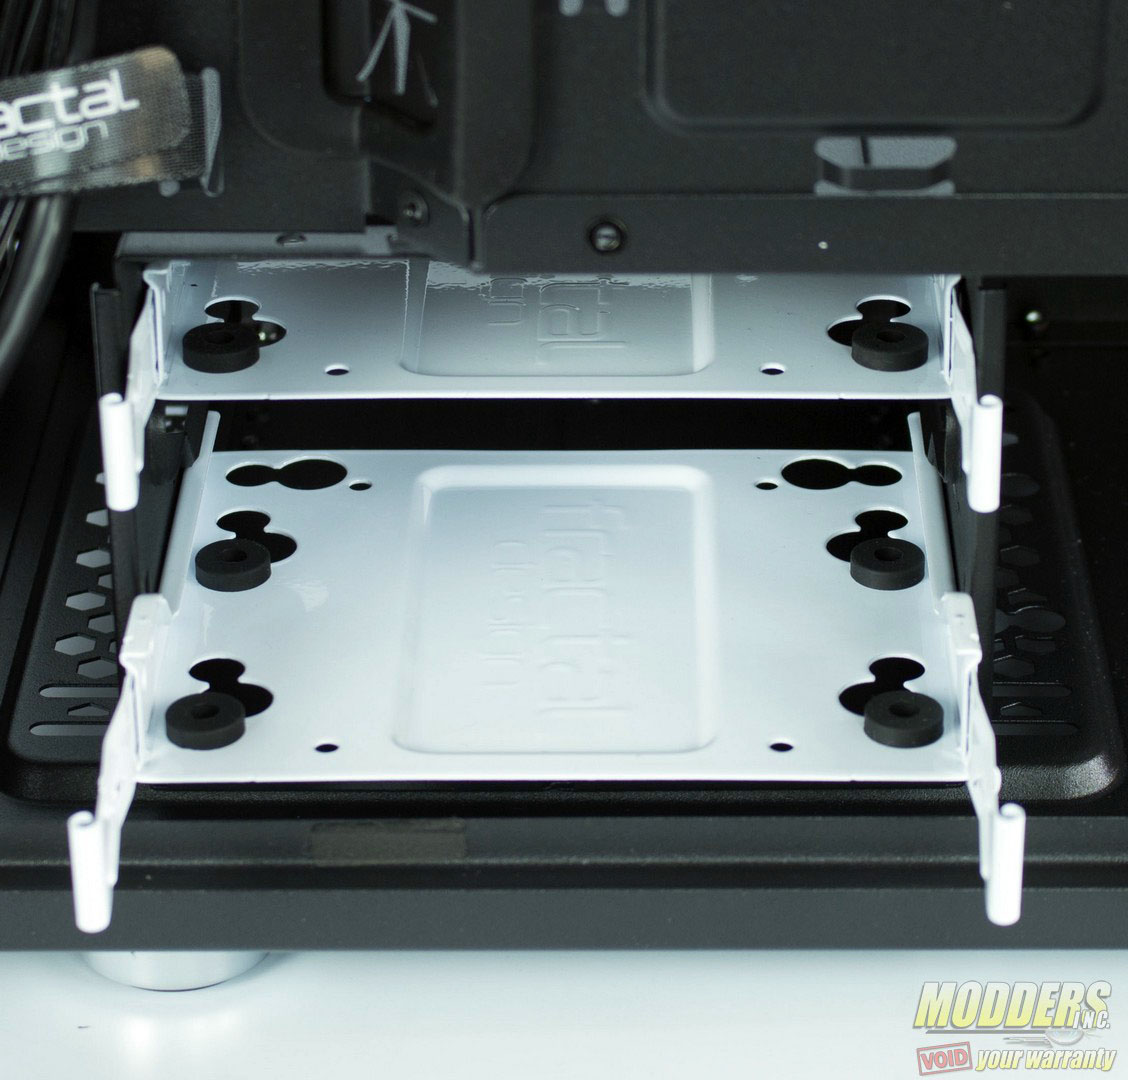
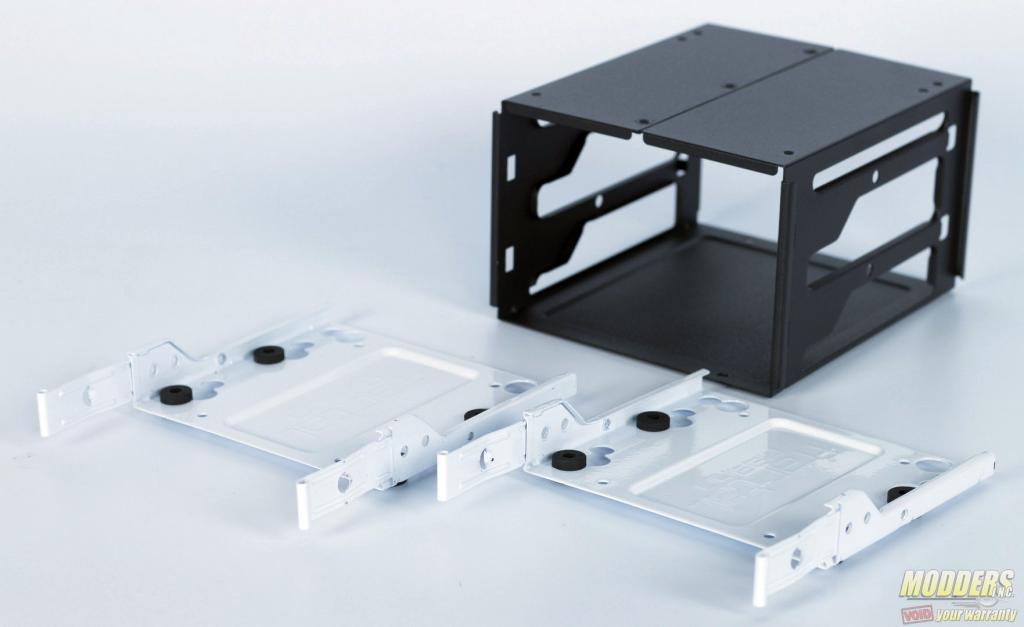
Located beneath the removable section on the center partition, can be found the 3.5″ drive cage that houses locations for two, 3.5″ drives. The accessory box can be found here, and is easily removed via the steel tool less drive sleds.
The drive cage can removed via four screws located on the bottom of the chassis and lifting the cage out of the case through the removable PSU shroud area.Keep in mind that in order to install an AIO or radiator in the Mini C, the drive cage will need to be removed.
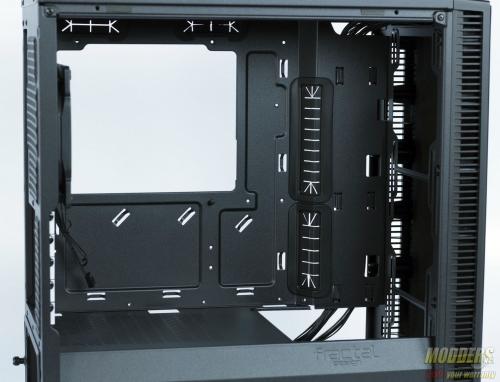
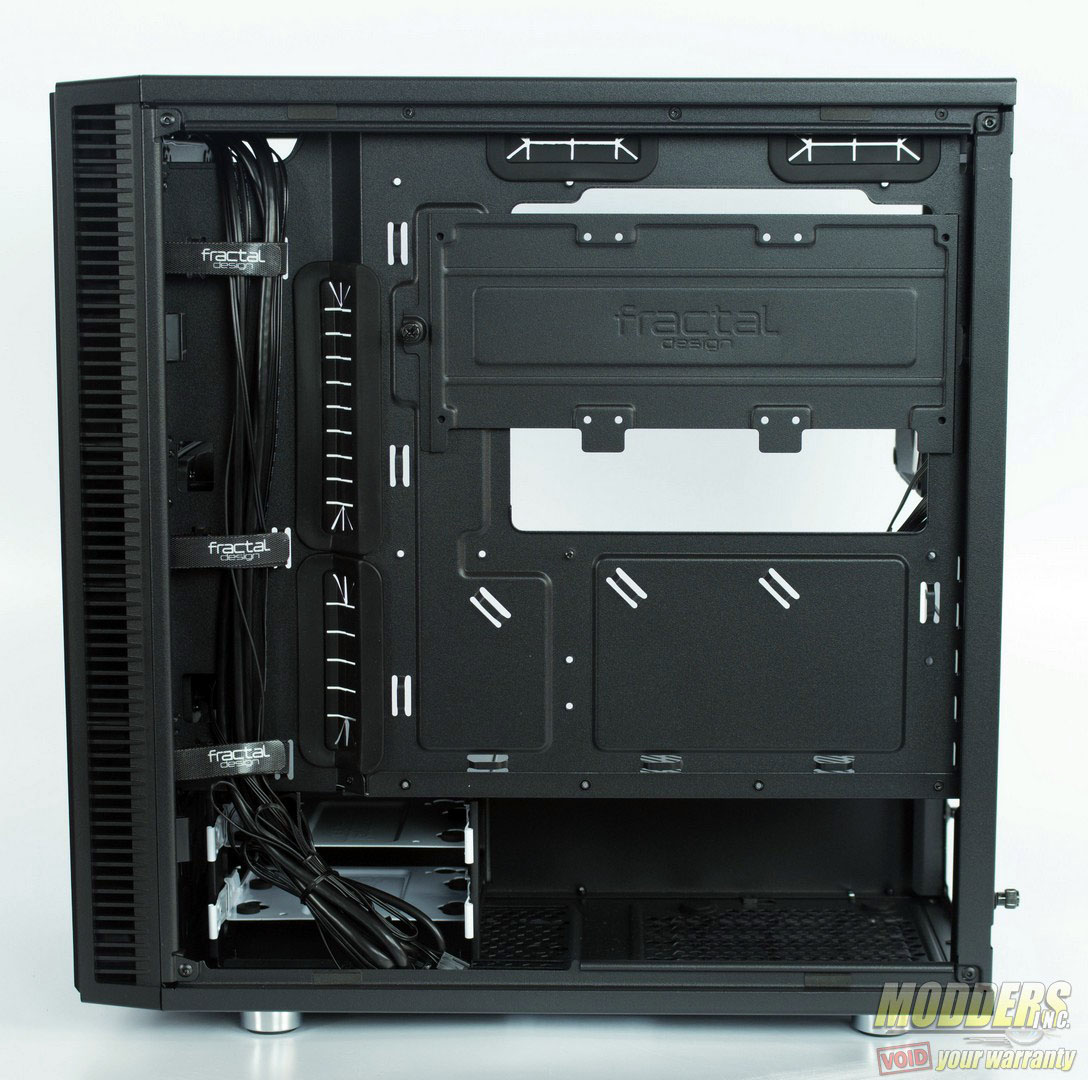
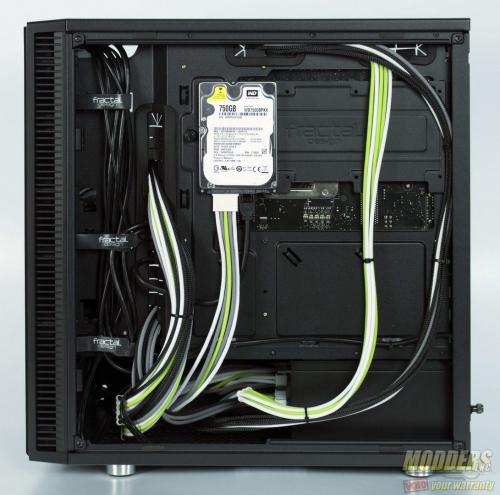
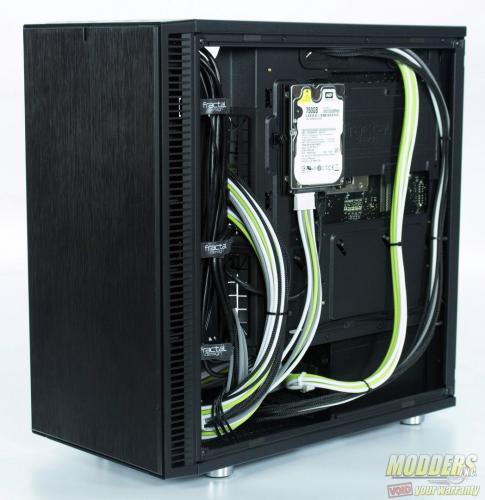
On the rear of the motherboard tray, can be found a similar cable management system that utilizes Velcro tie downs at the front of the case, as well as a generous amount of ziptie mounts around the motherboard area.
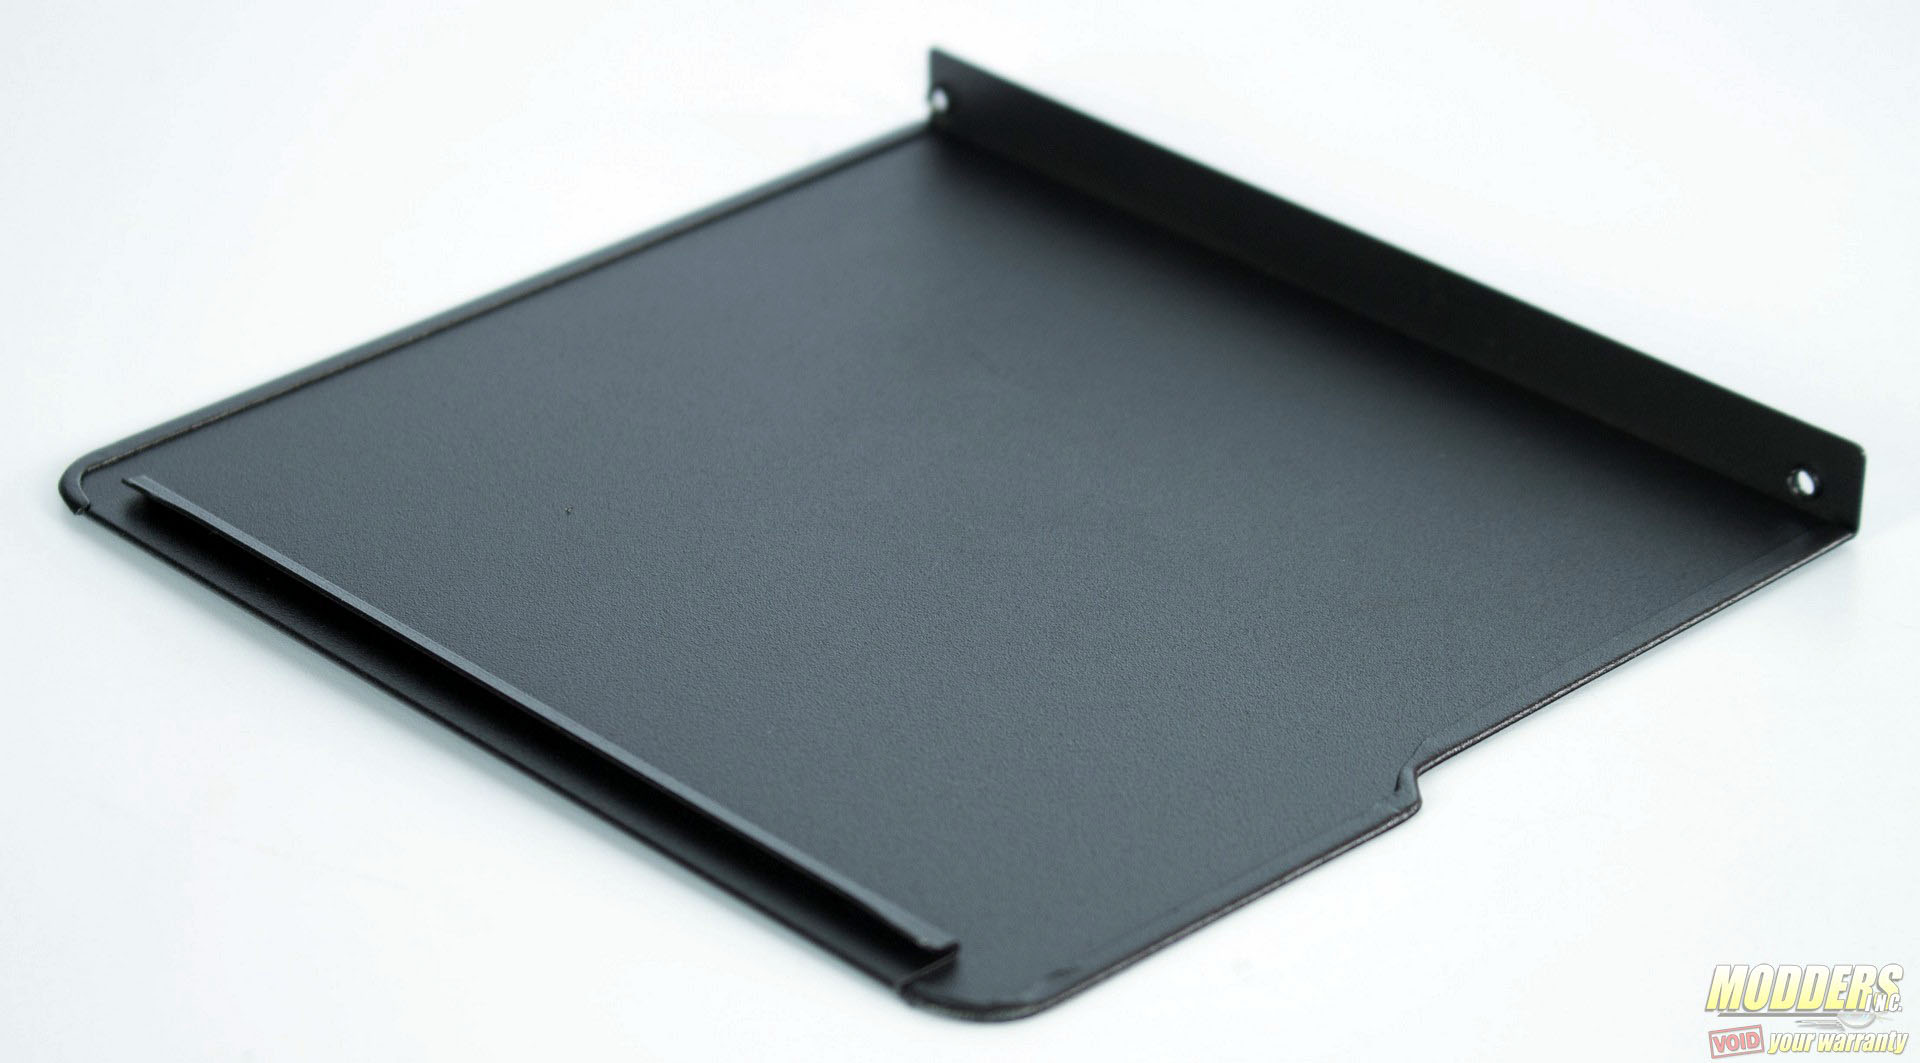
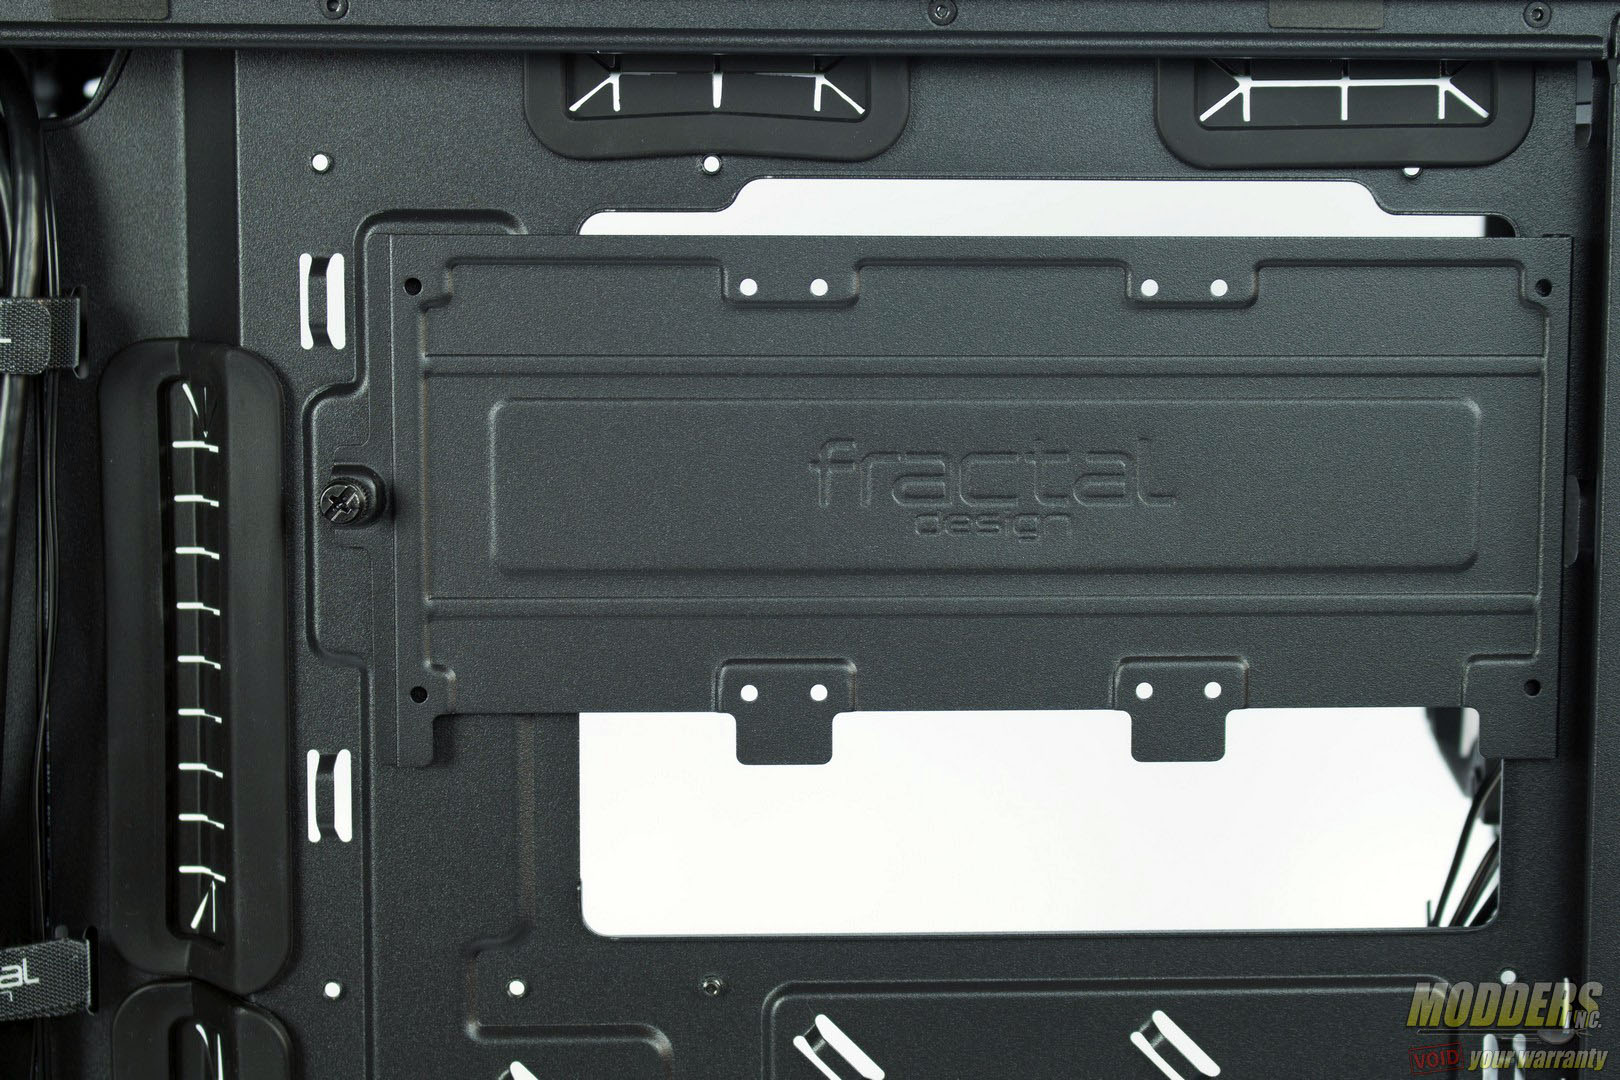
At the top of the motherboard area, can be found a bracket that will hold up to three, 2.5″ drives. The bracket is held in place with two pegs and secured by a single screw.
Despite the reduction in size, I found now issues with clearance with installing the motherboard, GPU, or even the large Noctua cooler. The only area where I did find issues, was the lower compartment, when it came to connecting cables to the PSU. I highly recommend taking a inventory of the cables needed for the components going into the case and connecting them to the PSU, prior to installing the PSU into the chassis. Following this step will save unnecessary wasted time, uninstalling the PSU multiple times or struggling to connect additional cables.
Once the cables are connected, utilize the provided anchor tabs located through out the back panel or the Velcro strips located at the front of the chassis, to secure the cables in place. By securing the cables in place, it eliminates, the possibility of having cables shifts around and creating a bulging rear panel.
